A Step-by-Step Guide to Crocheting a Tooth Fairy Pillow
How to Crochet a Tooth Pillow
Crocheting an adorable little pillow for baby teeth can be a great idea, especially for young children eagerly awaiting tooth fairy visits. This crochet tooth fairy pillow pattern is perfect for beginners and offers a step-by-step YouTube video tutorial to guide you through the process. You can create this precious tooth fairy pillow for personal use or consider selling it in your Etsy shop with affiliate links to your favorite yarn and crochet supplies. Not only is it a fun and engaging project, but it also makes for a perfect crochet gift. This guide’ll walk you through the process, highlighting essential crochet techniques and pattern notes.
You’ll find affiliate links within this post. If you decide to purchase through these links, I may earn a modest commission at no extra cost. Additionally, please review my privacy policy for more details.
✨ We hope you enjoyed these photos! If so, please consider sharing them on Pinterest by clicking the Pin Button on each image. Your support helps us connect with more people and spread creativity. Thank you so much! 💖
**Materials Needed**
– Yarn: To create this adorable little pillow, you can use acrylic yarn, which is widely available and comes in various colors. You may want to choose white yarn for a traditional tooth appearance. A bulkier yarn will make a giant pillow, and you can experiment with different sizes based on your preference.
Crochet Hook: Start with a 4mm crochet hook for the pillow’s body. To make a more oversized pillow, consider using a larger crochet hook size to accommodate the bulkier yarn.
– Safety Eyes: For the adorable face of the tooth pillow, consider using safety doll eyes. Safety eyes add a cute and lifelike touch to your creation.
Slip Stitch (sl st): Use the slip stitch to join rounds or close off stitches. This is especially useful for connecting the pillow’s top piece and back panel.
Tapestry Needle: A tapestry needle is handy for weaving in yarn tails and adding safety eyes.
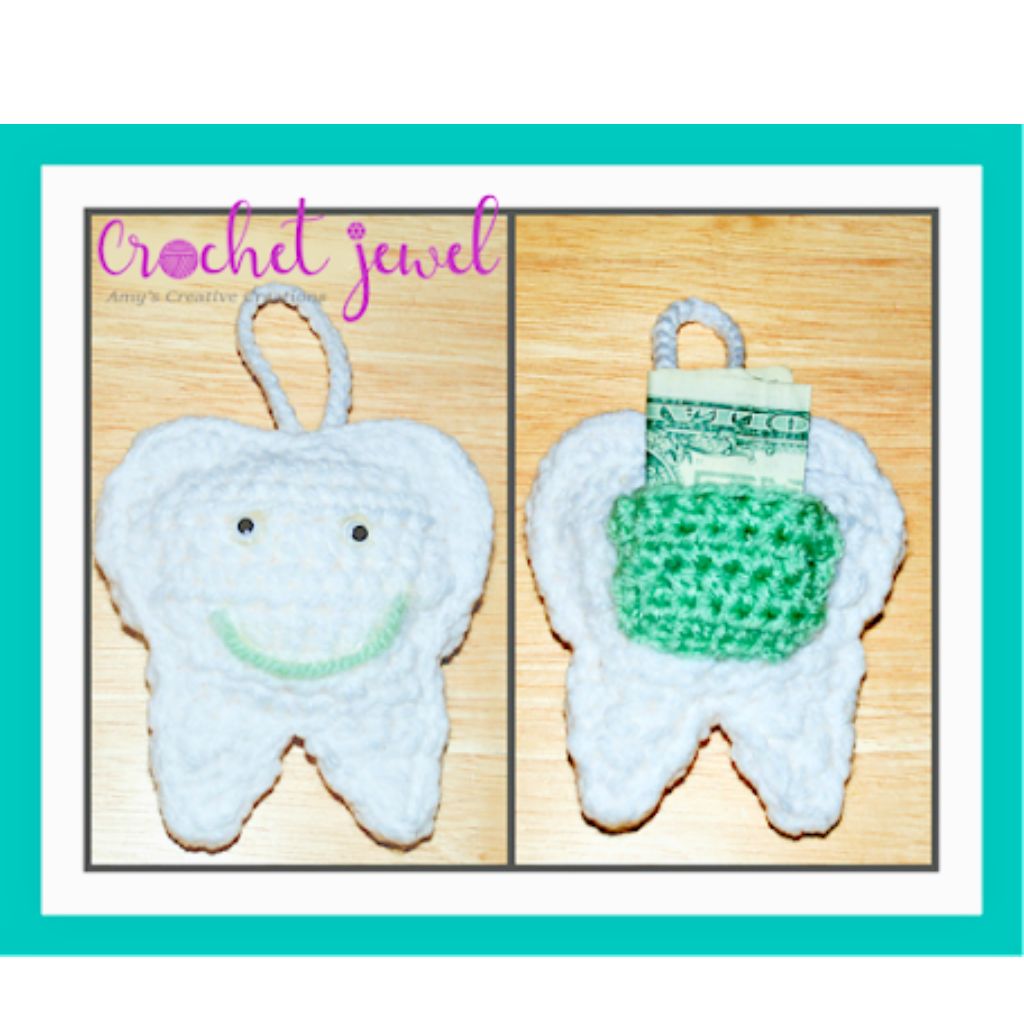
Single Crochet (sc): Work a round of single crochet to create the back pocket of the tooth pillow. This is where young children can place their lost teeth for the tooth fairy.
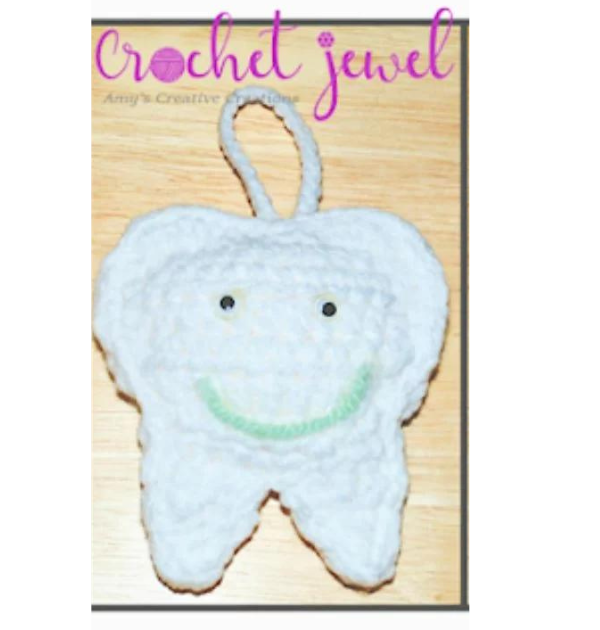
I made this Tooth Fairy Pillow Pattern for my two young girls who are losing their teeth! I thought it would be so cute to use so they could place their tooth in the pillow’s pocket and get money from the tooth fairy! Are you looking for a fun and easy project on a lazy day? Then check out our tutorial on how to crochet a tooth fairy pillow!
This project is straightforward to follow and will surely make your little one happy. In this tutorial, you’ll learn how to crochet the tooth fairy pillow step by step to have a project ready whenever you want it!
Please provide a link to my blog if you want to share my content. However, I kindly request that you refrain from copying and posting my patterns on your website. You are welcome to sell any items you create using my patterns, but please refrain from selling the patterns themselves, as they are offered for free. Thank you for your understanding and support!
Abbreviations:
Click the Links for Your Materials
Orange Medium Worsted Yarn
– Crochet hook
– Tapestry needle
– Stitch marker
Wiggly eyes, Glue gun
Print the entry at the top of the page to print the pattern!
Click Here for Crochet Poncho Patterns
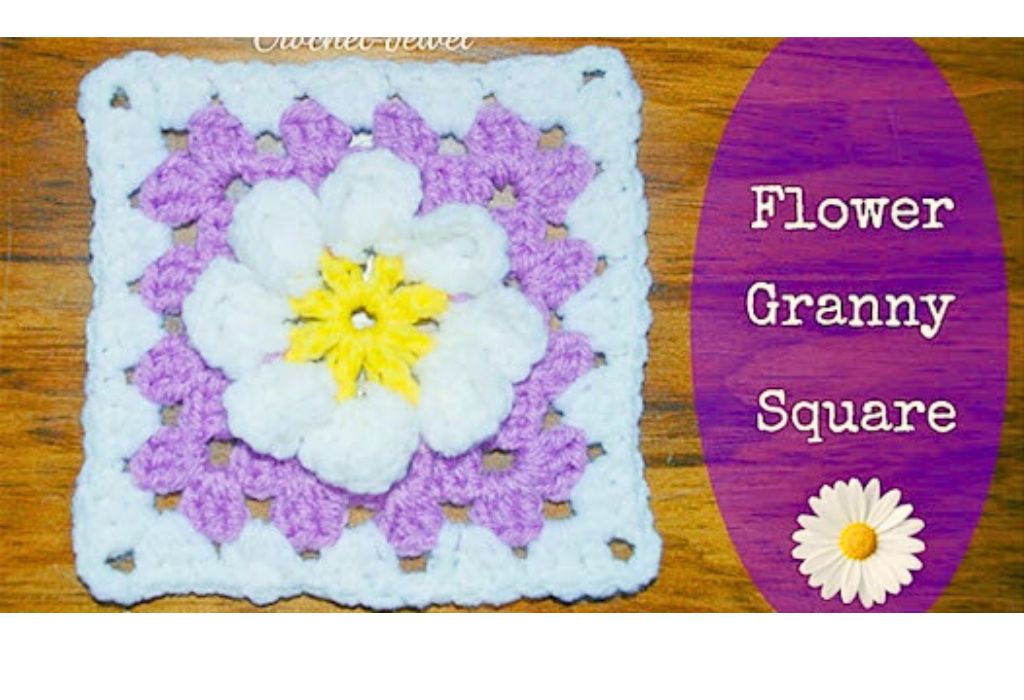
Click Here for a Crochet Flower Granny Square Pattern
– The finished pillow measures can vary depending on the yarn size, hook size, and number of stitches. You can adapt the pattern to create different sizes to fit your preferences.
For special orders, you can add extra stitches or make a larger pillow, considering the customer’s delivery times.
– For extra charm, you can break yarn and use black yarn to embroider a little smile on the tooth.
– Securely attach safety eyes and any embellishments. Safety is a priority when creating items for young children.
– If you sell items with affiliate links or promote them on platforms like Etsy, it’s essential to follow a privacy policy and disclose any potential small commission earned through affiliate marketing.
Crocheting a tooth fairy pillow is one of the kinds of awesome crochet projects you can explore, and it’s perfect for those at the beginner level. With the magic ring, treble crochet, safety eyes, and other techniques mentioned, you can create a precious crochet tooth fairy pillow to delight young children. Whether for personal use or to offer in your Etsy shop, this pattern is a fun contribution to the crochet world. Join excellent Facebook groups and crochet boards to share your creations, and consider making variations of the tooth pillow in different colors and sizes to cater to various preferences. So, grab your materials, follow the free pattern, and get ready to craft an adorable little pillow that will hang from the doorknob or any hanging of your choice, awaiting the tooth fairy’s visit.
To Find All My Crochet Jewel Patterns, Click Here

Click Here for My Ravelry Patterns


Crochet Hats for Beginners Book For Sale – Click Here

Crochet For Beginners Book for Sale – Click Here


You May Also Like
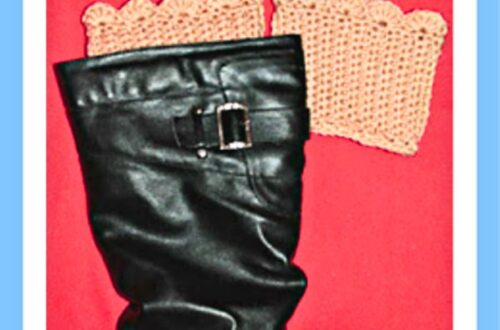
Crochet Stunning Boot Cuffs: A Step-by-Step Guide
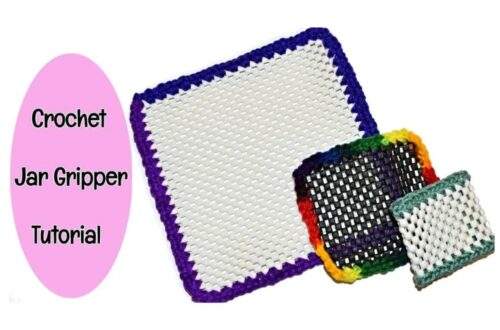
How to Crochet Jar and Bottle Gripper Opener Tutorial