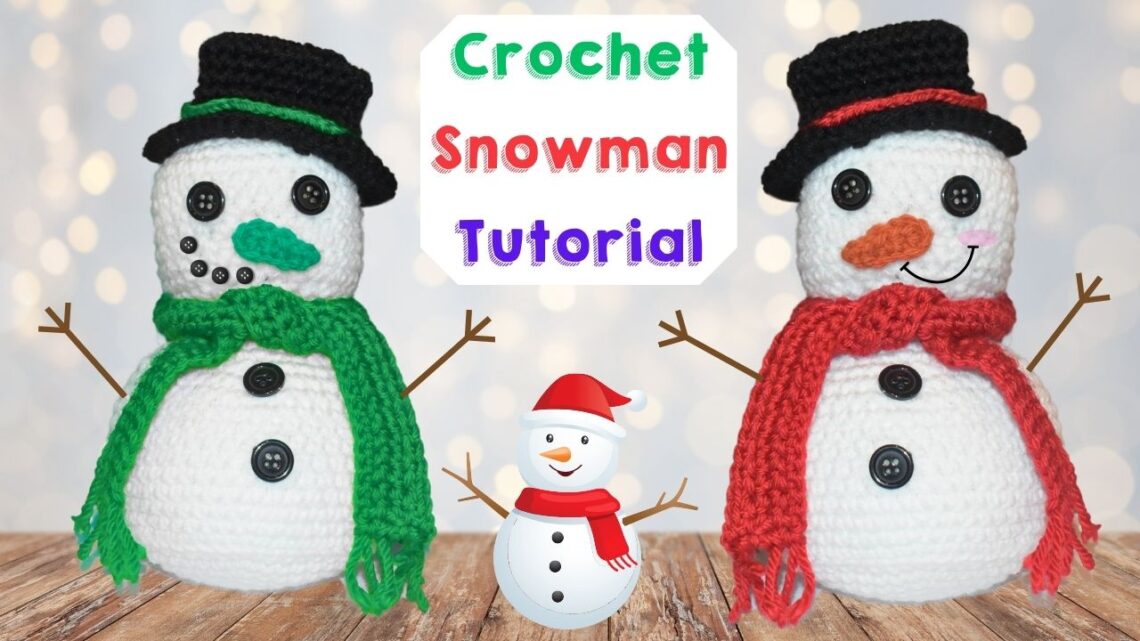
Crochet an Adorable Snowman with this Amigurumi Pattern
How to Crochet a Snowman
If you’re looking to crochet an adorable amigurumi snowman, you’ve come to the right place! In this tutorial, we’ll guide you through creating a charming snowman ornament for personal use or to give as little festive gifts. You can craft cute little snowmen that make incredible Christmas decorations using the provided free crochet patterns and video tutorial. This adorable crochet snowman pattern is perfect for creating a festive snowman amigurumi, ideal as a Christmas crochet project or a cute snowman ornament!
You’ll find affiliate links within this post. If you decide to purchase through these links, I may earn a modest commission at no extra cost. Additionally, please review my privacy policy for more details.
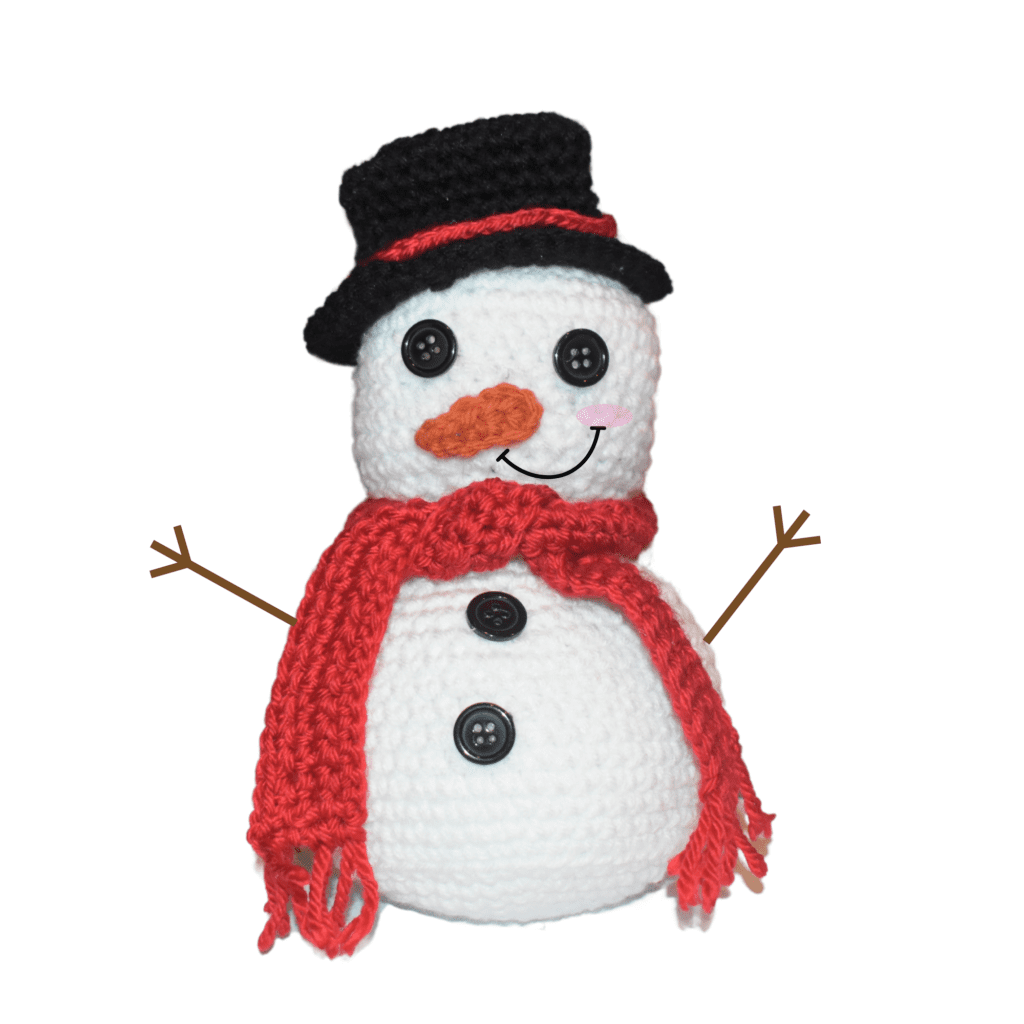
To start your project, you’ll need some essential materials like white yarn, black yarn, orange yarn, and a small amount of yarn in your choice of colors for the snowman’s accessories. Ensure you have a crochet hook with the appropriate mm hook size and some worsted-weight yarn, preferably worsted-weight cotton yarn, for a durable finish. You’ll also need a tapestry needle, yarn needle, stitch marker, and a pom-pom maker to create the snowman’s top hat.
Whether you’re a beginner or more experienced in crochet, these free snowman crochet patterns will guide you through creating your snowman ornament. For additional inspiration and ideas, check out our Facebook page and explore different projects that use various colors and styles to make these little guys unique. So grab your crochet hook, follow the video tutorial, and enjoy a fun and creative snow day with this free Christmas crochet pattern.
Click the Social Icons to Stay Connected
![]()
![]()
![]()
![]()

✨ We hope you enjoyed these photos! If so, please consider sharing them on Pinterest by clicking the Pin Button on each image. Your support helps us connect with more people and spread creativity. Thank you so much! 💖
Red Heart white, black, red yarn
– Safety eyes
– Crochet hook
– Tapestry needle
– Stitch marker
– Polyfill stuffing
G hook, Buttons
2sctog=2 single crochet together, decrease
Rnd 4: *sc in the next 2 stitches, 2 sc, rep from * around – 24 sts.
Rnd 5: *sc in the next 3 stitches, 2 sc, rep from * around – 30 sts.
Rnd 17: *sc in each of next 2 sts, Sc2tog, rep from * around – 18 sts.
BODY
Rnd 24: *sc in each of next 2 sts, Sc2tog, rep from * around – 18 sts. Fasten off.
HAT
Black yarn
Rnd 16: *sc in each of next 6 sts, 2 sc in next st, rep from * around – 48 sts. Fasten off.
SCARF
For the ends, place yarn at the ends of the scarf equally tie them on, and cut them evenly. As shown in the photo.
Next, you’ll work on the snowman’s body. Using the same white yarn, follow the pattern to crochet the different pieces for the body, including the cute little snowman’s scarf and winter accessories. Use single crochet and slip stitches to assemble the snowman’s body, keeping an eye on the type of yarn and colors you use for a festive touch.


You May Also Like
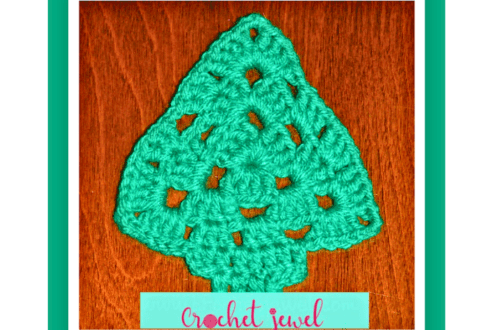
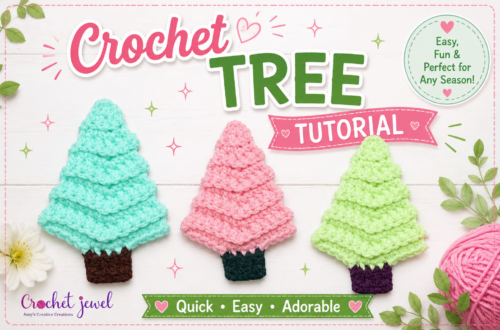
How to Crochet a Cute Christmas Tree Pattern
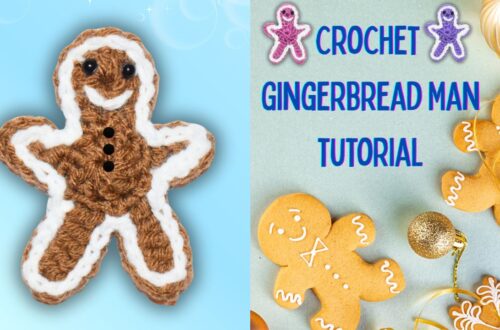
Cozy Christmas Craft: How to Crochet a Gingerbread Man