How to Crochet an I‑Cord Strap for a Pruse or Bag Tutorial
How to Crochet an I‑Cord Strap
Are you looking to add a personal touch to your crochet or market bags? Look no further! This free pattern tutorial will guide you through creating a beautiful i‑Cord strap for your crochet purse patterns and market bags. Whether you prefer cotton yarn for a solid color, acrylic yarns in bright colors, or even t‑shirt yarn for a boho bag, we’ve got you covered. With different hook sizes, stitch markers, and hook size adjustments, you can customize the strap to your liking and create a unique design that matches your style.
You’ll find affiliate links within this post. If you decide to purchase through these links, I may earn a modest commission at no extra cost. Additionally, please review my privacy policy for more details.
✨ We hope you enjoyed these photos! If so, please consider sharing them on Pinterest by clicking the Pin Button on each image. Your support helps us connect with more people and spread creativity. Thank you so much! 💖
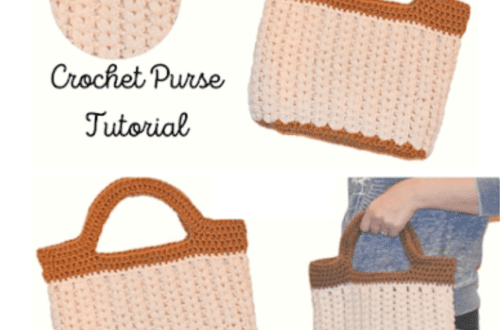
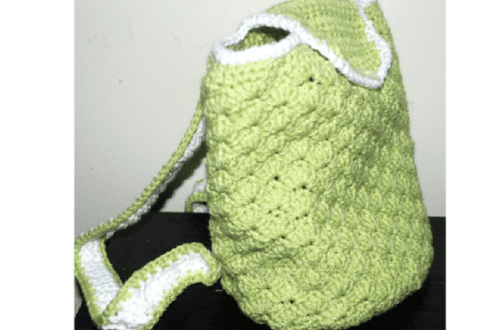
To start with this crochet purse pattern and market bags i‑Cord strap project, you’ll need basic crochet stitches, especially double crochet, single crochet stitches, and even the classic granny square bag design. We’ll walk you through the process, providing video tutorials for different techniques and styles. You can choose the perfect size and shape for your bag, whether for everyday use, a special gift, or even for the farmers’ market. Our collection of free crochet bag patterns offers a variety of options, from round beach bags to square grocery store totes.
When selecting the type of yarn for your strap, consider the season and your preferences. Cotton yarn is popular for summer bags, while acrylic yarns can offer a beautiful texture. On the other hand, T‑shirt yarn is an excellent option for a boho or modern crochet bag pattern. With the right combination of yarn and hook size, you can create a comfortable and durable strap for personal use.
How to Watch Videos in Slow Motion — if the video is too fast!
How to Crochet For Beginners Playlist — Click Here
Click the Links for Your Materials
All Colors of Yarn Click Here
- Crochet hook
- Tapestry needle
- Stitch marker
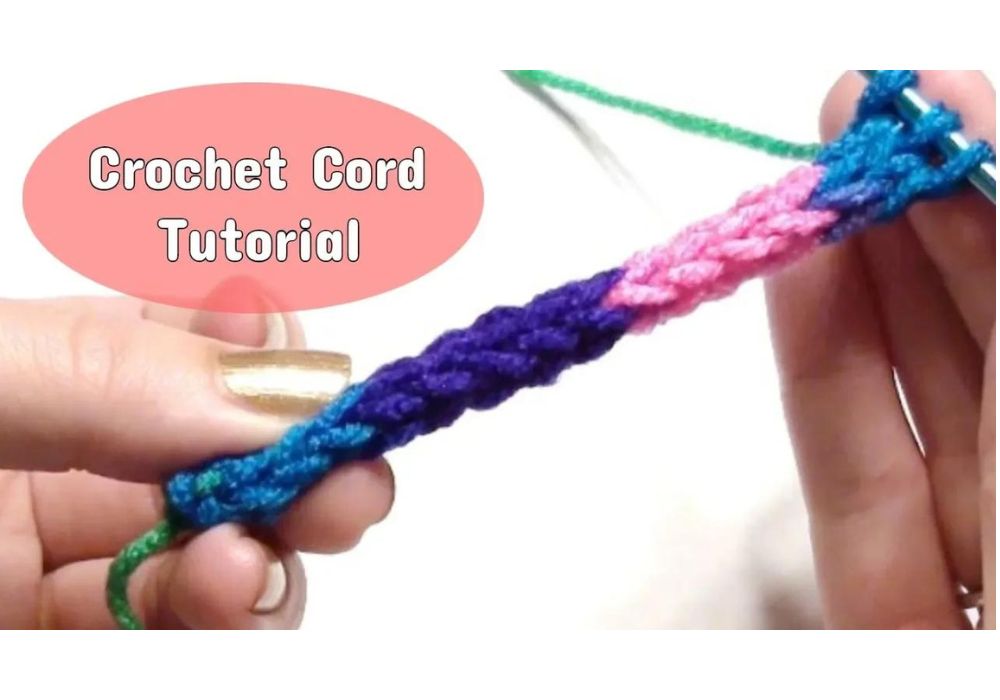
I will show you how to make a colorful cord using Red Heart multicolored yarn. You can use any yarn and hook to get started. To begin, create a slip knot on your hook and chain three by yarning over and pulling your yarn through.
Next, insert your hook into the second chain from the hook, draw up a loop, and then insert your hook again into the last chain and drop your loop. Ensure you hold on to the previous two loops to avoid losing them. Yarn over and pull through the first loop, then move to the next loop, insert your hook, grab the last loop, and yarn over and pull through. Finally, insert your hook into the last loop on your hook, yarn over, and pull through to complete the row for the cord.
You’ll continue repeating this pattern for the entire cord. Grab the two loops so you don’t lose them, pull through the first loop, insert your hook into those two, and the one loop you dropped, yarn over, and pull through that loop. Insert your hook in the last loop, yarn over, and pull through to repeat the process. Remember to drop those two loops again and hold on to them.
To finish, yarn over and pull through all three loops. Yarn over for a chain one, cut your yarn, weave in your ends, and your cord is complete. Thank you for watching, and please consider subscribing for more tutorials.
Print the entry at the top of the page to print the pattern!
How to Crochet Cowls and Scarf Patterns — Click Here


