Creating Stunning Crochet Dresses: Step-by-Step Instructions
How to Crochet Dresses!
Crochet enthusiasts and fashion-forward individuals prepare to embark on a creative journey through the world of exquisite crochet dress patterns. This comprehensive guide will explore a captivating array of free crochet dress patterns perfect for all seasons, occasions, and body types. From the timeless elegance of crochet wedding dresses to breezy beach dresses for warmer months, you’ll discover the perfect dress pattern to complement your style.
Within this post, you’ll find affiliate links. If you decide to purchase through these links, I may earn a modest commission at no extra cost. Additionally, please review my privacy policy for more details.
Please provide a link to my blog if you’d like to share my content. However, I kindly request that you refrain from copying and posting my patterns on your website. You are welcome to sell any items you create using my patterns, but please refrain from selling the patterns themselves, as they are offered for free. Thank you for your understanding and support!
*Free Crochet Dress Patterns*: Our collection showcases a curated selection of free crochet dress patterns that cater to various tastes and preferences. Whether you’re a seasoned crocheter or just starting, you’ll find a pattern that suits your skill level and allows you to craft a beautiful dress confidently.
*Variety of Styles*: With many crochet dress styles, including long-sleeved wonders for special occasions, relaxed-fit summer dresses, and versatile mini dresses, you can crochet a dress for every season and occasion.
*Timeless Elegance*: Crochet wedding dresses exude timeless elegance and are perfect for creating a unique and unforgettable wedding day ensemble. Our patterns provide detailed instructions for crocheting these beautiful dresses.
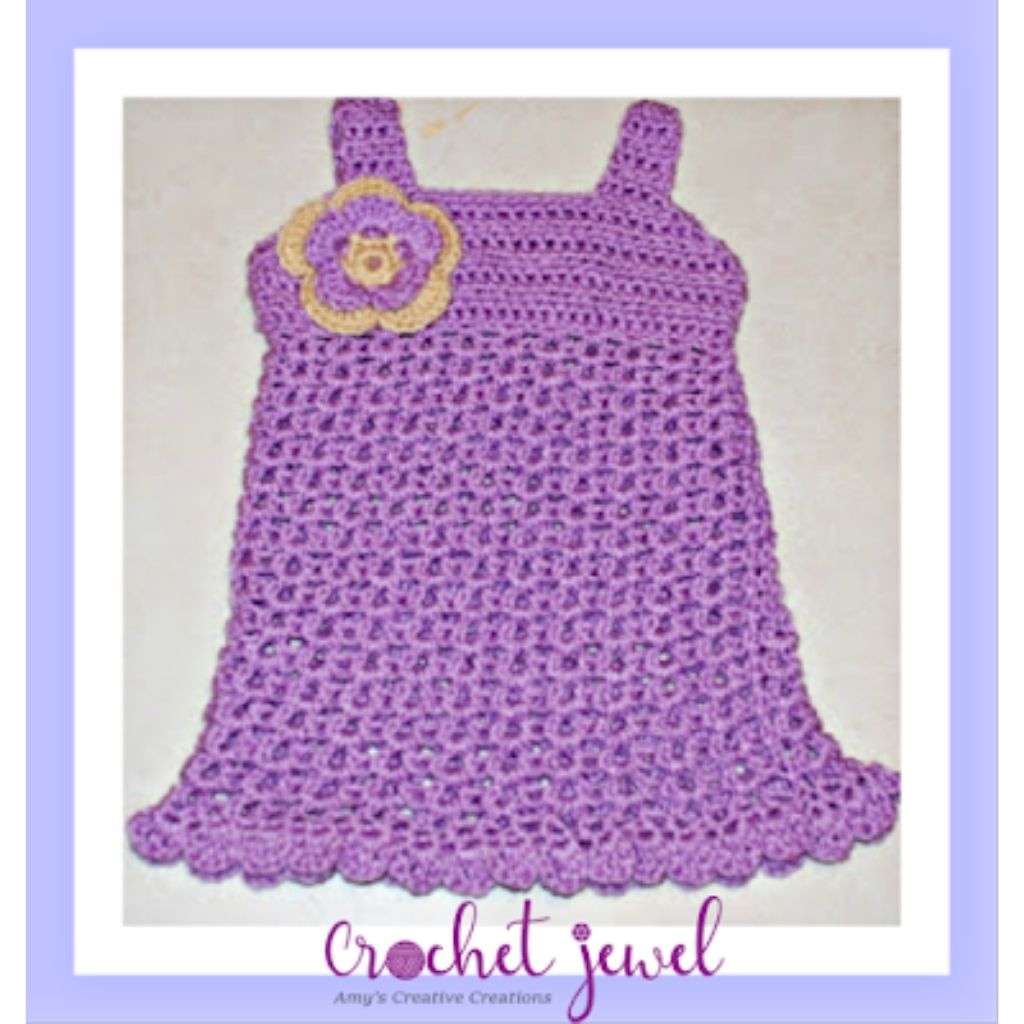
*Granny Square Dresses*: Our collection transforms The classic granny square into a chic design element, adding a unique look to your dress. These square necklines and open-back designs are sure to make you stand out.
*For Every Body Type*: Our crochet dress patterns are designed to flatter every body type, ensuring you can create a perfect fit that complements your unique shape.
✨ We hope you enjoyed these photos! If so, please consider sharing them on Pinterest by clicking the Pin Button on each image. Your support helps us connect with more people and spread creativity. Thank you so much! 💖
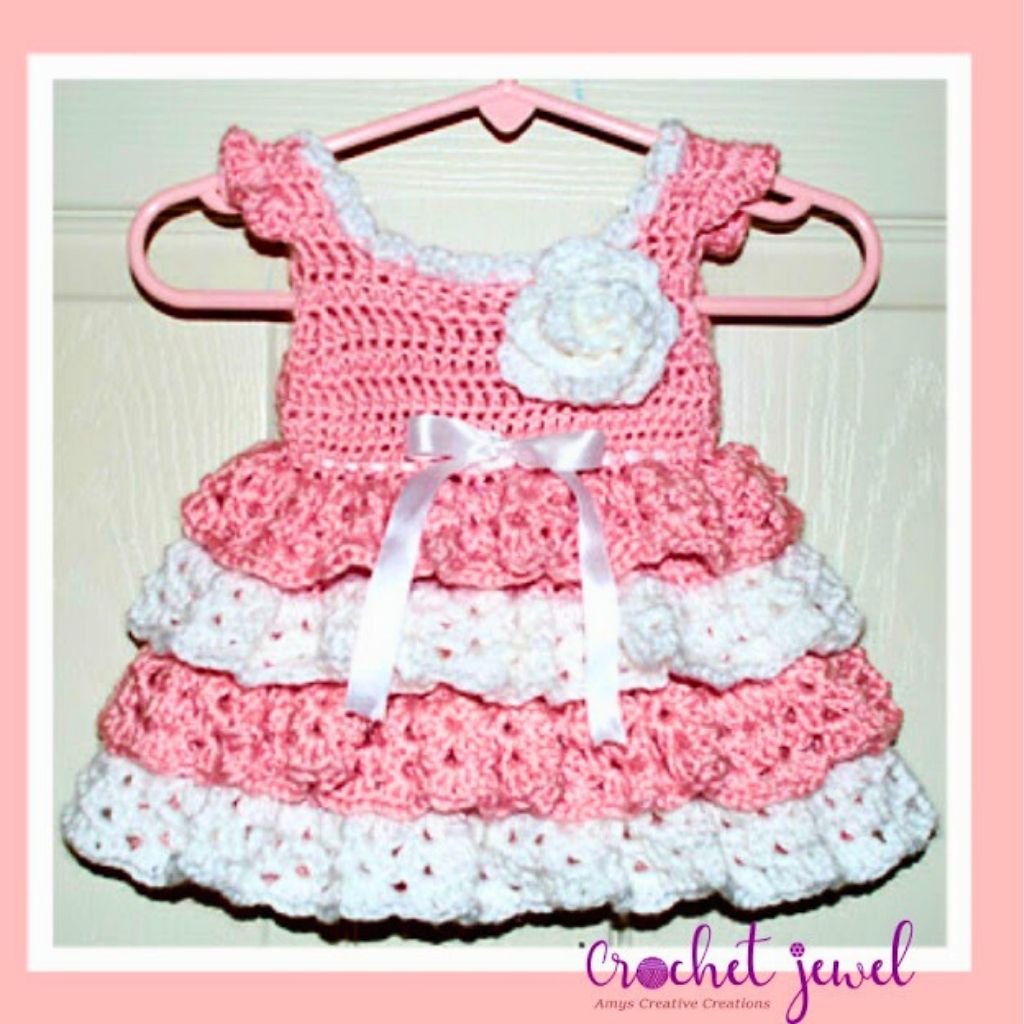
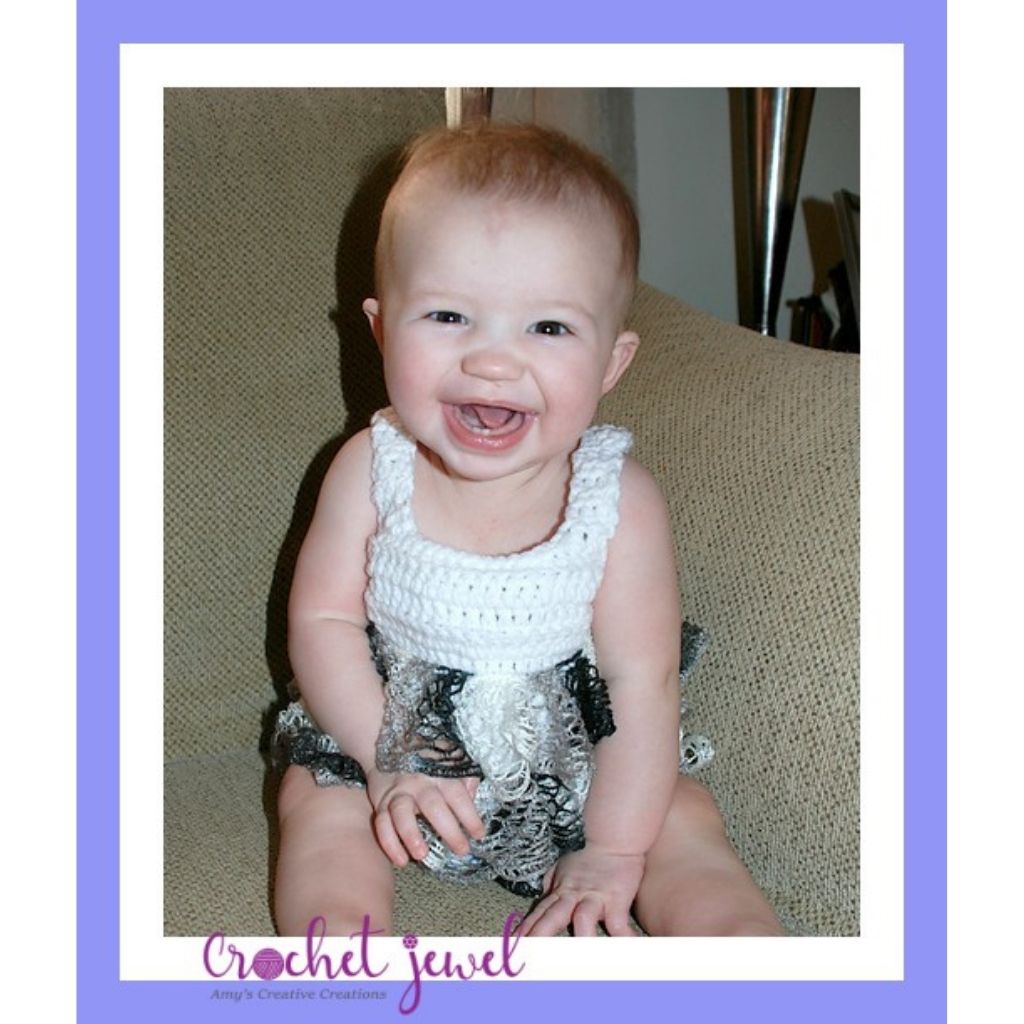
I love how babies look when they wear homemade dresses. I was inspired to make this dress when my daughter was a baby. I hope you enjoy it as much as I enjoyed creating it. This pattern is probably one of my favorites! If you’re a crocheter looking to make a Baby Girl’s dress, this tutorial is for you! In this video, you’ll learn how to crochet a simple, elegant dress perfect for your little princess.
This crochet Baby Girl’s dress is easy to follow and fits the bill as one of the most important dresses you’ll ever make. Once you’ve mastered this tutorial, you can crochet any dress your little heart desires!
Ribbon, I used 1-inch thick ribbon
Click the Links for Your Materials
Round 1: Use the K hook, Sl st into the bottom of Row 1 at the back of the top part of the dress. Ch 1, dc in each stitch around. st st Now turn the dress inside out so all the sewn seams are underneath.(Now you will work in rounds) Take Ribbon, go in and out of every other Dc, and create a bow in the front part of the dress.
Rnds 3-13: Ch 2, dc in each back loop around, sl st, Repeat 11 times. Fasten off.
Skip Two Rounds of back loops. Slip Stitch into the 3rd rounds of back loops.
Rnd 3: sl st into the chain 2 of the v-stitch, Ch 3(counts as first dc) work a dc, ch 1, 2 dc (v-stitch in the chain 2) **work 2 dc, ch 1, 2 dc in the next chain 2 space, *Repeat around, sl st (same except just a chain 1) Fasten off. Skip two Rounds of back loops, sl st in the 3rd round.
Print the Entry on the top of the page to print the pattern!
fasten off and attach to dress. weave in the ends, your dress should be around 14-15 inches long in length.
Sashay yarn black and white, 1 ball for the toddler size.
Row 10. ch 1. dc in the regular loops and each stitch across, turn -35dc
Then to do the next strap, slip stitch on the beginning of the opposite side of the other strap,
I put the two pieces together but with the back loops sides facing inward, I want to sew the sides together then turn it inside out, then the back loops will be facing outward after you sew it and turn it inside out. You will need the back loops to sew in the Sashay yarn in the back loops.
Crochet Dress Patterns for All Seasons*: Our free crochet dress patterns cover the full spectrum of seasons. Whether you’re crafting a stunning wedding dress, an airy summer mini dress, or a cozy crochet sweater dress with long sleeves for cooler days, our patterns offer a great choice for every climate. With step-by-step instructions, even beginners can create a lovely dress that fits their body type perfectly.
*Privacy and Security*: We understand the importance of your privacy. Our website employs powerful tools to safeguard your user data, ensuring your browsing experience is secure and private. You can explore our free crochet dress patterns with peace of mind, knowing your privacy is a top priority. With a wide selection of gorgeous crochet dress patterns, our website is the ideal global marketplace for crocheters to find and create their beautiful designs, whether a sleeveless dress for everyday wear or a vintage-inspired crochet dress for special occasions. The diverse range of patterns, available in various styles, from classic to modern, ensures everyone can discover the perfect dress pattern that suits their body shape and skill level.
As a renewable electricity commitment website, we strive to provide a sustainable online platform for crocheters to access beautiful designs. With comfortable fits, lightweight materials, and a unique look in every pattern, crochet dresses are a great addition to your wardrobe. So, choose your favorite design and stitch pattern, and let your creativity shine as you crochet your stunning dresses.
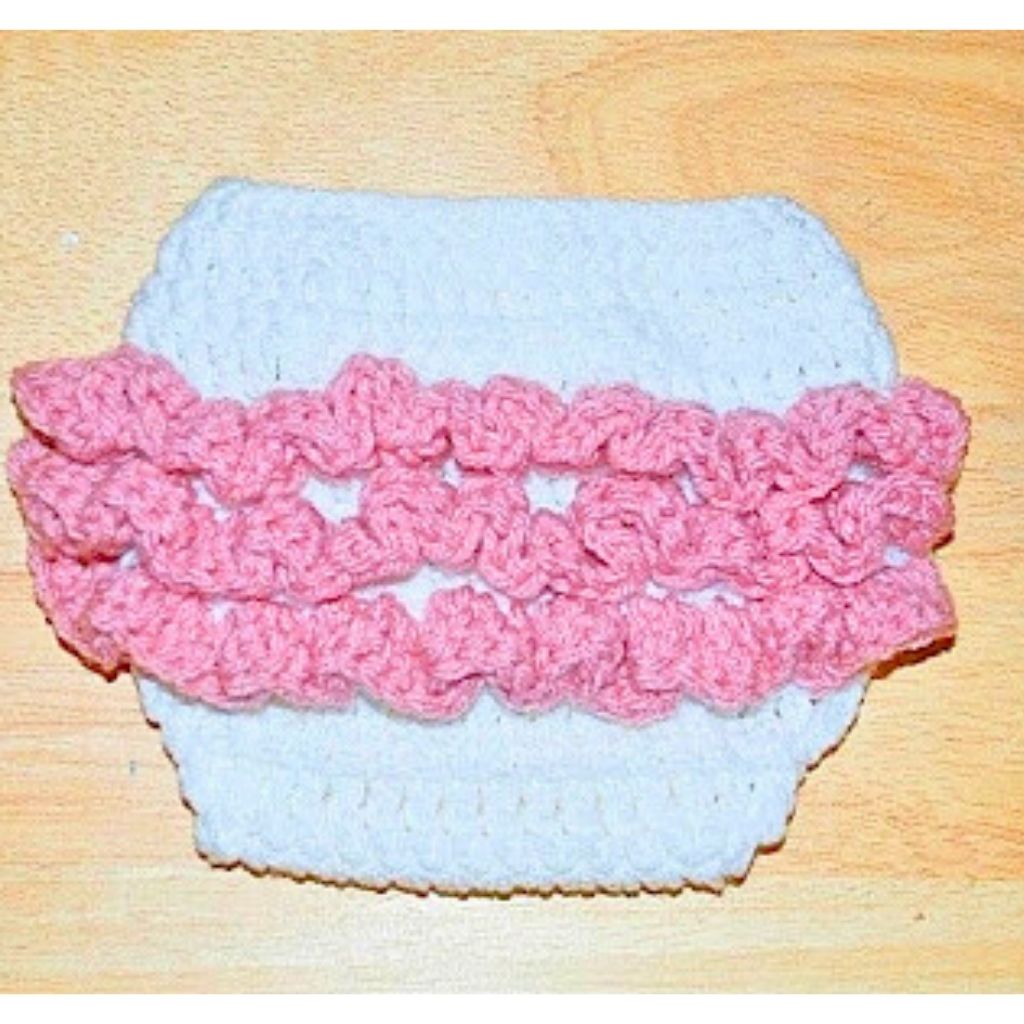
Click Here for a Crochet Diaper Cover Pattern
In conclusion, crochet dress patterns offer a world of creativity and fashion. With various styles, skill levels, and body types in mind, you can crochet a wardrobe of beautiful dresses that suit your unique style. Our commitment to privacy and data security ensures you can explore our website with peace of mind. Step into the world of crochet fashion and make every day a stylish and comfortable one with our beautiful designs. So, pick up your crochet hook and let your creativity shine as you craft stunning crochet dresses. Your unique handmade pieces will not only elevate your wardrobe but also reflect your style and skill. Browse our collection of crochet dress patterns and embark on a crochet journey that promises endless beauty, fashion, and creativity.
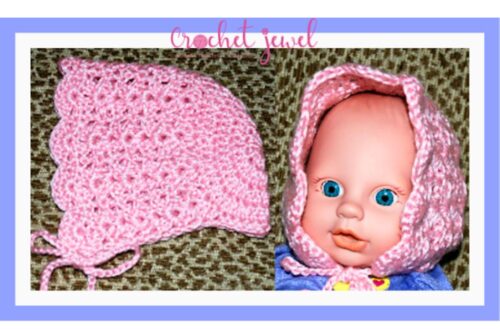
To Find All My Crochet Jewel Patterns, Click Here

Click Here for My Ravelry Patterns


Crochet Hats for Beginners Book For Sale – Click Here

Crochet For Beginners Book for Sale – Click Here


8 Comments
otomobil
Your site is very nice, I will visit again as soon as possible.
bitcoin
Hello, I liked your site very much, I will visit your site again.
lastik basıncı
Hello, I liked your site very much, I will visit your site again.
fragmanlar
I liked your site very much. I will definitely come and visit it again.
lastik ebatları
Hello, I liked your site very much, I will visit your site again.
rüya tabirleri
I liked your site very much. I will definitely come and visit it again.
hava basıncı
Hello, I liked your site very much, I will visit your site again.
sohbet sitesi
I liked your site very much, I will visit it again.