A Step-by-Step Tutorial: Creating Crocheted Coasters Using the Jasmine Stitch
How to Crochet a Jasmine Coaster
Crochet enthusiasts, are you ready to embark on a fun and creative project? In this article, we’ll explore the captivating world of crochet, focusing on making charming coasters using the Jasmine Stitch. These crochet coasters are functional and aesthetically pleasing, making them a perfect addition to your home decor. Whether you’re a beginner looking for an easy crochet project or an advanced crocheter seeking a new, exciting pattern, this “Crochet Jasmine Stitch Coaster” is a must-try. Let’s dive into this incredible journey of crochet and create something beautiful.
You’ll find affiliate links within this post. If you decide to purchase through these links, I may earn a modest commission at no extra cost. Additionally, please review my privacy policy for more details.
✨ We hope you enjoyed these photos! If so, please consider sharing them on Pinterest by clicking the Pin Button on each image. Your support helps us connect with more people and spread creativity. Thank you so much! 💖
– *Materials Needed:*
Click the Links for Your Materials
– Crochet hook
– Tapestry needle
– Stitch marker
Cotton yarn: For a unique look, choose your favorite cotton blend or worsted weight yarn in different colors.
– Stitch marker: Helps you keep track of your stitches.
– Tapestry needle or yarn needle for weaving in ends.
– *Getting Started:*
To begin with, we’ll use a magic ring, also known as a magic circle, to create the center of the coaster.
– Work in US crochet terms for this free crochet pattern.
– *Stitching the Jasmine Stitch:*
– The Jasmine Stitch combines basic crochet stitches like single crochet (sc), double crochet (dc), and slip stitch (sl st) to create a textured and unique design.
– This stitch is a great way to add a special touch to your coasters.
– *Creating the Coaster:*
– Start by working your stitches into the magic ring.
– Follow the written pattern or use the provided photo tutorial for a guided video tutorial to help you through the process.
– Repeat the row until you reach the desired size for your coaster. You can make a set of coasters in different colors to match your decor.
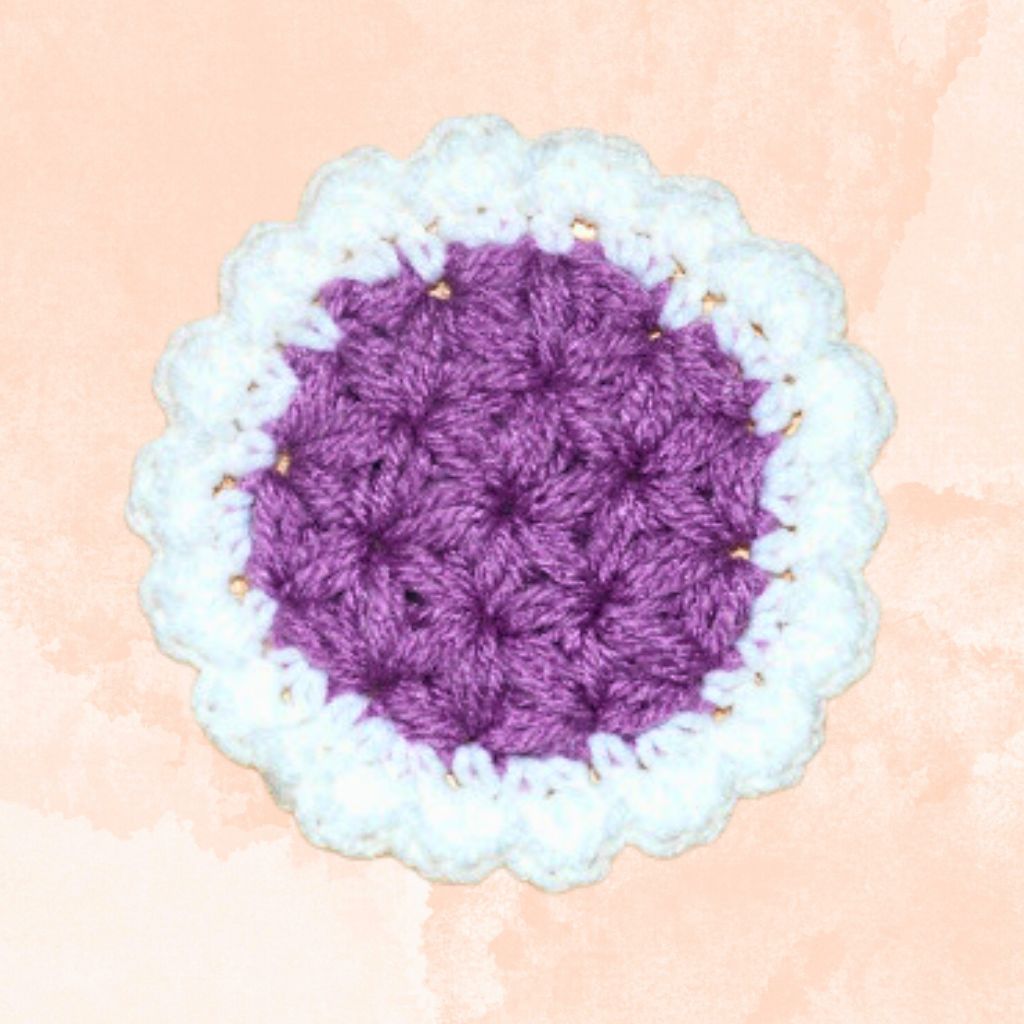
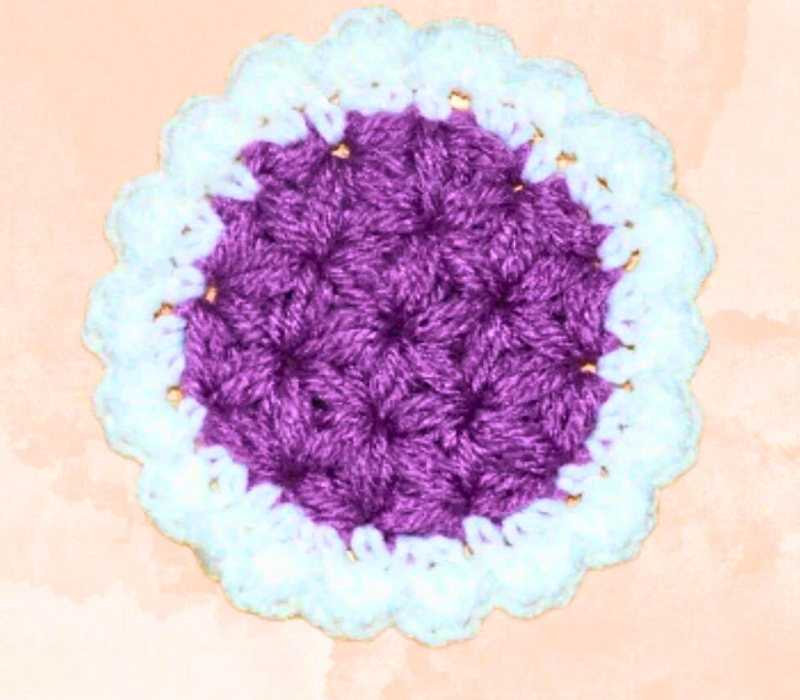
The Jasmine Stitch is such a pretty stitch when it’s finished. It is more of an advanced type of stitch, so I created a video to follow along with if you need assistance. I made this pretty coaster with Redheart Purple and White yarn and an H hook. If you add the shell border, this coaster measures about 4.5 inches wide. If you would like to make it bigger, I would suggest a larger hook and thicker yarn. I hope you enjoy it!
H hook
Print the Entry on the top of the page to print the pattern!
Click Here for Crochet Coaster Patterns
– *Finishing Touches:*
– Weave in the ends using your yarn needle, and your coasters are ready to use or gift.
– *Versatile and Fun:*
– These crochet coasters are a perfect project for beginner crocheters as they involve simple stitches and a basic pattern.
– For the more advanced crocheter, they offer an opportunity to experiment with different colors and create a unique set of round coasters.
– They also make great gifts for family and friends, adding a personal touch to your presents.
In conclusion, the “Crochet Jasmine Stitch Coaster” is a perfect way to hone your crochet skills, whether you’re a beginner or an advanced crocheter. The Jasmine Stitch, when worked in different colors and combined with basic crochet stitches, creates a beautiful and textured design. These coasters are not only functional but also add a unique touch to your home decor. You can make them for personal use or as thoughtful gifts for loved ones. So, grab your crochet hook, and your favorite yarn, and embark on your crochet journey to create these charming and easy crochet coasters. Happy crocheting!
To Find All My Crochet Jewel Patterns, Click Here

Click Here for My Ravelry Patterns


Crochet Hats for Beginners Book For Sale – Click Here

Crochet For Beginners Book for Sale – Click Here


You May Also Like
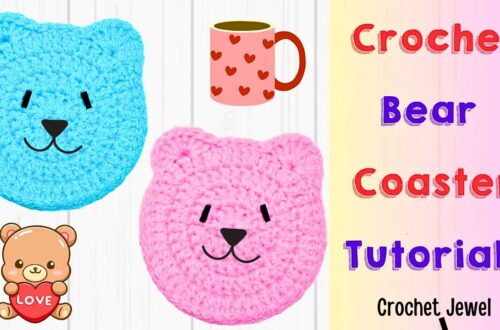
Easy Crochet Bear Coaster: Perfect for Beginners!
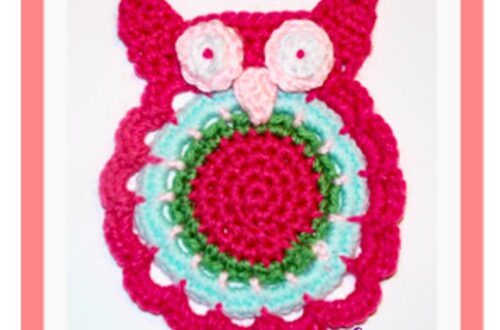
Crochet an Adorable Owl Coaster: A Complete DIY Guide