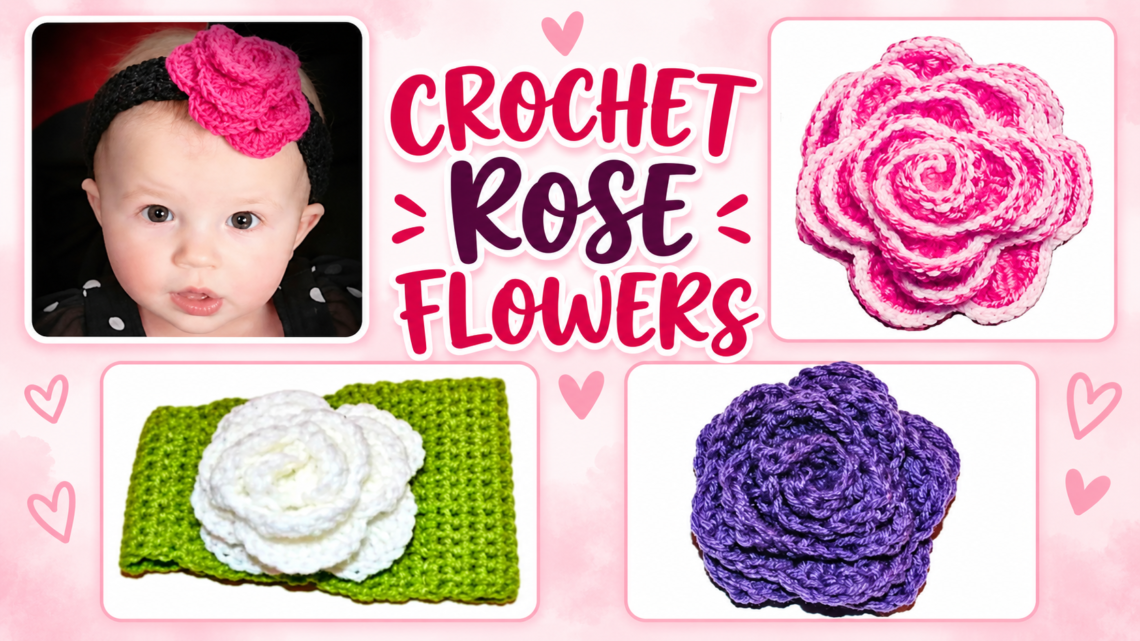
Creating Stunning Crochet Rose Flower Patterns
How to Crochet a Rose Flower
Crocheting is a versatile and enjoyable craft that allows you to create beautiful and intricate items, from cozy ear warmers to delicate home decor. This tutorial will guide you through creating a lovely crochet rose flower using basic stitches and techniques. Whether you’re a crochet enthusiast or just getting started, this easy crochet flower pattern is the perfect project to hone your skills and add a touch of handmade charm to your creations.
You’ll find affiliate links within this post. If you decide to purchase through these links, I may earn a modest commission at no extra cost. Additionally, please review my privacy policy for more details.
Materials You’ll Need
Before diving into the step-by-step instructions, gather the following materials:
- Yarn: Choose different colors and types of yarn to create a variety of looks. Cotton yarn gives a natural appearance, while acrylic yarn offers bright, vibrant colors. Worsted-weight yarn is a great choice for beginners.
- Crochet Hook: A 4 mm crochet hook is recommended, but you can adjust the hook size to create larger or smaller flowers.
- Scissors: For cutting the yarn.
- Tapestry Needle: For weaving in yarn ends and assembling your flower.
Getting Started with the Magic Ring
The magic ring is a great way to begin crochet projects that have a center point. It creates a neat, seamless center and can be tightened to close the opening.
Building Your Rose Flower
Continue crocheting the petals around the magic ring, arranging them so they overlap slightly to create a beautiful layered effect. Experiment with the number of petals, colors, and flower sizes to create different patterns and styles.
Finishing Your Crochet Rose
Once you’ve completed your desired number of petals, finish the flower by slip-stitching into the starting chain space. Fasten off and use the tapestry needle to weave in any loose ends.
Perfect for Embellishments
These small crochet flowers make wonderful embellishments for a variety of projects. Add them to crochet hats, scarves, bags, blankets, or home décor items such as coasters and coffee table runners. They’re a simple way to add a charming handmade touch to almost anything!
✨ We hope you enjoyed these photos! If so, please consider sharing them on Pinterest by clicking the Pin Button on each image. Your support helps us connect with more people and spread creativity. Thank you so much! 💖
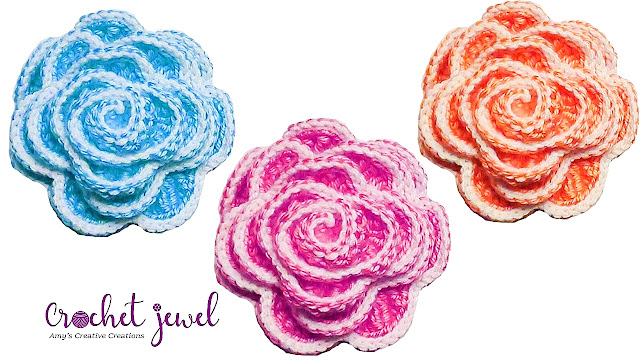
Create this pretty crochet flower for a hat or bag! This layered flower was created with a G hook and medium worsted yarn. It coils into a rosette-layered flower when finished. In this crochet rose flower tutorial, we’ll be making a petal-like flower out of crochet. This flower is the perfect project for beginners who want to learn how to crochet, and it’s easy to follow so you’ll be able to make it in no time!
This crochet rose flower tutorial is a great way to learn how to make a petal-like flower out of crochet. With just a few simple steps, you can create a beautiful flower that you can wear or exhibit in your home. So dive in and learn how to make a crochet rose flower today!
Abbreviations:
sc=single crochet
dc=double crochet
tr=treble crochet
hdc=half double crochet
sl st=single crochet
Supplies:
Click the Links for Your Materials
– Crochet hook
– Tapestry needle
– Stitch marker
Medium Worsted yarn
G hook
Chain 132
Row 1: sc in the second chain from the hook, and sc in each chain across
Row 2: *chain 5, skip 4 sc, sl st in the next sc, *Repeat across,
Row 3: *In the chain 5 space, sc, hdc, dc, 3 tr, skip two sc, tr in the 3rd sc, in the space next to the tr, work 3 tr, dc, hdc, sc, (all in the chain 5 space to create a petal.)
*Repeat across, – 26 petals made ch 1, fasten off
Row 4: *sl st with white yarn, in the sc of the first petal, sl st in each stitch around each petal, *Repeat across, ch 1, fasten off.
Print the entry at the top of the page to print the pattern!
Click Here for Crochet Flower Patterns
Second Crochet Flower Tutorial
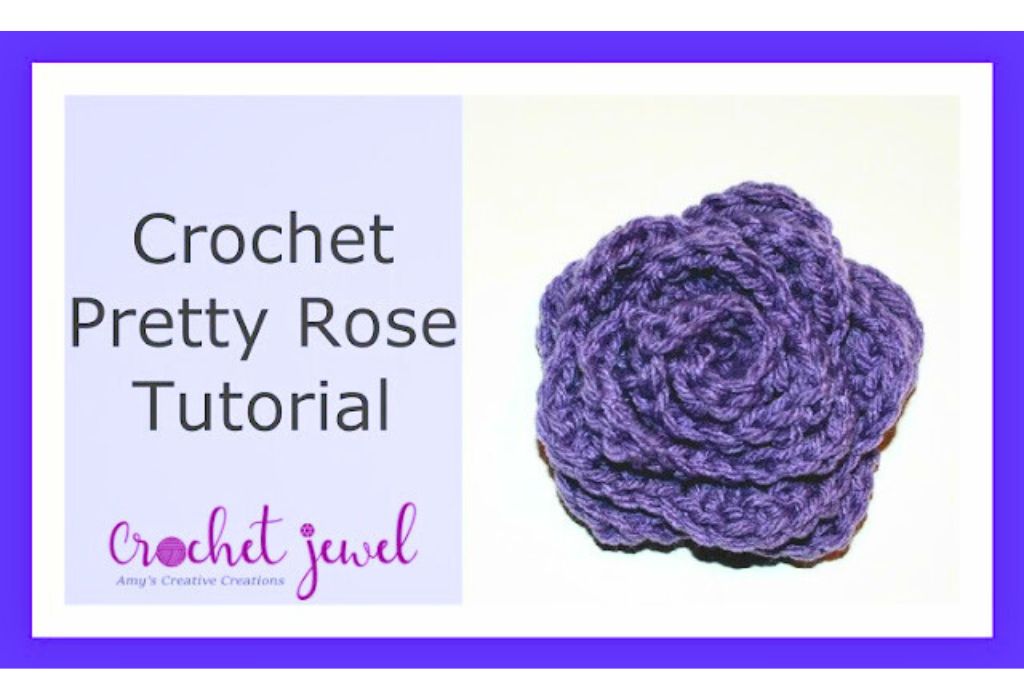
Red Heart Sparkle Purple yarn was used.
Now take the beginning and coil the rows together to create a rose, as seen in the above picture.
Third Crochet Flower Tutorial
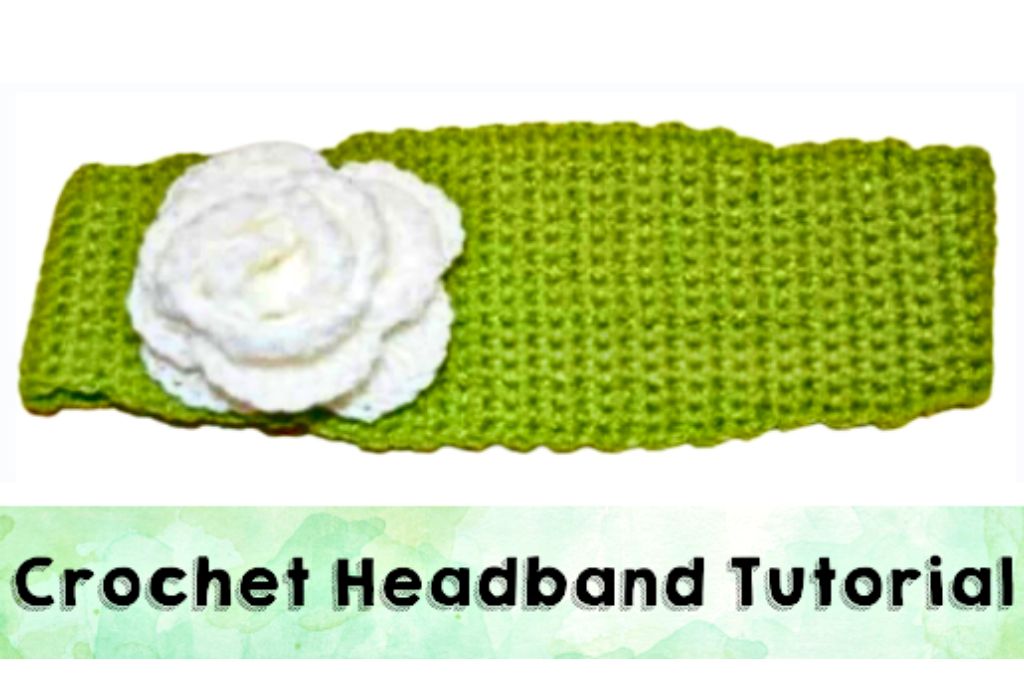
Starting at that end, roll the first shell tightly to form the center bud: anchor at the base of the shell with 2 sts. Roll the remaining strip to form Rosette. Then secure by stitching in and out through layers of foundation ch at the bottom of the Rosette. Then secure it onto the headband with yarn or hot glue.
Fourth Flower Tutorial
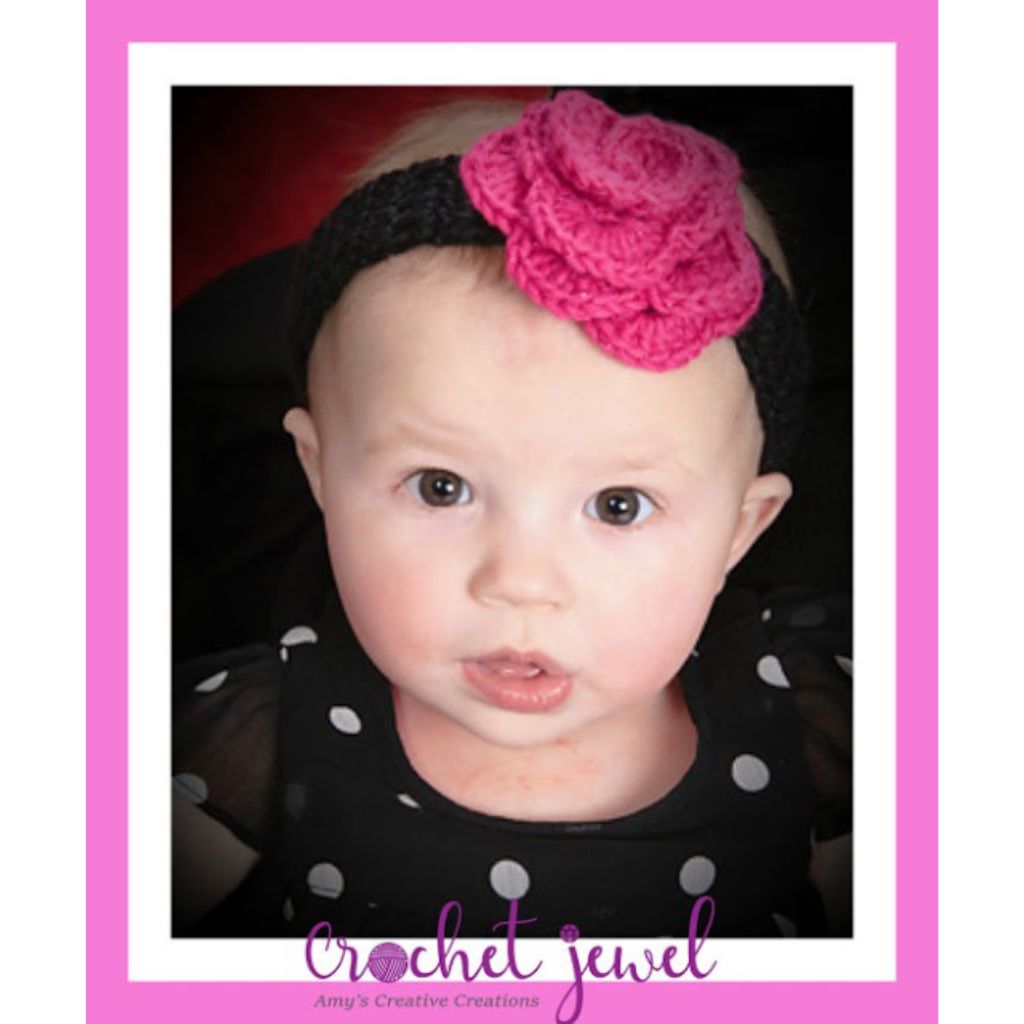
Crocheting beautiful rose flowers can be a fun way to explore your crochet skills and add a touch of charm to your creations. You can experiment with different colors, yarn types, and sizes to make smaller or larger flowers. Whether you’re a seasoned crocheter or a beginner, this free pattern and video tutorial will guide you through the process step by step. Don’t forget to join our social media or Facebook group to share your crochet projects and discover more crochet patterns and tips. Plus, if you use our affiliate links, you can support us at no extra cost while indulging in your favorite yarn. So, please pick up your crochet hook, your favorite yarn, and let’s create some beautiful crochet flowers!
To Find All My Crochet Jewel Patterns, Click Here
Click Here for My Ravelry Patterns
Crochet Hats for Beginners Book For Sale – Click Here


You May Also Like
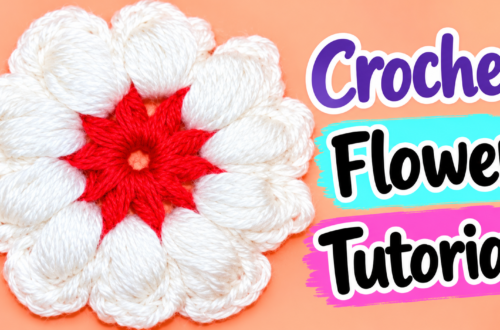
Crochet a Beautiful Flower Pattern: Step-by-Step Tutorial

Beginner Crochet Flowers for Hair & Bags