Step-by-Step Guide: Decoupage a Christmas Cookie Plate
Decoupage a Christmas Cookie Plate
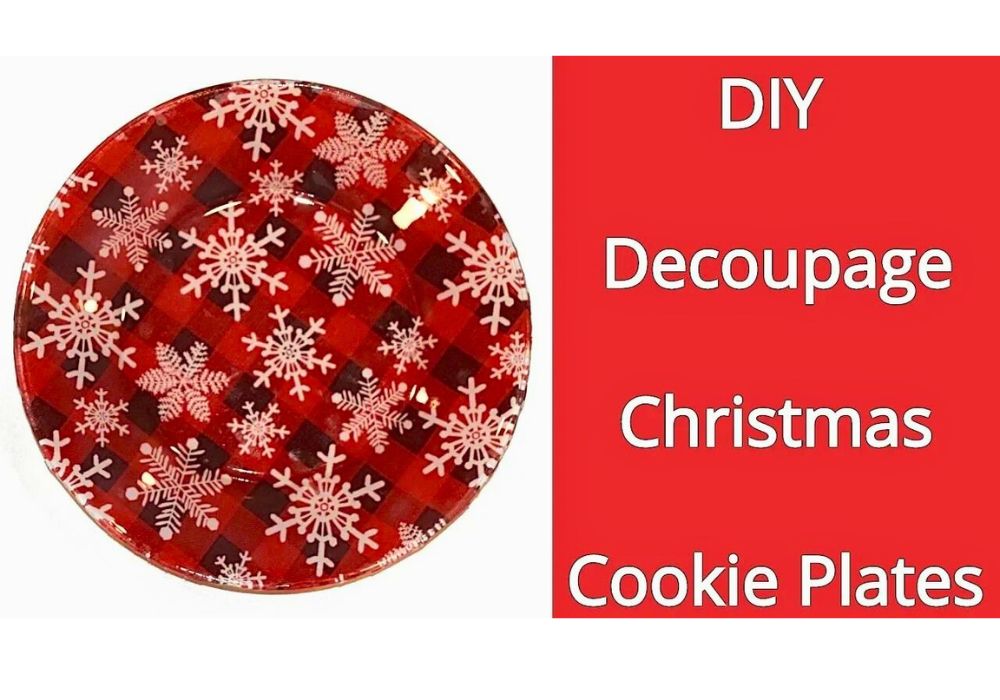
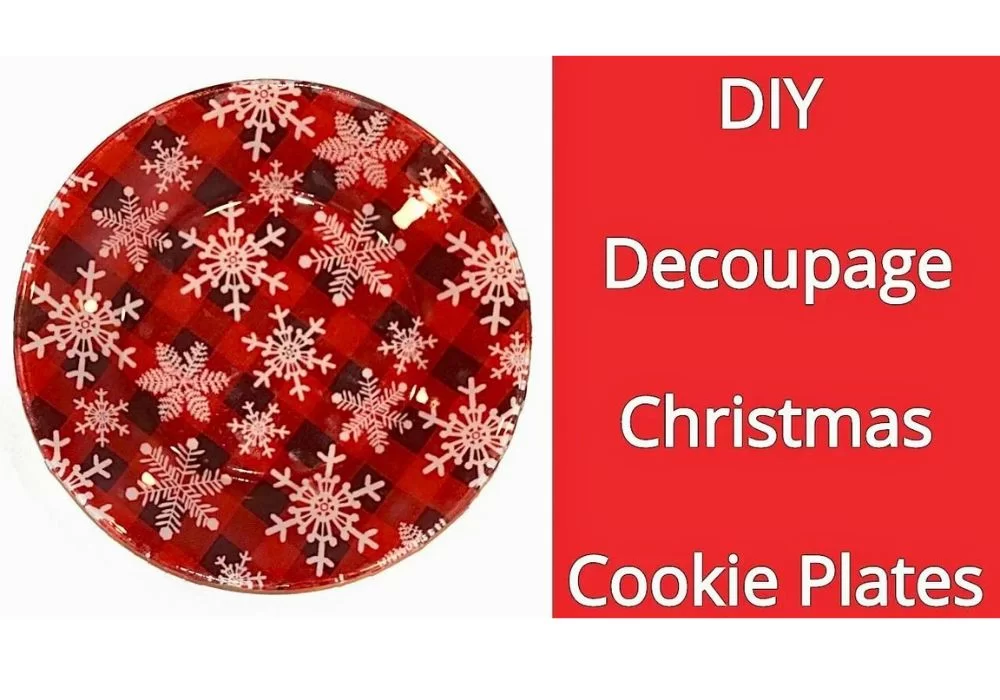
Decorating a Christmas cookie plate is a fun and creative way to add a personal touch to your holiday celebrations. This DIY guide will show you how to decoupage a Christmas cookie plate using simple techniques. With just a few materials and a dash of holiday spirit, you can create a stunning and unique piece that will be the perfect addition to your festive gatherings.
Within this post, you’ll find affiliate links. If you decide to purchase through these links, I may earn a modest commission at no extra cost. Additionally, please review my privacy policy for more details.
✨ We hope you enjoyed these photos! If so, please consider sharing them on Pinterest by clicking the Pin Button on each image. Your support helps us connect with more people and spread creativity. Thank you so much! 💖
Gather Your Materials**
To get started with your DIY Christmas craft project, collect the following materials:
– A plain ceramic or glass cookie plate
– Assorted holiday-themed decoupage paper or napkins
– Mod Podge or decoupage glue
– Foam brush or paintbrush
– Scissors
– A small bowl of water
Choose Your Design**
Select the holiday-themed decoupage paper or napkins you’d like to use for your Christmas cookie plate. These can feature classic Christmas images like snowflakes, ornaments, or jolly Santa Claus. Be creative and choose a design that suits your style.
Prepare Your Plate**
Clean and dry your cookie plate thoroughly to ensure it’s free of dust or debris. This will help the decoupage process go smoothly.
Cut and Arrange**
Carefully cut out the holiday designs from the decoupage paper or napkins. Arrange them on your plate to create the desired layout. You can layer the designs for a more textured look.
Decoupage Your Plate**
Using the foam brush or paintbrush, apply a thin Mod Podge or decoupage glue to the back of one of your cut-out designs. Press it onto the plate, smoothing out any wrinkles or air bubbles. Continue working one piece until the entire plate is covered with your chosen designs.
Print the Entry on the top of the page to print the pattern!
Seal the Design**
After you’ve applied all the decoupage pieces and they’re dry, apply another layer of Mod Podge or decoupage glue over the entire plate surface. This will seal the designs and give your plate a glossy finish. Let it dry completely.
Finishing Touches**
To make your Christmas cookie plate memorable, add a few coats of decoupage glue to the back for extra protection. This will help preserve your design, making it safe for serving cookies.

Now that you’ve learned how to decoupage a Christmas cookie plate for your DIY Christmas crafts, you’re ready to impress your family and friends with your handmade creations. Your festive and unique cookie plate will be the perfect addition to your holiday celebrations, making every cookie you serve even more special. Get creative and enjoy the process of crafting a beautiful and memorable piece for your holiday gatherings.
Click Here For More Christmas Patterns
To Find All My Crochet Jewel Patterns, Click Here

Click Here for My Ravelry Patterns


Crochet Hats for Beginners Book For Sale – Click Here

Crochet For Beginners Book for Sale – Click Here


You May Also Like

How to Create a DIY Tool Mesh Wreath Tutorial
How to Make a DIY Yarn Adorable Teddy Bear Tutorial
