How to Hand Embroider a Flower Using a Fork Hack
How to Make a Flower with a Fork
Hand embroidering beautiful flowers can be a fun and creative way to embellish various projects, from crochet hats and ear warmers to home decor. In this tutorial, we’ll show you a fantastic technique to hand embroider a flower using a simple fork hack. This easy crochet flower pattern is a perfect embellishment for your crochet projects, and it can be completed in just a couple of minutes. With step-by-step photo instructions, a written pattern, and a video tutorial, you’ll have all the guidance you need to create stunning crochet flowers. This project is designed for crafters of all skill levels, making it a great way to add a touch of beauty to your creations. So, grab cotton, acrylic, or worsted-weight yarn in your favorite colors, and let’s start this crochet adventure!
You’ll find affiliate links within this post. If you decide to purchase through these links, I may earn a modest commission at no extra cost. Additionally, please review my privacy policy for more details.
✨ We hope you enjoyed these photos! If so, please consider sharing them on Pinterest by clicking the Pin Button on each image. Your support helps us connect with more people and spread creativity. Thank you so much! 💖
How to Crochet For Beginners Playlist – Click Here
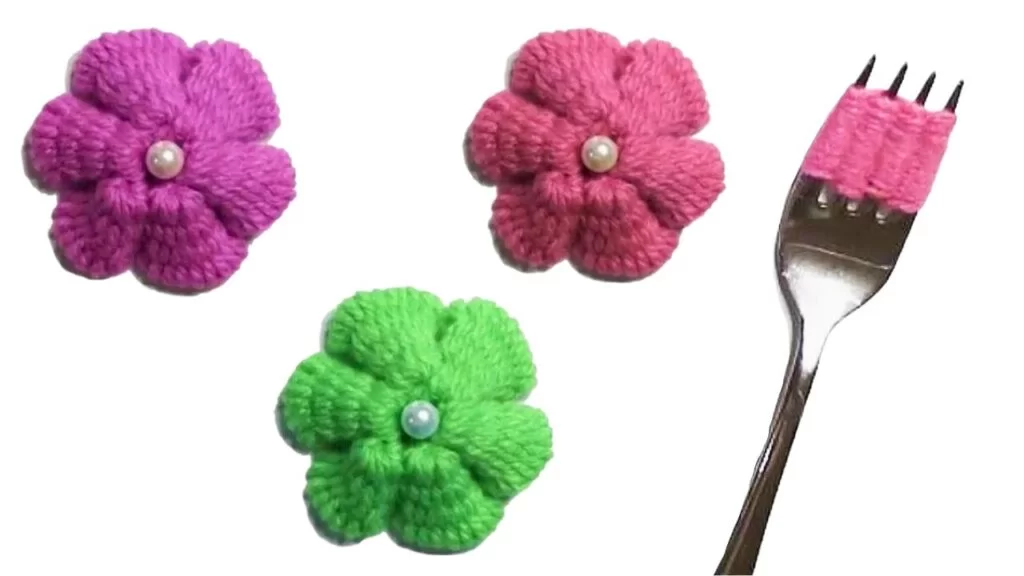
In this tutorial from Crochet Jewel, you’ll learn how to create a beautiful flower using a fork and yarn. The yarn used here is baby yarn, size three. Let’s start by following these steps:
1. Wrap your yarn around the front of your fork and insert it into the first prong.
2. Continue by weaving the yarn back and forth on the fork. Repeat this process until you have about 12 to 15 strands on each row.
3. Now, thread your yarn needle. Pull the needle through the first row of strands of yarn and tie the tail together with a strand of yarn. Trim any excess yarn with scissors.
4. Move to the opposite side and down the third row with your yarn needle. Pull it through.
5. pull the yarn needle down the last row several times until you reach the end.
6. Return to the beginning of the last row and pull the yarn through. Remove all the yarn from the fork.
7. Secure the bottom of the petal by weaving the yarn in and out using your yarn needle. This completes the first petal.
8. Repeat these steps to create the next five petals for your flower.
9. Attach the petals using your yarn needle, securing the ends together. You can cut off any excess tails after doing this.
10. Tighten the center of the flower by using your yarn needle on the tail and pulling it tightly. Weave the needle in and out between the petals to secure them together.
11. If needed, use a thin thread and a needle to attach a pearl or other embellishments to the center of the flower.
12. To finish, weave the yarn back and forth to hide any remaining threads, completing your beautiful crochet flower.
Print the entry at the top of the page to print the pattern!
**Finishing Touches**
Finish your crochet flower by making a slip stitch (sl st) in the center of the flower. This will complete the look and secure your work. Use a tapestry needle to weave in loose ends and ensure your flower is tidy and ready to be added to your crochet projects.

Click Here for the Poncho Pattern
Crocheting small, simple flowers is a fun and easy crochet project for crafters of all skill levels. You can make these little flowers with various yarn weights, from cotton yarn to acrylic yarn and worsted-weight yarn.
Follow step-by-step photo instructions or a video tutorial for a step-by-step photo tutorial or a written pattern for your free crochet flower pattern. You can explore different patterns, sizes, and colors to craft smaller or larger flowers and customize the number of petals for a unique result. After you’ve finished, a tapestry needle will help you secure the center of the flower and weave in any remaining yarn ends. These little crochet flowers can be an excellent addition to various items, from crochet hats and ear warmers to home decor. Share your creations on social media and join a Facebook group to connect with fellow crafters and discover even more beautiful crochet flower patterns. You can also find affiliate links to your favorite yarn brands and colors, supporting the crochet community while earning a small commission without any extra cost. Crocheting flowers is a fantastic and enjoyable way to add a touch of beauty to your crochet projects in just a couple of minutes. Whether you’re making them as gifts or for your coffee table centerpiece, these small crochet flowers are the perfect way to brighten up any crochet creation.
In conclusion, the fork hack for hand embroidering crochet flowers is a fantastic and fun way to create beautiful embellishments for your crochet hats, ear warmers, home decor, and more. With different patterns, colors, and yarn types, you can craft flowers to match your favorite yarn projects. This easy crochet flower pattern is perfect for crafters of all skill levels, and it can be completed in just a couple of minutes. Plus, you can find additional inspiration and connect with other crafters through social media and online crochet communities. So, the next time you want to add a touch of nature to your creations, consider this delightful fork hack for making beautiful crochet flowers. If you find this tutorial helpful, don’t hesitate to check out more free crochet patterns and tutorials, as they offer endless possibilities for crafting endeavors. Enjoy your crochet adventure!
To Find All My Crochet Jewel Patterns, Click Here

Click Here for My Ravelry Patterns


Crochet Hats for Beginners Book For Sale – Click Here

Crochet For Beginners Book for Sale – Click Here


You May Also Like
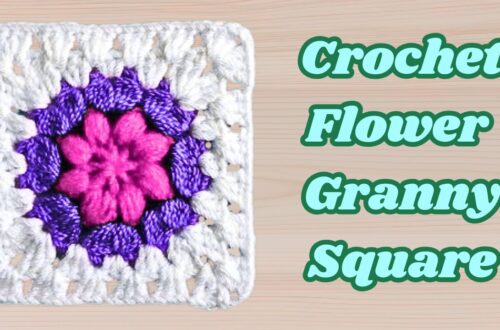
Easy Crochet Flower Granny Square Pattern
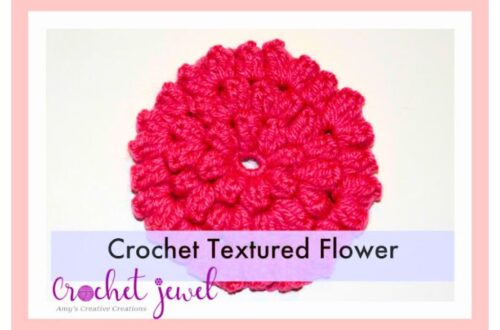
Creating Textured Blooms: A Step-by-Step Crochet Flower Tutorial