How to Make a DIY Button Wreath Tutorial
Make a DIY Button Wreath
Creating a DIY button wreath is a delightful and crafty way to add a touch of charm to your home decor. Whether you’re a seasoned crafter or a novice looking for a simple yet rewarding project, this wreath is perfect. Using an array of colorful buttons, you can personalize your creation to match any season or theme, making it a versatile and customizable piece of art. This guide will take you through the steps to craft your button wreath, bringing creativity and warmth to your living space.
You’ll find affiliate links within this post. If you decide to purchase through these links, I may earn a modest commission at no extra cost. Additionally, please review my privacy policy for more details.
**Gathering Materials:**
Start by collecting the necessary materials. You’ll need a foam or straw wreath base, an assortment of buttons in different sizes and colors, a hot glue gun, and ribbon or twine for hanging. The buttons can be recycled from old clothing or purchased in bulk from a craft store, allowing you to create a sustainable and budget-friendly decoration.
**Wreath Base Preparation:**
If you’re using a foam wreath base, consider wrapping it with ribbon or fabric to add texture and color. This step is optional but can enhance the overall aesthetic of your wreath. Secure the ribbon with hot glue, ensuring a smooth surface for attaching the buttons.
**Sorting and Arranging Buttons:**
Sort your buttons by size and color to create a visually appealing arrangement. Lay them flat to experiment with patterns or designs before committing to the final layout. This step lets you unleash your creativity and design a wreath that suits your style.
**Attaching Buttons:**
Start attaching the buttons to the wreath base using the hot glue gun. Begin from the outer edge and work inward, filling gaps. Be mindful of the color distribution and spacing to achieve a balanced, eye-catching result. Don’t hesitate to mix and match button sizes for added visual interest.
✨ We hope you enjoyed these photos! If so, please consider sharing them on Pinterest by clicking the Pin Button on each image. Your support helps us connect with more people and spread creativity. Thank you so much! 💖
**Adding Final Touches:**
Once all the buttons are in place, inspect the wreath for any loose buttons or uneven areas. Make any necessary adjustments and secure buttons with additional glue if needed. Attach a ribbon or twine to the back for hanging, ensuring it’s securely fastened for display.
How to Crochet Cowls and Scarf Patterns – Click Here
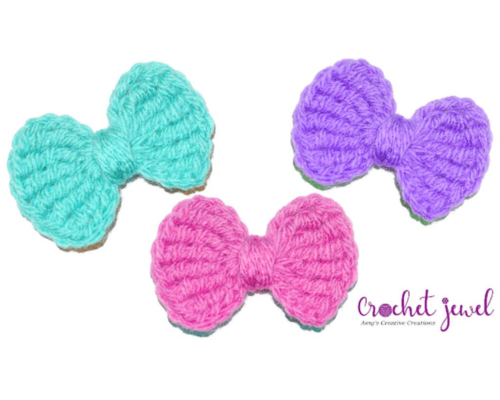
Click Here for the Bow Pattern
In just a few simple steps, you’ve transformed an ordinary wreath base and a collection of buttons into a charming and personalized decor piece. The DIY button wreath adds a festive touch to your home and reflects your unique style and creativity. Experiment with different button combinations, sizes, and arrangements to create wreaths for various occasions or seasons. This craft project is enjoyable and a beautiful and meaningful addition to your home decor.
To Find All My Crochet Jewel Patterns, Click Here

Click Here for My Ravelry Patterns


Crochet Hats for Beginners Book For Sale – Click Here


You May Also Like

Crafting Cheer: DIY Yarn Gnome Ornament Tutorial
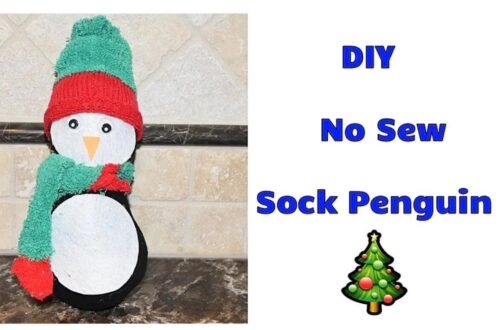
How to Make a DIY No Sew Sock Penguin Tutorial