How to Make a DIY Yarn Ghost Tutorial for Halloween

How to Make a Yarn Ghost
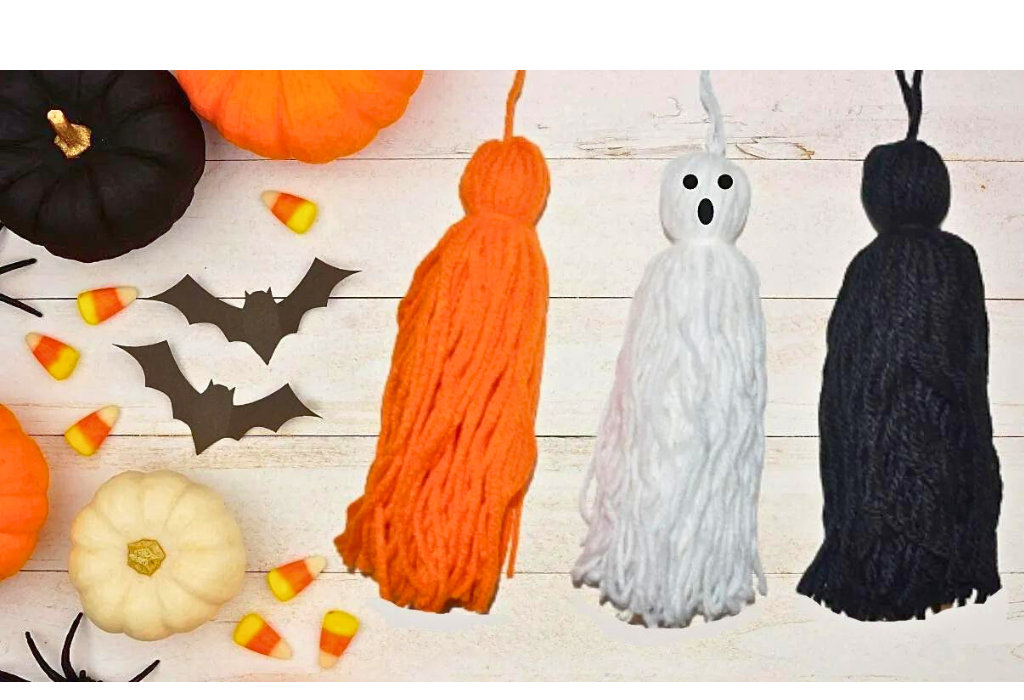
Welcome to this DIY Yarn Ghost Tutorial just in time for Halloween! This guide will walk you through the steps to create adorable and spooky yarn ghosts to add a handmade charm to your Halloween decorations.
Creating these yarn ghosts is a simple and enjoyable crafting project that requires minimal supplies. Gather a medium-sized book, some yarn, and scissors to get started. The beauty of this project lies in its accessibility – perfect for a fun family activity or a creative afternoon with friends.
Begin by wrapping the yarn around the book 50 times, adjusting for thickness as desired. Once covered, carefully cut the yarn across the bottom. Folding the yarn in half and tying it in the center forms the basic ghost shape. Moving up a couple of inches, tie another knot to create the head, ensuring it’s secure and smooth.
You’ll find affiliate links within this post. If you decide to purchase through these links, I may earn a modest commission at no extra cost. Additionally, please review my privacy policy for more details.
✨ We hope you enjoyed these photos! If so, please consider sharing them on Pinterest by clicking the Pin Button on each image. Your support helps us connect with more people and spread creativity. Thank you so much! 💖
All Colors of Yarn Click Here
- Crochet hook
- Tapestry needle
- Stitch marker
I’m going to show you how to make yarn ghosts. They’re pretty easy to do; you only need a book, some yarn, and scissors. I’ll guide you through creating these spooky decorations just in time for Halloween. Let’s get started.
Start by choosing a medium-sized book—nothing too large unless you want your ghost to be lengthy. Wrap the yarn around the book about 50 times. If you prefer, you can adjust the thickness by wrapping more.
After completing the wraps, cut the yarn across the bottom. Fold the yarn in half and tie it with some yarn right in the center. For the head, go up a couple of inches and tie it at that point to create the head. Ensure it’s smoothed out and tie a couple of times to secure it in place.
Now, take your scissors and cut across for all the little frays, making it even. The resulting shape will resemble a ghost.
You can make these ghosts in various colors. To give them a unique look, consider adding a face with a marker or attaching googly eyes using a hot glue gun. Feel free to dress them up however you’d like.
These yarn ghosts are versatile and can be used to create a garland, placed as bookmarks, or hung around your house. This activity is enjoyable and a great craft to do in a classroom or with your kids. I hope you find this tutorial helpful and enjoy making these adorable yarn ghosts. Thank you for watching!
Print the entry at the top of the page to print the pattern!
Next, grab your scissors and cut across the yarn to create the ghostly frayed ends. The result is a charming yarn ghost ready for customization. Experiment with different colors or add facial features using markers or googly eyes with a hot glue gun.
These yarn ghosts are incredibly versatile – use them to create a Halloween garland, as bookmarks, or hang them around your home. Whether you’re looking for an engaging classroom activity or a craft project with your kids, this tutorial offers a delightful way to embrace Halloween.
In conclusion, making DIY yarn ghosts is a fantastic and easy way to infuse a handmade touch into your Halloween decor. Whether you’re a seasoned crafter or just looking for a simple project to try, these ghosts will surely bring a smile to your face. So, gather your supplies, get creative, and enjoy the process of crafting these charming yarn ghosts for a spooktacular Halloween!
To Find All My Crochet Jewel Patterns, Click Here

Click Here for My Ravelry Patterns


Crochet Hats for Beginners Book For Sale — Click Here

Crochet For Beginners Book for Sale — Click Here


You May Also Like
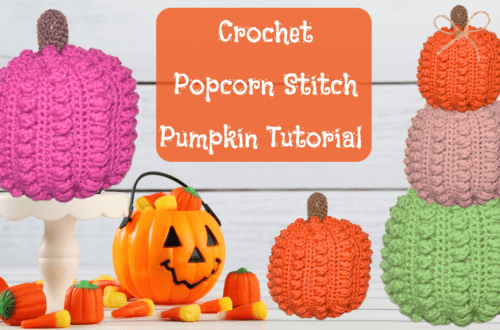
Crochet Popcorn Stitch Stacking Pumpkins: A Perfect Fall Craft
Get Cozy with Crochet Halloween Patterns for Fall