How to Use a Yarn Winder Tutorial
How to Use a Yarn Winder
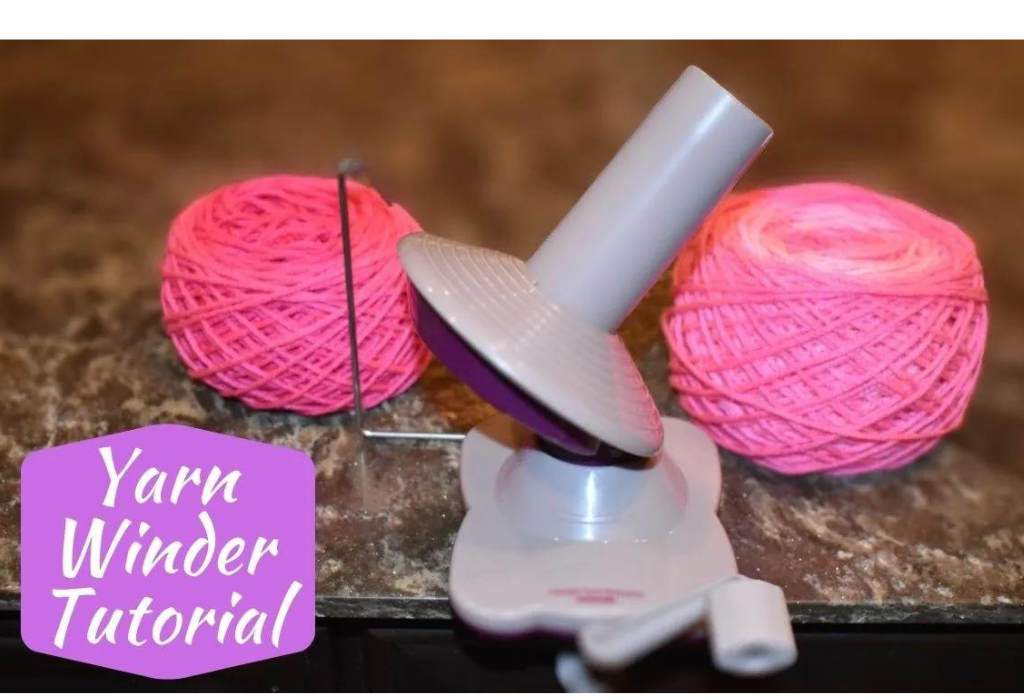
A yarn winder is an invaluable tool for knitters and crocheters, streamlining the process of preparing yarn for your projects. This tutorial will guide you through using a yarn winder effectively, helping you achieve neat and organized yarn cakes or balls. Whether you’re a seasoned crafter or a beginner, mastering the art of yarn winding can enhance your crafting experience and save you time in the long run.
You’ll find affiliate links within this post. If you decide to purchase through these links, I may earn a modest commission at no extra cost. Additionally, please review my privacy policy for more details.
First, ensure your yarn winder is securely attached to a stable surface. Place the skein or hank of yarn on a swift to keep it taut and prevent tangles. Locate the end of the yarn, often called the “working end,” and secure it to the yarn winder’s spindle. Turn the handle slowly to start the winding process, maintaining a consistent pace to create an evenly wound ball or cake.
✨ We hope you enjoyed these photos! If so, please consider sharing them on Pinterest by clicking the Pin Button on each image. Your support helps us connect with more people and spread creativity. Thank you so much! 💖
Click the Links for Your Materials
– Crochet hook
– Tapestry needle
– Stitch marker
I found it an excellent method for compacting yarn, making it easier to store once wound up. Using it is not only functional but also quite enjoyable.
The assembly process is straightforward. It comes with a tube top that fits into the grooves, secured by a clasp. The metal part at the bottom remains as is, and there’s an additional bottom clasp to hook onto your table. A simple turn of the screw secures it in place. It’s a hassle-free process with just these two components.
To use the winder, thread your yarn through the hole, which is surprisingly easy. Then, please place it in the grooves, leaving a six to seven-inch tail. Ensuring the yarn comes out smoothly from the center is critical. Hold onto the yarn with your finger to maintain control. Once complete, cut off the yarn, tuck it in, and complete the winding process. This product is recommended for those seeking an easy way to wind and store yarn, offering the added benefits of convenient use and reduced storage space. You can even stack the wound yarn cakes for efficient storage.
When removing the wound yarn, consider using the yarn’s paper label in the center for added stability. The finished result resembles a tidy cake. Overall, using this yarn winder is a quick and enjoyable process. I hope you found this tutorial helpful. Thank you for watching, and don’t forget to subscribe!
Click Here for the Yarn Winder
Keep an eye on the tension as you wind to prevent the yarn from becoming too loose or tight. Adjust the guide arm or tension knob on the yarn winder as needed. Please take note of any knots or snags in the yarn, addressing them promptly to ensure a smooth winding process.
For those using a yarn swift in conjunction with the winder, ensure the swift rotates freely as the yarn is pulled from it. This collaboration between the swift and yarn winder creates a seamless winding experience, resulting in a well-organized and ready-to-use yarn cake.
In conclusion, mastering a yarn winder can significantly enhance your crafting efficiency. With a neatly wound yarn cake or ball, you’ll experience fewer interruptions during your knitting or crocheting projects, allowing you to focus on the creative aspects of your craft. Take the time to familiarize yourself with the yarn winder’s features and practice the techniques outlined in this tutorial. Soon, you’ll find yourself enjoying a more organized and enjoyable crafting experience.
To Find All My Crochet Jewel Patterns, Click Here

Click Here for My Ravelry Patterns


Crochet Hats for Beginners Book For Sale – Click Here

Crochet For Beginners Book for Sale – Click Here


You May Also Like
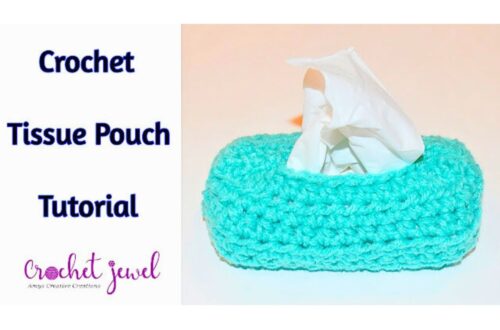
How to Crochet an Easy Tissue Pouch Cozy Tutorial
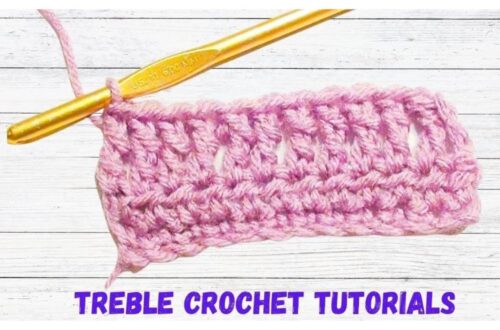
Mastering Treble Crochet: Increase and Decrease Techniques