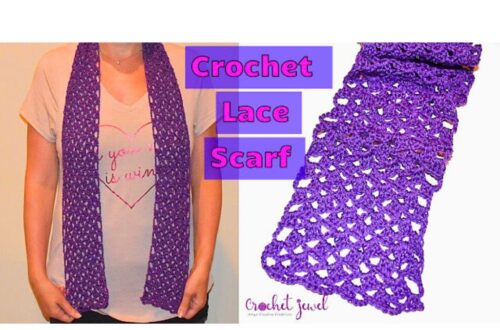
How to Make a Textured Scarf Tutorial
How to Make a Crochet Scarf
Welcome to this easy and free crochet pattern tutorial on creating a textured scarf! Whether you’re a beginner or have extensive experience with crochet, this simple pattern using basic stitches is perfect for all skill levels. I’ll walk you through the process in this guide, offering tips and tricks. Please note that this post contains affiliate links, and while they won’t cost you extra, they help support the creation of more free patterns and tutorials.
You’ll find affiliate links within this post. If you decide to purchase through these links, I may earn a modest commission at no extra cost. Additionally, please review my privacy policy for more details.
✨ We hope you enjoyed these photos! If so, please consider sharing them on Pinterest by clicking the Pin Button on each image. Your support helps us connect with more people and spread creativity. Thank you so much! 💖
How to Watch Videos in Slow Motion – if the video is too fast – Click Here!
How to Crochet For Beginners Playlist – Click Here
You’ll need bulky yarn, and I recommend Lion Brand Wool-Ease Thick and Quick for its excellent texture and warmth. Worsted-weight yarn or chunky yarn can also be used, depending on your preference. The larger hook sizes, like a 9 mm crochet hook, work best for this project, creating a super scarf that’s a quick and easy gift.
Begin with the foundation chain, then dive into basic crochet stitches like double and single crochet. Feel free to experiment with different colors, creating a vibrant and visually appealing scarf. The repeat row is simple to master, ensuring a smooth and enjoyable crochet process. The straight edge and wide x length make it a versatile accessory, suitable for various styling options.
Click the Links for Your Materials
– Crochet hook
– Tapestry needle
– Stitch marker
Abbreviations:
Throughout the tutorial, I’ll guide you through each step with a video tutorial for those who prefer visual learning. If you’re part of our Facebook group, share your progress and connect with others working on this project. Don’t forget to use stitch markers to keep track of your work, especially when repeating rows.
In conclusion, this easy crochet scarf pattern is an excellent project for beginner crocheters and those with more advanced skills. The use of bulky weight yarn creates a chunky scarf that’s not only warm but also a stylish accessory. With simple stitches and a straightforward pattern, it’s a fantastic way to showcase your favorite yarns in different colors.
Feel free to customize the scarf, choose your favorite color, or experiment with various yarn colors. The result is a beautiful and practical scarf that makes for a great gift or a cozy addition to your wardrobe. Enjoy the process of creating this textured scarf, and don’t hesitate to explore different ways to make it your own. Happy crocheting.
To Find All My Crochet Jewel Patterns, Click Here

Click Here for My Ravelry Patterns


Crochet Hats for Beginners Book For Sale – Click Here

Crochet For Beginners Book for Sale – Click Here


You May Also Like
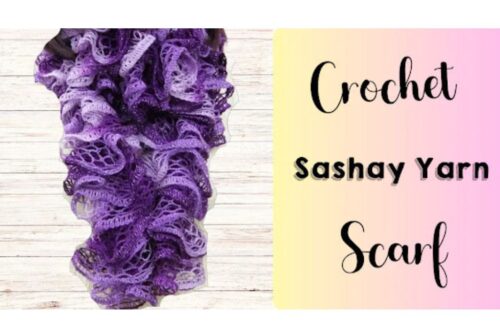
Crafting a Stylish Sashay Yarn Scarf – Step-by-Step Crochet Tutorial
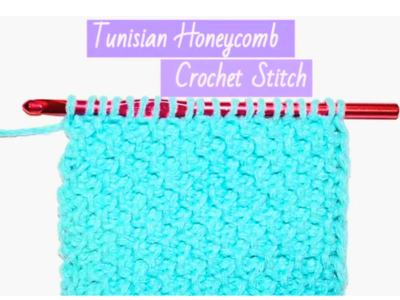
How to Crochet Tunisian Honeycomb Stitch Scarf Tutorial