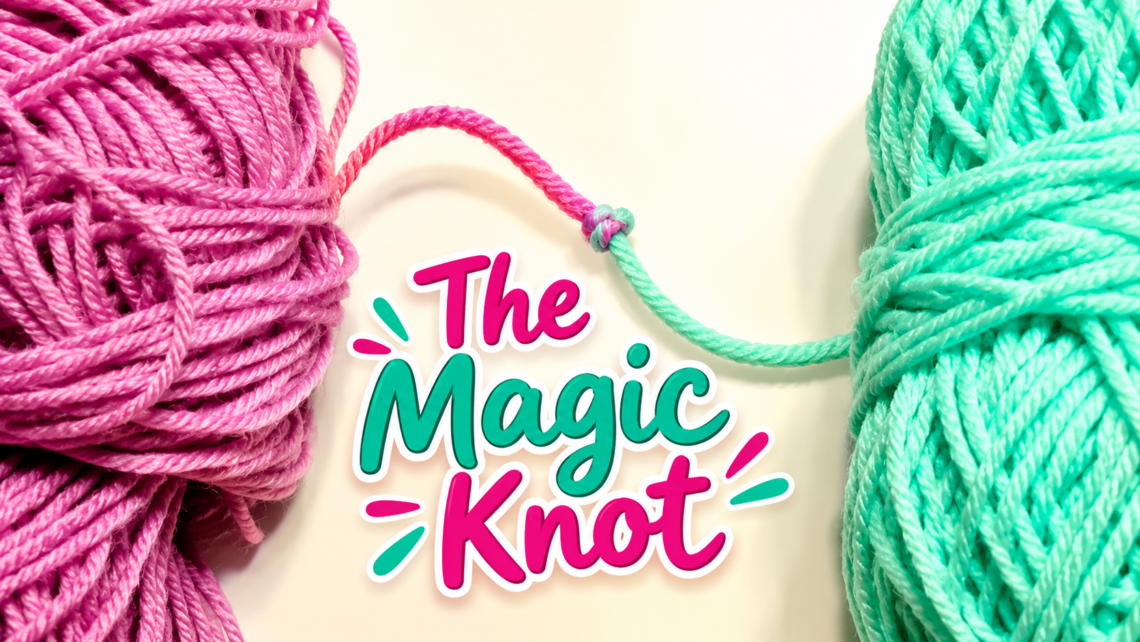
How to tie a Magic Knot for Joining Yarns Tutorial
How to Tie a Magic Knot
Tying a Magic Knot to join yarns is an essential skill for knitters and crocheters. This technique ensures a seamless and secure connection between different yarn strands, allowing for a smooth transition and a professional finish in your crafting endeavors.
To begin with, grasp the two yarn ends you intend to join. With the Magic Knot method, you’ll create a loop by bringing one end under the other. This loop will be the foundation of the knot. Secure the loop by tying a knot at this point, ensuring it is tight and reliable.
This post contains affiliate links. If you purchase through these links, I may earn a modest commission at no extra cost. Please review my privacy policy for more details.
✨ We hope you enjoyed these photos! If so, please consider sharing them on Pinterest by clicking the Pin Button on each image. Your support helps us connect with more people and spread creativity. Thank you so much! 💖
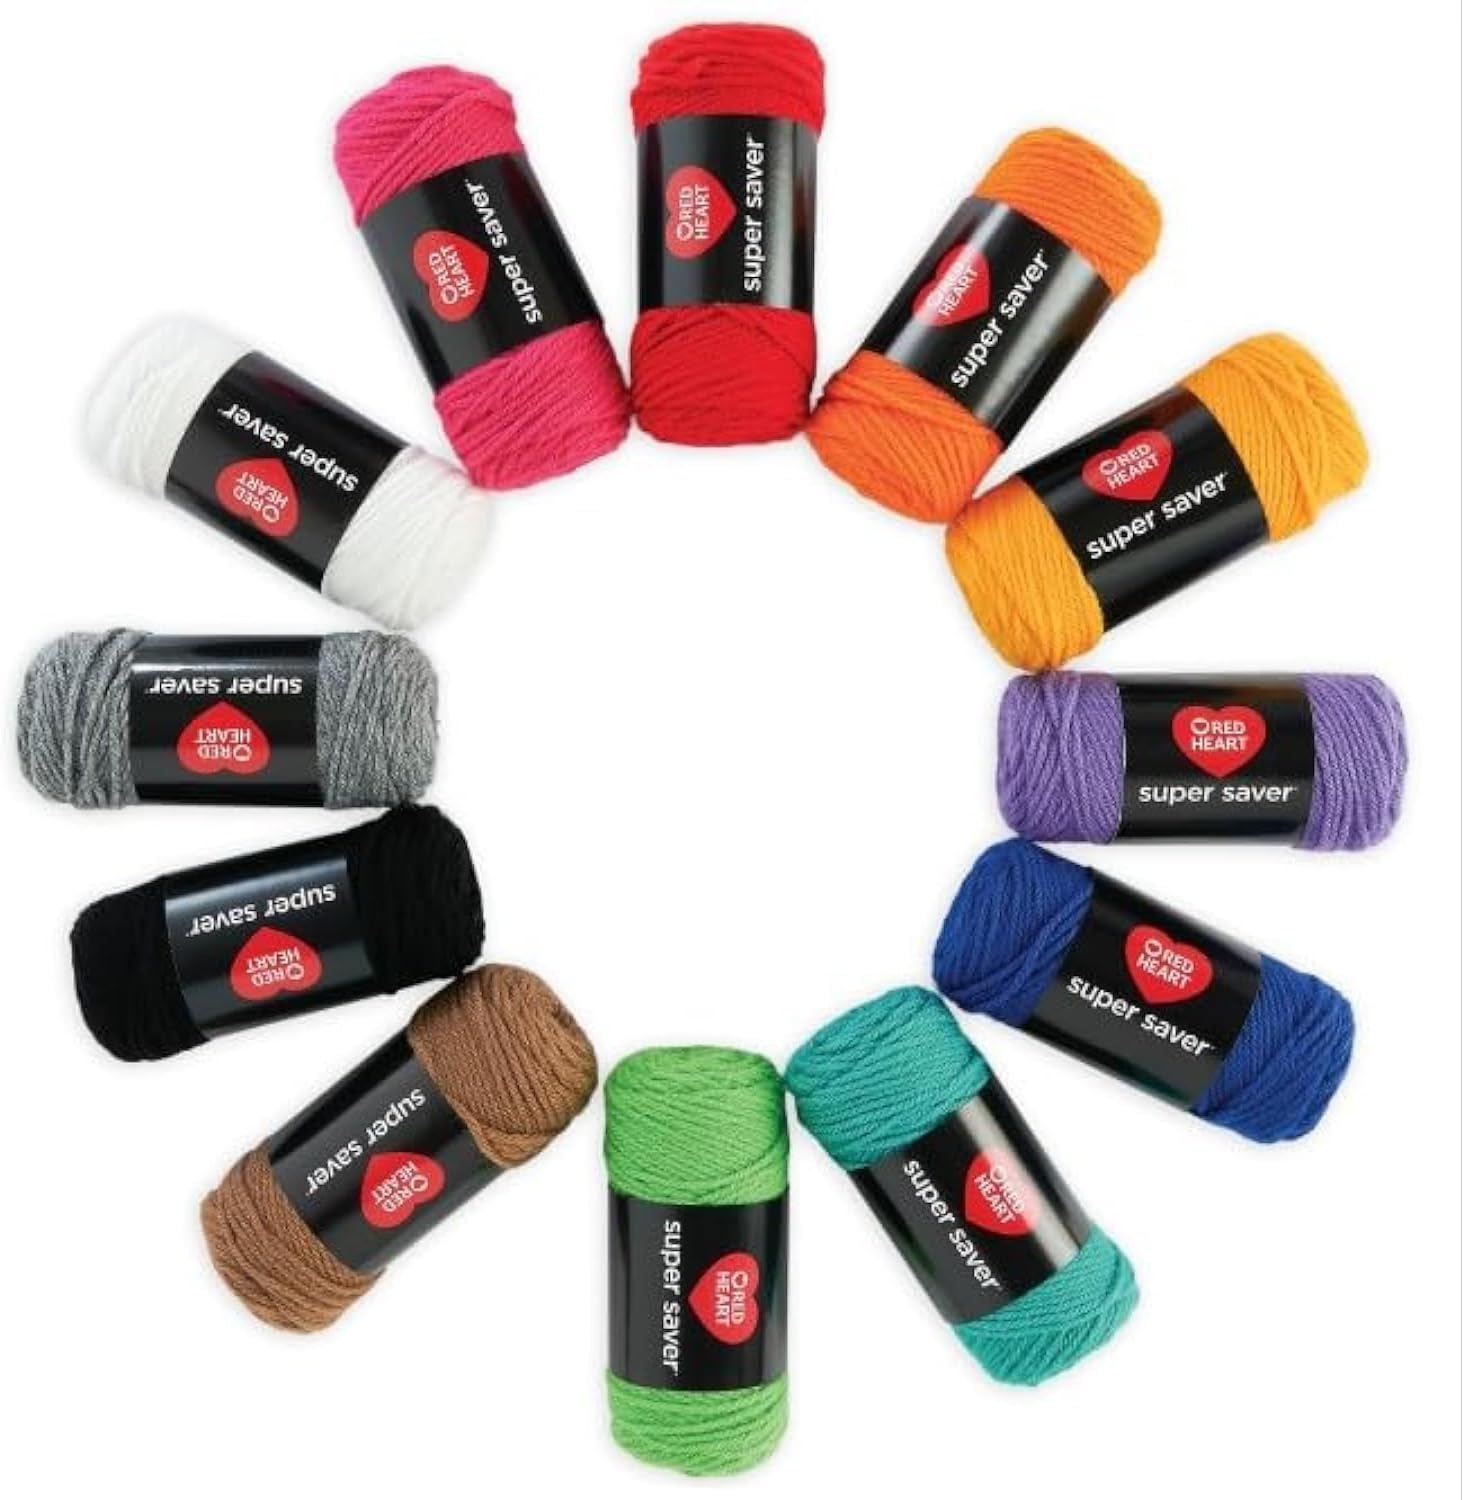
The Red Heart Craft Kit is a fun and creative way to make beautiful heart-shaped crafts for any occasion.

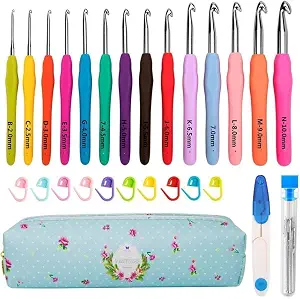
This 14-piece ergonomic crochet hook set includes sizes from 2mm to 10mm with comfortable handles designed to make crocheting easier on your hands.
I’m going to show you how to do a magic knot. You’ll take this piece of yarn here, bring it under, and then make a loop. Tie it in at this point. Then, take this end here, bring it over, make a loop, and tie a knot so that you have these two ends together. Pull them, and as you do, it will connect them. After that, take your scissors and cut the two tops or the two pieces together, or cut them off here. This way, you’ve just connected your ends.
By doing this, you blend these two ends effortlessly.
Print the entry at the top of the page to print the pattern!
At Amy’s Creative Creations Etsy Shop, we’re passionate about providing you with the best crochet patterns and a great customer experience. Feel free to explore my Etsy store!
 Next, take the other end of the yarn and bring it over, forming another loop. Tie a knot with this end as well, connecting the two loops. As you pull both ends, the knots will snugly come together, creating a secure bond between the yarn strands. This technique provides a durable and practically invisible joint, perfect for maintaining the integrity of your knitting or crocheting projects.

It’s worth noting that the Magic Knot eliminates the need for weaving in loose ends, saving time and effort in the finishing stages of your work. Once the knot is secure, use scissors to trim the excess yarn, leaving a clean and polished result behind.
In conclusion, mastering the Magic Knot for joining yarns is a valuable skill that enhances the overall quality of your handmade creations. Whether you’re a novice or an experienced crafter, incorporating this technique into your repertoire will improve your projects’ professional and polished appearance. Thank you for learning how to tie a Magic Knot, and may your future crafting endeavors be seamlessly joined with this newfound skill.
To Find All My Crochet Jewel Patterns, Click Here
Click Here for My Ravelry Patterns

Crochet Hats for Beginners is a wonderful way to learn basic crochet stitches while creating cozy, stylish, and handmade hats that are perfect for gifts or everyday wear.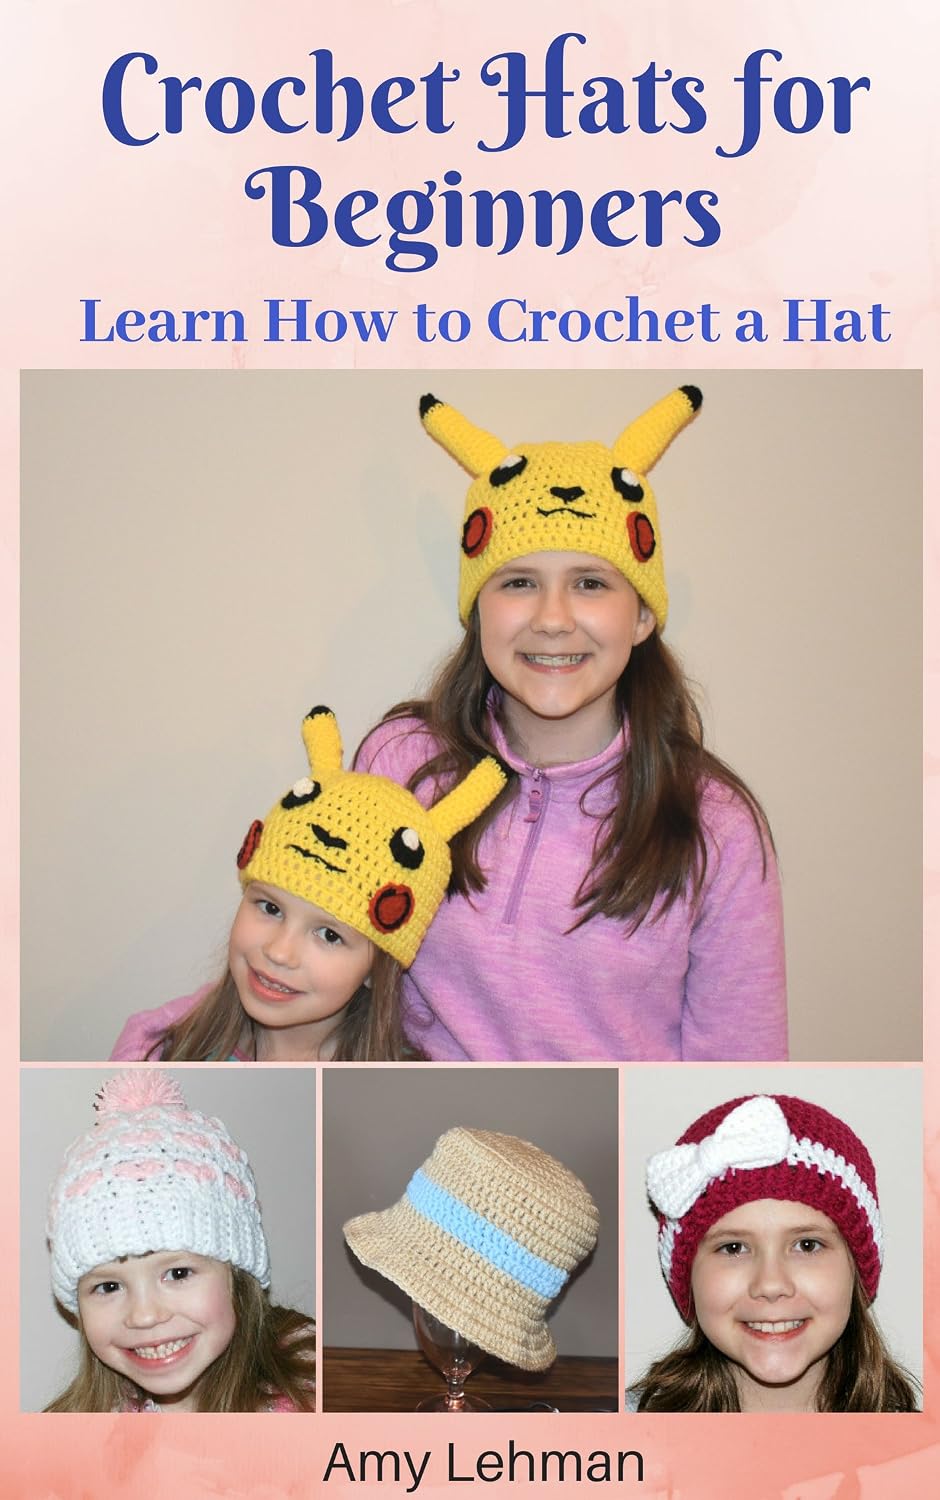
Crochet for Beginners: Learn How to Crochet is the perfect step-by-step guide to mastering basic crochet stitches, using crochet hooks and yarn, and creating beautiful handmade projects with confidence.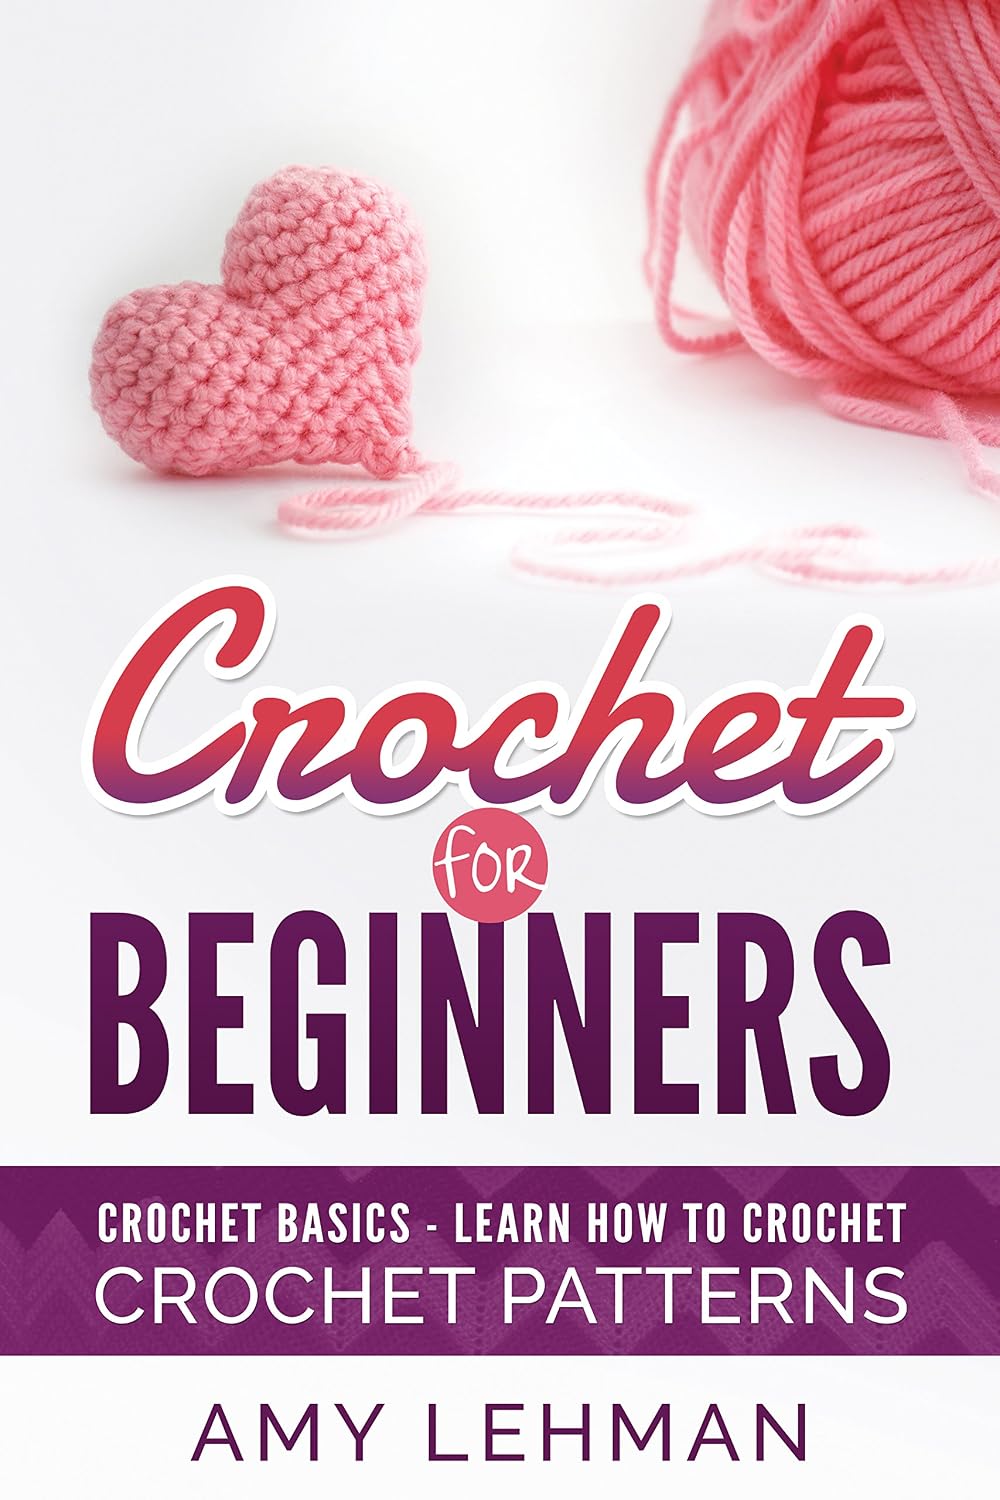


You May Also Like

Unlocking the Secrets of Steel Crochet Hooks: A Size Guide

10 Handmade Easy Crochet Gifts to Warm the Soul!