Oobleck DIY Stress Balls for Kids: An Easy and Fun Project

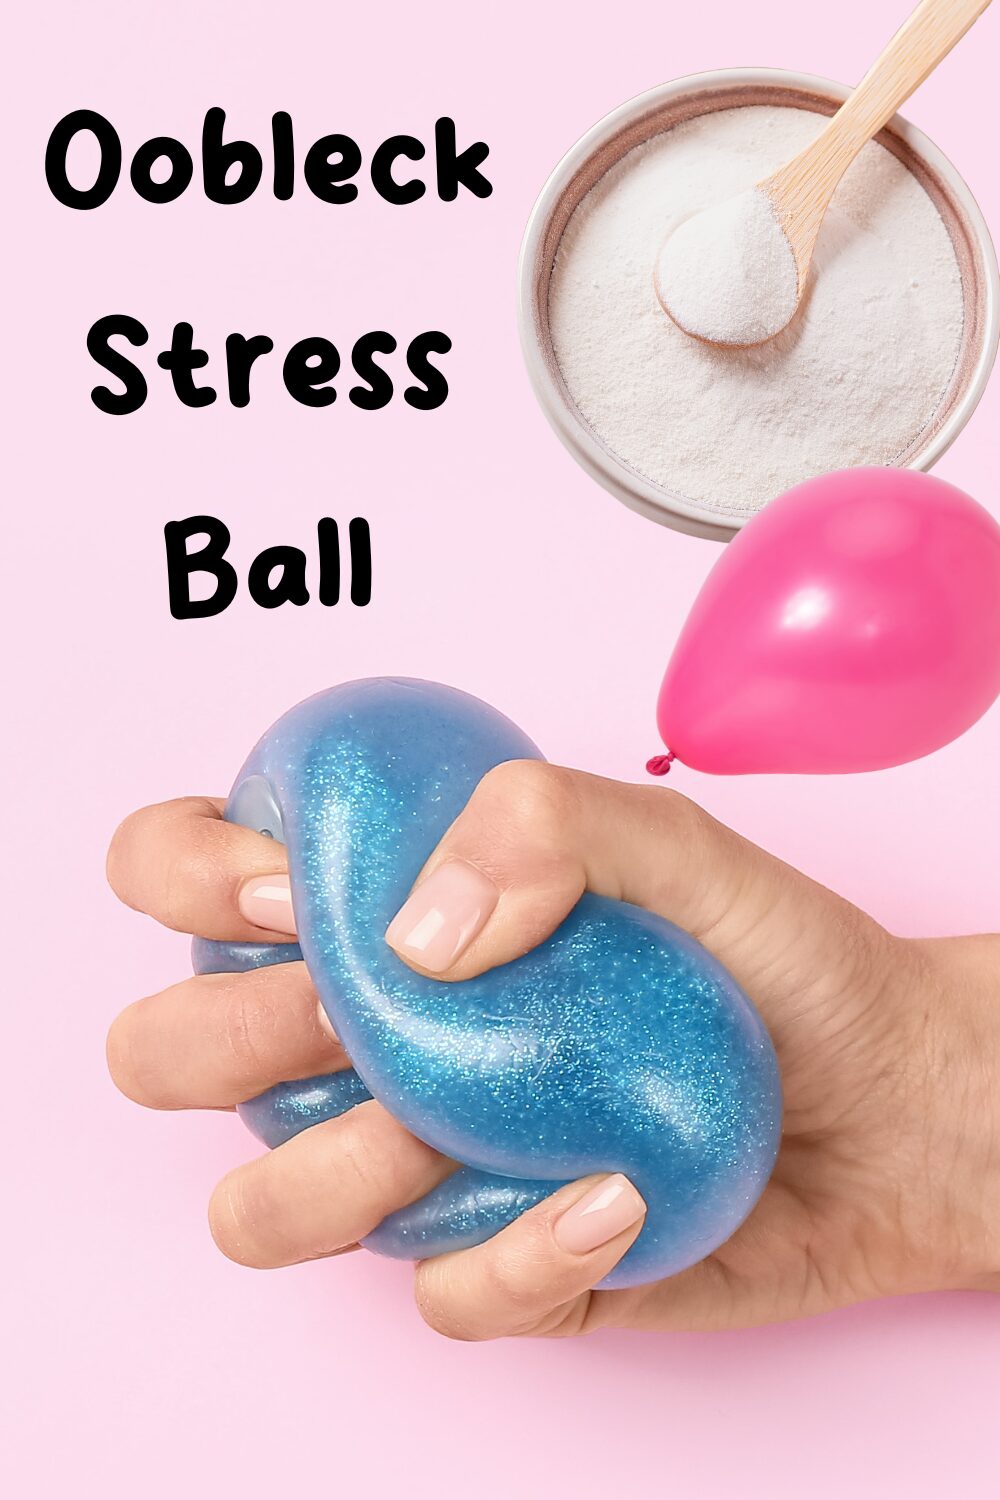
Oobleck Stress Ball
Making your own Oobleck stress ball is a fun and simple project that can add a little excitement to your stress relief routine. With just a few common ingredients, you can whip up this gooey substance that you can squish and squeeze to your heart’s content. Grab your materials, and let’s get to the fun part of creating your very own Oobleck stress ball!
Creating your own Oobleck stress ball is a fun and creative DIY project that can be enjoyed by kids and adults alike. Inspired by popular social media platforms like TikTok, this simple craft combines the magic of non-Newtonian fluids and stress-relieving activities. By using basic supplies such as cornstarch, water, and a balloon, you can make your very own stress ball at home. The best part? You can add food coloring to create unique and vibrant designs, turning the simple task of making homemade stress balls into a sensory play experience. In this step-by-step guide, we’ll show you how to make a variety of DIY stress balls, including Orbeez and Oobleck versions, all with materials you already have at home.
The first thing you’ll need is to gather your supplies. For this project, you’ll need a mixing bowl, a cup of cornstarch, and a cup of water. These household ingredients are the basis for making your own non-Newtonian fluid. The next step is to combine the cornstarch and water in the mixing bowl, adjusting the ingredient ratios until you achieve the desired consistency—less water creates a firmer texture, while more water gives it a squishy feel. Add food coloring to give your stress ball different colors and make it more visually appealing. After preparing the Oobleck mixture, you’ll need a standard balloon. A clear balloon works well to showcase the colors inside, but you can also opt for colored or giant balloons if you’re looking for a larger stress ball.
Learn how to make a stress ball using simple materials, with creative methods like making one with a balloon or even crafting a homemade version without a balloon for a soothing, DIY stress-reliever.
Within this post, you’ll find affiliate links. If you decide to purchase through these links, I may earn a modest commission at no extra cost to you. Additionally, please review my privacy policy for more details.
Click the Social Icons to Stay Connected
![]()
![]()
![]()
![]()
![]()
![]()
![]()
![]()

✨ We hope you enjoyed these photos! If so, please consider sharing them on Pinterest by clicking the Pin Button on each image. Your support helps us connect with more people and spread creativity. Thank you so much! 💖

Adding Color for Personal Touch
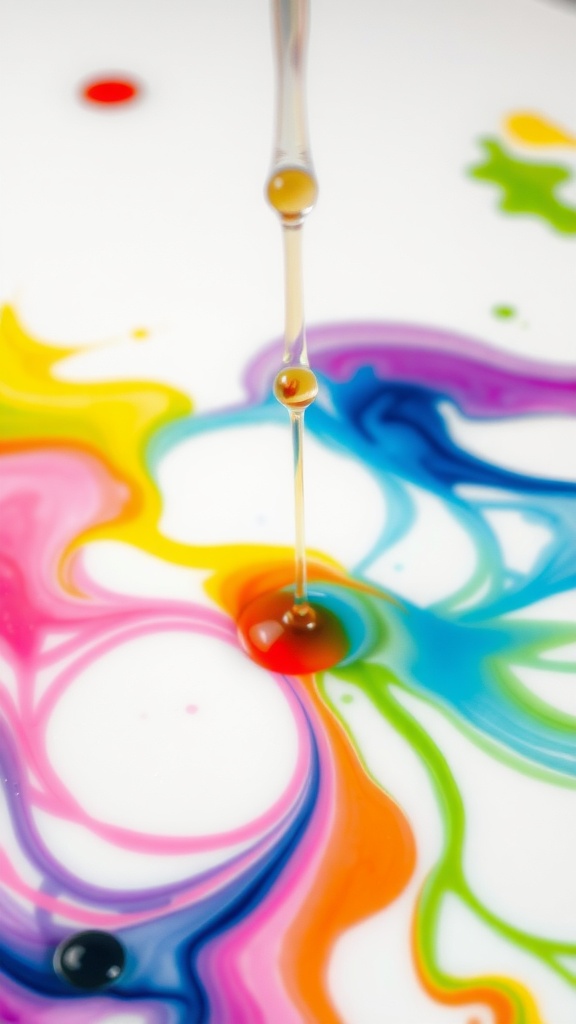
Making your oobleck stress ball more personal is super easy! Just add a few drops of food coloring to the mix before sealing it up. You can blend colors or stick with your favorites for that extra fun touch!
Oobleck Balloon Directions
1. Prepare Your Oobleck:
- In your mixing bowl, combine 1 cup of cornstarch with 1/2 cup of water. Stir the mixture until it thickens and forms a non-Newtonian fluid. (Tip: If it feels too runny, add more cornstarch. If it’s too thick, add a bit more water.)
- If you want to add color to your stress ball, mix in a few drops of food coloring. Stir until the color is evenly distributed throughout the mixture.
2. Test Your Oobleck Consistency:
- To test the consistency, pick up a small amount of the Oobleck with your fingers. It should feel solid when you apply pressure but flow like a liquid when you release it. Adjust the water and cornstarch ratio until you get the right consistency that you enjoy.
3. Prepare the Balloon:
- Take your balloon and stretch it a bit to make it easier to fill.
- If you want to make a larger stress ball, use a giant balloon. If you prefer smaller ones, a standard balloon works best.
- (Optional: You can use a funnel or a piece of plastic wrap to make pouring the Oobleck into the balloon easier and less messy.)
4. Fill the Balloon:
- Carefully pour the Oobleck mixture into the balloon. You can gently stretch the balloon’s opening and use the funnel or plastic wrap to guide the liquid inside. Fill it with enough Oobleck to give it a squishy, stress ball-like feel.
- (Optional: For extra sensory fun, you can add small water beads or Orbeez into the balloon along with the Oobleck mixture.)
5. Tie the Balloon:
- Once the balloon is filled, tie a knot tightly at the end to seal it. Make sure there are no leaks, and the Oobleck stays inside.
6. Optional Texture Variations:
- For added texture, you can wrap your Oobleck-filled balloon with a plastic bag or add additional materials like pipe cleaners or a piece of soft cloth. These variations can provide different sensory experiences when squeezing your stress ball.
7. Enjoy Your Homemade Stress Ball:
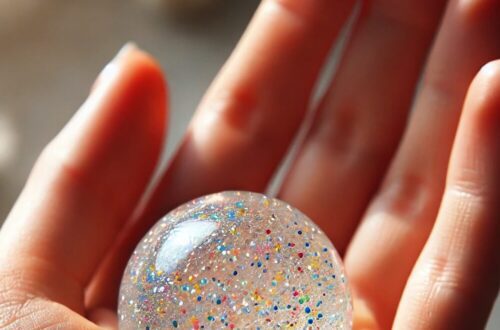
- You now have your very own Oobleck stress ball! It’s great for stress relief, sensory play, or just as a fun fidget toy.
- Squeeze, squish, and enjoy the calming effect of your DIY creation.
Securing the Balloon Properly
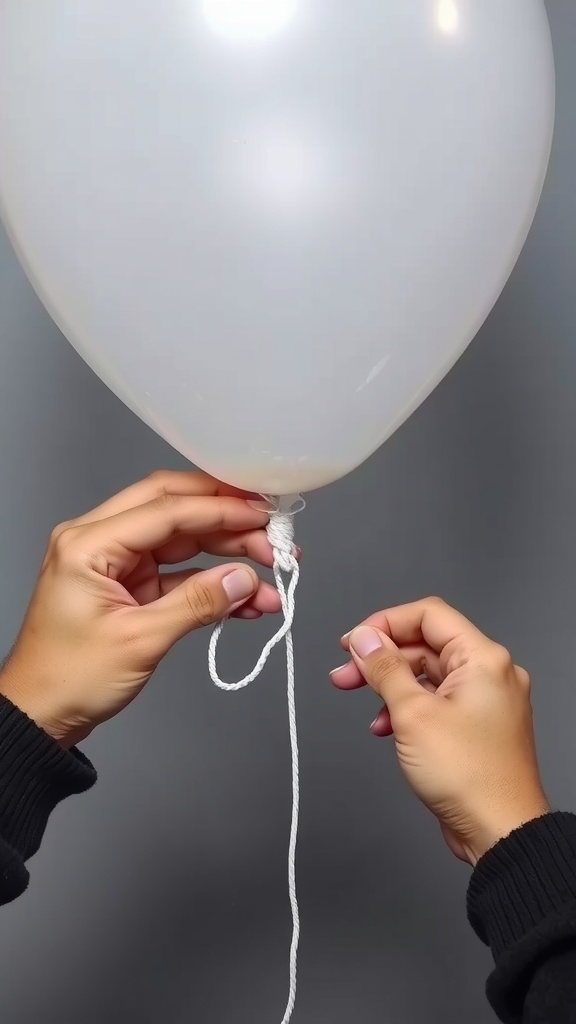
Once your balloon is filled, it’s time to secure it tightly. Grab the neck of the balloon and twist it a couple of times to keep the air inside. Then, tie a knot ensuring it’s snug, so you won’t lose any of that fun oobleck goo later!
Oobleck is a fascinating substance that acts like both a liquid and a solid. When you squeeze it, it feels firm, but when you let go, it flows like syrup. This unique behavior makes it perfect for a fun and stress-relieving DIY stress ball!
Gathering Essential Materials
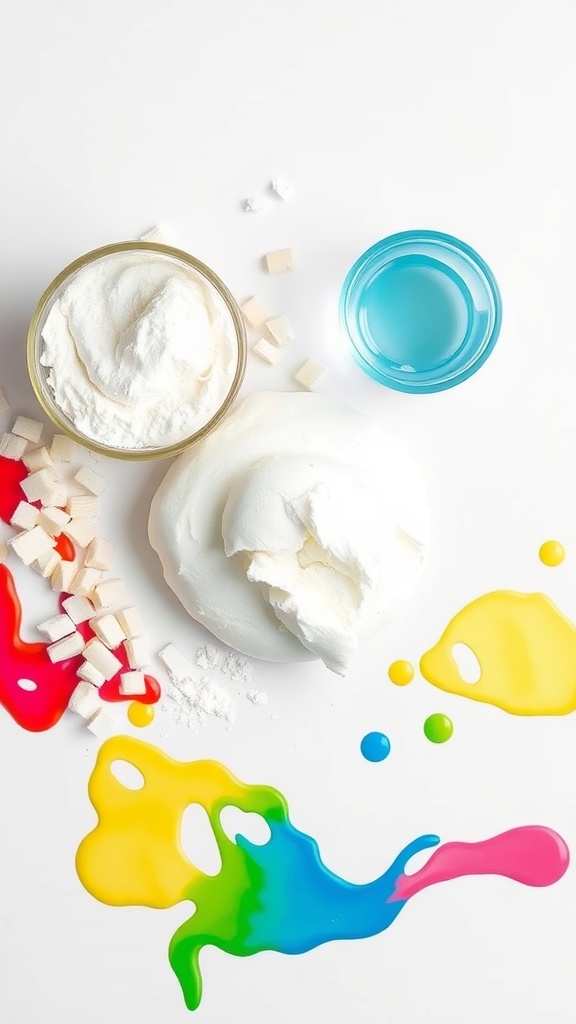
Making an Oobleck stress ball is super fun and easy! First, you’ll need cornstarch, water, and food coloring. Grab a bowl and a mixing spoon to get started with your squishy creation!
Mixing Cornstarch and Water
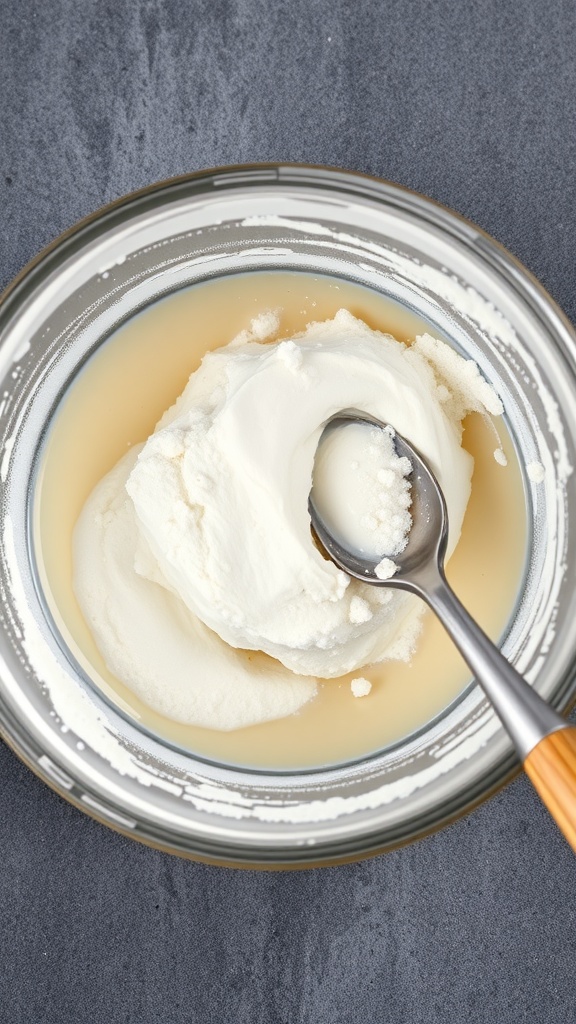
To make your Oobleck stress ball, start by mixing cornstarch with water. Use about two parts cornstarch to one part water for the best consistency. Stir until it’s smooth and ready for some fun!
Transferring Mixture to a Balloon
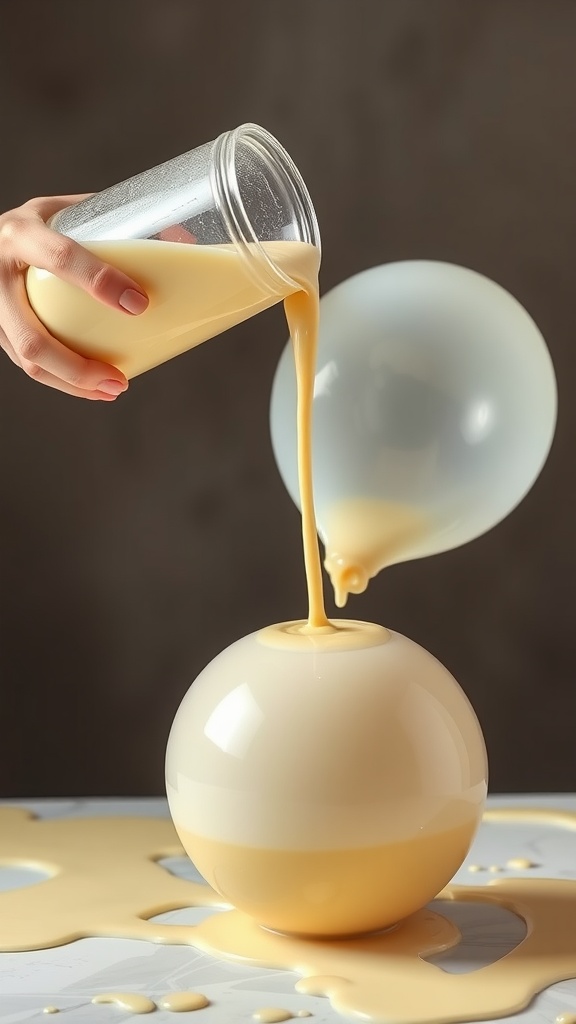
Now it’s time to transfer your oobleck mixture into the balloon. Carefully pour the mixture into the balloon, holding it securely to avoid spills. Once filled, gently tie the balloon to keep it sealed and get ready to squeeze your new stress ball!
Testing the Stress Ball’s Squeeze
Once your oobleck stress ball is ready, it’s time to give it a squeeze! Feel the unique texture and notice how it changes when you apply pressure. This fun experiment is not only a stress reliever but also a great way to see the fascinating properties of non-Newtonian fluids in action.
Decorating Your Stress Ball
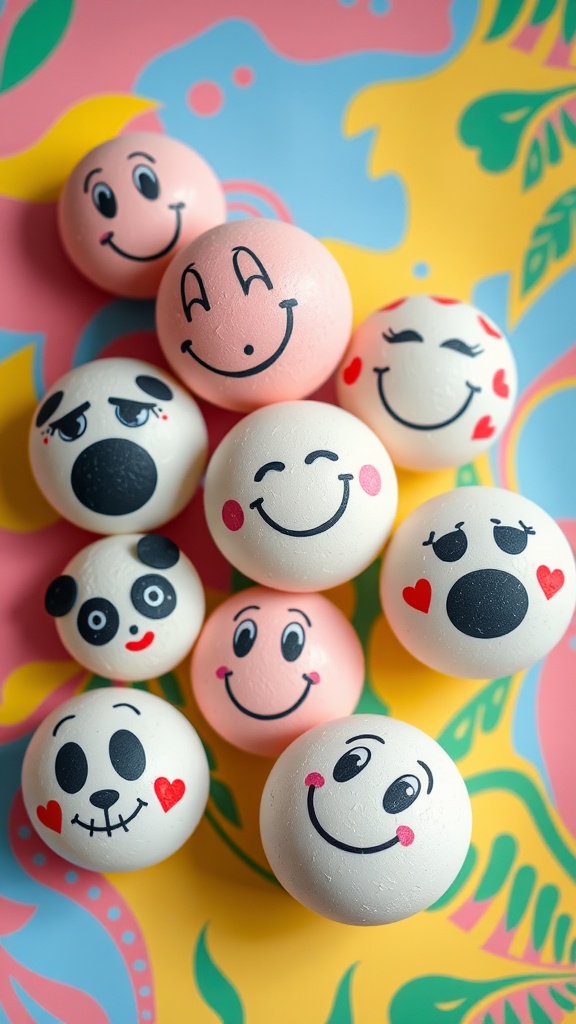
Now it’s time to let your creativity shine! Grab some markers or paint and have fun drawing faces or designs on your oobleck stress ball. Make each one unique to match your mood or style!
Making an Oobleck stress ball can be a fun twist on your regular stress relief options. You can try using different colors and sizes of balloons to create unique effects. Experiment with adding glitter or tiny beads to your Oobleck for an extra sensory experience!
Storing Your Oobleck Stress Ball
Once you’ve made your Oobleck stress ball, it’s important to store it properly. Keep it in an airtight container to prevent it from drying out. You can even pop it in the fridge for a cool, refreshing squish when you need it!
Once your Oobleck mixture is ready, carefully pour it into the balloon. Use a funnel or plastic wrap to avoid making a mess. Tie a knot at the end of the balloon to secure the Oobleck inside. If you’d like to make mini stress balls or even Orbeez stress balls, you can place small water beads into the balloon along with the Oobleck for a more textured and sensory experience. The resulting stress ball offers a unique fidget toy sensation, which can help relieve stress and provide calming sensory play for all ages. Plus, making these DIY stress balls is a great way to spend quality time with family or friends, or even as a fun craft project for special occasions.
For those looking for additional methods, you can try creating slime stress balls or giant Oobleck stress balls for a bigger, more dramatic effect. The video tutorials and step-by-step guides available online, especially on social media platforms like TikTok, show various ways to make these DIY stress balls with different materials like shaving cream or potato starch for a different texture. You can even use a plastic bag or pipe cleaners to add extra features, like creating a sensory ball with a changing color effect, which could make for a fun gift idea or a great sensory activity for kids of all ages.
Creating your own Oobleck stress ball is not only a fun DIY project but also a fantastic way to relieve stress and engage in sensory play. With simple materials like cornstarch, water, and balloons, you can easily make your own stress ball at home, in various colors and textures. Whether it’s for a relaxing experience or as a gift for a friend, these homemade sensory stress balls are a great way to have lots of fun while creating something unique. Don’t forget to check out video tutorials or social media for additional ideas and methods to customize your stress ball projects. This DIY craft is a simple way to spend quality time and create your own stress relievers in just a few easy steps.

I absolutely love Amazon for its unbeatable Crochet deals and amazing selection!—click here to discover your next great deal!
Amazon Prime: Unlock fast, free shipping, exclusive Prime Video shows, and more with Amazon Prime! Click here to start your 30-day free trial today!
Audible Plus: Access thousands of audiobooks and podcasts with Audible Plus! Click here for Audible Plus on Amazon!
Kindle: Discover millions of books with Kindle—read anywhere, anytime! Click here to buy on Amazon!
Amazon Prime Video: Enjoy unlimited streaming of top movies and TV shows with Amazon Prime Video! Click here to start watching!
Amazon Music: Stream millions of songs and playlists with Amazon Music! Click here to start listening!
Click Here for My Ravelry Patterns


Crochet Hats for Beginners Book For Sale — Click Here


You May Also Like
Create Your Own Cozy: A Simple Crochet Mug Cozy Tutorial

10 Galaxy Jar DIYs to Capture the Universe