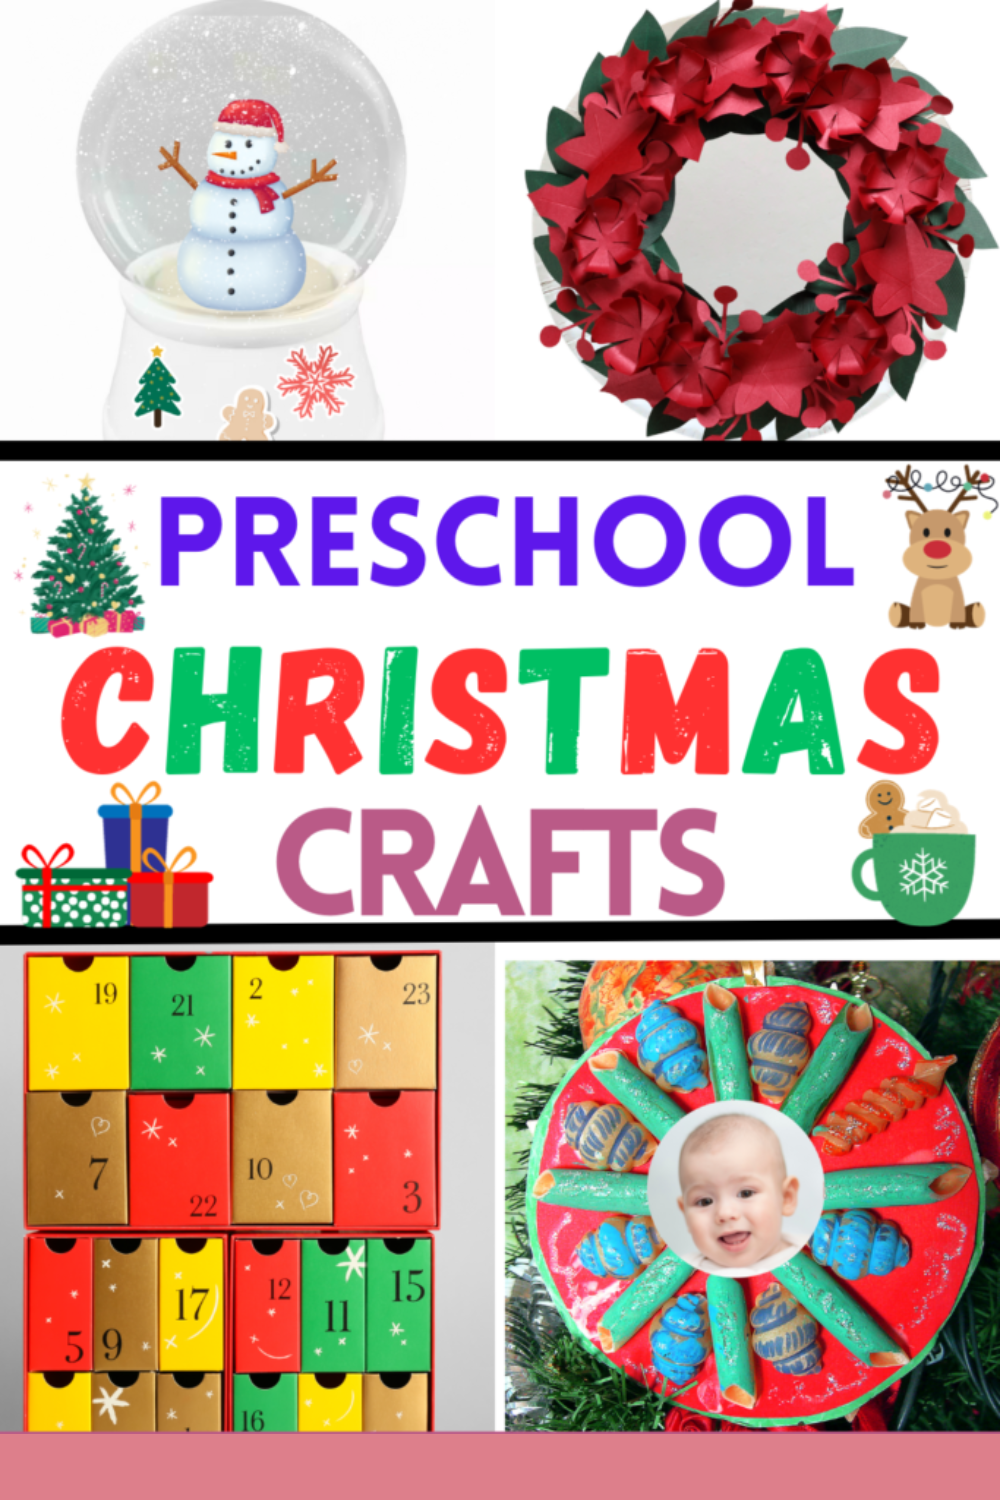
10 Preschool Christmas Crafts to Spark Holiday Joy!
Preschool Christmas Crafts
The holiday season is a magical time for families, filled with joy, warmth, and the spirit of giving. Engaging in easy Christmas crafts is a great way to bond with your loved ones and create lasting memories. With their little hands and boundless creativity, preschoolers can enjoy crafting during this festive season. In this article, we’ll explore 11 preschool Christmas crafts that are easy and fun and provide an excellent opportunity to enhance fine motor skills, making them perfect for kids of all ages.
You’ll find affiliate links within this post. If you decide to purchase through these links, I may earn a modest commission at no extra cost. Additionally, please review my privacy policy for more details.
✨ We hope you enjoyed these photos! If so, please consider sharing them on Pinterest by clicking the Pin Button on each image. Your support helps us connect with more people and spread creativity. Thank you so much! 💖
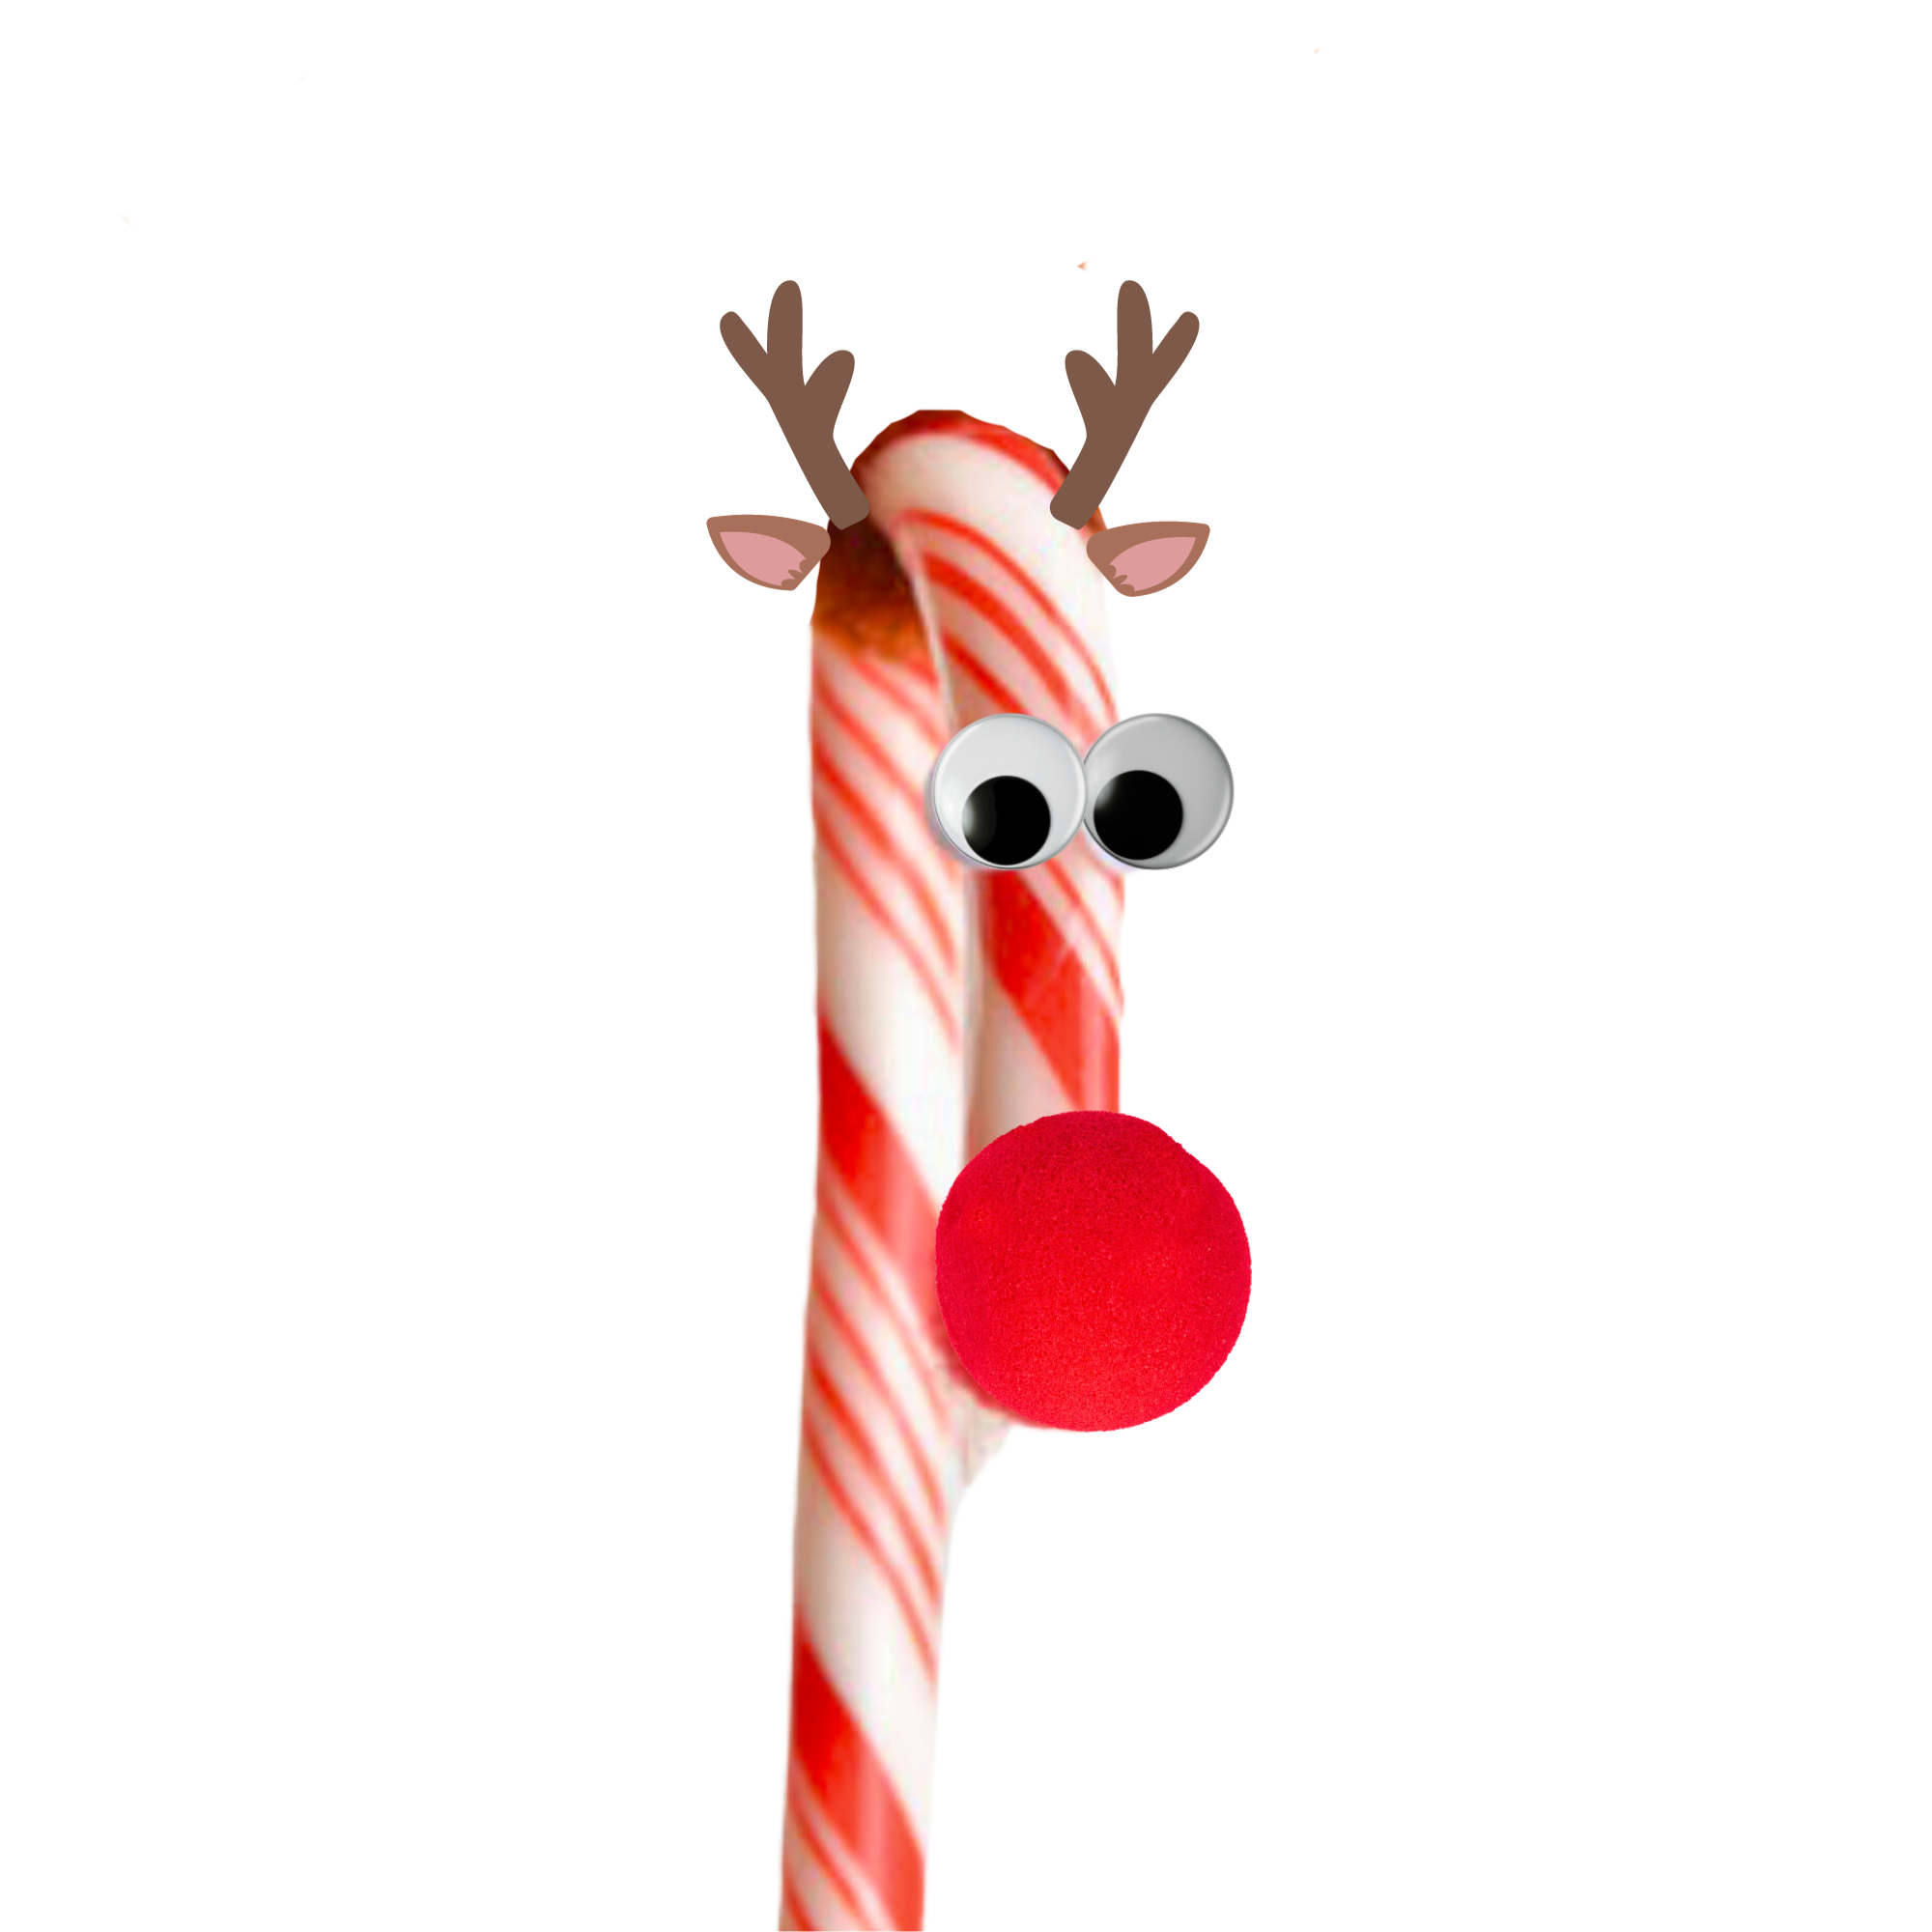
**Candy Cane Reindeer:**
Making candy cane reindeer is a great way to kick off the holiday crafting. Your little ones can bring these festive creatures to life using candy canes, googly eyes, and pipe cleaners. This easy craft is a fun Christmas activity and helps develop fine motor skills as they wrap the pipe cleaner around the candy cane.
**Materials Needed:**
1. Candy canes
2. Brown pipe cleaners
3. Googly eyes
4. Small red pom-poms or craft foam for the nose
5. Glue or hot glue gun
6. Red or brown ribbon (optional)
**Instructions:**
1. **Gather Your Materials:**
Assemble all the materials needed for your candy cane reindeer craft. Ensure you have enough candy canes, pipe cleaners, googly eyes, pom-poms or craft foam, and glue.
2. **Prep the Candy Canes:**
Carefully unwrap the candy canes, ensuring that they are intact. If you plan to hang the reindeer, consider leaving the plastic wrappers on the candy canes for a decorative touch.
3. **Create the Antlers:**
Take a brown pipe cleaner and cut it into two equal pieces. Twist each piece around the crook of the candy cane to create antlers. Adjust the length and shape as desired.
4. **Attach the Eyes:**
Use glue to attach googly eyes to the front of the candy cane, just above the curve. Make sure they are securely attached and aligned.
5. **Add the Nose:**
Attach a small red pom-pom or craft foam in the center, just below the eyes, to create the reindeer’s nose. This will give your candy cane reindeer a festive and adorable look.
6. **Optional Ribbon Bow:**
For an extra touch, tie a small bow with red or brown ribbon around the neck of the candy cane reindeer. This step is optional but adds a cute and festive flair.
7. **Allow for Drying:**
Using regular glue, allow the craft to dry completely before handling. If you opted for a hot glue gun, exercise caution and allow the glue to cool and harden.
8. **Create a Herd:**
Repeat the steps to create a whole herd of candy cane reindeer. This is a fantastic activity for group settings or classrooms.
9. **Hang or Share:**
Once the candy cane reindeer are dry and ready, you can hang them on your Christmas tree using the crook of the candy cane or share them as delightful holiday treats or gifts.
10. **Enjoy the Festive Decor:**
Display your adorable candy cane reindeer crafts around your home, or give them as thoughtful, handmade gifts. These festive creations will bring joy and holiday spirit to anyone who sees them!
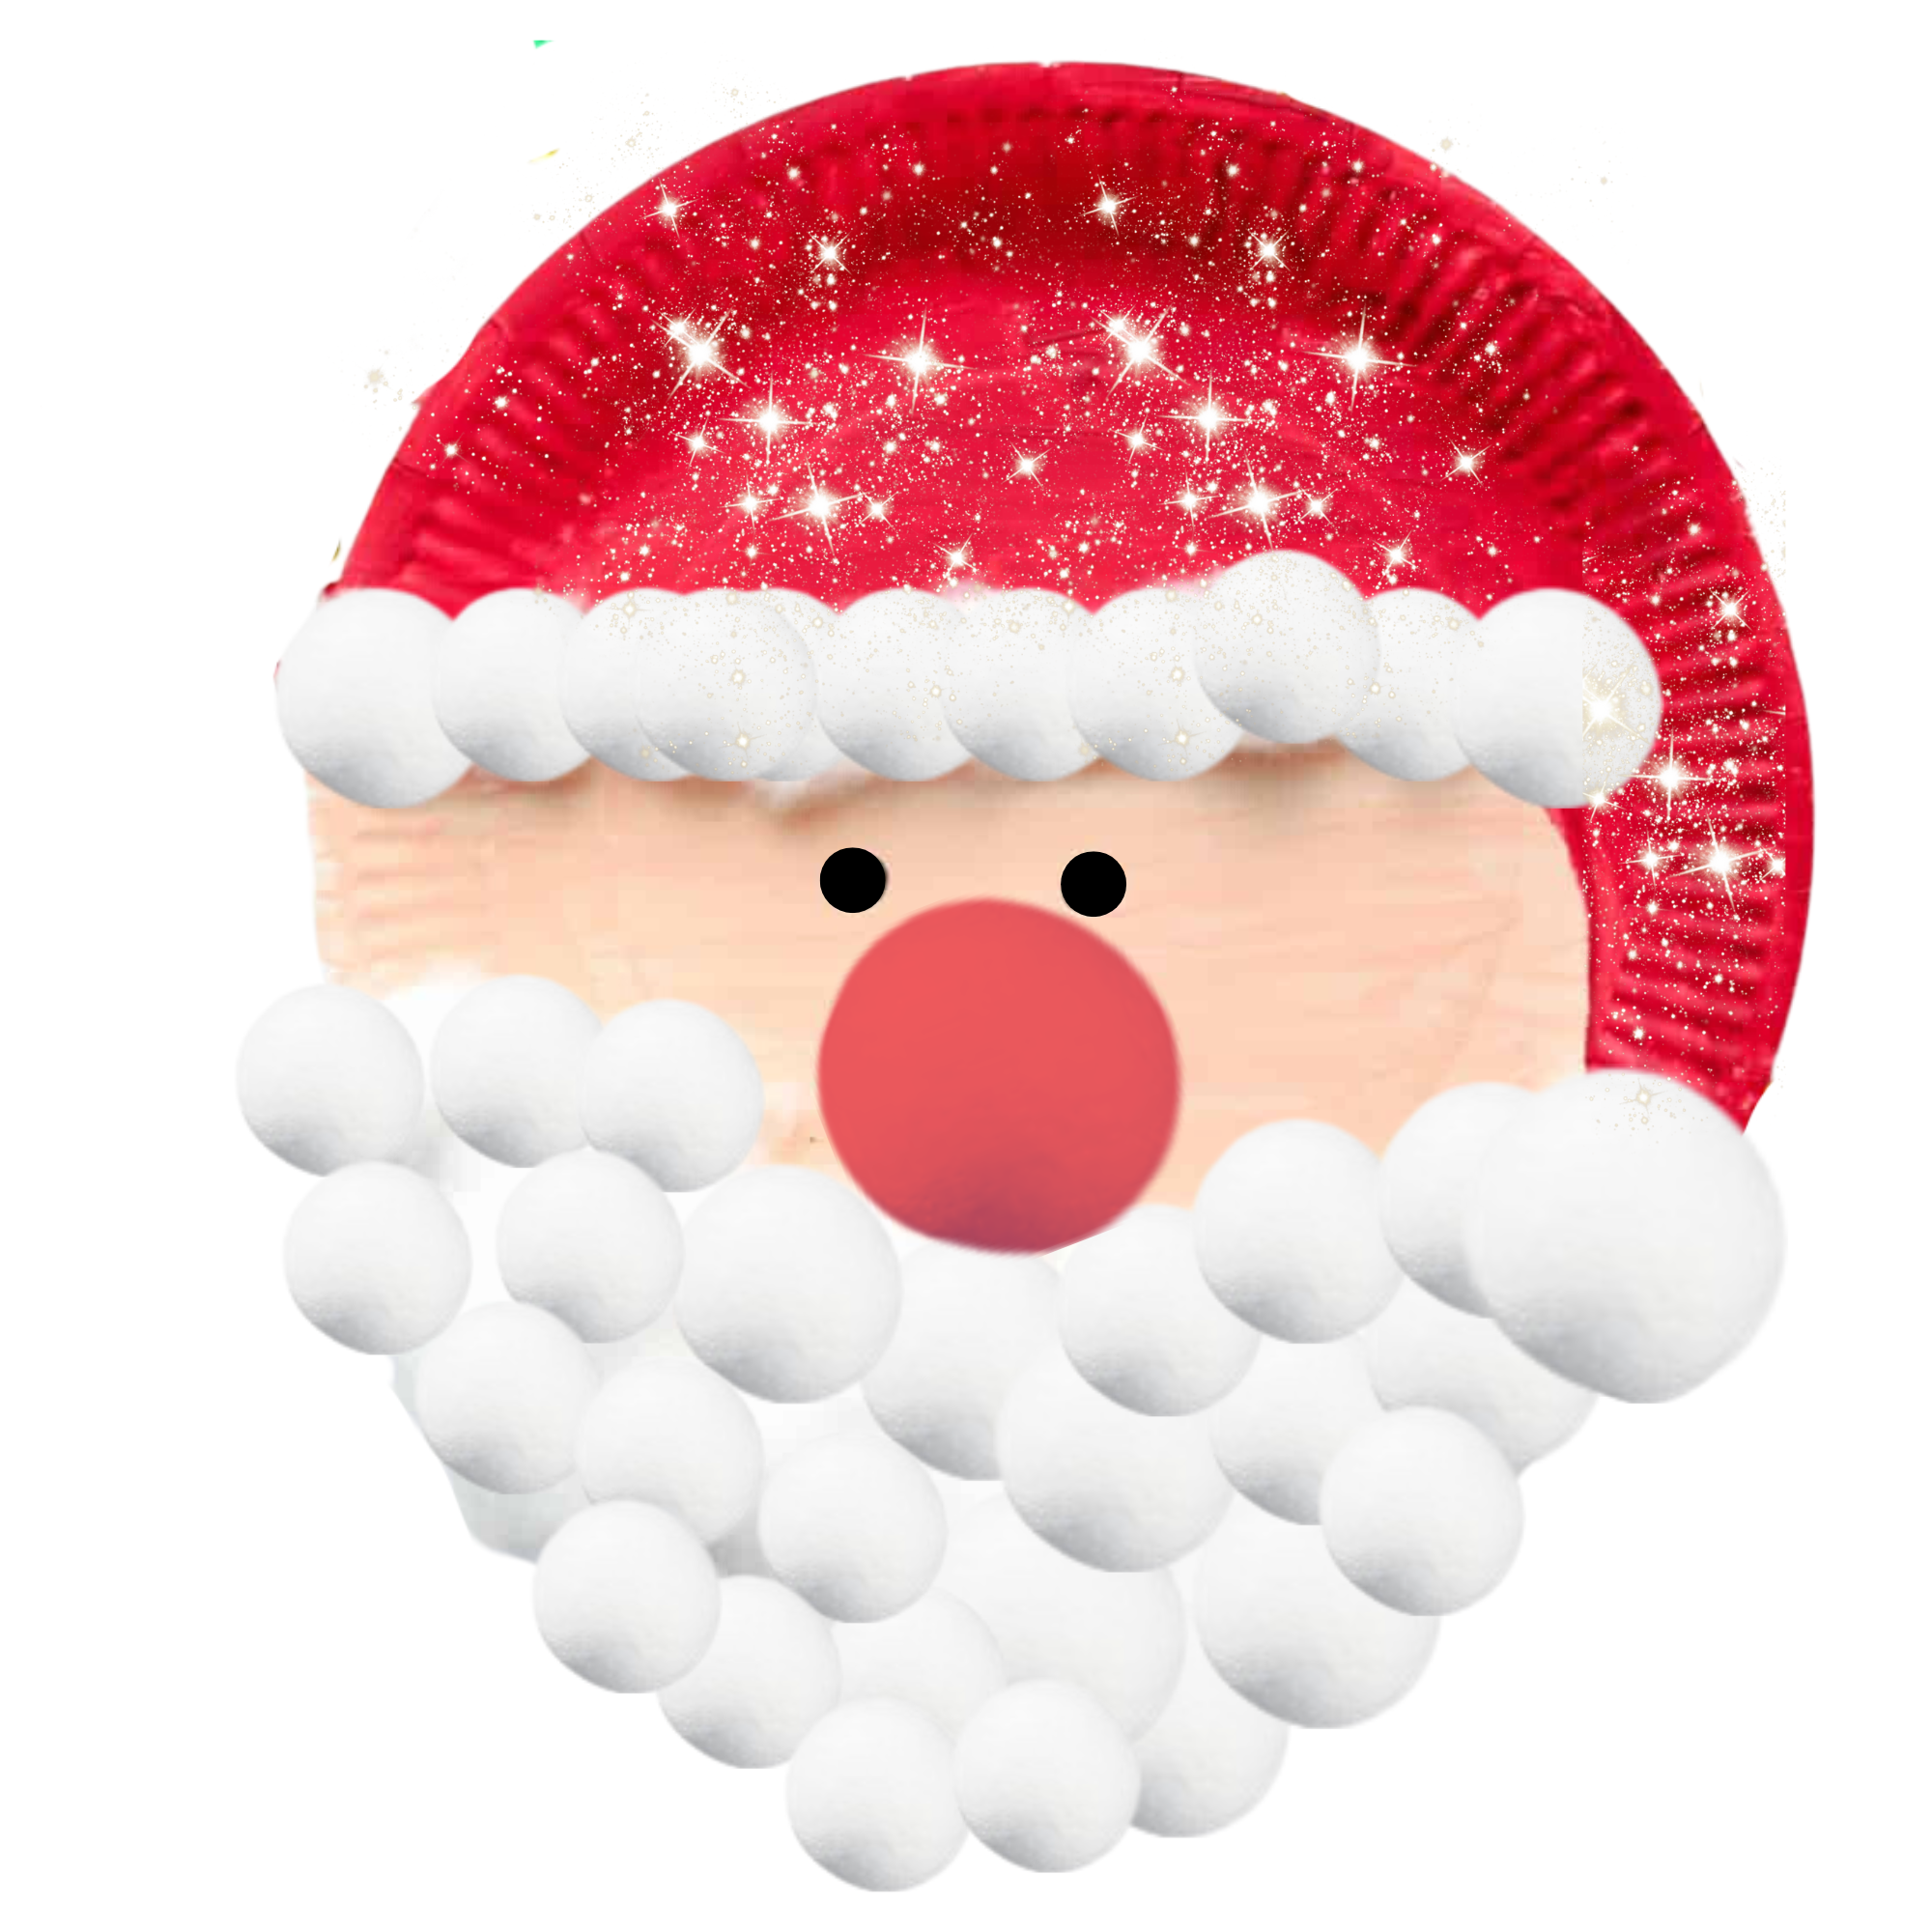
**Paper Plate Santa Claus:**
Transform a simple paper plate into jolly old St. Nick! With construction paper, cotton balls, and a glue stick, your little ones can craft their Santa Claus. This easy preschool Christmas craft is perfect for younger children and is ideal for spreading the holiday spirit.
**Materials Needed:**
1. Paper plates
2. Red, white, and black construction paper
3. Cotton balls
4. Glue or glue stick
5. Scissors
6. Googly eyes
7. Red pom-pom or red craft foam (for the nose)
8. Pencil
9. Optional: Red and white paint, paintbrush (for extra decoration)
**Instructions:**
1. **Prepare the Paper Plate:**
Start by turning the paper plate upside down. This will be the face of your Santa Claus.
2. **Cut the Construction Paper:**
– Cut a strip of red construction paper to create Santa’s hat. The strip should be wide enough to cover the top rim of the paper plate.
– Cut a small rectangle from white construction paper to serve as the fur trim for Santa’s hat.
– Cut another strip of white construction paper to create the hat’s brim.
– Cut a small rectangle from black construction paper to make Santa’s belt.
3. **Create Santa’s Hat:**
– Glue the white rectangle along the bottom edge of the red strip, creating the fur trim.
– Attach the red strip to the top rim of the paper plate, shaping it into a hat.
– Glue the white strip along the bottom edge of the red hat, creating the brim.
4. **Craft Santa’s Face:**
– Glue googly eyes near the center of the plate.
– Attach a red pom-pom or cut a small circle from red craft foam for Santa’s nose. Glue it below the eyes.
5. **Santa’s Beard:**
– Apply glue along the bottom edge of the paper plate, just below the nose.
– Press cotton balls onto the glue, creating Santa’s fluffy white beard.
6. **Santa’s Belt:**
– Glue the black rectangle horizontally across the center of the paper plate to create Santa’s belt.
7. **Optional Painting:**
– If desired, paint the remaining part of the paper plate with red and white paint to give Santa’s face a rosy complexion and a fluffy hat. Allow the paint to dry completely.
8. **Final Touches:**
– Use a pencil to draw a smiling mouth below the nose, or cut a small piece of red construction paper into a curved shape for Santa’s mouth.
– If you’ve painted the plate, wait for it to dry before adding facial features.
9. **Allow to Dry:**
– Ensure all glued items are secure and allow the craft to dry completely before handling or displaying.
10. **Display Your Santa Claus Craft:**
– Once the Santa Claus paper plate craft is dry, display it proudly as festive decor or as a fun holiday activity for kids.
Enjoy crafting your jolly Santa Claus paper plate creation!
**Popsicle Stick Christmas Trees:**
Create a forest of popsicle stick Christmas trees with the whole family. Using popsicle sticks, acrylic paint, and glue, this easy craft allows for creativity to flourish. It’s a fantastic way for older kids to express themselves while making delightful Christmas decorations.

**Materials Needed:**
1. Popsicle sticks (green and brown)
2. Acrylic paint (various colors)
3. Paintbrushes
4. Glue
5. Assorted decorations (sequins, pom-poms, stickers, etc.)
6. Scissors
7. Ribbon or string (optional for hanging)
**Instructions:**
1. **Prepare Popsicle Sticks:**
– Lay out the popsicle sticks, separating the green ones for the tree and the brown ones for the trunk.
2. **Paint the Popsicle Sticks:**
– Paint the green popsicle sticks with various shades of acrylic paint. This will be the Christmas tree. Let them dry completely.
– Paint the brown popsicle sticks with brown paint. These will serve as the tree trunks. Allow them to dry as well.
3. **Assemble the Christmas Tree:**
– Arrange the green popsicle sticks in the shape of a Christmas tree. Start with one stick as the trunk and then layer the green sticks in a triangle shape, with each layer getting smaller towards the top.
4. **Glue the Popsicle Sticks:**
– Apply glue to the back of each popsicle stick and press them onto the base stick, forming the tree. Hold them in place for a few seconds to allow the glue to set.
5. **Decorate the Christmas Tree:**
– Get creative with decorations! Add sequins, pom-poms, or stickers to represent ornaments on the tree. Allow the kids to express their creativity in decorating their trees.
6. **Create a Trunk:**
– Glue the brown popsicle stick vertically at the bottom of the triangle to create the tree trunk. Ensure it is centered and secure.
7. **Optional: Add a Hanging Loop:**
– If you want to hang the popsicle stick Christmas tree, attach a small loop of ribbon or string to the back of the tree using glue.
8. **Let it Dry:**
– Allow the entire Christmas tree craft to dry completely before moving or displaying it.
9. **Display Your Popsicle Stick Christmas Trees:**
– Once dry, your festive popsicle stick Christmas trees are ready to be displayed. Arrange them on a tabletop, string them together as garlands, or hang them on the tree.
10. **Celebrate and Enjoy:**
– Celebrate the holiday spirit with these charming popsicle stick Christmas trees! Whether used as decorations, gifts, or fun family activities, these DIY trees will surely add a festive touch to your celebrations.
This simple and enjoyable craft is perfect for kids of all ages and allows them to express their creativity during the holiday season.
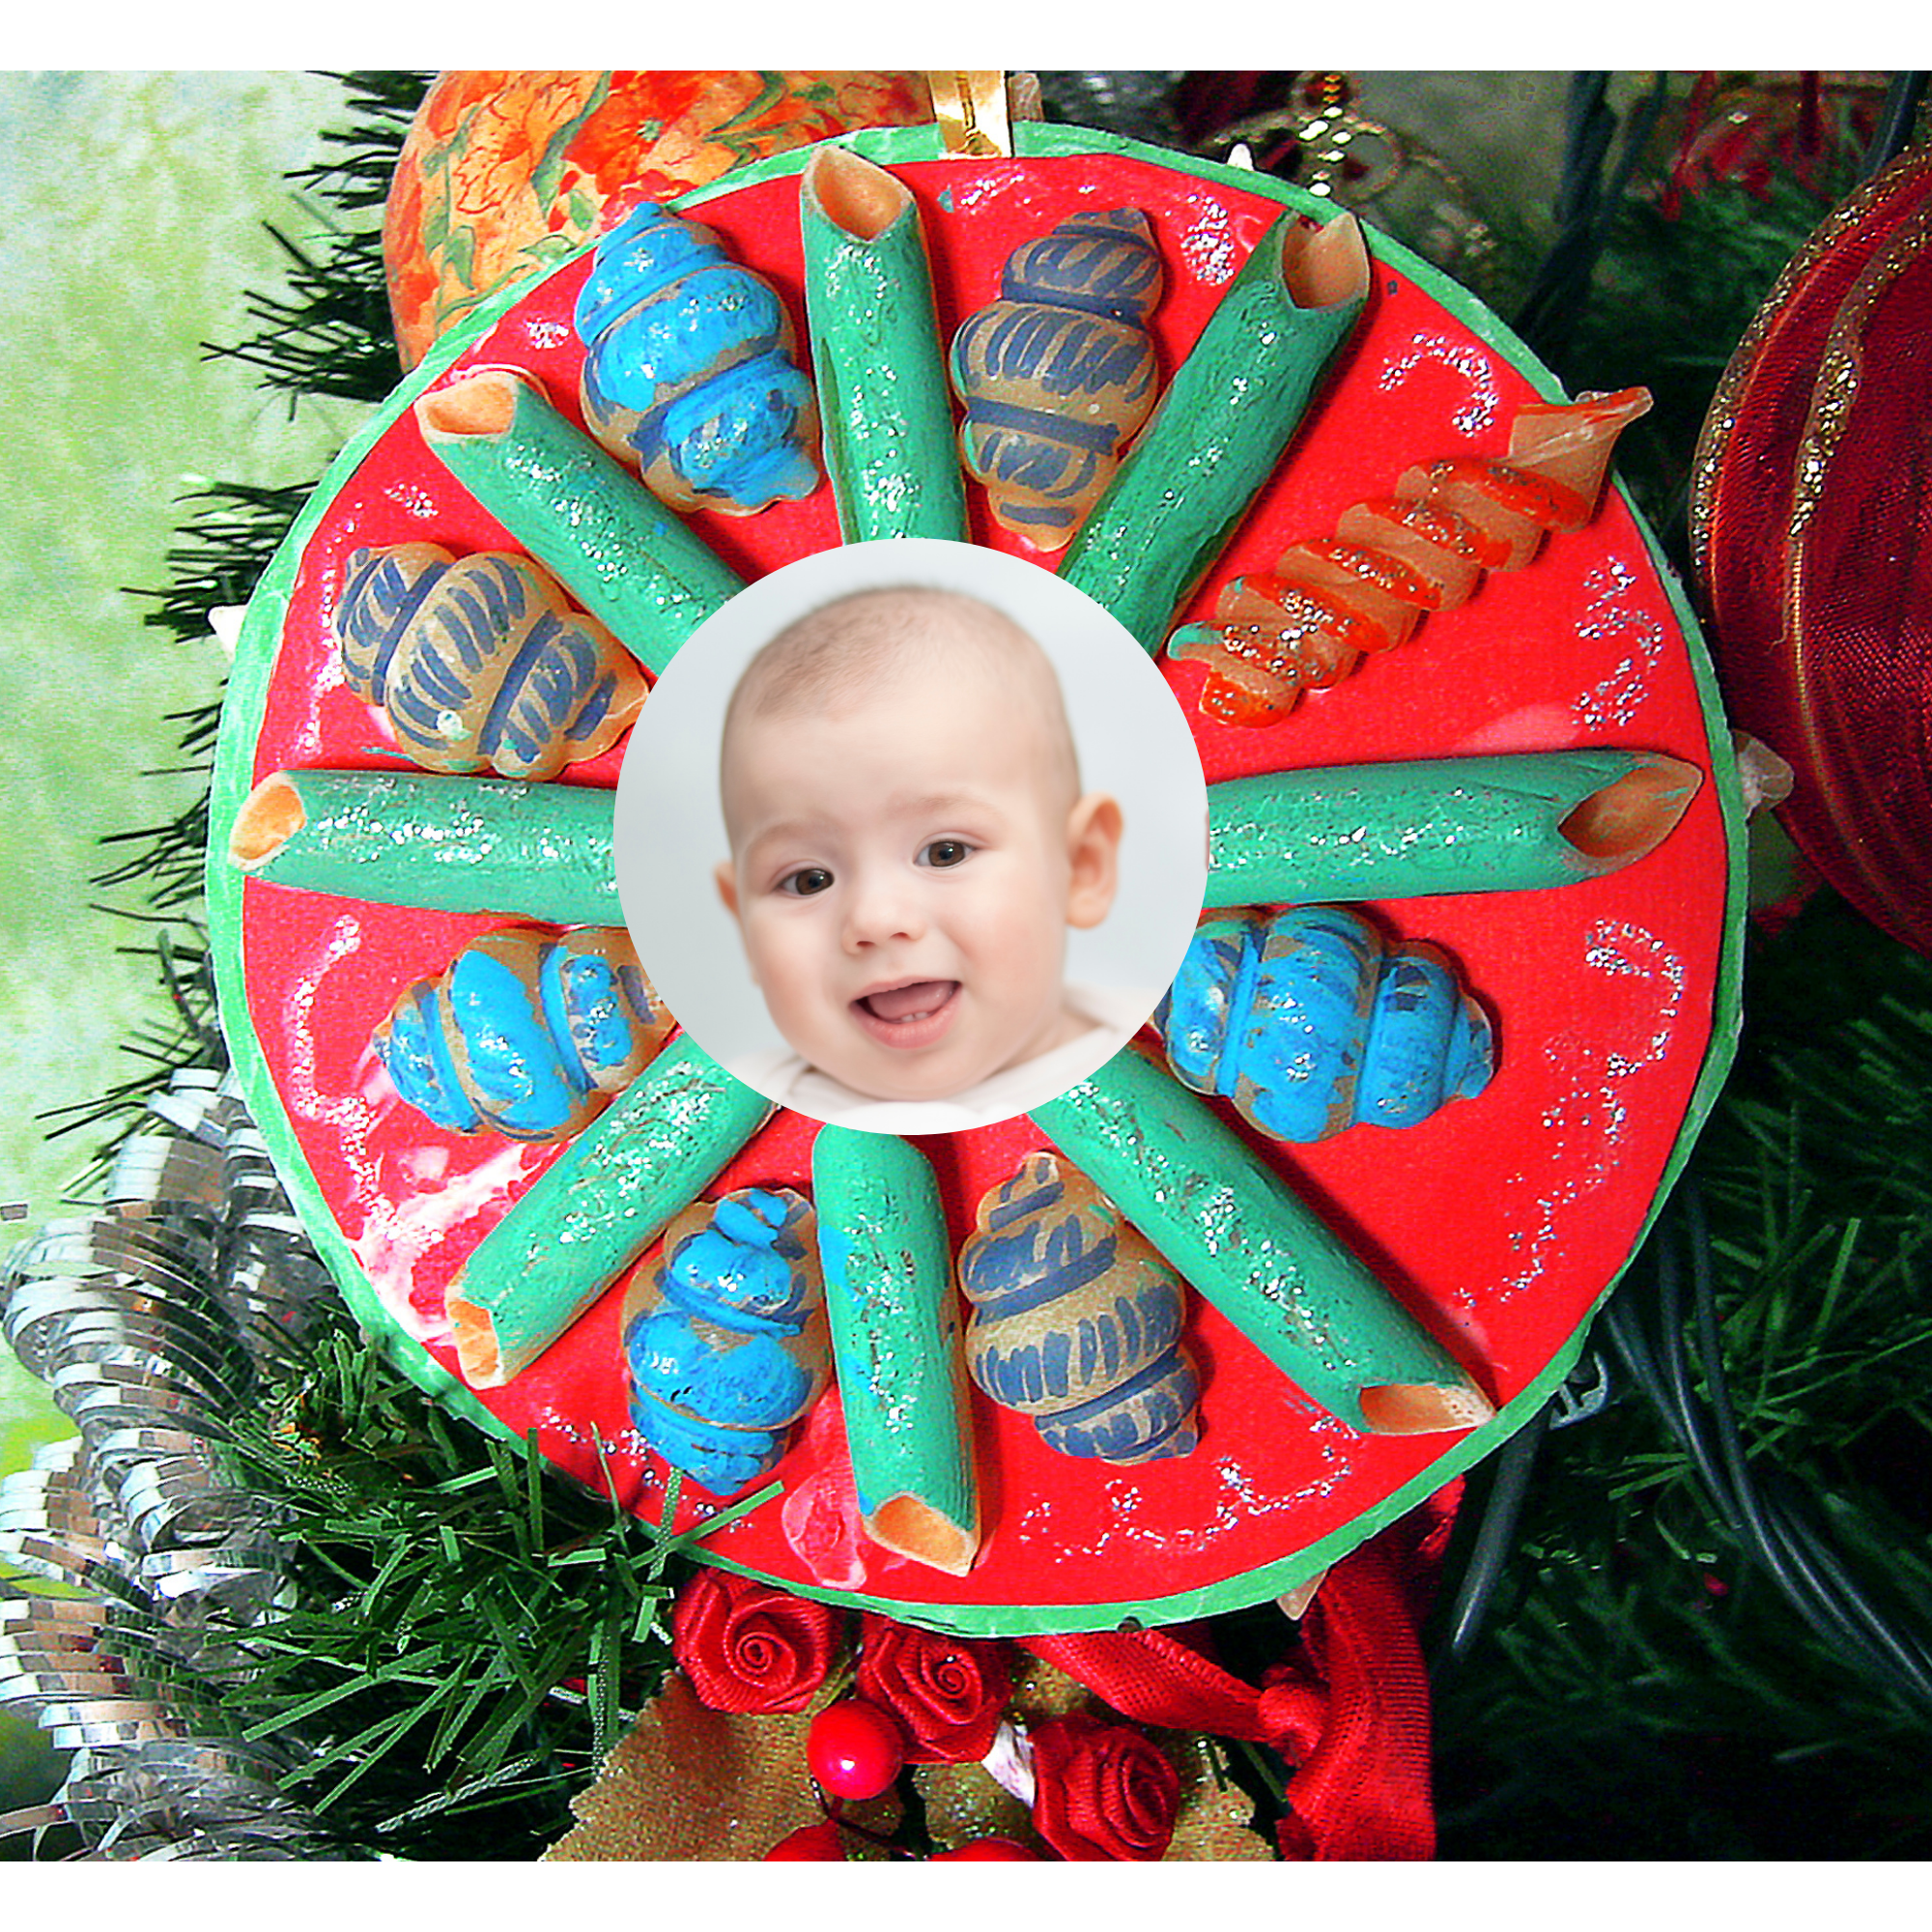
**Pasta Noodle Ornaments:**
Unleash creativity by turning pasta noodles into unique Christmas ornaments. With a bit of help from some white paint, these easy DIY ornaments become a memorable addition to your holiday decorations. Younger children can have a blast while the whole family contributes to this festive craft.
**Materials Needed:**
1. Various shapes and sizes of pasta noodles (penne, rigatoni, fusilli, etc.)
2. White paint
3. Paintbrushes
4. Colored markers or acrylic paint
5. Glue
6. Ribbon or twine
7. Optional: Glitter, sequins, or other decorative elements
**Instructions:**
1. **Gather Pasta Noodles:**
– Collect an assortment of pasta noodles in different shapes and sizes. This variety will add visual interest to your pasta noodle ornaments.
2. **Paint the Pasta:**
– Use white paint to coat the pasta noodles. This serves as a base layer for decorating. Allow the paint to dry completely before moving on to the next step.
3. **Decorate with Colors:**
– Once the white paint is dry, use colored markers or acrylic paint to add vibrant and festive designs to the pasta noodles. Let your creativity flow as you create unique patterns on each piece.
4. **Add Glitter or Decorative Elements (Optional):**
– For a touch of sparkle, consider applying glue to certain areas of the painted noodles and sprinkling glitter or attaching sequins. This step is optional but adds a festive flair to your pasta noodle ornaments.
5. **Create Hanging Loops:**
– Cut small ribbon or twine to create hanging loops for each ornament. Securely attach the loops to the pasta noodles using glue. Ensure that they are firmly attached and centered for hanging.
6. **Let the Glue Dry:**
– Allow the glue on the hanging loops to dry completely before handling the ornaments. This ensures that the loops will securely hold the weight of the ornaments.
7. **Arrange and Display:**
– Once all the elements are dry, your pasta noodle ornaments are ready to be displayed. Arrange them in a bowl, hang them on the Christmas tree, or use them as unique gift tags for presents.
8. **Personalize with Names (Optional):**
– If you’re using the ornaments as gift tags, consider personalizing them by writing names on each ornament. This adds a thoughtful touch to your holiday presents.
9. **Share the Fun:**
– This craft is a delightful holiday activity and a great way to involve the whole family. Encourage everyone to create their pasta noodle ornaments and share in the joy of crafting.
10. **Celebrate the Holidays:**
– Whether adorning your Christmas tree or adding a handmade touch to your gifts, these pasta noodle ornaments are a charming and creative way to celebrate the holiday season.
This easy and festive craft is suitable for all ages, making it a perfect family-friendly activity for the Christmas season.
**Toilet Paper Roll Reindeer:**
Get into the holiday spirit by transforming toilet paper rolls into adorable reindeer. Utilize googly eyes, pipe cleaners, and a red nose to create these charming characters. This simple Christmas craft is easy and great for a fun project on Christmas morning.

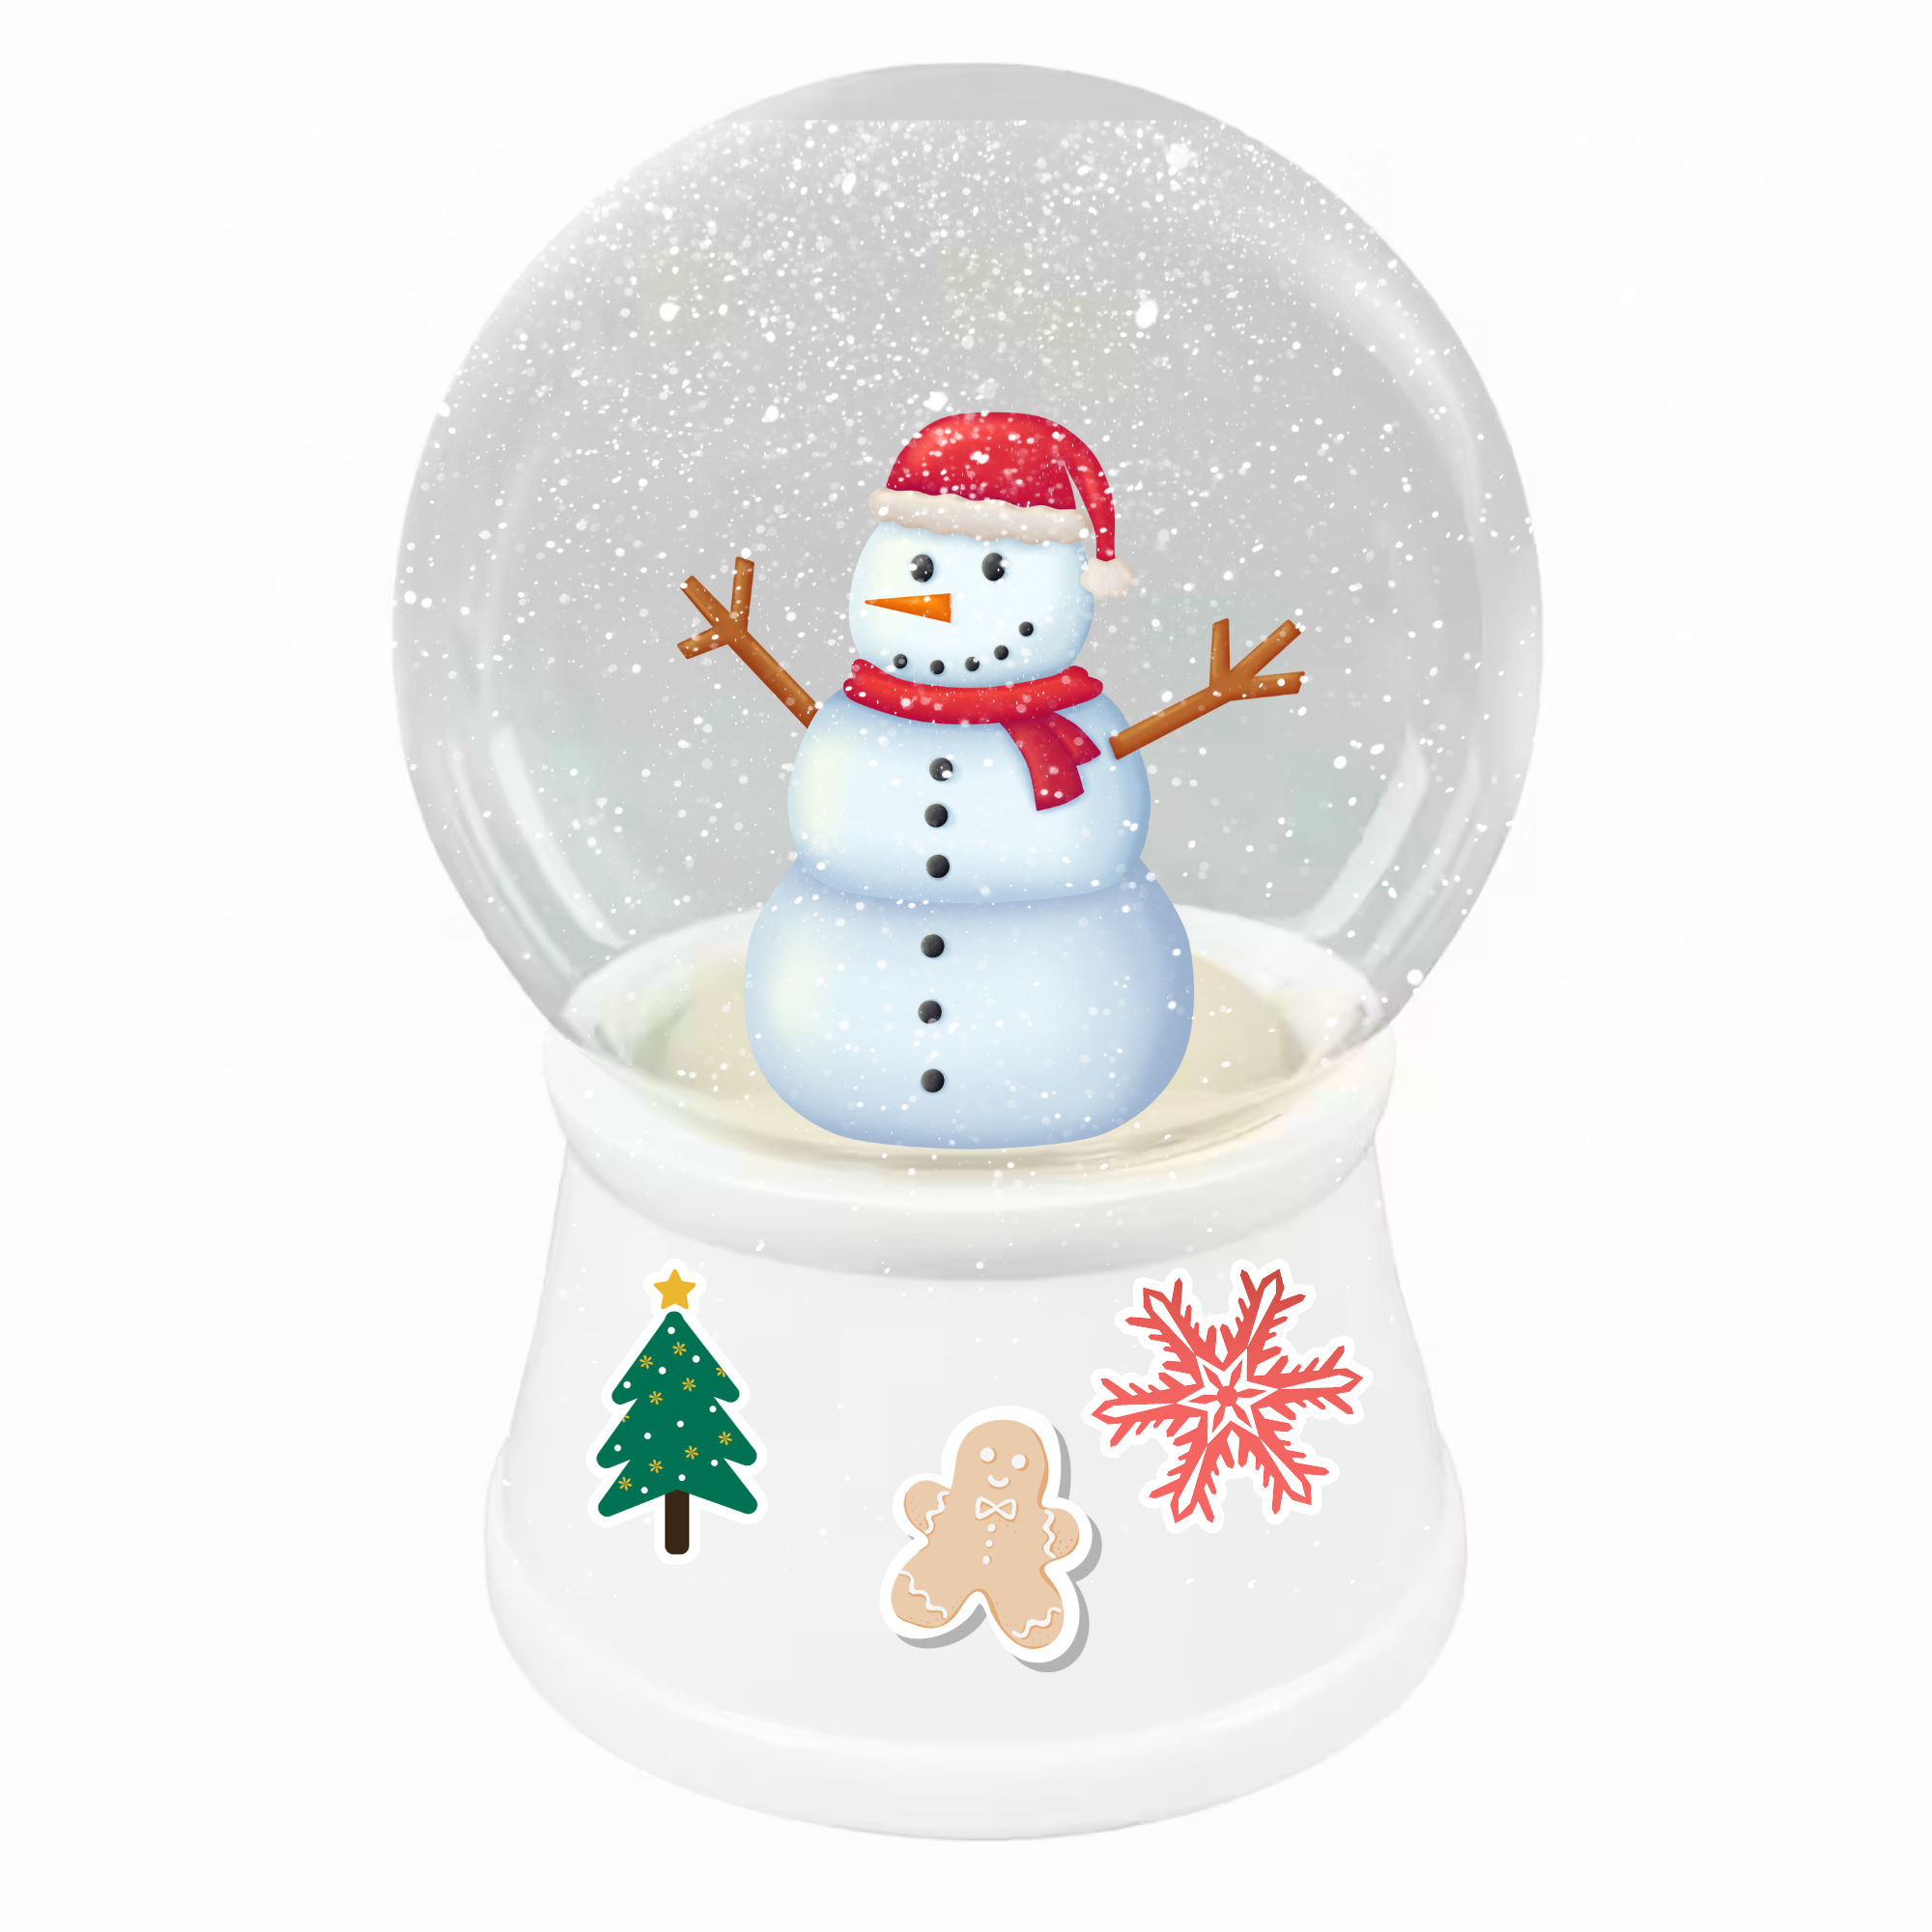
**Snow Globe Craft:**
Capture the magic of a winter wonderland with DIY snow globes. Using mason jars, mini marshmallows, and white paper, this easy and fun Christmas activity allows little ones to create their own snowy scenes. It’s a great keepsake that adds a touch of festive spirit to your holiday decorations.
**Materials Needed:**
1. Small, clear plastic or glass jars with lids
2. Craft snow or white glitter
3. Small holiday-themed figurines or ornaments
4. Waterproof glue or hot glue gun
5. Glycerin (optional)
6. Distilled water
7. Ribbon or twine (optional)
8. Decorative elements like mini trees or foam snowflakes (optional)
**Instructions:**
1. **Choose Figurines:**
– Select small holiday-themed figurines or ornaments that fit the theme of your snow globe. Popular choices include miniature trees, snowmen, or festive characters.
2. **Glue Figurines to Lid:**
– Use waterproof glue or a hot glue gun to securely attach the chosen figurines to the inside of the jar lid. Ensure they are centered and upright. Let the glue dry completely.
3. **Optional Decorations:**
– If desired, add decorative elements such as mini trees or foam snowflakes to enhance the snow globe’s festive look. Glue them to the inside of the lid.
4. **Add Snow or Glitter:**
– Sprinkle craft snow or white glitter into the bottom of the jar. Adjust the amount based on your preference for snowfall. If using glitter, choose a fine variety for a more delicate effect.
5. **Fill with Water:**
– Fill the jar with distilled water, leaving some space at the top to prevent overflow when inserting the lid. Add a few drops of glycerin to the water if you want a slower snowfall effect.
6. **Secure the Lid:**
– Carefully place the lid with the attached figurines onto the jar, ensuring a tight seal. Screw it on securely to prevent leaks.
7. **Seal the Jar:**
– Apply waterproof glue or use a hot glue gun around the rim of the jar lid to create a tight seal. This helps prevent water leakage and ensures the snow globe remains intact.
8. **Optional Ribbon or Twine:**
– If you’d like, tie a ribbon or piece of twine around the base of the lid for a decorative touch. This step is optional but can add a festive look to your snow globe.
9. **Shake and Enjoy:**
– Turn the jar upside down and gently shake it to watch the snow or glitter fall around the figurines. Ensure the lid is tightly sealed before shaking.
10. **Display Your Snow Globe:**
– Place your completed snow globe on a tabletop, shelf, or mantel as a charming holiday decoration. Consider creating a collection with different figurines for a festive display.
11. **Gift or Keepsake:**
– These DIY snow globes make lovely gifts or keepsakes. Consider crafting them with your family or friends to share the joy of the holiday season.
This simple and customizable snow globe craft allows you to create your own winter wonderland in a jar. It’s a delightful project for kids and adults to enjoy during the holiday season.
**Christmas Tree Craft with Cookie Cutters:**
Make the most of cookie cutters, using them for a different purpose—creating festive Christmas tree shapes. With various sizes and colors of construction paper, let your little ones arrange and glue their unique trees. This easy preschool Christmas craft is a perfect way to engage kids in holiday arts and crafts.

**Materials Needed:**
1. Assorted Christmas tree-shaped cookie cutters
2. Green construction paper or cardstock
3. Pencil
4. Scissors
5. Assorted colored construction paper or cardstock
6. Glue or glue stick
7. Decorative elements (optional): sequins, glitter, pom-poms, stickers, etc.
8. Ribbon or twine for hanging (optional)
**Instructions:**
1. **Select Cookie Cutters:**
– Choose Christmas tree-shaped cookie cutters in various sizes for a diverse and visually appealing tree.
2. **Trace Christmas Trees:**
– Place the cookie cutters on the green construction paper or cardstock and trace around them with a pencil. Create as many tree shapes as desired.
3. **Cut Out Tree Shapes:**
– Carefully cut out the traced tree shapes using scissors. Ensure that the edges are neat and well-defined.
4. **Prepare Decorative Elements:**
– Cut small shapes from colored construction paper to serve as ornaments. You can also prepare other decorative elements like star-shaped toppers or garlands.
5. **Decorate the Trees:**
– Glue the colored shapes onto the tree cutouts as ornaments. Encourage creativity using sequins, glitter, pom-poms, or stickers to embellish the trees.
6. **Create Tree Toppers (Optional):**
– If desired, cut out star shapes from colored paper to serve as tree toppers. Glue the stars to the tops of the trees.
7. **Add a Trunk:**
– Cut small rectangles from brown construction paper to represent tree trunks. Glue the trunks to the bottom of each tree.
8. **Arrange the Trees:**
– Arrange the decorated Christmas trees in a desired pattern on a flat surface. Experiment with different sizes and colors to create a visually appealing display.
9. **Optional Hanging Element:**
– If you wish to hang the Christmas tree craft, attach a ribbon or piece of twine to the top of the largest tree. Secure it with glue, creating a loop for hanging.
10. **Secure the Trees Together:**
– Glue the back of each tree and press it onto a larger piece of paper or cardstock. This step helps secure the trees together and provides a background for displaying the entire craft.
11. **Let It Dry:**
– Allow the glued elements to dry completely before moving or displaying the Christmas tree craft.
12. **Display or Gift:**
– Once dry, your Christmas tree craft is ready to be displayed on a wall, door, or bulletin board. It also makes a beautiful handmade gift or festive decoration.
This Christmas tree craft with cookie cutters is a fun and easy project for kids and adults alike. It allows for creativity in decorating and provides a delightful way to celebrate the holiday season.
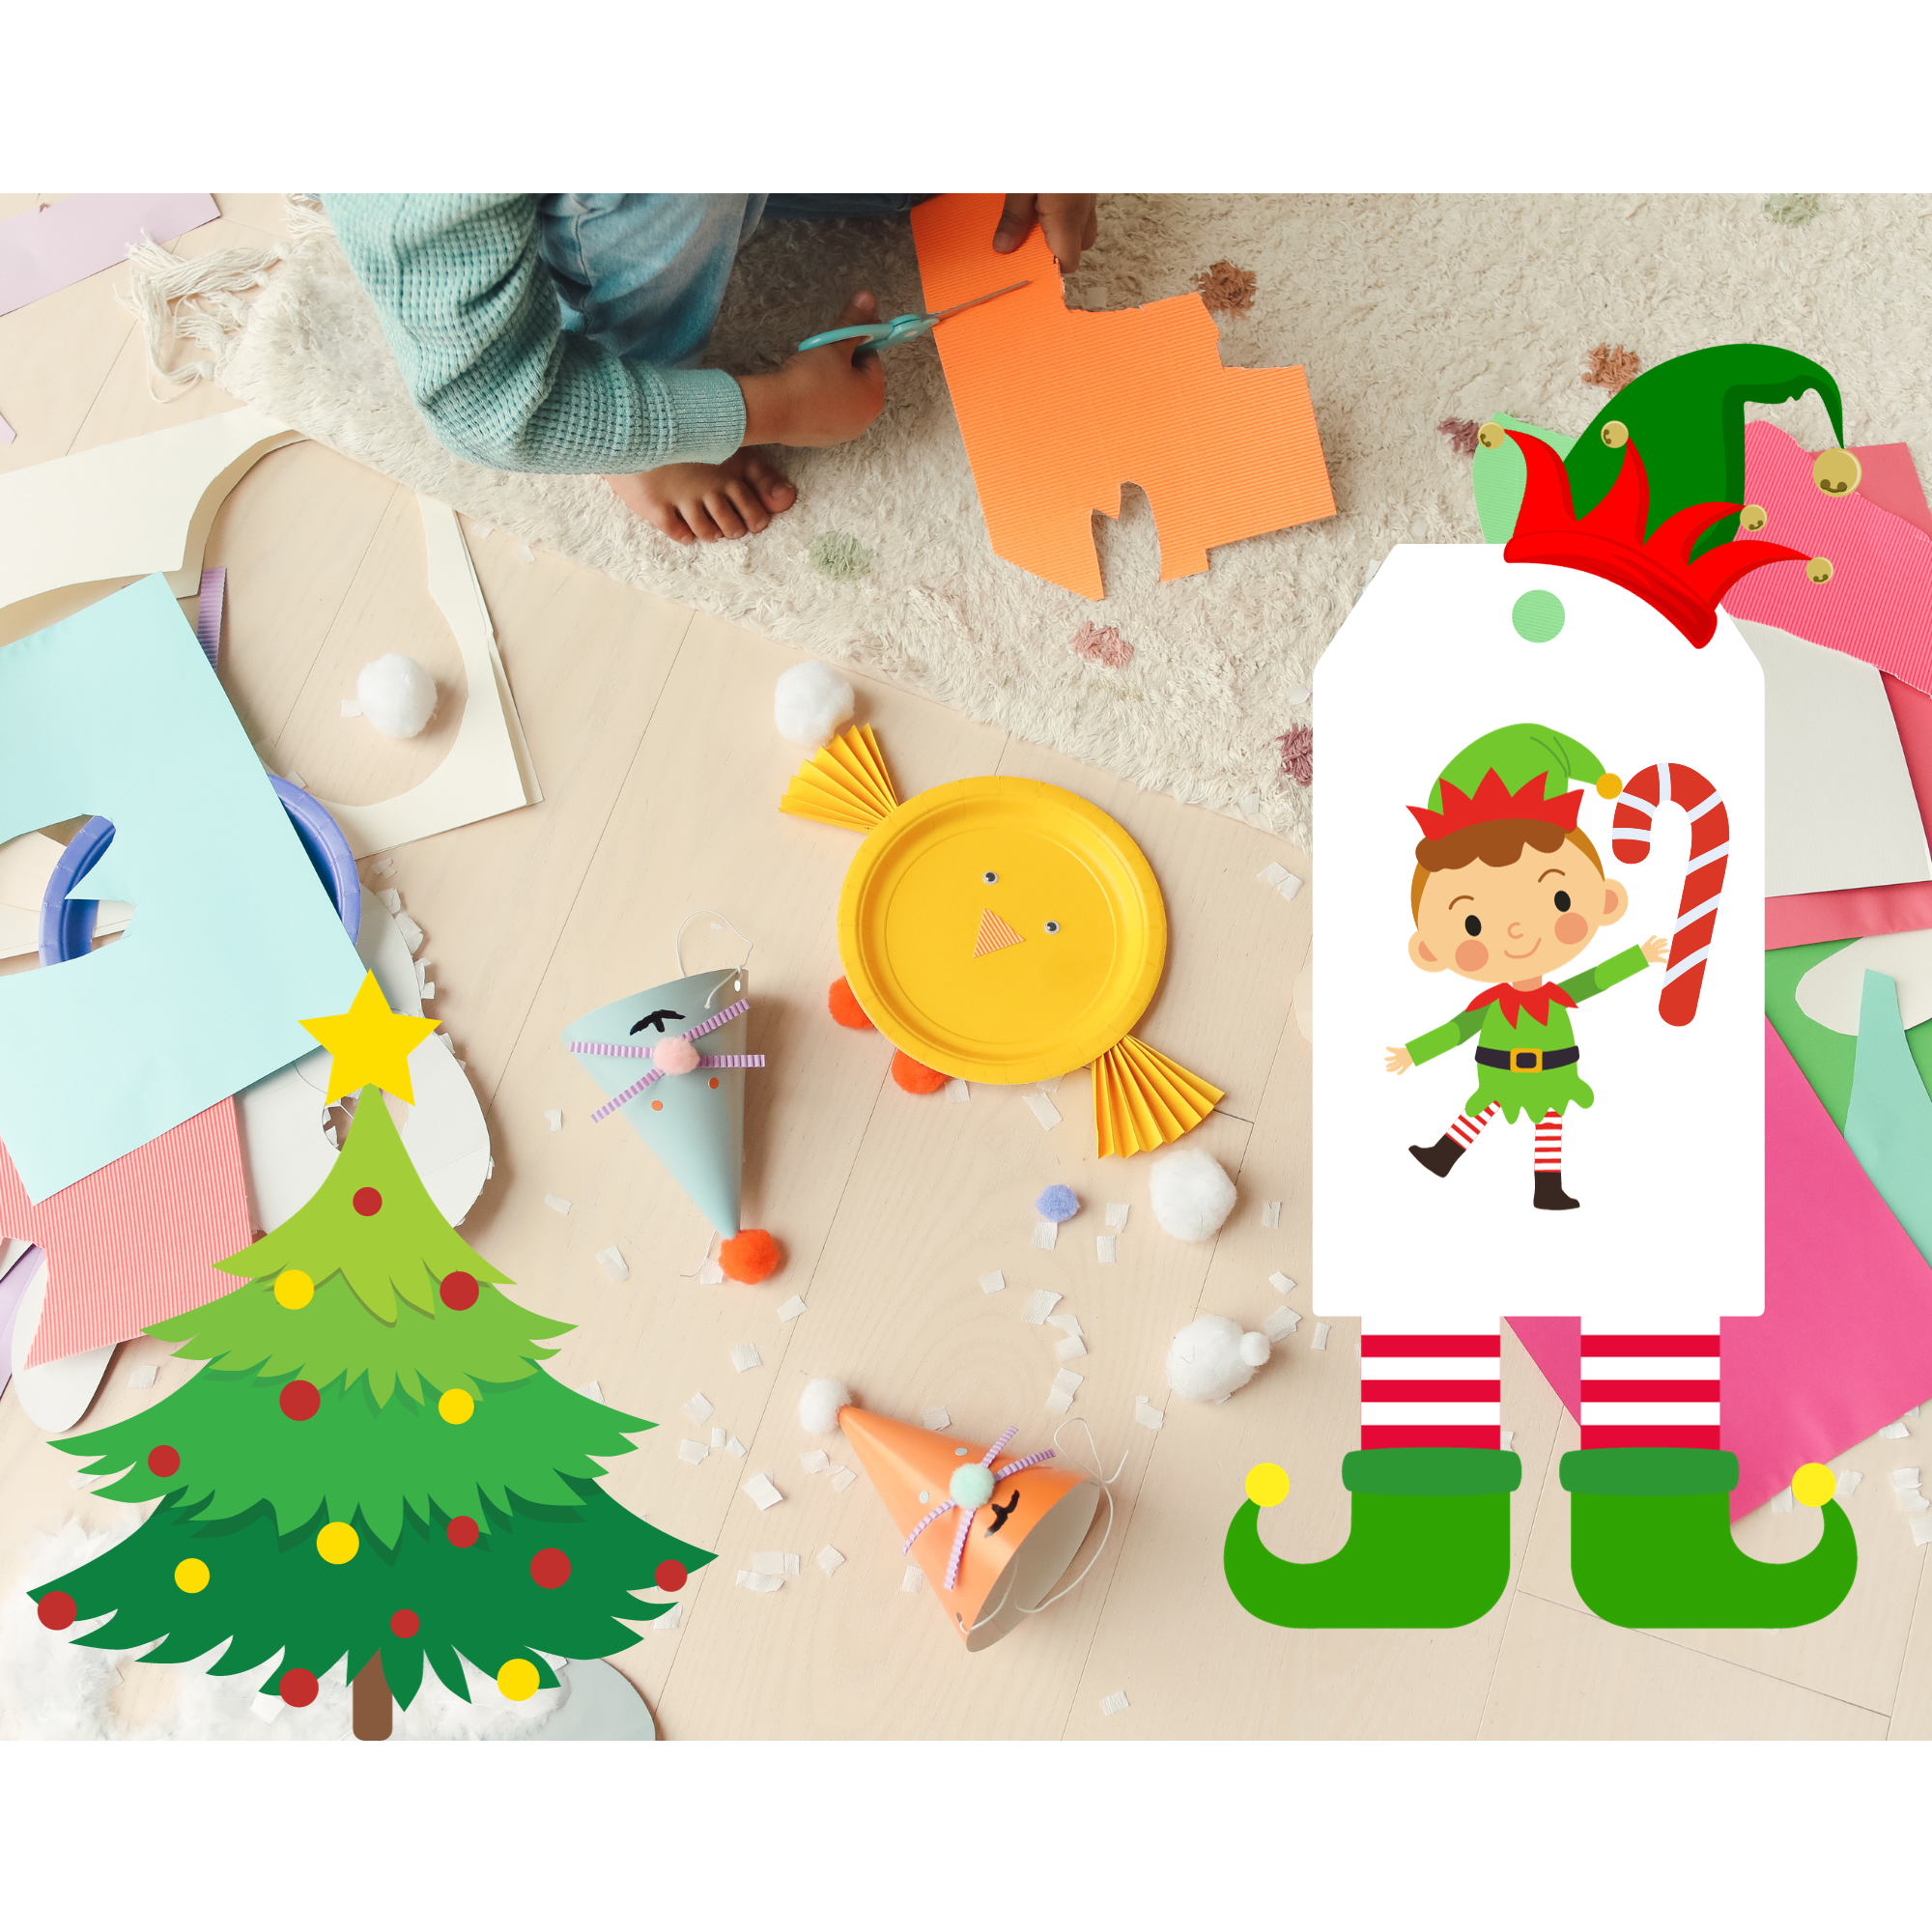
**Elf Craft with Gift Tags:**
Channel the mischievous charm of elves with a craft that uses gift tags as the elf’s body. Your preschoolers can create their own elf characters with construction paper, googly eyes, and a little hot glue. This easy and creative craft will surely bring a smile to the entire family.
Certainly! You’re interested in creating an Elf Craft with Gift Tags. Here’s a simple set of directions and a list of materials to get you started:
Elf Craft with Gift Tags
Materials:
1. **Construction Paper:**
– Green, Red, White, and Black
2. **Markers or Colored Pencils:**
– Red, Green, Black, and any other colors you’d like
3. **Scissors**
4. **Glue or Glue Stick**
5. **Ribbon or String**
6. **Hole Punch**
7. **Googly Eyes (optional)**
Instructions:
**1. Elf Hat Gift Tags:**
– Take the red construction paper and cut out small triangle shapes to make elf hats.
– Add a white trim at the base of each hat for a festive touch.
– Use a black marker to draw a belt buckle on each hat.
– Write a name or a holiday message on the white trim of the hat.
– Punch a hole at the top of the hat and thread a ribbon to create a tag.
**2. Elf Shoe Gift Tags:**
– Cut out elf shoe shapes from green construction paper.
– Decorate the shoes with stripes or other patterns using markers or colored pencils.
– Write a name or message on each shoe.
– Punch a hole near the top of each shoe and attach a piece of ribbon.
**3. Elf Face Gift Tags:**
– Cut out round shapes from the white construction paper to make elf faces.
– Draw an elf face on each circle using markers or add googly eyes for a fun touch.
– Use red construction paper to cut out small elf hats and glue them on the faces.
– Write a message or a name below each elf’s face.
– Punch a hole near the top of each face and tie a ribbon through it.
**4. Assembly:**
– Use the ribbons to attach the elf hat, shoe, or face gift tags to your wrapped presents.
– Personalize each tag with the recipient’s name or a special message.
– If you have extra time, add decorations like glitter or sequins.
**5. Display:**
– Arrange your beautifully wrapped gifts with elf-themed tags under the tree or on a festive table.
This Elf Craft with Gift Tags is a fun and creative way to add a personal touch to your holiday presents. Feel free to customize the design and colors based on your preferences, and have a joyful crafting time!
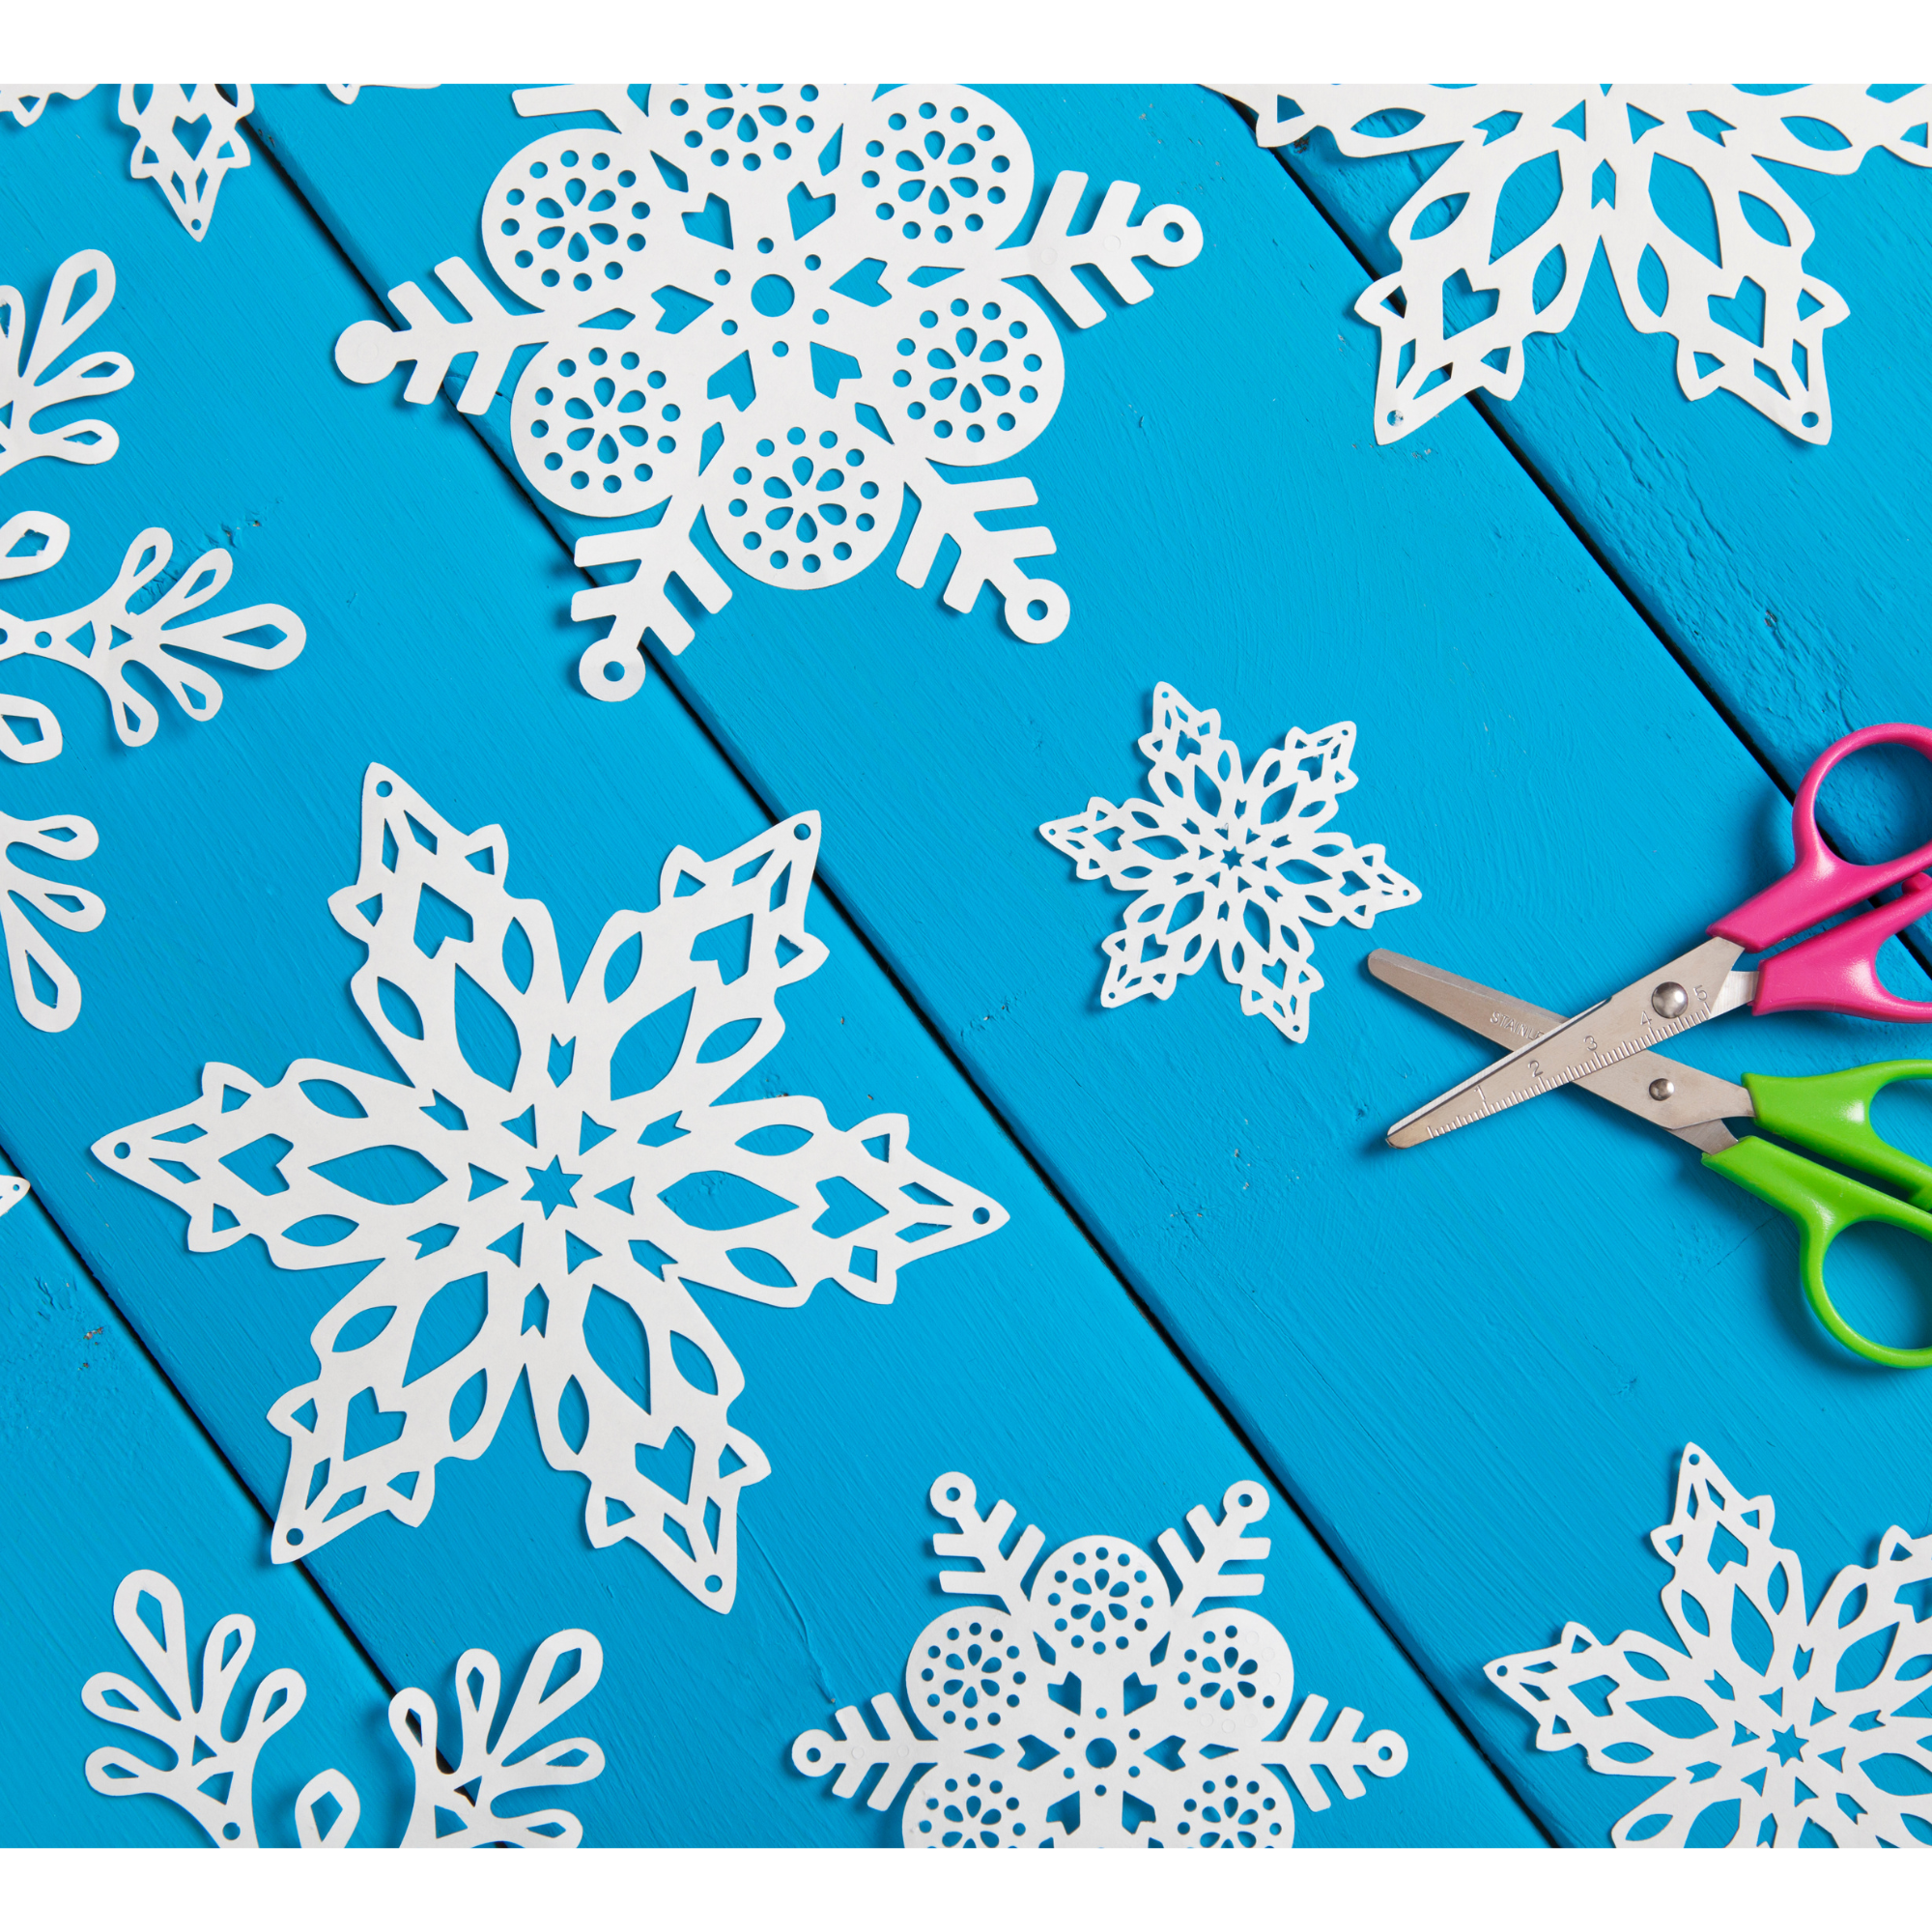
**Snowflake Crafts with Tissue Paper:**
Embrace the beauty of winter by crafting delicate snowflakes using tissue paper. Preschoolers can cut out different shapes with scissors and glue and create their unique snowflakes. This simple Christmas craft is a great way to introduce kids to the wonders of negative space in art.
Absolutely! Creating snowflake crafts with tissue paper is a delightful and festive activity. Here are the directions and a list of materials to help you get started:
Snowflake Crafts with Tissue Paper
Materials:
1. **Tissue Paper:**
– White or light blue (for snowflakes)
– Various colors (optional for added decoration)
2. **Scissors**
3. **White Glue or Glue Stick**
4. **String or Fishing Line**
5. **Hole Punch**
6. **Optional: Glitter, Sequins, or Beads for decoration**
Instructions:
**1. Prepare Tissue Paper:**
– Select the color(s) of tissue paper you’d like to use for your snowflakes. White or light blue works well for a classic snowflake look.
– Lay multiple sheets of tissue paper on top of each other. The more layers you use, the fuller your snowflake will be.
**2. Cutting Snowflake Shapes:**
– Fold the tissue paper stack accordion-style (back and forth).
– Begin cutting snowflake shapes along the folded edge. Common shapes include triangles, squares, and circles. Feel free to get creative with your designs.
– Ensure you leave some parts uncut along the folded edge to keep the layers connected.
**3. Unfolding Snowflakes:**
– Carefully unfold the tissue paper to reveal your snowflake. Gently separate the layers.
**4. Decoration (Optional):**
– Add a touch of sparkle by decorating your snowflakes with glitter, sequins, or small beads. Apply glue and sprinkle the decorations on the tissue paper.
**5. Reinforce and Dry:**
– If needed, apply a thin layer of white glue or use a glue stick along the edges of the snowflake to reinforce it. Allow the glue to dry completely.
**6. Hole Punch and String:**
– Punch a hole near the top of each snowflake.
– Throw a length of string or fishing line through the hole. Tie a knot to create a loop for hanging.
**7. Hang and Display:**
– Hang your beautiful tissue paper snowflakes in windows, from the ceiling, or on a holiday tree.
– Create a snowflake garland by stringing several snowflakes together.
**8. Experiment with Sizes:**
– Try making snowflakes in different sizes for added variety in your decorations.
**9. Enjoy and Share:**
– Enjoy the wintery ambiance created by your tissue paper snowflakes.
– Consider gifting or using them as festive decorations for a holiday party.
This snowflake craft is a simple yet charming way to add a wintry touch to your space. Have fun experimenting with different shapes and colors to create a unique set of snowflakes!
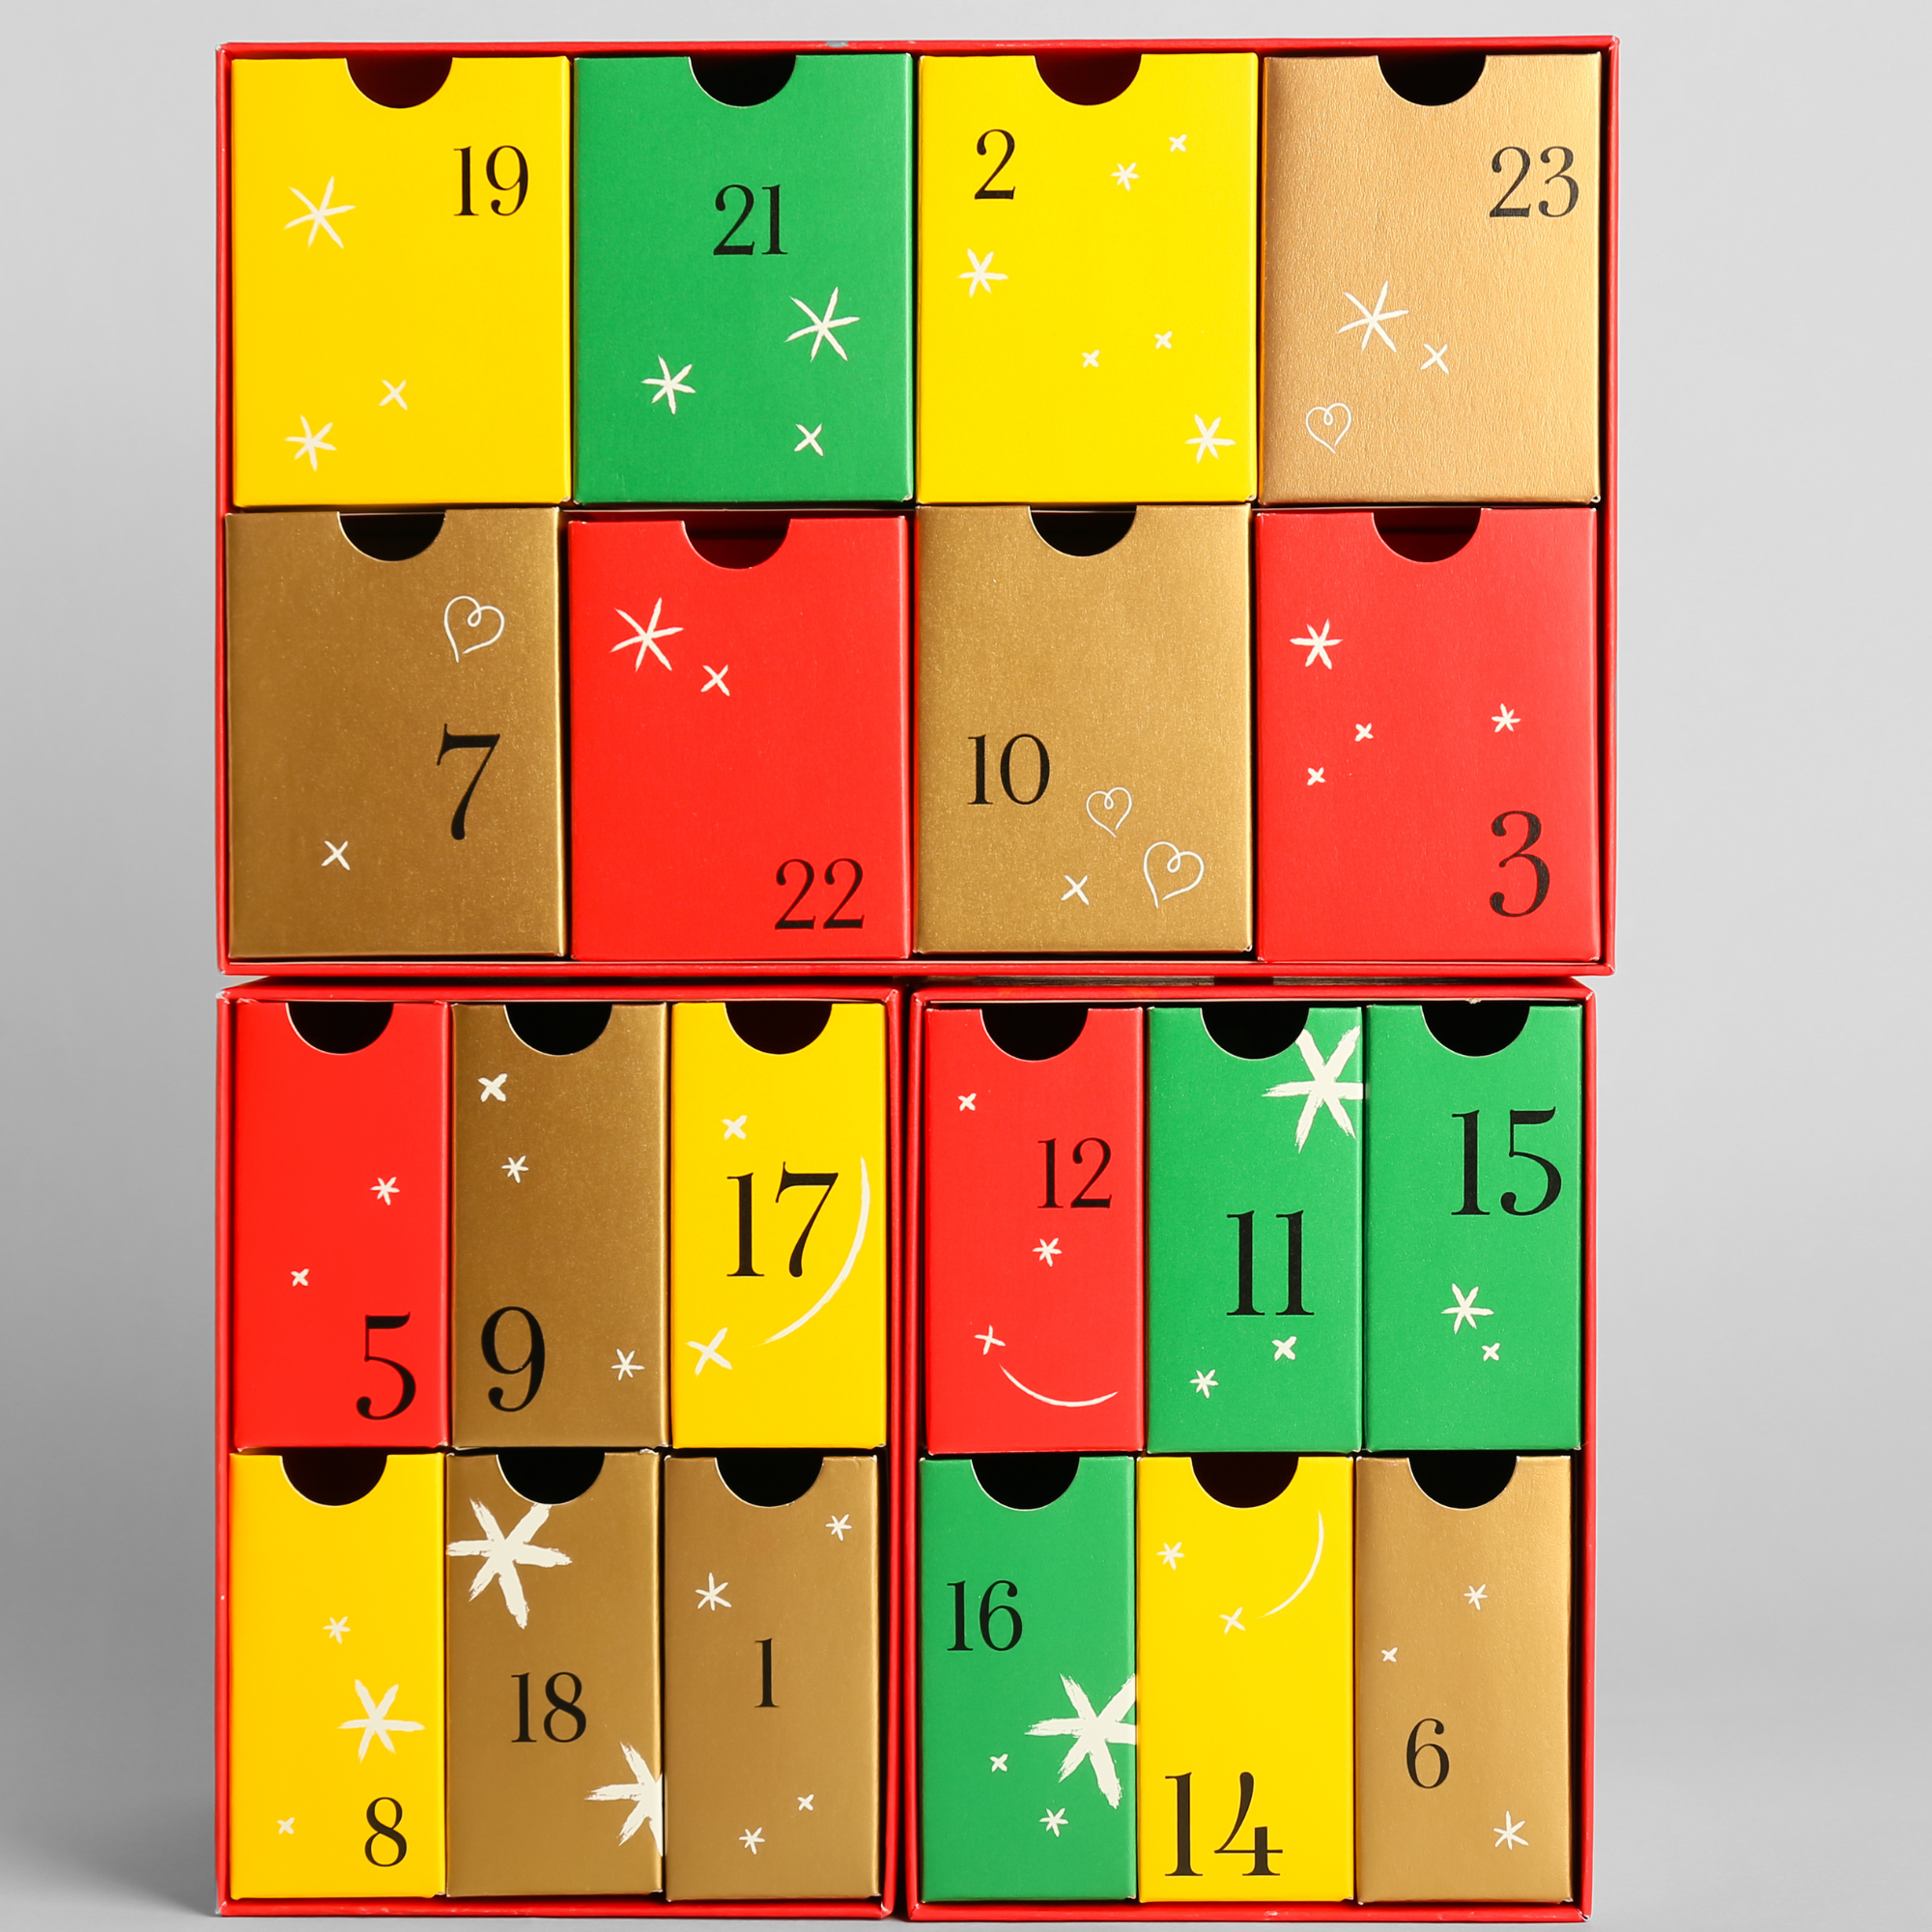
**Advent Calendar on Cardboard:**
Count down the days until Christmas with a handmade advent calendar. Your little ones can create a festive countdown to the big day using a piece of cardboard and little gift tags. This easy and interactive craft adds a decorative touch and builds excitement during the holiday season.
Certainly! Creating an Advent Calendar on cardboard is a beautiful way to count down the days until Christmas. Here are step-by-step directions and a list of materials to guide you through the process:
Advent Calendar on Cardboard
Materials:
1. **Cardboard Sheets or a Cardboard Box:**
– Large enough for your desired calendar size.
2. **Ruler**
3. **Pencil**
4. **Craft Knife or Scissors**
5. **Acrylic Paints or Colored Paper**
6. **Paintbrushes (if using paint)**
7. **Number Stickers or Markers**
8. **Small Treats or Gifts for Each Day**
9. **Small Envelopes or Bags (optional)**
10. **Glue or Double-sided Tape**
11. **String or Ribbon**
12. **Clothespins or Small Clips**
Instructions:
**1. Prepare the Cardboard:**
– Cut the cardboard into the desired size and shape for your calendar. A rectangular shape is common, but feel free to get creative.
**2. Divide into Sections:**
– Divide the cardboard into 24 equal sections using a ruler and pencil. These will represent the days leading up to Christmas.
**3. Design and Paint:**
– Paint the entire cardboard or cover it with colored paper for a festive background.
– Create a holiday-themed design or pattern on the cardboard using acrylic paints or additional colored paper.
– Allow the paint to dry completely.
**4. Number the Days:**
– Number each section from 1 to 24. You can use number stickers, markers, or any other decorative numbering method.
**5. Attach Small Envelopes or Bags (Optional):**
– If you’d like to add an extra layer of excitement, attach small envelopes or bags to each numbered section. Glue or double-sided tape works well for this.
**6. Fill with Treats or Gifts:**
– Place a small treat or gift inside each numbered section. This could include chocolates, notes, small toys, or other festive surprises.
**7. Seal the Envelopes or Bags (if used):**
– If you’ve added envelopes or bags, seal them shut.
**8. Attach String or Ribbon:**
– Attach a string or ribbon along the top edge of the cardboard using glue or tape. This will be used to hang your Advent Calendar.
**9. Hang Treats with Clothespins or Clips:**
– Use clothespins or small clips to attach the treats or gifts to the corresponding numbered sections.
**10. Display and Enjoy:**
– Hang your Advent Calendar in a prominent place where everyone can easily access it.
– Each day, open the corresponding section to reveal the treat or gift inside.
**11. Countdown to Christmas:**
– As each day passes, enjoy the anticipation and excitement of counting down to Christmas.
This Advent Calendar on cardboard is a fun DIY project and a festive way to create lasting holiday memories. Customize it according to your preferences, and have a joyful countdown to Christmas!
**Christmas Wreath with Paper Plate:**
Deck the halls with a homemade Christmas wreath made from a paper plate. With green paint, pom poms, and a touch of holiday spirit, your preschoolers can craft their festive wreaths. It’s an easy peasy way to involve little kids in creating beautiful Christmas decorations for the home.

Creating a Christmas wreath with a paper plate is a fun and easy craft project. Here are step-by-step directions and a list of materials to guide you through the process:
Christmas Wreath with Paper Plate
Materials:
1. **Paper Plate:**
– One per wreath.
2. **Green Paint:**
– Acrylic paint or any craft paint of your choice.
3. **Paintbrushes**
4. **Red Ribbon or Bow:**
– For decoration.
5. **Small ornaments, beads, or pom-poms:**
– Optional for additional decoration.
6. **Glue or Glue Gun**
7. **Scissors**
8. **Hole Punch**
9. **String or Ribbon for Hanging**
Instructions:
**1. Paint the Paper Plate:**
– Paint the entire surface of the paper plate with green paint. This will be the base color for your wreath. Allow the paint to dry completely.
**2. Add Decoration:**
– Once the paint is dry, you can add additional decorations. You can glue small ornaments, beads, or pom-poms onto the wreath to give it a festive look. Be creative with your design!
**3. Create a Bow:**
– If you don’t have a pre-made bow, you can create one using red ribbon. Tie a bow and trim the ends. Alternatively, you can purchase a ready-made bow.
**4. Attach the Bow:**
– Glue the bow onto the wreath. You can place it at the bottom, top, or side—whichever position you prefer.
**5. Punch a Hole for Hanging:**
– Use a hole punch to create a hole at the top of the wreath. This is where you’ll thread the string or ribbon for hanging.
**6. Add Hanging String or Ribbon:**
– Cut a length of string or ribbon, thread it through the hole, and tie a knot. This will be used to hang your wreath.
**7. Allow Everything to Dry:**
– Ensure all glue and paint are completely dry before hanging or displaying your wreath.
**8. Hang and Enjoy:**
– Hang your Christmas wreath on a door, wall, or anywhere you’d like to add a festive touch.
**9. Customize:**
– Feel free to customize your wreath further by adding other decorations like glitter, faux snow, or even small ornaments.
**10. Gift or Display:**
– This paper plate Christmas wreath makes a great homemade holiday decoration. Consider making a few to gift to friends or family.
Creating a Christmas wreath with a paper plate is a delightful craft for kids and adults. It’s a beautiful way to add a personalized touch to your holiday decor.
Print the Entry on the top of the page to print the pattern!
These 11 preschool Christmas crafts are the perfect way to usher in the holiday season with your little ones. From candy cane reindeer to snow globe crafts, each project offers a fun and easy way for the entire family to unite, creating festive decorations and cherished memories. Engaging in these simple Christmas crafts enhances fine motor skills and instills the joy of crafting and the spirit of giving in kids of all ages. So, gather your basic craft supplies and embark on a holiday crafting adventure that will leave your home brimming with the magic of Christmas. Merry Christmas and happy crafting!
To Find All My Crochet Jewel Patterns, Click Here

Click Here for My Ravelry Patterns


You May Also Like

Pumpkin Carving Ideas for Beginners: Easy and Creative Designs
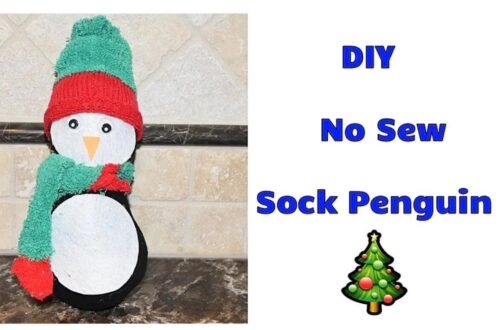
How to Make a DIY No Sew Sock Penguin Tutorial
