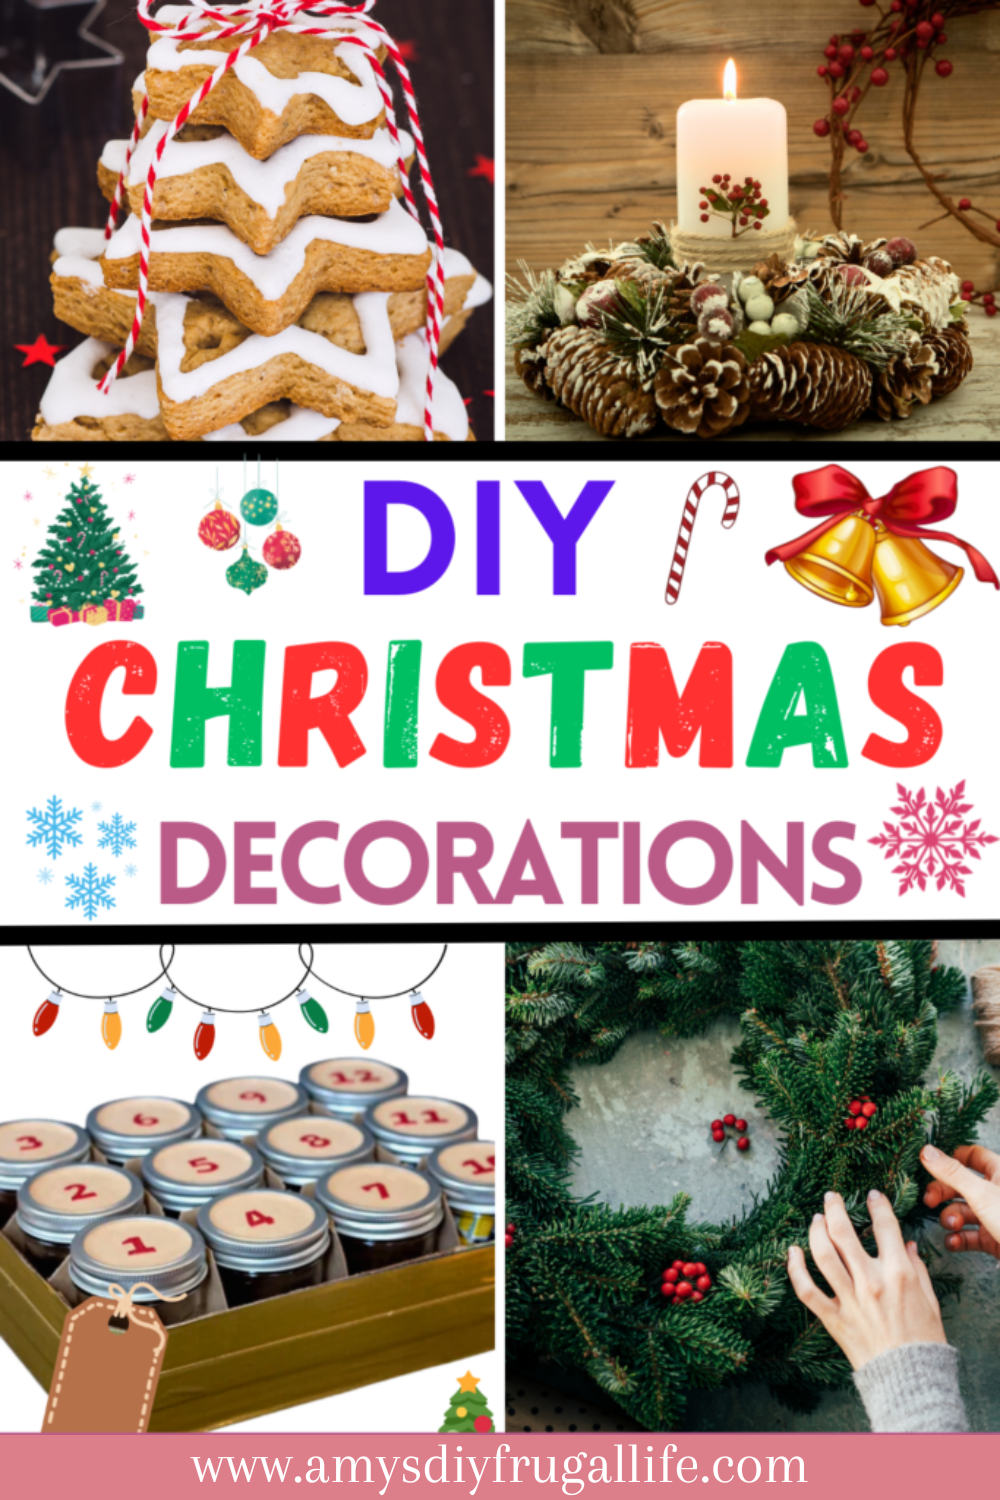
DIY Christmas Decorations for Home Wonderland
DIY Christmas Decorations
As the holiday season approaches, a magical atmosphere envelopes our homes, inviting the spirit of joy and merriment. One of the most cherished traditions during Christmas is adorning our living spaces with festive decor, and what better way to do it than with DIY Christmas decorations? The possibilities are as vast as your imagination, from crafting your ornaments to creating a unique advent calendar. Let’s explore ten delightful ideas to infuse your home with holiday cheer using simple items like mason jars, pipe cleaners, and even toilet paper rolls.
This post contains affiliate links. If you purchase through these links, I may earn a modest commission at no extra cost. Please review my privacy policy for more details.
✨ We hope you enjoyed these photos! If so, please consider sharing them on Pinterest by clicking the Pin Button on each image. Your support helps us connect with more people and spread creativity. Thank you so much! 💖
Advent Calendar with Mini Mason Jars
Kick off the holiday countdown with a personalized advent calendar made from mini mason jars. Fill each jar with candy canes, small notes, or tiny trinkets. Arrange them as a Christmas tree on your dining room table, creating a delightful and interactive way to celebrate the season.
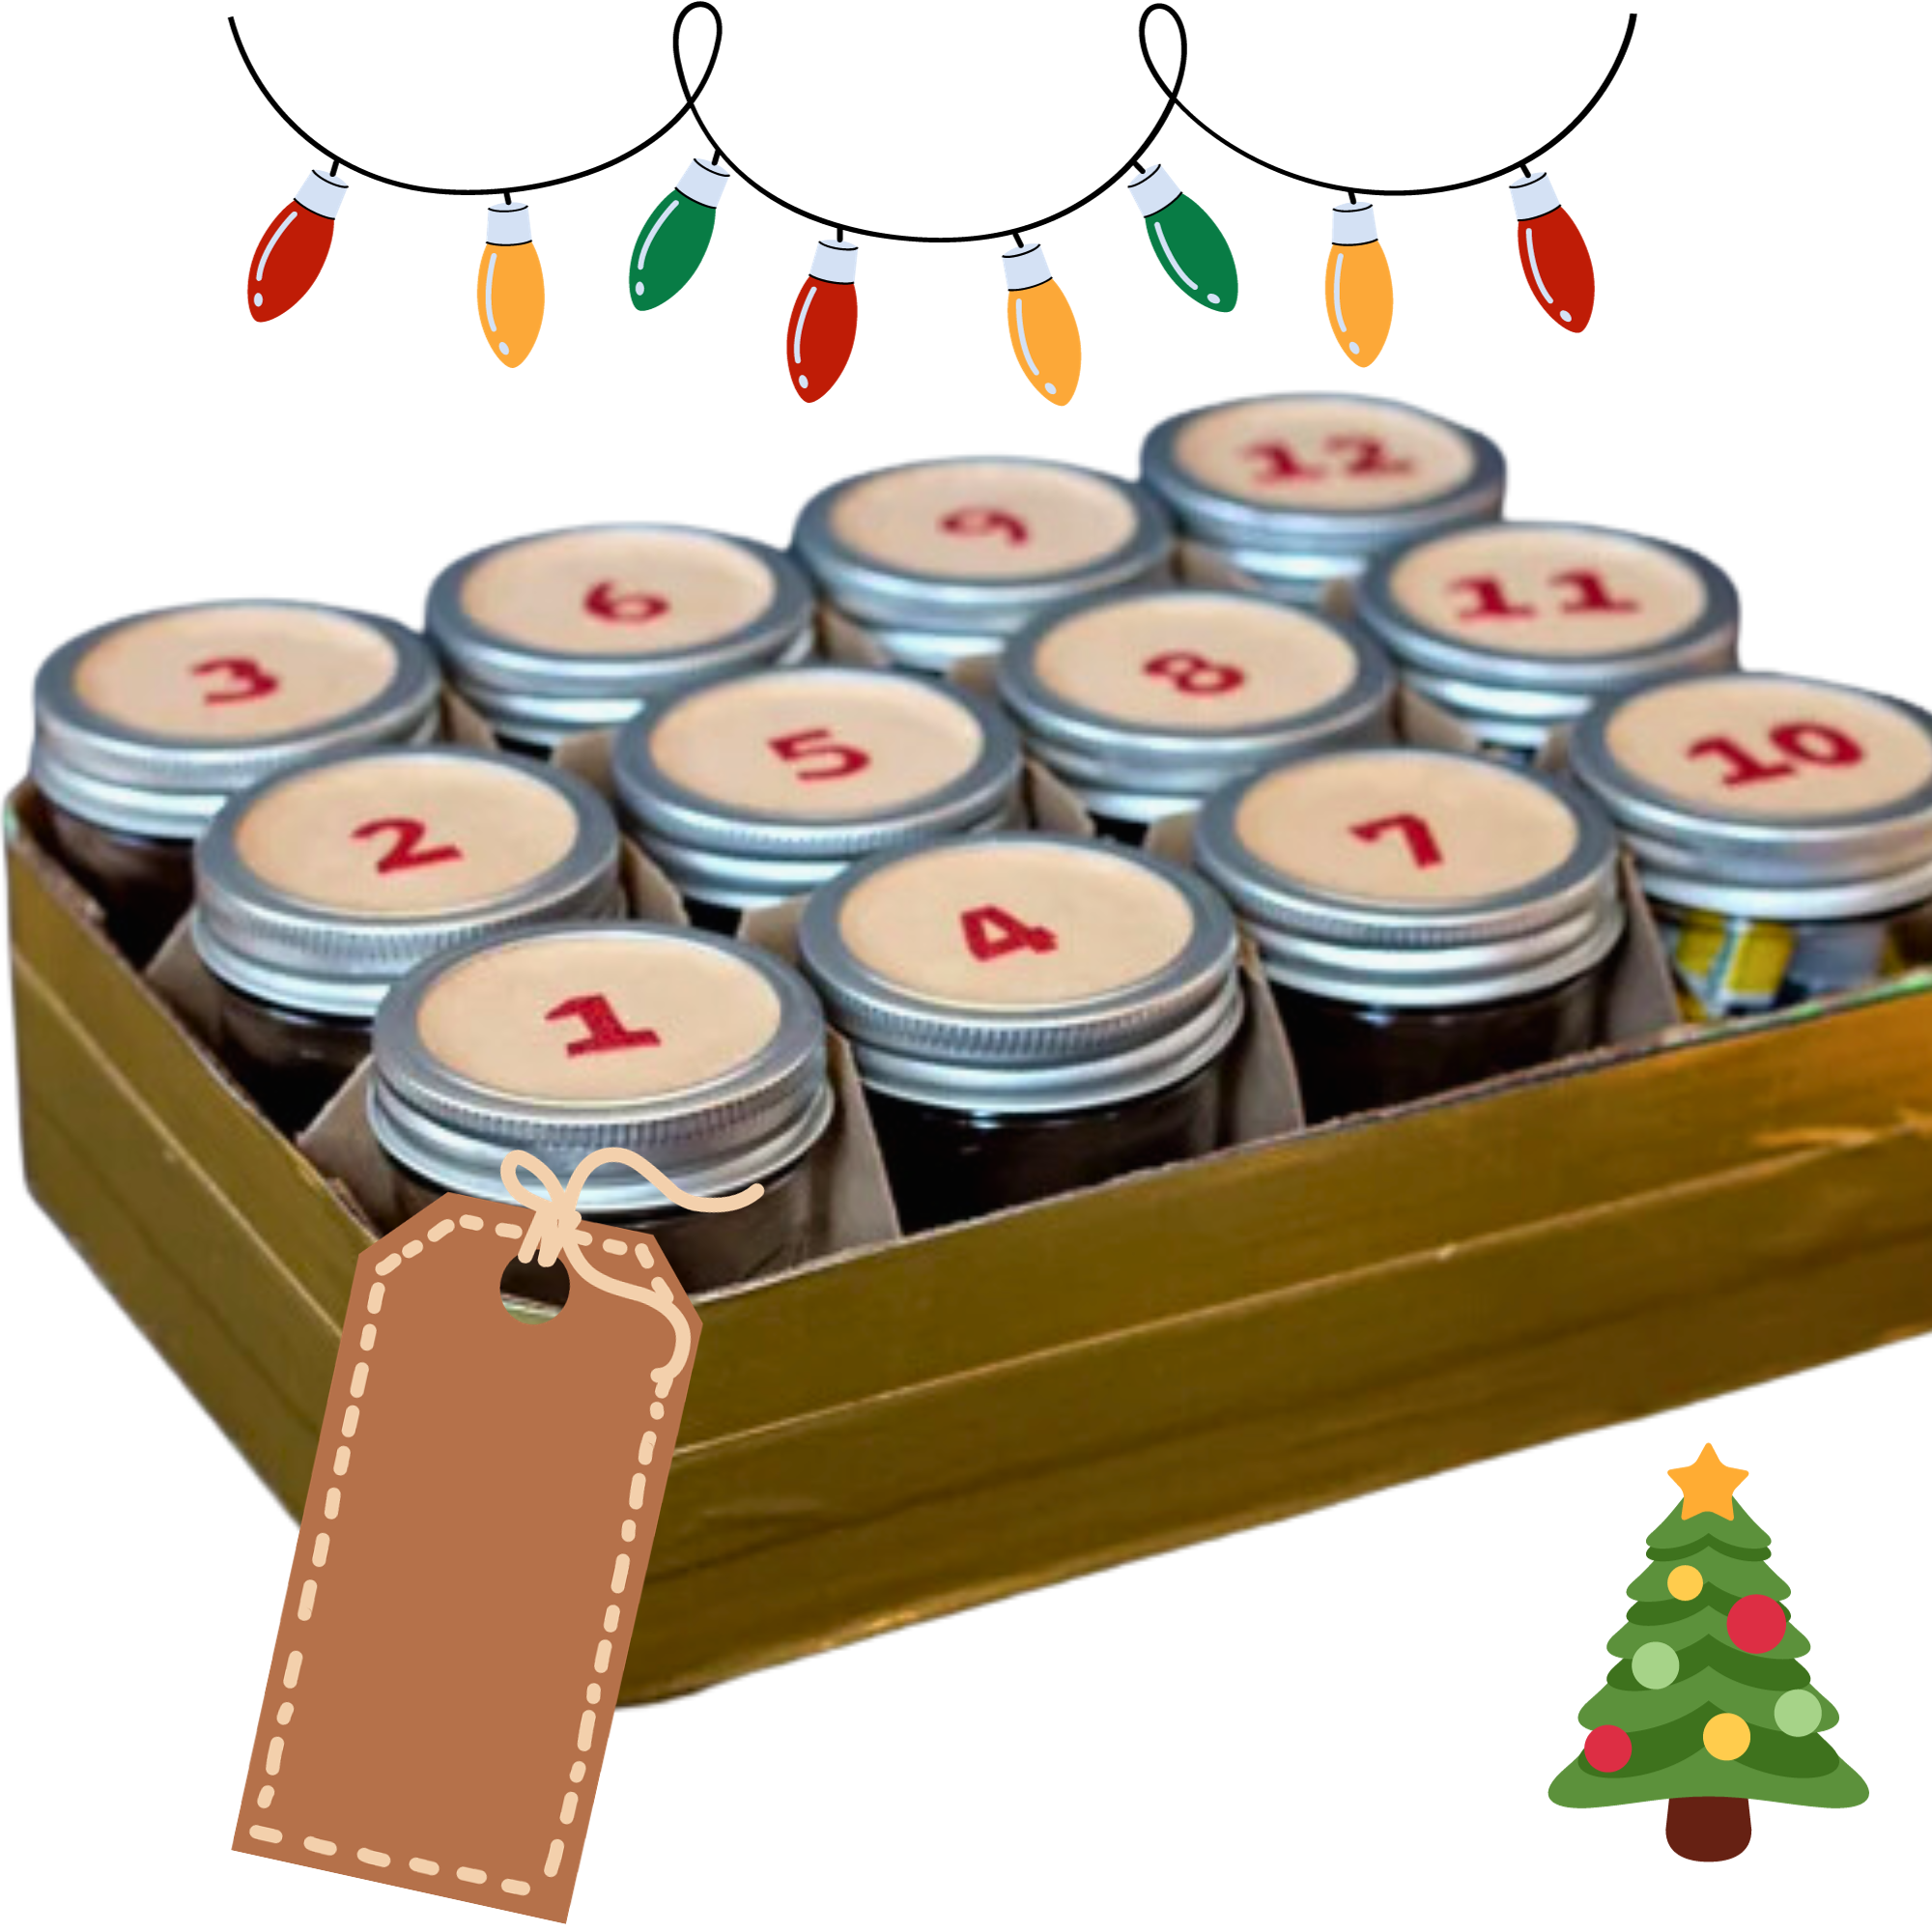
**Advent Calendar with Mini Mason Jars:**
**Materials:**
1. Mini mason jars (number depends on the days until Christmas)
2. Candy canes, small notes, or tiny trinkets
3. Craft supplies (ribbons, stickers, markers, etc.)
4. Hot glue gun and glue sticks
5. Festive wrapping paper or cloth
6. Number stickers or markers
7. String or ribbon for hanging
**Directions:**
**1. Gather Your Supplies:**
Collect all the materials needed for this DIY project. Ensure you have enough mini mason jars for each day leading up to Christmas, and prepare the craft supplies for decorating.
**2. Decorate the Mason Jars:**
Use your creativity to decorate the mini mason jars. You can wrap them in festive paper or cloth and add ribbons, stickers, or any other desired embellishments. Ensure each jar has its unique touch.
**3. Fill the Jars:**
Think about what you want to include in each jar. Candy canes, small notes with daily activities, or tiny trinkets are great choices. Fill each jar with its respective item, ensuring they fit comfortably inside.
**4. Number the Jars:**
Assign a number to each jar corresponding to the days leading up to Christmas. Using markers, you can use number stickers or write the numbers on the jars. Please make sure they are visible and accessible to read.
**5. Create a Hanging Display:**
Arrange the decorated and filled mason jars on a clean surface like a Christmas tree. Use a hot glue gun to secure the jars, forming the tree shape. Attach a string or ribbon to the top jar for hanging.
**6. Hang and Enjoy:**
Find a suitable spot in your home to hang the advent calendar. The front door, a wall in the living room, or even the dining room are great choices. Ensure it’s easily accessible, allowing family members to open a jar each day before Christmas.
**7. Optional: Personalize Each Day:**
Consider personalizing each day with special notes or activities. For example, include a note to watch a holiday movie, bake cookies, or perform a random act of kindness. This adds an extra layer of excitement to the advent calendar.
**8. Countdown to Christmas:**
As each day arrives, open the corresponding mason jar and enjoy the festive surprises. This DIY advent calendar adds a decorative touch to your home and creates cherished moments throughout the holiday season.
Creating an Advent Calendar with Mini Mason Jars is a delightful way to count down to Christmas and build anticipation for the joyful festivities ahead. Enjoy the process of crafting and the daily surprises it brings!
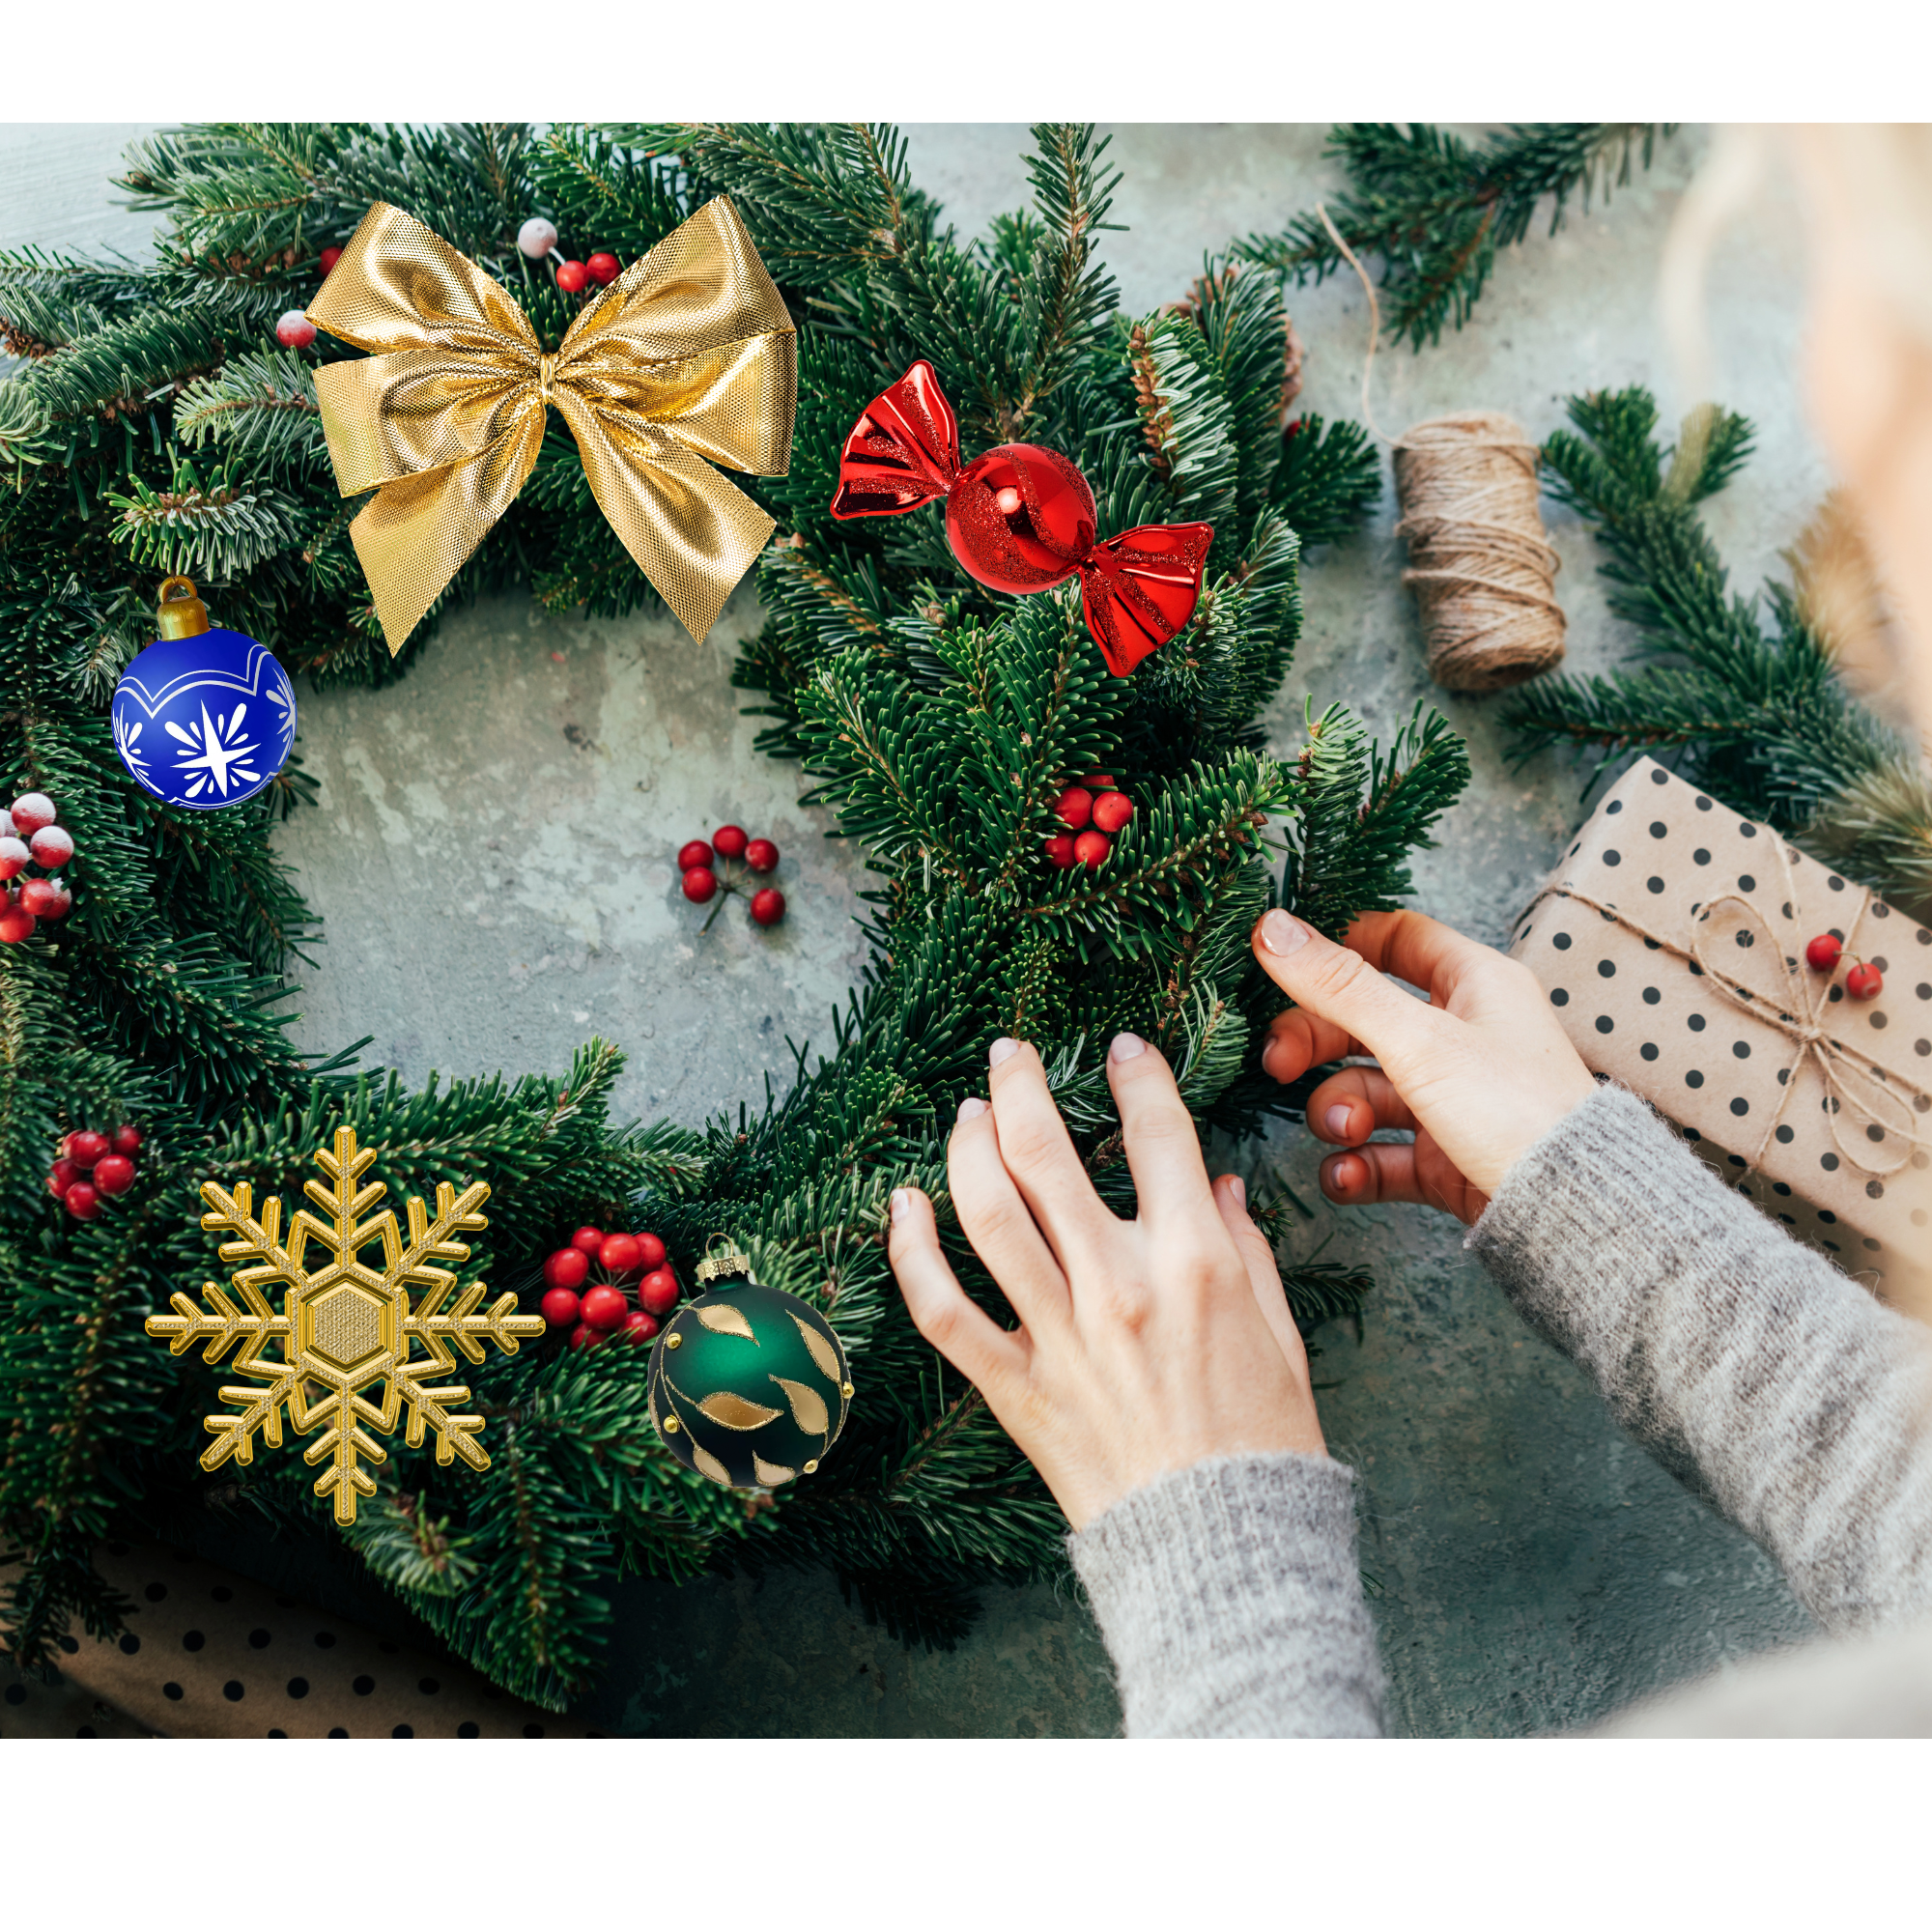
DIY Ornament Wreath for the Front Door
Transform a plain wreath into a festive masterpiece by crafting DIY Christmas ornaments. Using a hot glue gun, attach colorful ornaments, jingle bells, and ribbon to create a stunning decoration for your front door that welcomes guests with holiday warmth.
**DIY Ornament Wreath for the Front Door:**
**Materials:**
1. Styrofoam wreath form
2. Assorted Christmas ornaments in various sizes and colors
3. Hot glue gun and glue sticks
4. Ribbon for hanging
5. Wire cutters
6. Optional: Bow or additional embellishments
**Directions:**
**1. Gather Your Supplies:**
Collect all the materials needed for the DIY ornament wreath. Choose a variety of Christmas ornaments in colors that complement your home’s decor and the holiday season.
**2. Prepare the Ornaments:**
Using wire cutters, remove the metal hangers from each ornament. Ensure that the ornaments are clean and free of any dust or debris.
**3. Heat Up the Glue Gun:**
Plug in the hot glue gun and let it heat up. Make sure you have enough glue sticks for the entire project.
**4. Attach the First Ornaments:**
Using the hot glue gun, attach the more giant ornaments to the wreath form. Apply a dab of hot glue to the ornament’s base and press it onto the styrofoam wreath. Hold it in place for a few seconds until the glue sets.
**5. Fill in the Gaps:**
Continue adding ornaments and alternating colors and sizes to create a visually appealing pattern. Fill in gaps between the ornaments to ensure the wreath form is completely covered.
**6. Layer Smaller Ornaments:**
As you progress, use more miniature ornaments to layer and add dimension to the wreath. This helps create a more textured and cohesive look.
**7. Create a Balanced Design:**
Step back occasionally to assess the overall design. Ensure a balanced distribution of colors and sizes for a visually pleasing result.
**8. Attach a Ribbon for Hanging:**
Once the entire wreath form is covered with ornaments, flip it over and hot glue a ribbon to the back. This will serve as the hanger for your wreath.
**9. Optional: Add a Bow or Embellishments.**
If desired, enhance your wreath by adding a bow or other embellishments. Use the hot glue gun to secure them in place.
**10. Allow the Glue to Set:**
Let the wreath dry completely, allowing the hot glue to set and secure the ornaments.
**11. Hang and Enjoy:**
Use the attached ribbon to hang your DIY ornament wreath on the front door. Step back and admire your festive creation, welcoming guests with a holiday spirit.
Creating a DIY ornament wreath is a fun and festive way to decorate your front door for the Christmas season. Experiment with different ornament combinations to achieve a look that suits your style and home decor.
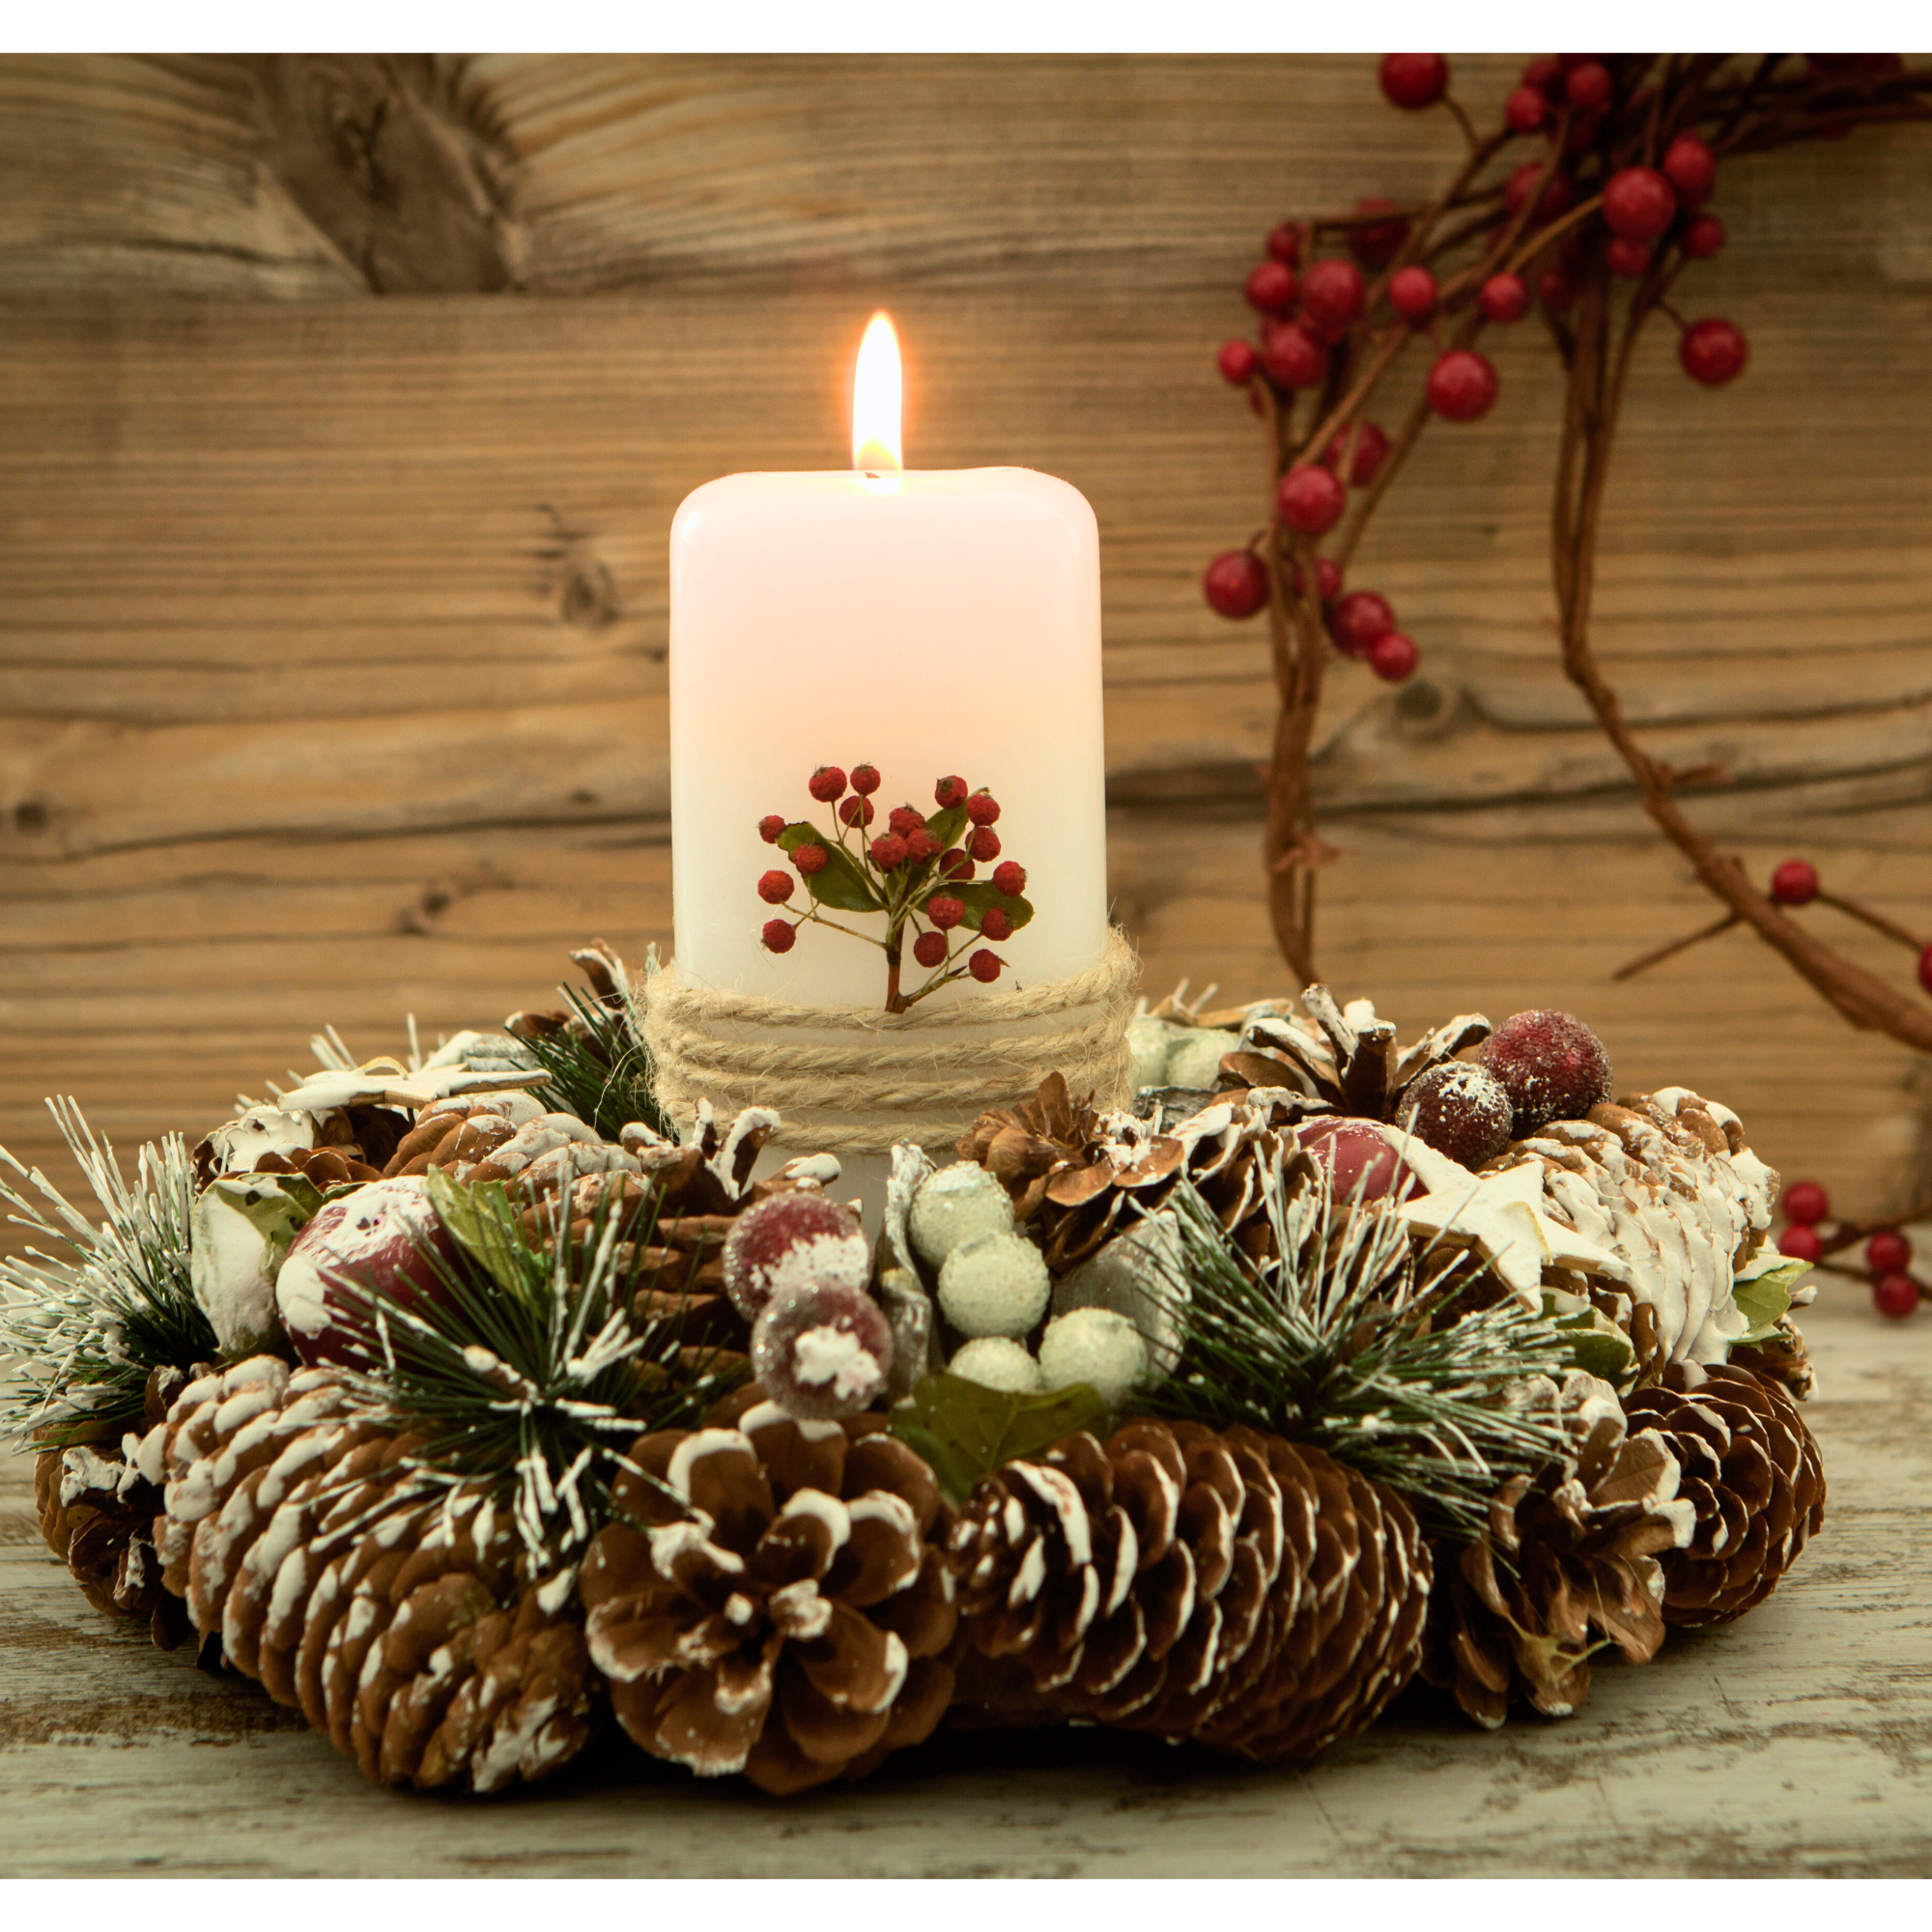
Pine Cone Centerpiece with Wooden Beads
Capture the essence of a winter wonderland by incorporating pine cones and wooden beads into a centerpiece for your Christmas dinner table. A touch of white paint on the pine cones and a scattering of beads will add a rustic yet elegant vibe to your dining experience.
**Pine Cone Centerpiece with Wooden Beads:**
**Materials:**
1. Large pine cones
2. Wooden beads in various sizes
3. White paint
4. Paintbrush
5. Hot glue gun and glue sticks
6. Small piece of twig or faux greenery
7. Optional: Ribbon or twine
8. Optional: Small votive candles or LED tea lights
**Directions:**
**1. Collect Pine Cones:**
Gather large pine cones from your yard or purchase them from a craft store. Ensure they are clean and free of any debris.
**2. Paint the Pine Cones:**
Use a paintbrush to apply white paint to the tips of the pine cones, giving them a snowy, wintry appearance. Allow the paint to dry completely.
**3. Prepare Wooden Beads:**
Select wooden beads in various sizes and colors. The beads will add a rustic and festive touch to your centerpiece.
**4. Create Bead Strands:**
String the wooden beads onto a twine or thin ribbon to create bead strands. Vary the bead sizes and colors to add visual interest.
**5. Attach Bead Strands to Pine Cones:**
Using a hot glue gun, attach the bead strands to the base of each painted pine cone. Ensure the beads are securely connected and evenly distributed around the pine cone.
**6. Form a Cluster:**
Group the pine cones together to form a cluster. Experiment with different arrangements until you achieve a visually pleasing design.
**7. Add a Twig or Greenery Accent:**
Attach a small twig or faux greenery to the cluster using the hot glue gun. This adds a natural and organic element to the centerpiece.
**8. Optional: Tie with Ribbon or Twine.**
For an extra decorative touch, tie a ribbon or twine around the base of the pine cone cluster. This adds a pop of color and secures the pine cones together.
**9. Optional: Add Votive Candles or LED Lights:**
Place small votive candles or LED tea lights among the pine cones to add a warm glow to your centerpiece. Ensure they are safely secured and won’t come in direct contact with the pine cones or beads.
**10. Display Your Centerpiece:**
Place your completed pine cone centerpiece on your dining room table, coffee table, or any other desired location. It adds a touch of winter charm and rustic elegance to your home.
**11. Optional: Customize for Different Seasons:**
Consider adapting this centerpiece for different seasons by changing the bead colors or adding seasonal accents like dried flowers or ornaments.
Creating a Pine Cone Centerpiece with Wooden Beads is a simple and charming way to bring a touch of the outdoors into your home during the holiday season. Enjoy the process of crafting and the beauty of your finished centerpiece.
Homemade Ornaments from Cookie Cutters
Give your Christmas tree a personal touch by crafting ornaments from cookie cutters. Use air-dry clay to mold festive shapes, paint them with acrylic colors, and finish with a dab of hot glue to attach a piece of twig as a hanger. These handmade ornaments are sure to be a standout feature.

**Homemade Ornaments from Cookie Cutters:**
**Materials:**
1. Cookie cutters in festive shapes
2. Air-dry clay
3. Acrylic paint in various colors
4. Paintbrushes
5. Small piece of twig or ribbon for hanging
6. Rolling pin
7. Baking parchment or wax paper
8. Optional: Clear sealant spray
**Directions:**
**1. Gather Supplies:**
Collect all the necessary materials for making homemade ornaments from cookie cutters. Ensure you have a variety of cookie-cutter shapes for different designs.
**2. Roll Out the Clay:**
Roll out the air-dry clay using a rolling pin on a clean and smooth surface. Aim for a thickness of about 1/4 inch.
**3. Cut Shapes with Cookie Cutters:**
Press the cookie cutters firmly into the rolled-out clay to create your desired shapes. Carefully lift the excess clay away from the shapes.
**4. Make a Hole for Hanging:**
Using a small object like the end of a paintbrush, create a small hole near the top of each clay shape. This will be the hole for hanging your ornament.
**5. Allow Clay to Dry:**
Place the clay shapes on baking parchment or wax paper and allow them to air dry completely. Depending on the thickness of the clay, this may take several hours or overnight.
**6. Paint the Ornaments:**
Once the clay shapes are fully dry, decorate them with acrylic paint. Get creative with colors and patterns. Allow the paint to dry completely before proceeding to the next step.
**7. Add Details:**
For an extra touch, add details using smaller brushes or even toothpicks. This could include dots, stripes, or other festive designs.
**8. Attach Hanging Element:**
Thread a small piece of twig or loop a ribbon through the hole you created earlier. Ensure it’s securely attached, and tie a knot if necessary.
**9. Optional: Seal with Clear Spray:**
If you want to protect the paint and add a glossy finish, spray the ornaments with a clear sealant. Follow the instructions on the sealant spray for the best results.
**10. Allow Sealer to Dry:**
If you’ve applied a sealant, allow the ornaments to dry thoroughly according to the sealant’s instructions.
**11. Hang and Enjoy:**
Hang your homemade ornaments on the Christmas tree, garlands, or around the house. Admire your handiwork and the personalized touch these DIY ornaments bring to your holiday decor.
**12. Optional: Create a Set or Gift Them:**
Consider making these ornaments in coordinating colors and shapes for a cohesive look on your tree. They also make lovely, personalized gifts for friends and family.
Crafting homemade ornaments from cookie cutters is a delightful way to add a personal touch to your holiday decorations. Enjoy the process of creating unique and festive ornaments that reflect your style and creativity.
DIY Christmas Cards Display
Repurpose old glass jars into a creative Christmas card display. Spray paint the jars in festive colors, fill them with holiday cards, and arrange them on your living room mantle for a unique and sentimental decor piece.

**DIY Christmas Cards Display:**
**Materials:**
1. Twine or string
2. Mini clothespins or decorative clips
3. Small adhesive hooks
4. Festive ribbon
5. Decorative elements (optional)
6. Holiday-themed washi tape
7. Christmas cards
8. Scissors
**Directions:**
**1. Gather Supplies:**
Assemble all the materials needed for your DIY Christmas card display. Choose a variety of festive elements to match your holiday decor.
**2. Measure and Cut Twine:**
Measure the desired length of twine or string for your display. Cut the twine, ensuring it’s long enough to accommodate the number of Christmas cards you plan to showcase.
**3. Attach Twine to Hooks:**
Secure the twine to the wall using small adhesive hooks. Ensure the hooks are evenly spaced and appropriate for your display.
**4. Create a Ribbon Border (Optional):**
For added festive flair, attach a festive ribbon along the length of the twine. Secure the ribbon in place with holiday-themed washi tape or small clips.
**5. Decorate with Decorative Elements (Optional):**
Enhance the display by adding decorative elements such as ornaments, bows, or other festive items. Attach them to the twine or ribbon using mini clothespins or clips.
**6. Clip Christmas Cards:**
As you receive Christmas cards, attach them to the twine using mini clothespins or decorative clips. Arrange the cards visually appealingly, overlapping them slightly for an artistic look.
**7. Organize by Size or Theme (Optional):**
If you have a variety of card sizes or themes, consider organizing them accordingly. You might create sections for family photo cards, traditional cards, or cards from specific friends and family members.
**8. Add a Festive Touch with Washi Tape:**
Use holiday-themed washi tape to frame or secure the Christmas cards on the display. This adds a decorative touch and keeps the cards in place.
**9. Create a 3D Effect (Optional):**
For a dynamic and visually exciting display, allow some cards to hang freely while securing others closer to the wall. This creates a 3D effect that adds depth to your card display.
**10. Update Throughout the Season:**
As you receive more Christmas cards, update and rearrange the display. This ensures that the most recent cards are prominently featured.
**11. Enjoy Your Display:**
Step back and admire your DIY Christmas card display. It showcases the thoughtful cards you receive and adds a festive and personalized touch to your holiday decor.
**12. Optional: Create a Card Collage.**
If you have ample wall space, consider creating a Christmas card collage by arranging the cards creatively and visually appealingly. This can be a focal point of your holiday decorations.
Creating a DIY Christmas card display is a beautiful way to showcase the love and warmth shared during the holiday season. Have fun with the process, and let the display evolve as you receive more cards throughout the festive period.
Print the entry at the top of the page to print the pattern!
Embrace the holiday spirit with these creative and easy-to-make DIY Christmas decorations. They add a pop of color to your home and infuse every corner with the season’s warmth. Whether crafting ornaments, wreaths, or repurposing everyday items, the joy of making your decorations is a gift. Celebrate the season by bringing your family together to enjoy the festive atmosphere you’ve created.
To Find All My Crochet Jewel Patterns, Click Here

Click Here for My Ravelry Patterns


Crochet Hats for Beginners Book For Sale – Click Here

Crochet For Beginners Book for Sale – Click Here


You May Also Like
Crochet a Festive Christmas Stocking: Step-by-Step Guide
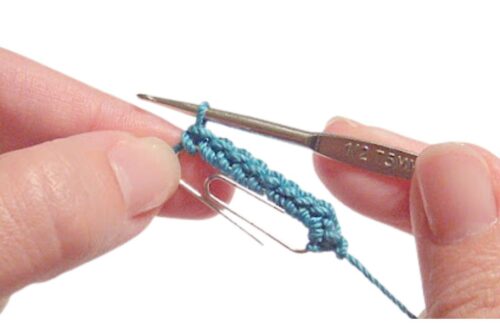
Step-by-Step: Crocheting Ice Skate Ornaments with a Paperclip