How to Crochet an Adorable Baby Earflap Hat Pattern
How to Crochet a Baby Earflap Hat!
Crocheting a baby earflap hat is a delightful and rewarding project, especially for those who love working with yarn and creating handmade items. This guide will explore crafting a charming baby earflap hat using various crochet techniques and essential stitches. Whether you’re a seasoned crocheter or a beginner looking for an easy project, this tutorial will provide the knowledge and inspiration to make a cozy accessory for the little ones in your life.
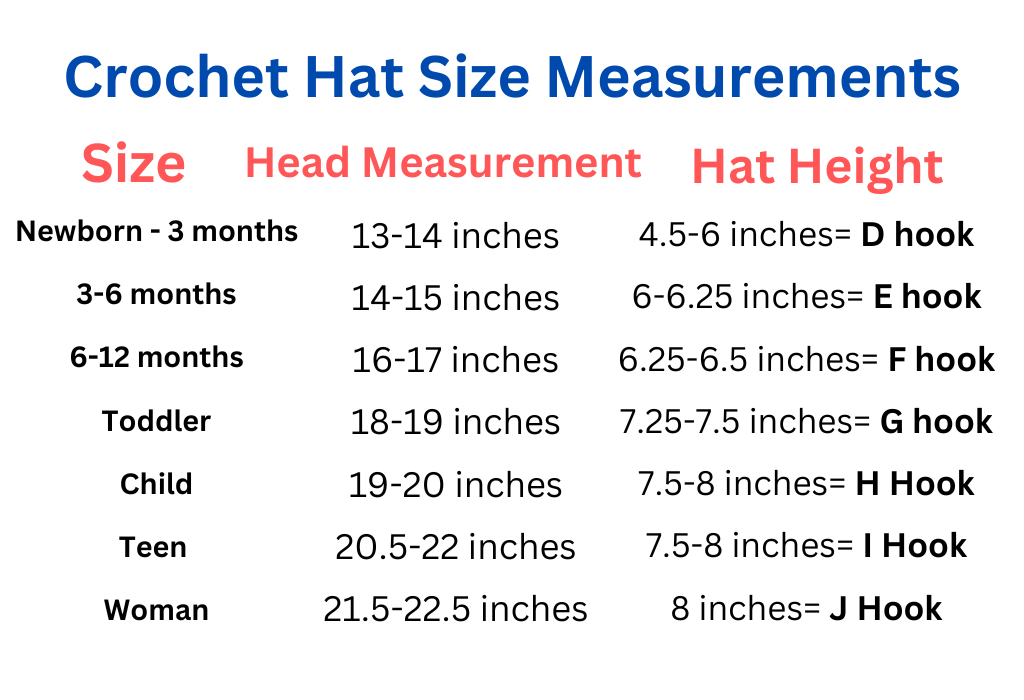
To start this easy crochet hat pattern, you will need basic materials, including worsted-weight yarn, a crochet hook (size J), and a tapestry needle. Begin with a foundation chain and work through the first stitches, incorporating single crochet, slip stitch, and back loop techniques to create a snug and comfortable fit. The body of the hat will take shape as you repeat rows and adjust the stitch count to achieve the desired height.
This post contains affiliate links. If you purchase through these links, I may earn a modest commission at no extra cost. Please review my privacy policy for more details.
How to Crochet For Beginners Playlist – Click Here
Supplies:
Yarn needle
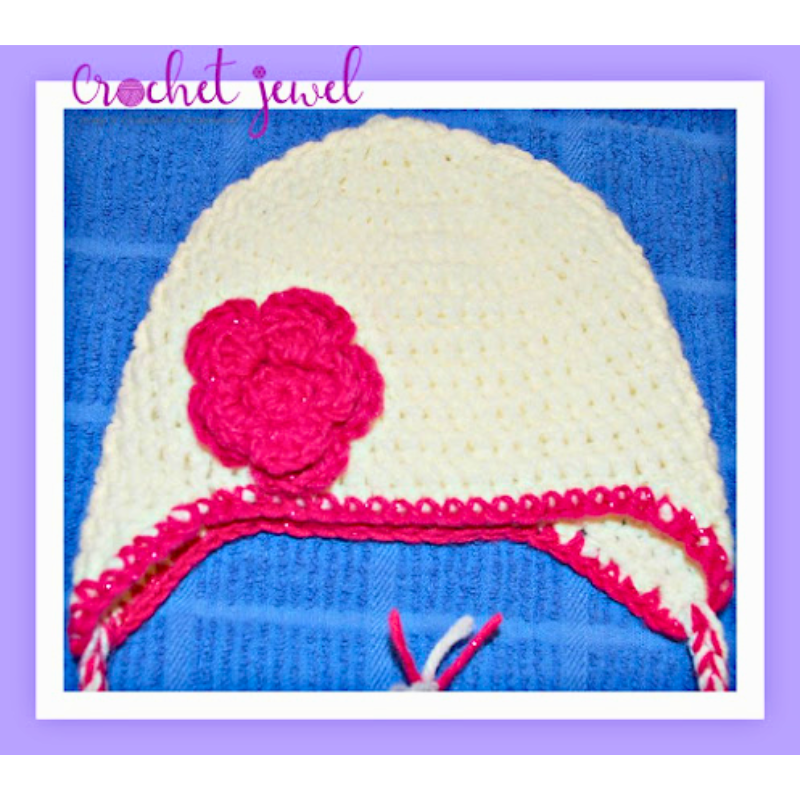
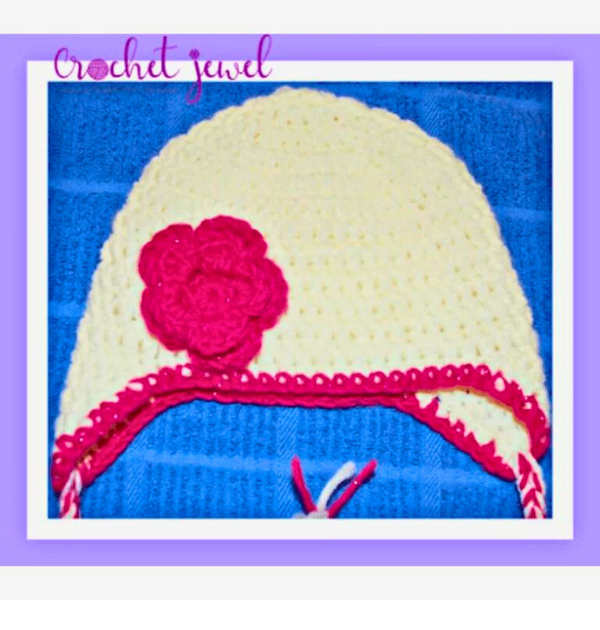
Cream and pink yarn
rnd 3. ch 2 counts as the first stitch, *2dc in next st., dc in the next stitch, repeat from *around, join with sl st. -36 sts.
E hook
ch 2. dc2tog. dc in the next 6 stitches. dc2tog. dc in the last st. turn. -9 sts
ch 2. dc2tog, dc in the next 4 stitches. dc2tog. dc in the last st., turn. -7 sts
ch 2. dc2tog, dc in the next 2 stitches. dc2tog. dc in the last st. turn. -5 sts
ch 2. dc2tog twice, dc in last st. cut yarn and pull through -3 sts
The braid from the center of the ear flap at the bottom, attach two colors of yarn, pink and cream yarn, with a sl st in the center of the bottom of the ear flap and chain 30, and sl st it off and cut yarn.
*sl sl in the chain 3 space, ch 1, work 6 dc in the chain space 3, ch 1, sl st. in the previous sc, *repeat until you have 5(6 pedals) sl st.
Second pedals: Pink yarn rnd 4. *bpsc, ch 5, bpsc, ch 5, *repeat until you have 5(5 chain spaces) sl st in beg stitch. rnd 5. *ch 1, 9 dc in the chain 5 space, ch 1, sl st. in the previous sc, *repeat until you have 5(9 pedals) sl st to finish.
For added flair, consider incorporating a video tutorial that guides you through each step of the process, making it accessible for both new crocheters and those with more experience. You can personalize the hat by experimenting with different yarn weights and colors and even adding a faux fur pom pom or a yarn pom pom on top.
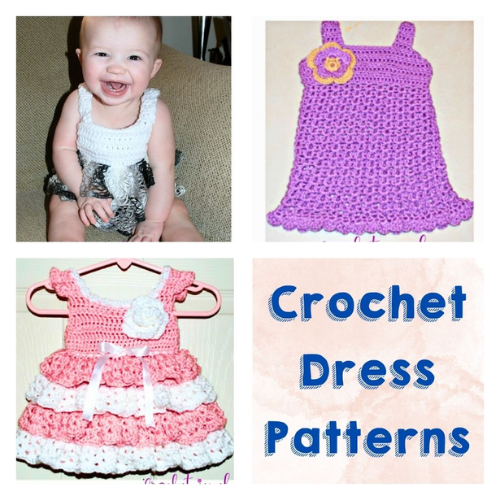
Click Here for the Dress Patterns
Creating beautiful and cozy crochet hats is a joyous endeavor, and with this easy crochet hat pattern, crafters of all skill levels can embark on a satisfying project. Begin using the back loop and single crochet techniques, ensuring a snug fit as you work through the rows. Utilize the slip stitch for seamless transitions and the long tail for added flexibility in sizing. With many free crochet hat patterns available, including video tutorials for visual learners, you can explore styles such as slouchy hats or messy bun hats adorned with faux fur pom poms. Experiment with different yarn weights, from worsted to bulky, and play with basic stitches to customize the hat height to your liking. Don’t forget to incorporate a stitch marker to keep track of the next stitch and ensure a perfect fit. Share your finished creations on social media, as these handmade hats make great gifts, spreading warmth and joy during the winter season. Crochet hats are not just accessories; they’re a testament to the artistry of crochet, welcoming both seasoned crafters and new enthusiasts alike to join the vibrant world of hat-making. Happy crocheting!
Explore variations such as messy buns or slouchy hats, adjusting the height and overall style to match your preferences or the recipient’s taste. Check the gauge swatch to ensure a perfect fit, especially if you create a specific head-size hat. Throughout the process, use a stitch marker to keep track of key points and maintain a consistent pattern.
In conclusion, crocheting a baby earflap hat is a practical, enjoyable endeavor and an excellent way to showcase creativity. With various free crochet hat patterns, you can experiment with different designs and discover the joy of crafting handmade accessories. Whether making hats for your loved ones or considering them as great gifts, this project allows you to engage in the art of crochet while producing functional and stylish results. So, grab your favorite yarn hook, and enjoy the process of creating the perfect crochet hat that will keep the little ones warm and stylish during the winter season. Happy crocheting!
To Find All My Crochet Jewel Patterns, Click Here

Click Here for My Ravelry Patterns


You May Also Like

DIY Crochet Cat Ear Hat Using Granny Squares
How to Crochet a Wonderful Turban Hat Pattern