15 Irresistible Christmas Cookie Recipes: Spreading Holiday Joy
Christmas Cookie Recipes
‘Tis the season for spreading holiday cheer, and what better way than by filling your home with the irresistible aroma of freshly baked cookies? This time of year calls for the warmth of the oven and the joy of sharing delicious treats with loved ones. If you want to whip up some delightful confections without breaking a sweat, we’ve covered you with 15 easy Christmas cookie ideas. From classic favorites like gingerbread and sugar cookies to inventive twists involving chocolate chips, candy canes, and more, these recipes will become your go-to for festive baking.
You’ll find affiliate links within this post. If you decide to purchase through these links, I may earn a modest commission at no extra cost. Additionally, please review my privacy policy for more details.
✨ We hope you enjoyed these photos! If so, please consider sharing them on Pinterest by clicking the Pin Button on each image. Your support helps us connect with more people and spread creativity. Thank you so much! 💖
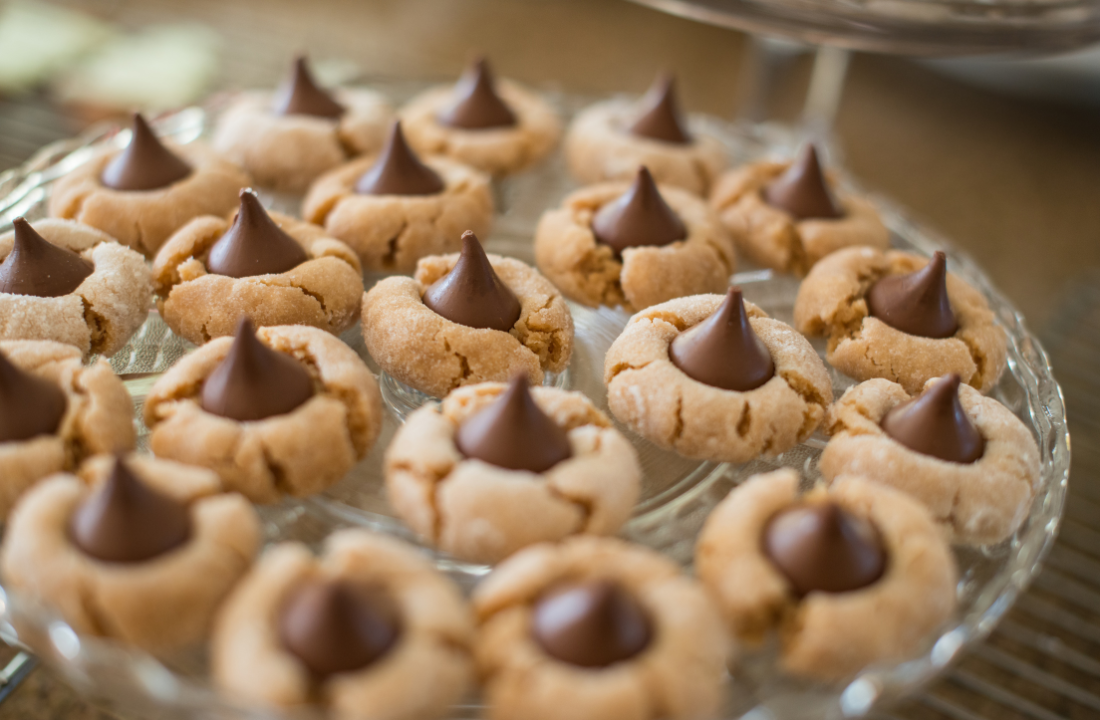
**Peanut Butter Blossoms:**
Start your holiday baking with the timeless peanut butter blossoms. Soft peanut butter cookies adorned with a Hershey’s Kiss in the center make for a delightful combination with everyone reaching for seconds.
**Peanut Butter Blossoms Recipe:**
**Ingredients:**
- 1/2 cup unsalted butter, softened
- 1/2 cup granulated sugar
- 1/2 cup packed light brown sugar
- 1/2 cup creamy peanut butter
- 1 large egg
- 1 teaspoon pure vanilla extract
- 1 and 3/4 cups all-purpose flour
- 1 teaspoon baking soda
- 1/2 teaspoon salt
- Additional granulated sugar for rolling
- 36 Hershey’s Kisses, unwrapped
**Instructions:**
1. **Preheat the Oven:**
Preheat your oven to 350°F (175°C)—line baking sheets with parchment paper.
2. **Creaming the Ingredients:**
In a large mixing bowl, cream the softened butter, granulated sugar, brown sugar, and peanut butter until light and fluffy.
3. **Incorporate Wet Ingredients:**
Beat in the egg and vanilla extract until well combined.
4. **Dry Ingredients:**
Whisk the flour, baking soda, and salt together in a separate bowl. Gradually add the dry and wet ingredients until the dough comes together.
5. **Rolling the Dough:**
Shape the dough into 1‑inch balls. Roll each ball in granulated sugar to coat evenly.
6. **Baking:**
Place the sugar-coated dough balls on the prepared baking sheets, spacing them about 2 inches apart. Bake in the oven for 8–10 minutes or until the edges are lightly golden.
7. **Adding the Hershey’s Kisses:**
While the cookies are baking, unwrap the Hershey’s Kisses. Once the cookies are out of the oven, immediately press a Kiss into the center of each cookie, causing the edges to crack slightly.
8. **Cooling:**
Allow the cookies to cool on the baking sheets for a couple of minutes before transferring them to a wire rack to cool completely.
9. **Enjoy:**
Once the Hershey’s Kisses have set, the Peanut Butter Blossoms are ready to be enjoyed. Store in an airtight container for freshness.
These classic Peanut Butter Blossoms are a perfect blend of peanut butter goodness and the sweetness of Hershey’s Kisses, making them a timeless favorite during the holiday season.
**Gingerbread Cookies:**
Capture the essence of the season with the spiced goodness of gingerbread cookies. Whether shaped like gingerbread men or festive Christmas trees, these cookies are a must-have for any cookie platter.
**Gingerbread Cookies Recipe:**
**Ingredients:**
- 3 cups all-purpose flour
- 1 teaspoon baking soda
- 3/4 teaspoon ground cinnamon
- 3/4 teaspoon ground ginger
- 1/2 teaspoon ground cloves
- 1/2 teaspoon salt
- 3/4 cup unsalted butter, softened
- 1/2 cup packed brown sugar
- 1 large egg
- 1/2 cup molasses
- 1 teaspoon pure vanilla extract
**For Decorating (optional):**
- Royal icing
- Assorted colored sprinkles
- Candy decorations
**Instructions:**
1. **Preheat the Oven:**
Preheat your oven to 350°F (175°C)—line baking sheets with parchment paper.
2. **Combine Dry Ingredients:**
Whisk together the flour, baking soda, cinnamon, ginger, cloves, and salt in a medium bowl. Set aside.
3. **Creaming the Butter and Sugar:**
In a large bowl, cream the softened butter and brown sugar until light and fluffy.
4. **Incorporate Wet Ingredients:**
Beat in the egg, molasses, and vanilla extract until well combined.
5. **Combining Wet and Dry Ingredients:**
Gradually add the dry and wet ingredients, mixing until the dough forms. If the dough is too sticky, you can add a little more flour.
6. **Chill the Dough:**
Divide the dough in half, shape each half into a disc, wrap in plastic wrap, and refrigerate for at least 2 hours or overnight. Chilling the dough helps it firm up for easier rolling.
7. **Rolling and Cutting:**
Preheat your oven again if necessary. On a floured surface, roll out the chilled dough to about 1/4 inch thickness. Use gingerbread men or other festive cookie cutters to cut out shapes.
8. **Baking:**
Place the cut-out shapes on the prepared baking sheets, spacing them about 1 inch apart. Bake for 8–10 minutes or until the edges are just set. Be careful not to overbake for a softer cookie.
9. **Cooling:**
Allow the cookies to cool on the baking sheets for a few minutes before transferring them to a wire rack to cool completely.
10. **Decorating (Optional):**
Once the cookies are completely cooled, you can decorate them with royal icing, colored sprinkles, or candy decorations to add a festive touch.
11. **Enjoy:**
Your homemade gingerbread cookies are now ready to be enjoyed! Store them in an airtight container to maintain freshness.
These classic gingerbread cookies are perfect for bringing the warm and spicy flavors of the holiday season to your table. Whether you enjoy them plain or get creative with decorations, these cookies will surely be a hit during Christmas festivities.
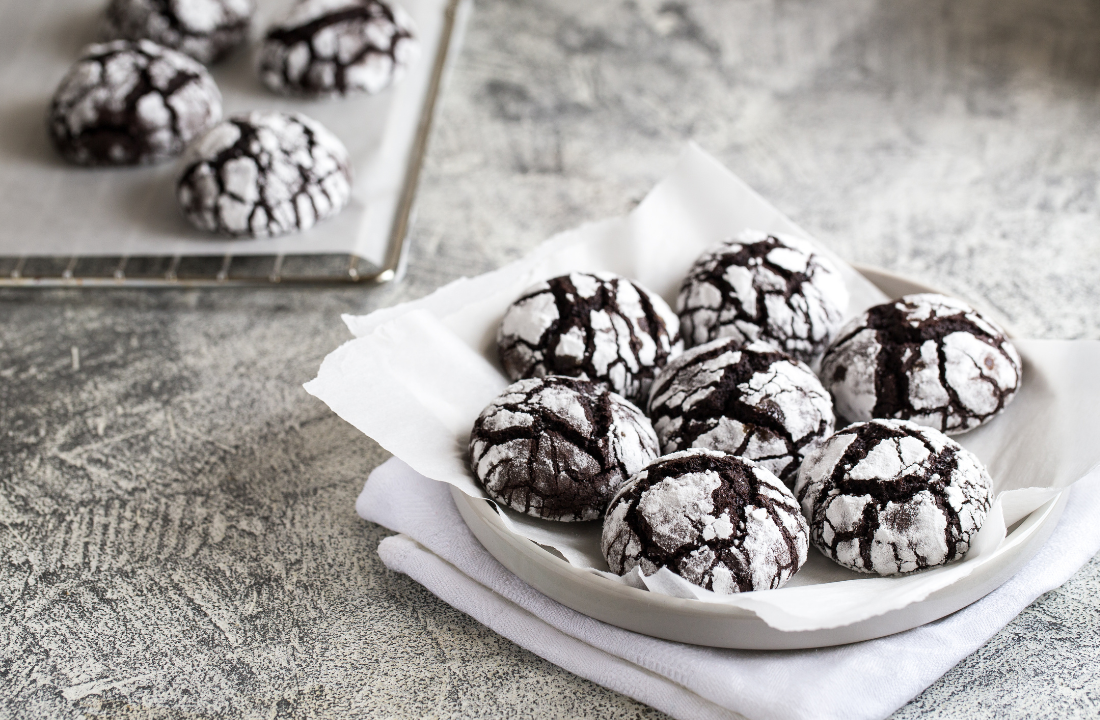
**Chocolate Crinkle Cookies:**
For a delightful contrast, try chocolate crinkle cookies. Rolled in powdered sugar before baking, these cookies crackle into a beautiful pattern, creating a festive appearance perfect for the holiday spirit.
**Chocolate Crinkle Cookies Recipe:**
**Ingredients:**
- 1 cup all-purpose flour
- 1/2 cup unsweetened cocoa powder
- 1 teaspoon baking powder
- 1/4 teaspoon salt
- 1 cup granulated sugar
- 1/4 cup vegetable oil
- 2 large eggs
- 1 teaspoon vanilla extract
- 1/2 cup powdered sugar (for coating)
**Instructions:**
1. **Preheat the Oven:**
Preheat your oven to 350°F (175°C)—line baking sheets with parchment paper.
2. **Combine Dry Ingredients:**
Whisk together the flour, cocoa powder, baking powder, and salt in a medium bowl. Set aside.
3. **Mix Wet Ingredients:**
Whisk together the granulated sugar and vegetable oil in a separate large bowl until well combined. Add the eggs one at a time, beating well after each addition. Stir in the vanilla extract.
4. **Combine Wet and Dry Ingredients:**
Gradually add the dry ingredients to the wet ingredients, stirring until just combined. The result should be a soft and sticky chocolate dough.
5. **Chill the Dough:**
Cover the bowl with plastic wrap and refrigerate the dough for at least 3 hours or overnight. Chilling is crucial for the cookies to hold their shape and for easy handling.
6. **Shape the Dough:**
Once chilled, use your hands to shape the dough into 1‑inch balls. Roll each ball in powdered sugar until generously coated.
7. **Place on Baking Sheets:**
Arrange the coated balls on the prepared baking sheets, leaving enough space between them as they will spread during baking.
8. **Bake:**
Bake in the oven for 10–12 minutes or until the edges are set but the centers are still soft. The cookies will have a crinkled appearance.
9. **Cooling:**
Allow the cookies to cool on the baking sheets for a few minutes before transferring them to a wire rack to cool completely.
10. **Enjoy:**
Once completely cooled, these chocolate crinkle cookies are ready to be enjoyed. Their fudgy interior and powdered sugar coating make them a delightful treat during the holiday season.
These chocolate crinkle cookies are delicious and add a festive touch to your holiday cookie platter with their crackled appearance. Perfectly sweet and chocolaty, they will surely be a hit at any Christmas gathering.
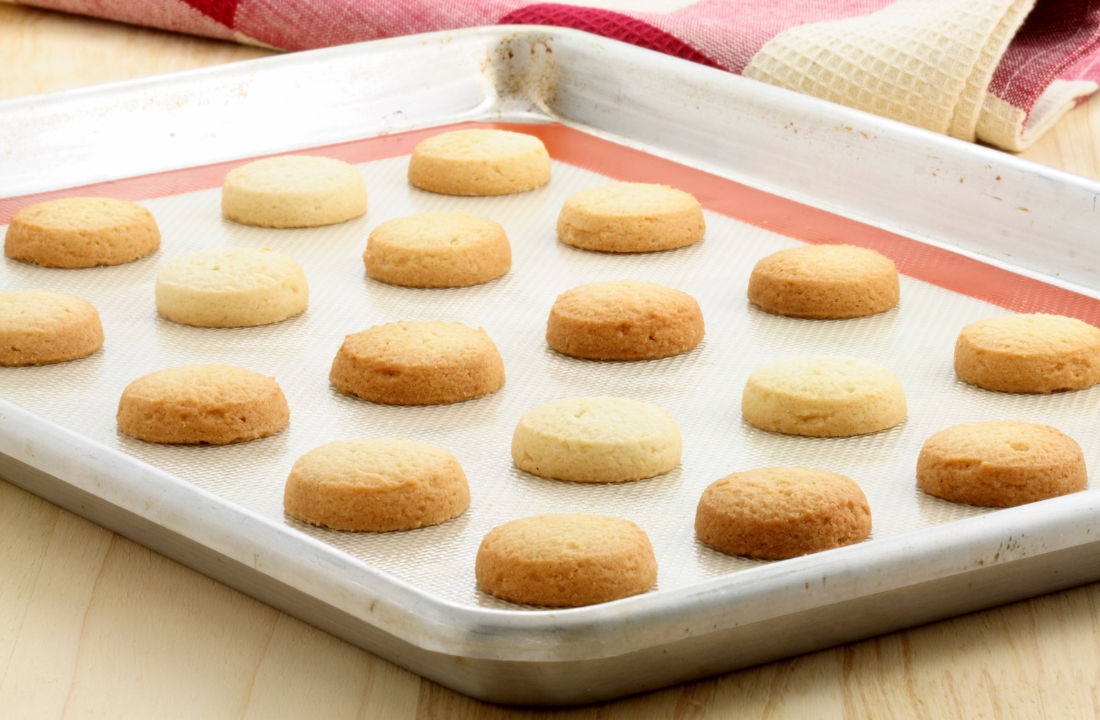
**Shortbread Cookies:**
The buttery simplicity of shortbread cookies is a holiday classic. These melt-in-your-mouth delights are easily shaped with cookie cutters, allowing you to create a wide array of festive designs.
**Shortbread Cookies Recipe:**
**Instructions:**
1. **Preheat the Oven:**
Preheat your oven to 325°F (160°C)—line baking sheets with parchment paper.
2. **Prepare the Dough:**
In a large mixing bowl, combine the ingredients for the shortbread dough. Be sure to follow the specific butter, sugar, and flour measurements. Mix the ingredients until a crumbly dough forms.
3. **Shape the Cookies:**
Depending on your preference, shape portions of the dough into rounds or rectangles. You can also use cookie cutters for various shapes. The thickness of the cookies can be adjusted according to your liking.
4. **Score the Dough (Optional):**
Using a fork or a toothpick, gently score the top of each cookie with decorative patterns. This step is optional but adds a classic touch to shortbread cookies.
5. **Chill the Dough (Optional):**
If time allows, you can chill the shaped cookies in the refrigerator for about 30 minutes. Chilled dough helps the cookies hold their shape during baking.
6. **Bake:**
Place the shaped cookies on the prepared baking sheets and bake in the oven for approximately 12–15 minutes or until the edges are lightly golden. Keep a close eye on them to prevent overbaking.
7. **Cooling:**
Allow the shortbread cookies to cool on the baking sheets for a few minutes before transferring them to a wire rack to cool completely. Shortbread can be delicate when warm, so handling them gently is key.
8. **Enjoy:**
Once cooled, your shortbread cookies are ready to be enjoyed. These buttery delights are perfect or can be paired with your favorite hot beverage.
Shortbread cookies are a classic and timeless treat, known for their rich, buttery flavor and crumbly texture. This simple recipe allows you to savor the pure essence of butter and sugar in each delightful bite.
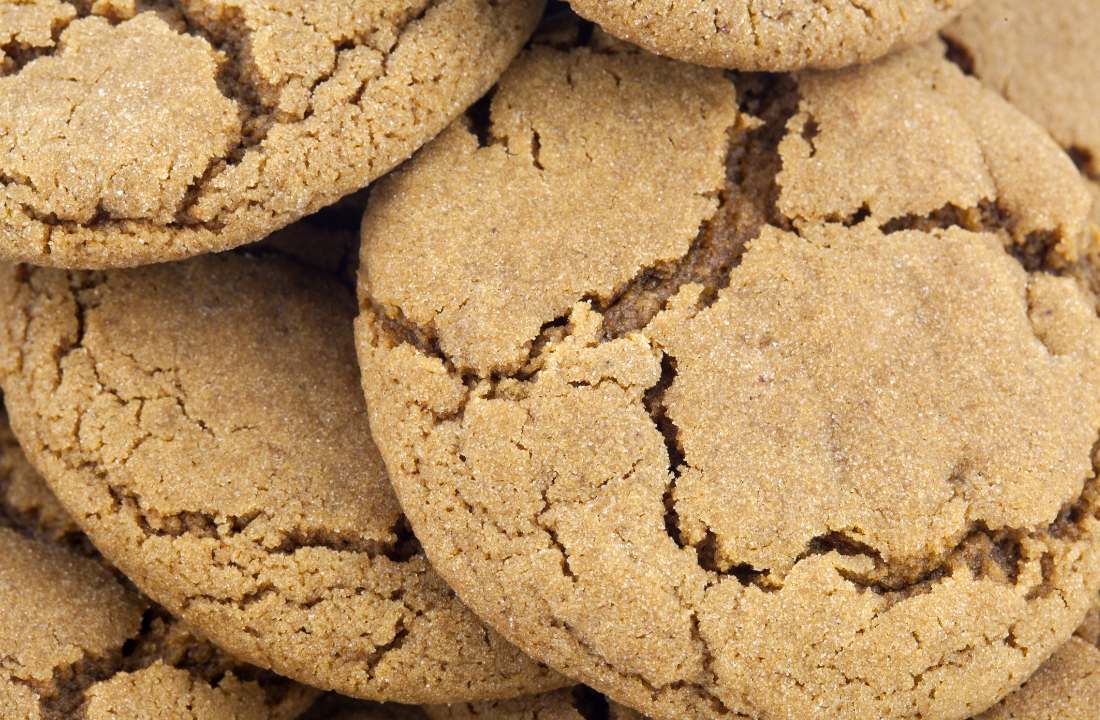
**Soft Molasses Cookies:**
Embrace the rich flavors of the season with soft molasses cookies. Their cake-like texture and delightful spices make them perfect for your Christmas dessert spread.
**Soft Molasses Cookies Recipe:**
**Ingredients:**
- 3/4 cup unsalted butter, softened
- 1 cup granulated sugar
- 1/4 cup molasses
- 1 large egg
- 2 cups all-purpose flour
- 2 teaspoons baking soda
- 1/2 teaspoon salt
- 1 teaspoon ground cinnamon
- 1/2 teaspoon ground ginger
- 1/4 teaspoon ground cloves
- Additional granulated sugar for rolling
**Instructions:**
1. **Preheat the Oven:**
Preheat your oven to 350°F (175°C)—line baking sheets with parchment paper.
2. **Cream Butter and Sugar:**
In a large bowl, cream the softened butter and granulated sugar until light and fluffy.
3. **Incorporate Wet Ingredients:**
Add the molasses and egg to the creamed mixture and beat well until thoroughly combined.
4. **Combine Dry Ingredients:**
Whisk together the flour, baking soda, salt, cinnamon, ginger, and cloves in a separate bowl.
5. **Combine Wet and Dry Ingredients:**
Gradually add the dry and wet ingredients, mixing until a soft and uniform cookie dough forms.
6. **Chill the Dough (Optional):**
You can chill the dough in the refrigerator for about 30 minutes for enhanced flavor and easier handling.
7. **Shape into Balls:**
Take portions of the dough and shape them into 1‑inch balls. Roll each ball in additional granulated sugar to coat them evenly.
8. **Place on Baking Sheets:**
Arrange the sugar-coated dough balls on the prepared baking sheets, leaving enough space between them.
9. **Bake:**
Bake in the oven for 10–12 minutes or until the edges are set but the centers are still soft. The cookies will continue to set as they cool.
10. **Cooling:**
Allow the cookies to cool on the baking sheets for a few minutes before transferring them to a wire rack to cool completely.
11. **Enjoy:**
Once cooled, your soft molasses cookies are ready to be enjoyed. Their warm spices and chewy texture make them a perfect treat for the holiday season.
These soft molasses cookies are a delightful combination of sweet and spicy flavors, offering a comforting and chewy texture. With a sugar coating and a subtle crunch, these cookies will surely become a favorite during your festive baking sessions.
**Cut-out Sugar Cookies:**
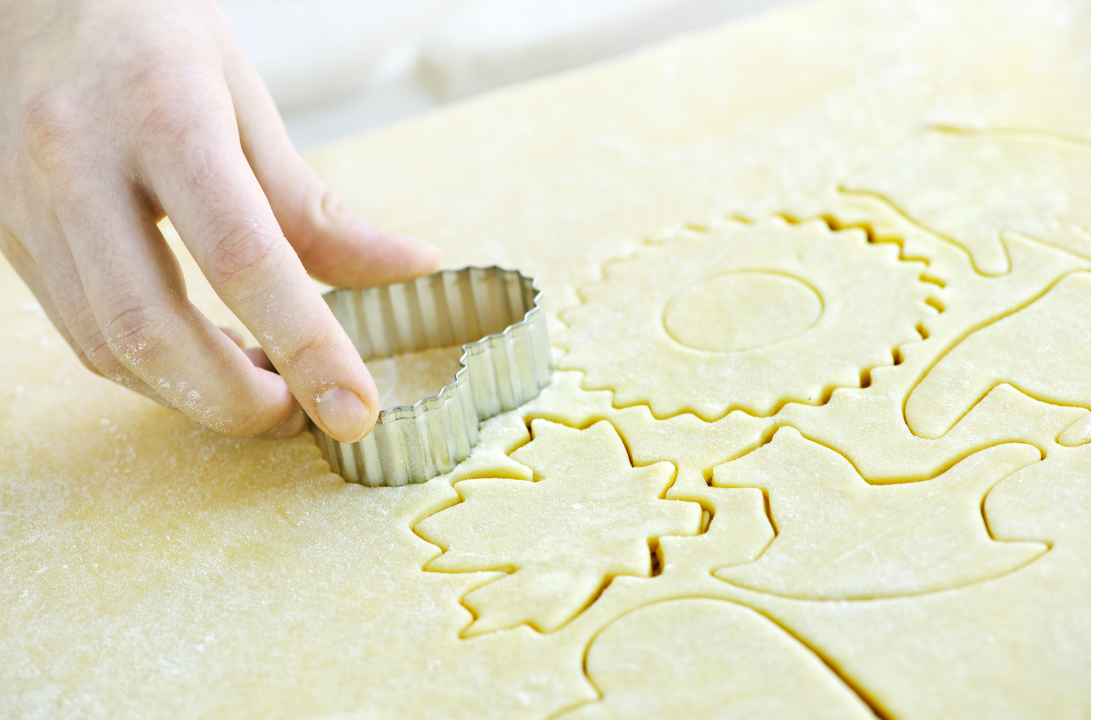
Get creative with cut-out sugar cookies. Use festive cookie cutters to shape them into stars, snowflakes, or anything that brings a touch of Christmas magic to your plate.
**Cut-out Sugar Cookies Recipe:**
**Ingredients:**
- 1 cup unsalted butter, softened
- 1 cup granulated sugar
- 2 large eggs
- 1 teaspoon vanilla extract
- 3 cups all-purpose flour
- 1/2 teaspoon baking powder
- 1/4 teaspoon salt
- Additional flour for rolling
**For Decorating (optional):**
- Royal icing
- Colored sprinkles
- Food coloring
**Instructions:**
1. **Preheat the Oven:**
Preheat your oven to 375°F (190°C)—line baking sheets with parchment paper.
2. **Cream Butter and Sugar:**
In a large bowl, cream the softened butter and granulated sugar until light and fluffy.
3. **Incorporate Wet Ingredients:**
Add the eggs one at a time, beating well after each addition. Stir in the vanilla extract until the mixture is well combined.
4. **Combine Dry Ingredients:**
Whisk the flour, baking powder, and salt together in a separate bowl.
5. **Combine Wet and Dry Ingredients:**
Gradually add the dry and wet ingredients, mixing until a soft dough forms. If the dough is too sticky, you can add a little more flour.
6. **Chill the Dough:**
Divide the dough in half, shape each half into a disc, wrap in plastic wrap, and refrigerate for at least 2 hours or overnight. Chilling the dough helps it firm up for easier rolling.
7. **Rolling and Cutting:**
Preheat your oven again if necessary. On a floured surface, roll out the chilled dough to about 1/4 inch thickness. Use cookie cutters to cut out desired shapes.
8. **Place on Baking Sheets:**
Place the cut-out shapes on the prepared baking sheets, spacing them about 1 inch apart.
9. **Bake:**
Bake in the oven for 8–10 minutes or until the edges are set and the cookies are lightly golden.
10. **Cooling:**
Allow the cookies to cool on the baking sheets for a few minutes before transferring them to a wire rack to cool completely.
11. **Decorating (Optional):**
Once the cookies are completely cooled, you can decorate them with royal icing, colored sprinkles, or food coloring to add a festive touch.
12. **Enjoy:**
Your cut-out sugar cookies are now ready to be enjoyed. Whether plain or decorated, these classic cookies are perfect for any occasion.
These cut-out sugar cookies are versatile and a perfect canvas for your creative decorations. Enjoy them plain, or get artistic with colorful royal icing and sprinkles for a festive touch. They’re perfect for holidays, birthdays, or any special celebration!
**Chocolate Peppermint Cookies:**
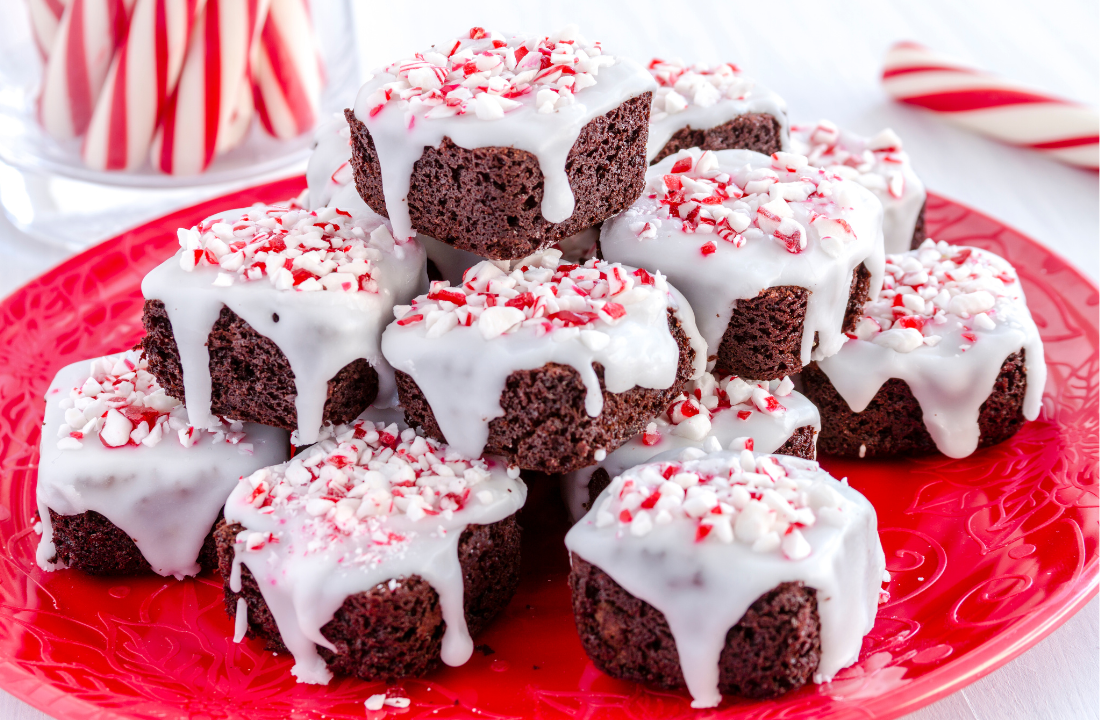
Dive into the holiday flavors with chocolate peppermint cookies. Combining dark chocolate and refreshing peppermint is a perfect way to infuse your baking with Christmas cheer.
**Chocolate Peppermint Cookies Recipe:**
**Ingredients:**
- 1 cup unsalted butter, softened
- 1 cup granulated sugar
- 1 large egg
- 1 teaspoon vanilla extract
- 2 cups all-purpose flour
- 1/2 cup unsweetened cocoa powder
- 1 teaspoon baking powder
- 1/4 teaspoon salt
- 1/2 cup chocolate chips or chunks
- 1/2 cup crushed peppermint candies or candy canes
**For Rolling (optional):**
- Powdered sugar
**Instructions:**
1. **Preheat the Oven:**
Preheat your oven to 350°F (175°C)—line baking sheets with parchment paper.
2. **Cream Butter and Sugar:**
In a large bowl, cream the softened butter and granulated sugar until light and fluffy.
3. **Incorporate Wet Ingredients:**
Add the egg and vanilla extract to the creamed mixture, beating well until thoroughly combined.
4. **Combine Dry Ingredients:**
Whisk together the flour, cocoa powder, baking powder, and salt in a separate bowl.
5. **Combine Wet and Dry Ingredients:**
Gradually add the dry and wet ingredients, mixing until a soft cookie dough forms.
6. **Fold in Chocolate Chips and Peppermint:**
Gently fold the chocolate chips or chunks and crushed peppermint candies until evenly distributed throughout the dough.
7. **Chill the Dough (Optional):**
You can chill the dough in the refrigerator for about 30 minutes for enhanced flavor and easier handling.
8. **Rolling in Powdered Sugar (Optional):**
If desired, you can roll portions of the dough into balls and then in powdered sugar for a delightful, crinkled appearance.
9. **Place on Baking Sheets:**
Arrange the cookie dough balls on the prepared baking sheets, leaving enough space between them.
10. **Bake:**
Bake in the oven for 10–12 minutes or until the edges are set. The cookies may still be soft in the center but will firm up as they cool.
11. **Cooling:**
Allow the cookies to cool on the baking sheets for a few minutes before transferring them to a wire rack to cool completely.
12. **Enjoy:**
Your chocolate peppermint cookies are now ready to be enjoyed. The rich chocolate and refreshing peppermint make these cookies perfect for the holiday season.
These chocolate peppermint cookies are a delightful blend of festive flavors, combining chocolate’s richness with peppermint’s coolness. Whether enjoyed as a holiday treat or a special indulgence throughout the year, these cookies will surely please any chocolate and peppermint lover.
**Maple Syrup Butter Cookies:**
Add a unique twist to your holiday treats with maple syrup butter cookies. The subtle sweetness of maple syrup adds a distinctive flavor to these golden brown delights.
**Maple Syrup Butter Cookies Recipe:**
**Ingredients:**
- 1 cup unsalted butter, softened
- 1 cup granulated sugar
- 1 large egg
- 1 teaspoon vanilla extract
- 1/3 cup pure maple syrup
- 3 cups all-purpose flour
- 1/2 teaspoon baking powder
- 1/4 teaspoon salt
- Additional granulated sugar for rolling (optional)
**Instructions:**
1. **Preheat the Oven:**
Preheat your oven to 350°F (175°C)—line baking sheets with parchment paper.
2. **Cream Butter and Sugar:**
In a large bowl, cream the softened butter and granulated sugar until light and fluffy.
3. **Incorporate Wet Ingredients:**
Add the egg and vanilla extract to the creamed mixture, beating well until thoroughly combined.
4. **Add Maple Syrup:**
Pour in the maple syrup and continue mixing until the ingredients are well incorporated.
5. **Combine Dry Ingredients:**
Whisk together the flour, baking powder, and salt in a separate bowl.
6. **Combine Wet and Dry Ingredients:**
Gradually add the dry and wet ingredients, mixing until a soft cookie dough forms.
7. **Chill the Dough (Optional):**
You can chill the dough in the refrigerator for about 30 minutes for enhanced flavor and easier handling.
8. **Rolling in Sugar (Optional):**
If desired, you can roll portions of the dough into balls and then add granulated sugar for a slightly sweet exterior.
9. **Place on Baking Sheets:**
Arrange the cookie dough balls on the prepared baking sheets, leaving enough space between them.
10. **Flatten (Optional):**
If you prefer a flatter cookie, gently press each ball with the back of a fork or the bottom of a glass.
11. **Bake:**
Bake in the oven for 10–12 minutes or until the edges are set. The cookies may still be soft in the center, but they will firm up as they cool.
12. **Cooling:**
Allow the cookies to cool on the baking sheets for a few minutes before transferring them to a wire rack to cool completely.
13. **Enjoy:**
Your maple syrup butter cookies are now ready to be enjoyed. The subtle sweetness of maple syrup adds a unique flavor to these buttery delights.
These maple syrup butter cookies are a delightful twist on classic butter cookies. They offer a subtle sweetness and a hint of maple flavor. Enjoy them with a cup of tea or coffee for a lovely treat any time of the year.
**Peanut Butter Cup Cookies:**
Take a fun approach with peanut butter cup cookies. These easy-to-make treats combine the goodness of peanut butter cookies with the surprise of a peanut butter cup in the center.
**Classic Chocolate Chip Cookies with a Fall Twist:**
Elevate the classic chocolate chip cookie by adding a fall twist. Incorporate seasonal ingredients like cinnamon, nutmeg, or even a hint of pumpkin for a cookie that embodies the holiday spirit.
**Classic Chocolate Chip Cookies with a Fall Twist Recipe:**
**Ingredients:**
- 1 cup unsalted butter, softened
- 1 cup granulated sugar
- 1 cup packed light brown sugar
- 2 large eggs
- 1 teaspoon vanilla extract
- 3 cups all-purpose flour
- 1 teaspoon baking soda
- 1/2 teaspoon baking powder
- 1/2 teaspoon salt
- 1 teaspoon ground cinnamon
- 1/2 teaspoon ground nutmeg
- 1/4 teaspoon ground cloves
- 2 cups chocolate chips
- 1 cup chopped pecans or walnuts (optional)
- 1 cup dried cranberries or raisins (optional)
**Instructions:**
1. **Preheat the Oven:**
Preheat your oven to 350°F (175°C)—line baking sheets with parchment paper.
2. **Cream Butter and Sugars:**
In a large bowl, cream the softened butter, granulated sugar, and brown sugar until light and fluffy.
3. **Incorporate Eggs and Vanilla:**
Add the eggs one at a time, beating well after each addition. Stir in the vanilla extract.
4. **Combine Dry Ingredients:**
Whisk together the flour, baking soda, baking powder, salt, cinnamon, nutmeg, and cloves in a separate bowl.
5. **Combine Wet and Dry Ingredients:**
Gradually add the dry and wet ingredients, mixing until just combined.
6. **Fold in Chocolate Chips and Fall Additions:**
Gently fold in the chocolate chips and, if desired, add the chopped nuts and dried cranberries or raisins. This gives the cookies a delightful fall twist.
7. **Chill the Dough (Optional):**
For enhanced flavor and texture, you can chill the dough in the refrigerator for about 30 minutes.
8. **Shape the Dough:**
Using a cookie scoop or a tablespoon, drop rounded balls of dough onto the prepared baking sheets, leaving enough space between them.
9. **Bake:**
Bake in the oven for 10–12 minutes or until the edges are golden but the centers are still soft. Adjust the baking time according to your desired cookie texture.
10. **Cooling:**
Allow the cookies to cool on the baking sheets for a few minutes before transferring them to a wire rack to cool completely.
11. **Enjoy:**
Once cooled, your classic chocolate chip cookies with a fall twist are ready to be enjoyed. The warm spices and added textures make these cookies perfect for autumn gatherings.
These classic chocolate chip cookies with a fall twist are a delicious combination of familiar flavors and the warmth of fall spices. Whether you enjoy them with coffee or as a festive treat during autumn celebrations, these cookies will bring comfort and joy to your taste buds.
This holiday season, let the aroma of freshly baked cookies fill your home as you create memories with loved ones. With these easy Christmas cookie recipes, you can enjoy the best part of the season—the joy of giving and savoring delicious treats. Whether planning a cookie swap, making homemade gifts, or simply indulging in the happiness of festive baking, these recipes will surely add a touch of magic to your celebrations. Happy holidays, and may your cookie tins be filled with the best Christmas cookies made with love and joy!
To Find All My Crochet Jewel Patterns, Click Here


