Crochet a Cute Turtles with Step-by-Step Instructions
How to Crochet a Turtle
Welcome to the enchanting world of crochet, where you’ll embark on a delightful journey to create your tiny crochet turtles. These adorable creatures are brought to life through the magic ring, an essential crochet skill that sets the foundation for this charming amigurumi project. Crafted with bright colors, detailed instructions, and step-by-step guidance, these tiny turtles are perfect for crocheters of varying skill levels. This crochet sea turtle pattern free is a delightful project that will guide you through making a cute and cuddly turtle, perfect for any crochet enthusiast!
This free crochet pattern explores various crochet techniques, from single crochet to slip stitches, as you craft these miniature amigurumi turtles.
Within this post, you’ll find affiliate links. If you decide to purchase through these links, I may earn a modest commission at no extra cost. Additionally, please review my privacy policy for more details.
Click the Social Icons to Stay Connected
![]()
![]()
![]()
![]()

Throughout your crochet adventure, you’ll find affiliate links, which not only help support this original pattern but also encourage the creation of more adorable hexagon-shaped creatures like these. So, gather your materials, set up your workspace, and follow along with our video tutorial as you crochet your way to a world filled with tiny turtles and countless adventures. Whether you’re an advanced beginner or a crochet expert, this pattern will be a fun and rewarding project that leaves you with an army of adorable amigurumi turtles to cherish.
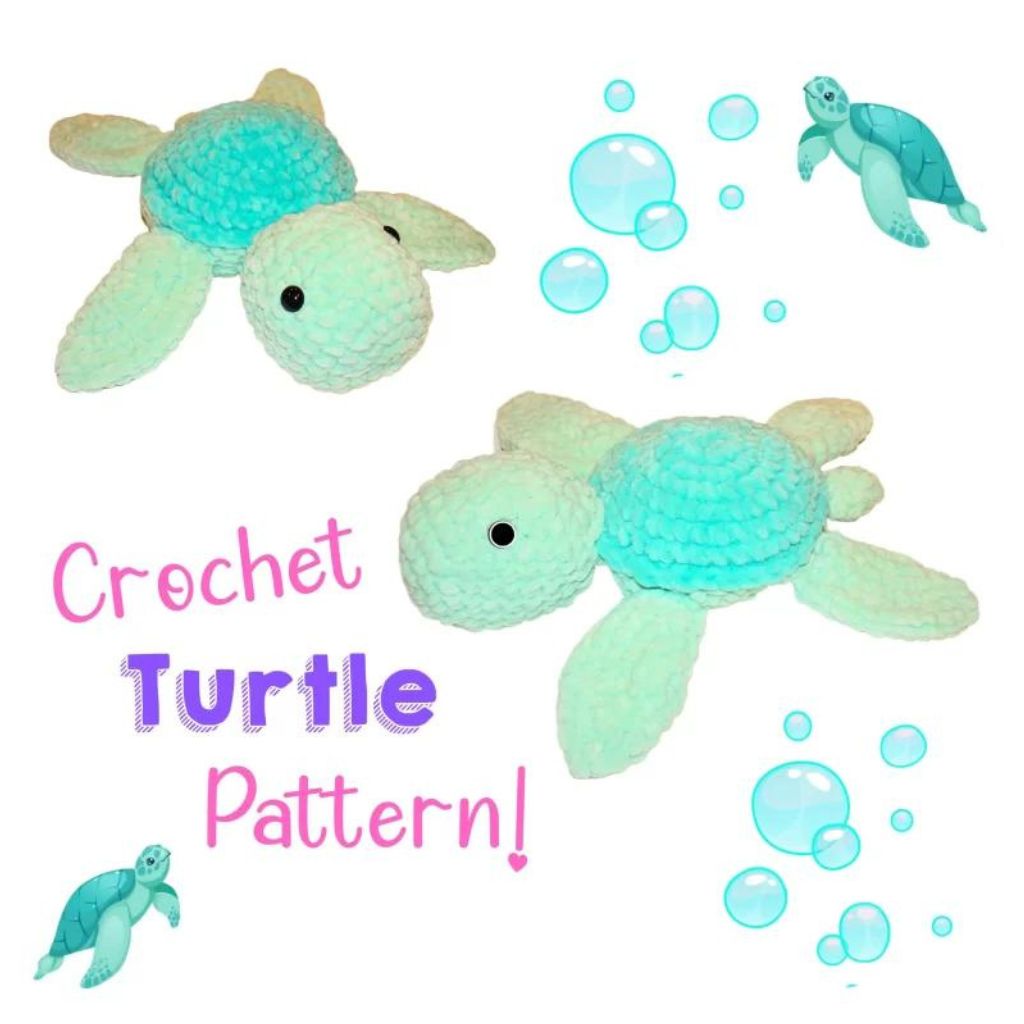
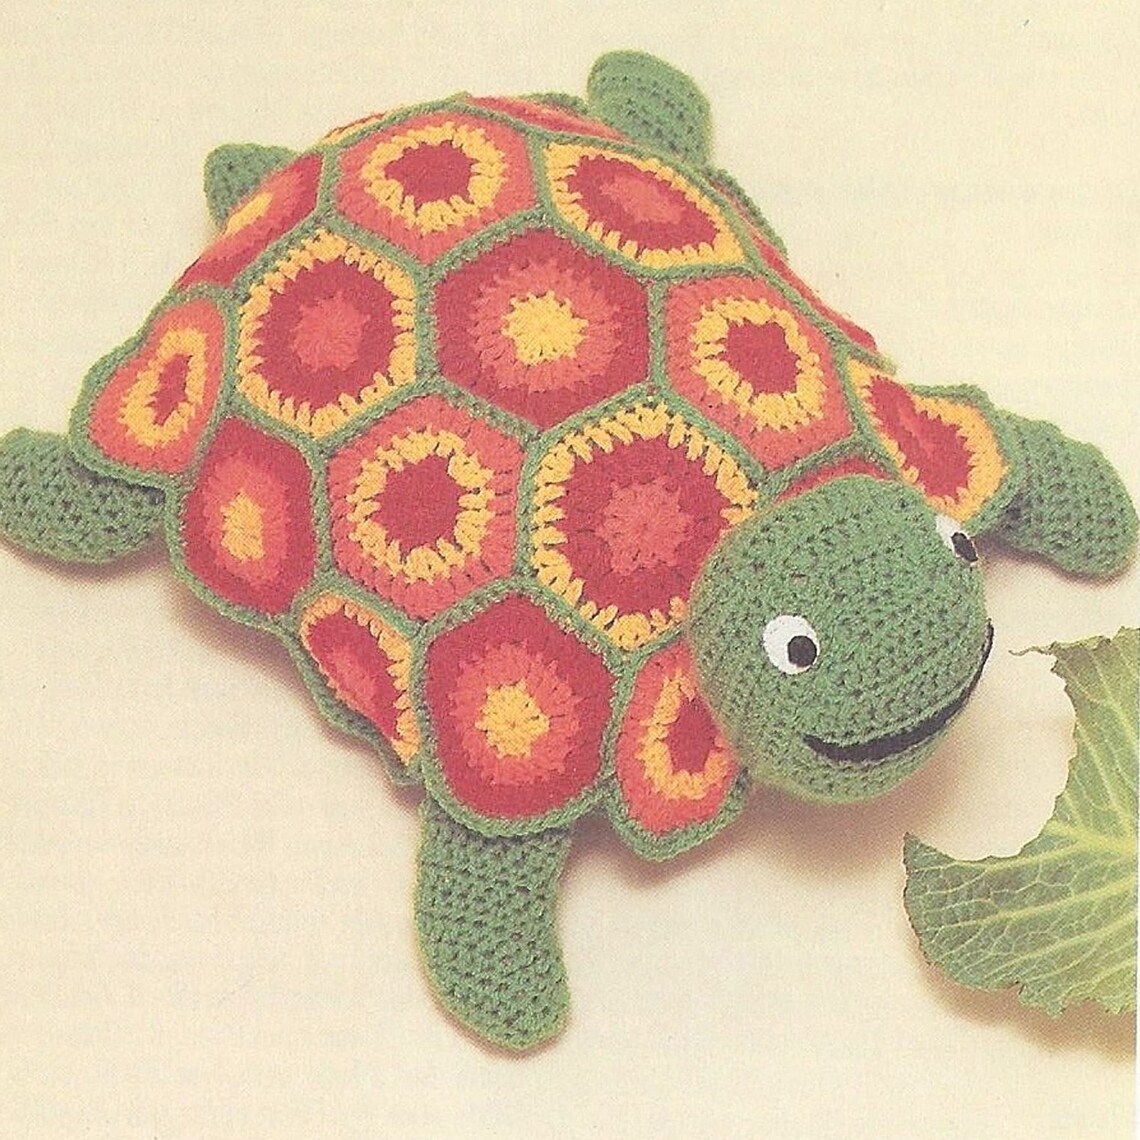
I crafted these turtles for my daughters, and they’ve quickly become cherished additions to her collection. I’m thrilled with how they turned out.
✨ We hope you enjoyed these photos! If so, please consider sharing them on Pinterest by clicking the Pin Button on each image. Your support helps us connect with more people and spread creativity. Thank you so much! 💖
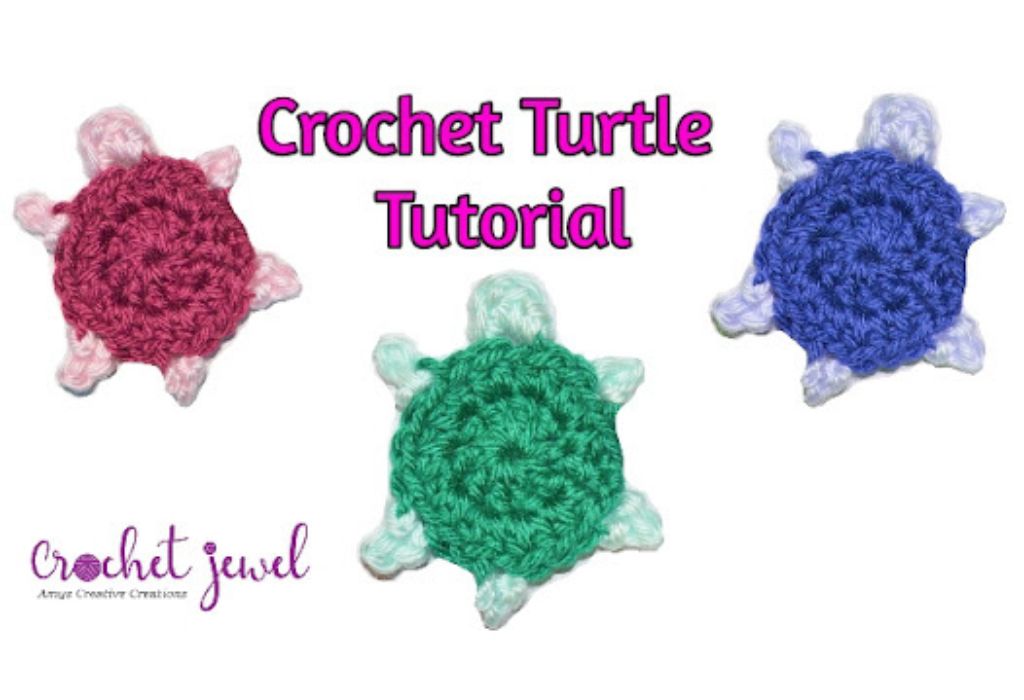
This crochet turtle tutorial is easy to follow, and we’ll guide you through every step. Once you’ve finished this project, you’ll easily make more turtles and other crochet projects!
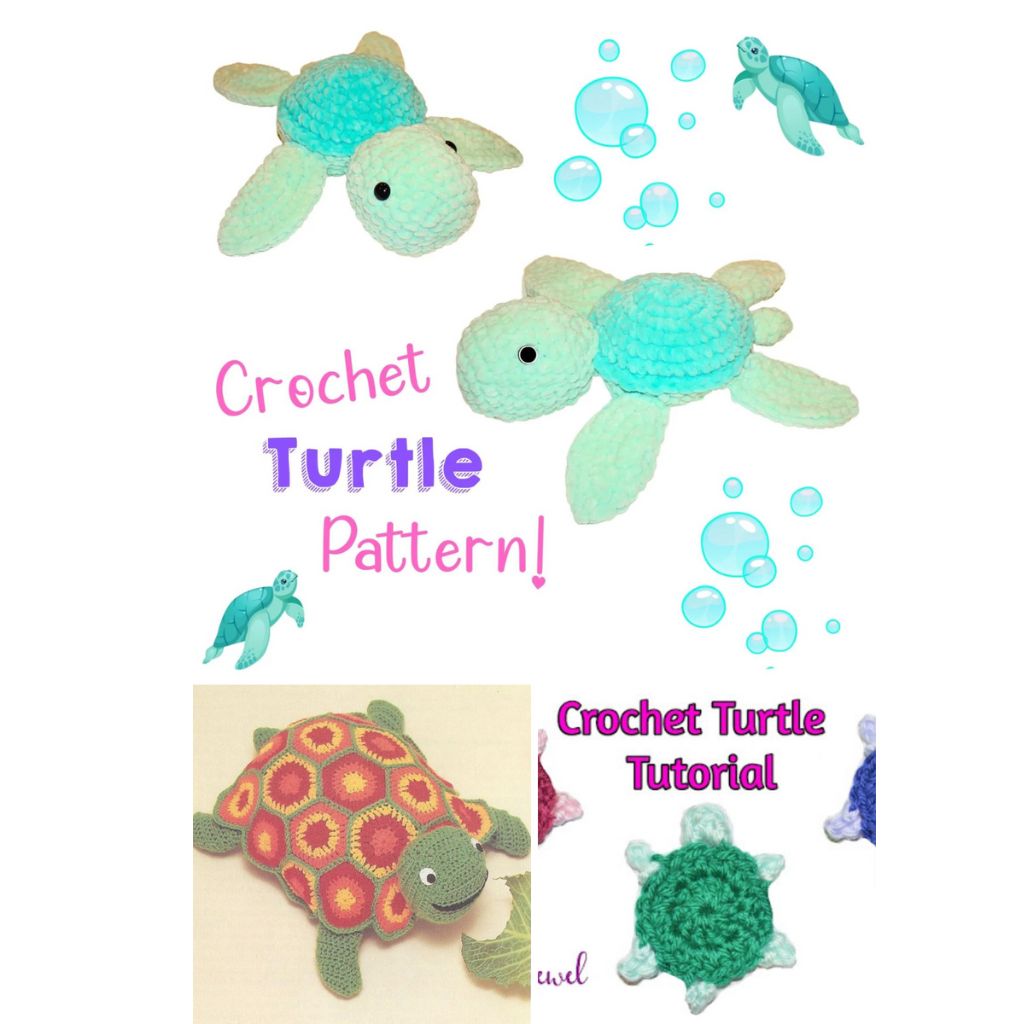
The crochet turtle pattern is not just a craft project; it’s a gateway to endless creative possibilities. You can choose different colors for your turtle’s body and shell to create a whole family of unique sea turtles with distinct personalities. The step-by-step instructions and video tutorials guide you through the process, making it a fantastic project for crocheters of all skill levels. Whether you’re an advanced beginner looking to expand your skills or an experienced crocheter seeking a fun and relaxing project, this pattern has something to offer.
The crochet community’s shared love for these tiny sea turtles shines through the detailed step-by-step instructions and enchanting video tutorials that make crafting these adorable creatures accessible to crocheters of all skill levels. With their bright and varied shell colors, these sea turtles provide a canvas for creative expression and customization. The patterns, often available as free crochet patterns with some affiliate links, are designed with attention to minor details, from the placement of the tiny safety eyes to the subtle changes in stitch patterns for the shells. And the result? It is a finished product that brings joy to the crocheter and anyone lucky to receive one as a gift.
Whether you’re an advanced beginner or a seasoned crocheter, the simple magic circle, basic stitches, and continuous rounds help you navigate the intricate steps of the pattern. Crocheting tiny sea turtles, also known as mini turtles, allows you to experiment with various yarn colors and shell designs. It’s not just about creating a cute turtle; it’s about making your sweet turtles, each with its personality and charm. These tiny turtles are perfect for gifting, use in amigurumi projects, or display as adorable crocheted art pieces. The only reason not to try your hand at crafting your first crochet turtle is if you’re afraid you’ll fall in love with making them and can’t stop! So, grab your mm hook and some bright, plush yarn, and begin your journey into the world of these cute little fellows.
Click the Links for Your Materials
– Crochet hook
– Tapestry needle
– Stitch marker
Abbreviations:
ch=chian
hdc-half double crochet
sl st=slip stitch
G hook
Rnd 1: Magic Circle, ch 3 (counts as dc), work 9 dc in the circle. sl st on top of the chain 3.
Rnd 2: Ch 2 (counts as hdc), work 2 hdc in each stitch around, sl st on top of the ch 2.
Turtle Leg:
Sl st into any stitch, ch 2, sl st into the 2nd chain from the hook, sl st into the same stitch, ch 1, pull through to fasten off.
Skip the next two stitches, go into the next stitch,
This will be the turtle head, work 3 hdc, sl st into the same stitch, ch 1, pull through to fasten off.
Skip the next two stitches, go into the next stitch, this will be another leg, ch 2, sl st into the 2nd chain from the hook, sl st into the same stitch, ch 1, pull through to fasten off.
This is for the turtle tail:
Skip the next two stitches, go into the next stitch, this will be another leg, ch 1, sl st into the chain from the hook, sl st into the same stitch, ch 1, pull through to fasten off.
For the last leg, Sl st into any stitch, ch 2, sl st into the 2nd chain from the hook, sl st into the same stitch, ch 1, pull through to fasten off.
Fasten off, and weave in all the ends to the body parts. I hope you enjoyed this free, easy crochet turtle pattern!
Print the entry at the top of the page to print the pattern!
How to Crochet Plushies – Click Here
Supplies: J and K hook
Sweet Snuggles Lite Velvet yarn
Yarn Needle
2 Black Eyes, about ½ inch
Polyfil
Stitch Marker
Abbreviations:
ch=chain
sc=single crochet
sl st=slip stitch
2sctog=2 single crochet together decrease
Best shown in the video
Legs, Make 2, Light Green, J hook
Rnd 1: Chain 7 in the Magic Circle, sl st -7 sc
Rnd 2: *2 sc in each stitch around, *Repeat around -14 sc
Rnd 3: *sc, 2 sc in the next stitch, work in continuous rounds, *Repeat around -21 sc
Rnd 4: *sc in the next two stitches, 2 sc in the next stitch, *Repeat around -28 sc
Rnd 5: *sc in the next three stitches, 2 sc in the next stitch, *Repeat around -35 sc
Fold in half, sc together, leave about 4 stitches at the end, fold inward, and then sew it closed.
Arms, Make 2, Light Green, J hook (These arms will be bigger than the legs, sew them with a yarn needle and yarn on both front sides by the head.)
Rnd 1: Chain 7 in the Magic Circle, sl st
Rnd 2: *2 sc in each stitch around, *Repeat around -14 sc
Rnd 3: *sc, 2 sc in the next stitch, work in continuous rounds, *Repeat around -21 sc
Rnd 4: *sc in the next two stitches, 2 sc in the next stitch, *Repeat around -28 sc
Rnd 5: *sc in the next three stitches, 2 sc in the next stitch,*Repeat around -35 sc
Rnd 5: *sc in the next four stitches, 2 sc in the next stitch, *Repeat around -42 sc
Fold in half, sc together, leave about 4 stitches at the end, fold inward and then sew it closed.
Head: Light Green, K hook
Rnd 1: In the Magic Circle, ch1, work 6 sc, sl st
Rnd 2: *2 sc in each stitch around, sl st – 12 sc
Rnd 3: *sc, 2 sc in the next stitch, *Repeat around -18 sc
Rnd 4: *sc in the next two stitches, 2 sc in the next stitch,*Repeat around -24 sc
Rnd 5: *sc in the next three stitches, 2 sc in the next stitch, *Repeat around -30 sc
Rnds 6-10: *sc in each stitch around, *Repeat around
Insert the eyes on both sides. From the beginning center, go up around 6 rounds.
Rnd 11: *sc in the next three stitches, 2sctog decrease in the next two stitches, *Repeat around,
Rnd 12: *sc in the next two stitches, 2sctog decrease in the next two stitches, *Repeat around,
Rnd 14: *sc in the next stitch, 2sctog decrease in the next two stitches, *Repeat around,
Rnd 15: *sc in each stitch around, (there will be a small opening), You will sew the head onto the body, right below the green shell.)
Tail, K hook
Rnd 1: In the Magic Circle, work 4 sc, sl st
Rnd 2: *sc, 2 sc in the next stitch, *Repeat around -6 sc
Rnds 3-4: *sc in each stitch, *Repeat for two rounds – 6 sc sl st to end.
Body Green yarn, K hook
Rnd 1: In the Magic Circle, ch1, work 6 sc, sl st
Rnd 2: *2sc in each stitch around, sl st *Repeat around -12 sc
Rnd 3: *sc, 2 sc in the next stitch, *Repeat around -18 sc
Rnd 4: *sc in the next two stitches, 2 sc in the next stitch, *Repeat around -24 sc
Rnd 5: *sc in the next three stitches, 2 sc in the next stitch, *Repeat around -30 sc
Rnd 6: *sc in the next four stitches, 2 sc in the next stitch, *Repeat around -36 sc
Rnd 7: *sc in the front loop in each stitch around,*Repeat around
Rnd 8: color change to light green, sl st in the new color, sl st into the back loop underneath, to create a shell
Rnds 9-10: *sc in each stitch around twice, *Repeat around
Rnd 10: *sc in the next four stitches, 2sctog decrease, *Repeat around
Rnd 11: *sc in the next three stitches, 2sctog decrease, *Repeat around
Rnd 12: *sc in the next two stitches, 2sctog decrease, *Repeat around
Rnd 13: *sc in the next stitch, 2sctog decrease, *Repeat around
Stuff with polyfil
Rnd 14: *2sctog decrease in each stitch to close, *Repeat around, sl st
Assembly
Best shown in the photo above and the video.
Attach the head a little below the dark green shell with a yarn and needle.
Attach the Legs (with the folded part facing toward the head, as shown in the photo) on both back sides with a yarn and needle
Attach the arms (with the folded part facing toward the head, as shown in the photo) on each side, above the legs, with yarn and needle
(These arms will be bigger than the legs, sew them with a yarn needle and yarn on both front sides by the head.)
Attach the tail, in the center back, in between the legs.
In conclusion, the crochet turtle pattern combines a delightful mix of creativity, skill, and craft, resulting in a cute and endearing sea turtle, amigurumi. The detailed instructions, step-by-step guides, and video tutorials make it an accessible project for crocheters of various skill levels, from advanced beginners to experienced crafters. The ability to customize the turtle with different colors, unique shell patterns, and contrasting elements allows for endless creative possibilities, making each turtle a one-of-a-kind finished product.
Whether you choose bright colors for a fun, playful look or a more traditional sea turtle appearance, the pattern offers the freedom to crochet your sweet turtles to your heart’s content. The small commission earned through affiliate links is a tiny and worthwhile investment in supporting the crafting community and the creators of these adorable hexagon-shaped amigurumi creatures.
Feel free to share your finished turtles on social media and connect with others who have embarked on this amigurumi adventure. Don’t forget to use your newly acquired crochet skills, like the magic circle, invisible decrease, and various basic stitches, to create more cute toys or explore other amigurumi projects. With the satisfaction of your first crochet turtle under your belt, you’re well on your way to a rewarding and enjoyable journey in the world of crochet and amigurumi, filled with many more double crochet adventures.
Crochet Vintage Turtle Pattern
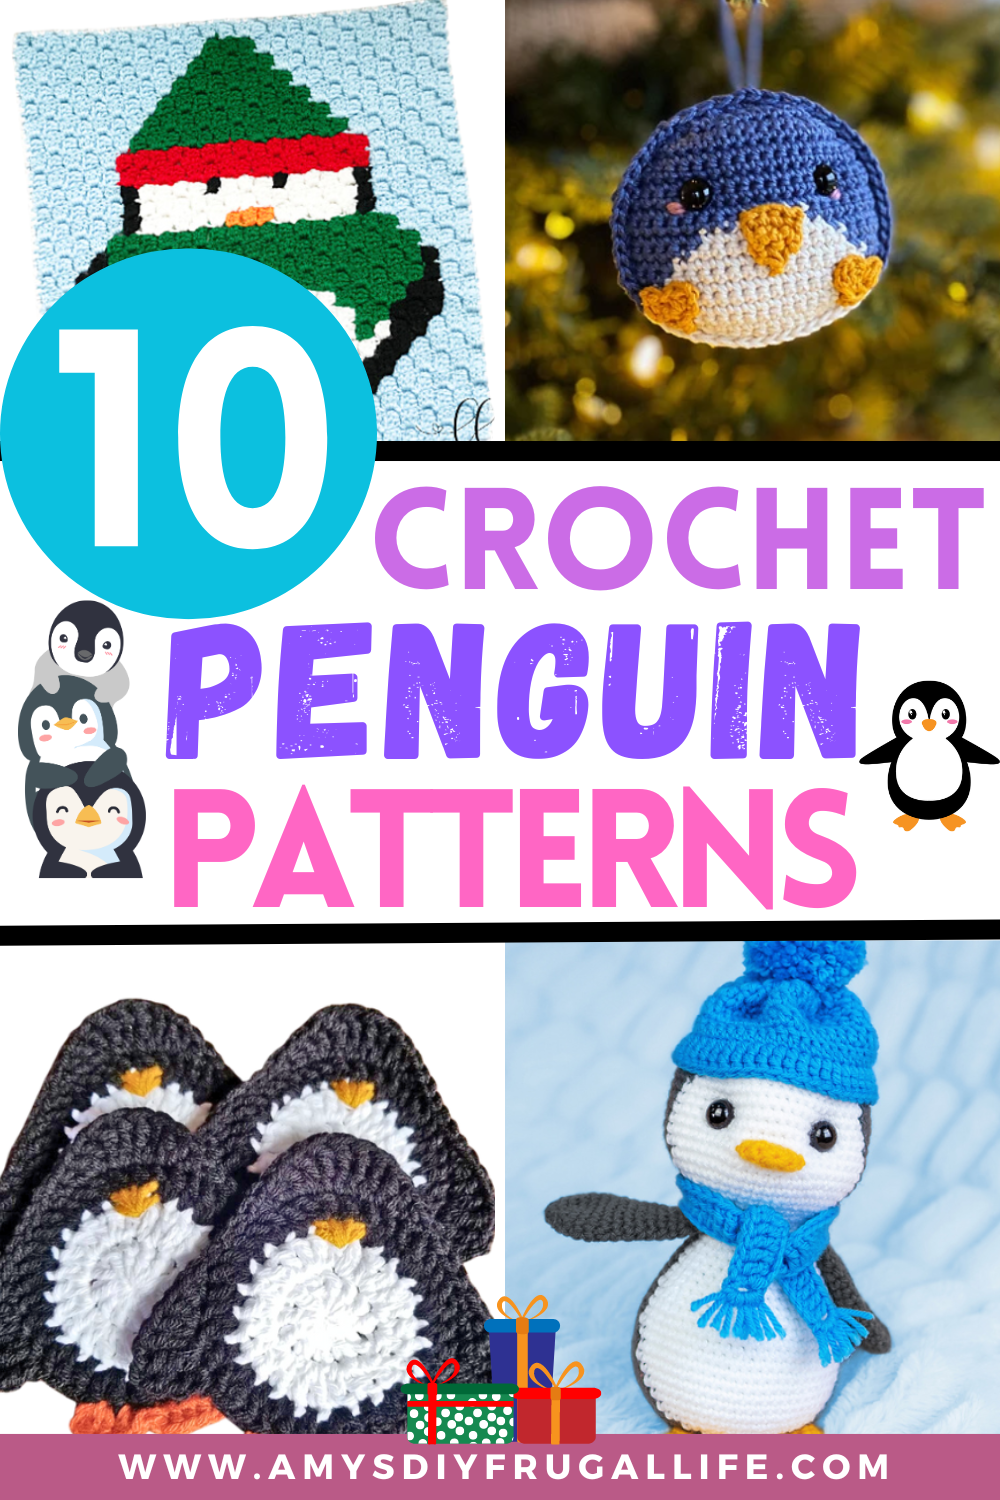
Click Here for Crochet Penguin Patterns

I absolutely love Amazon for its unbeatable Crochet deals and amazing selection!—click here to discover your next great deal!
Amazon Prime: Unlock fast, free shipping, exclusive Prime Video shows, and more with Amazon Prime! Click here to start your 30-day free trial today!
Audible Plus: Access thousands of audiobooks and podcasts with Audible Plus! Click here for Audible Plus on Amazon!
Kindle: Discover millions of books with Kindle—read anywhere, anytime! Click here to buy on Amazon!
Amazon Prime Video: Enjoy unlimited streaming of top movies and TV shows with Amazon Prime Video! Click here to start watching!
Amazon Music: Stream millions of songs and playlists with Amazon Music! Click here to start listening!
To Find All My Crochet Jewel Patterns, Click Here

Click Here for My Ravelry Patterns


Crochet Hats for Beginners Book For Sale – Click Here

Crochet For Beginners Book for Sale – Click Here
Click Here fo Lion Brand Yarn and Free Patterns

I’m using Rakuten to get Cash Back at my favorite stores. Hate for you to miss out, so join now with my invite and you’ll get $30 after you spend $30.* Click Here for Cash Back


You May Also Like
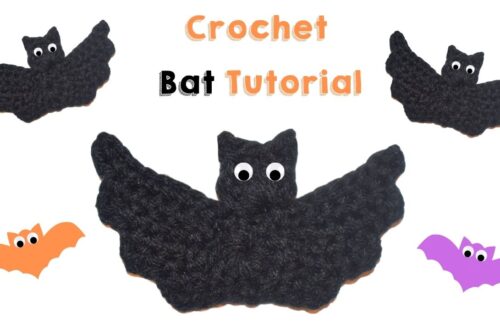
Crochet Your Own Bat: Step-by-Step Halloween Craft Tutorial

Step-by-Step Guide to Crafting Beautiful Crochet Butterflies