Starry Elegance: A Step-by-Step Guide to Crocheting Star Patterns
How to Crochet a Star
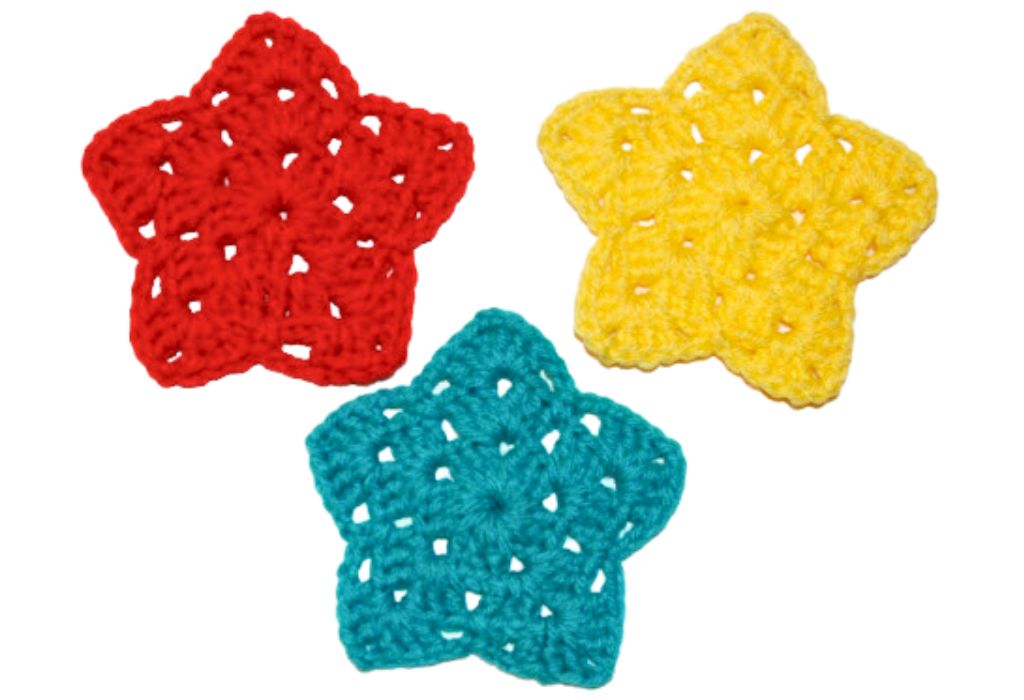
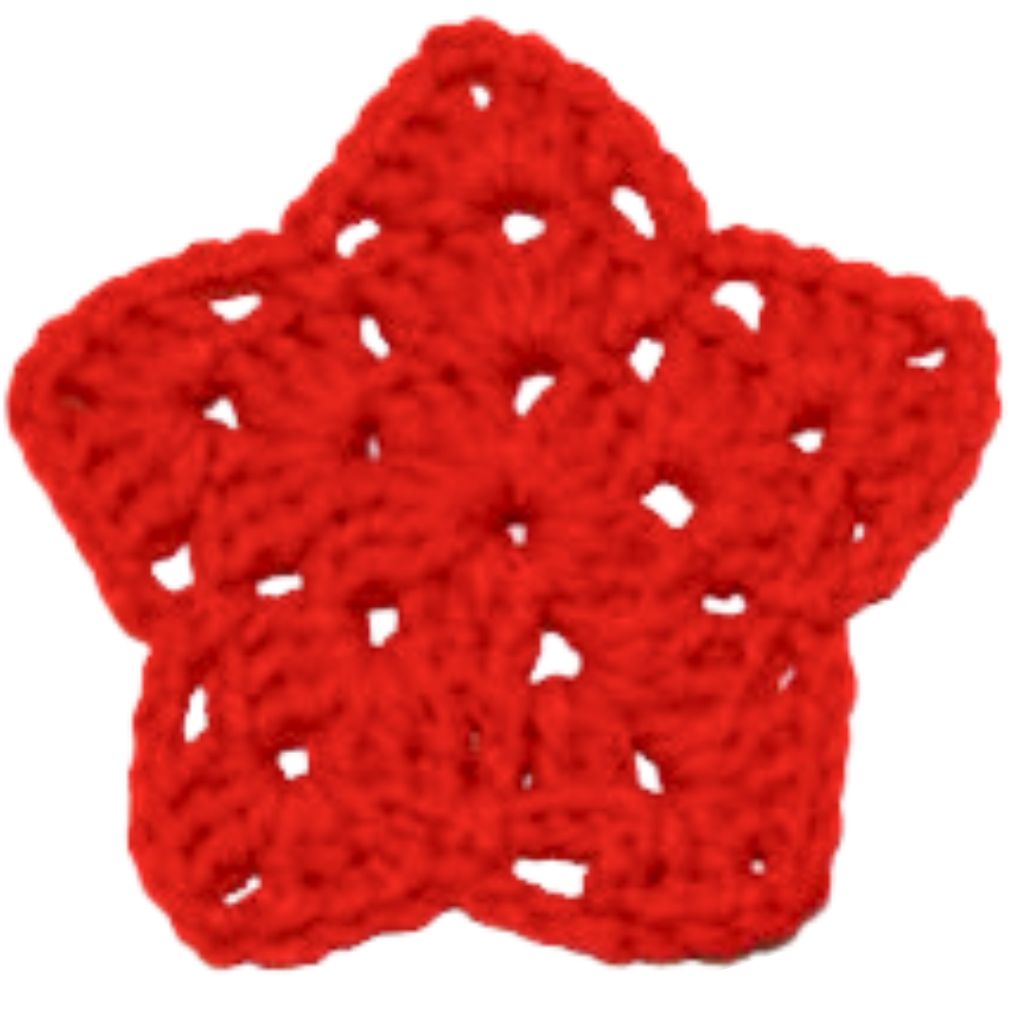
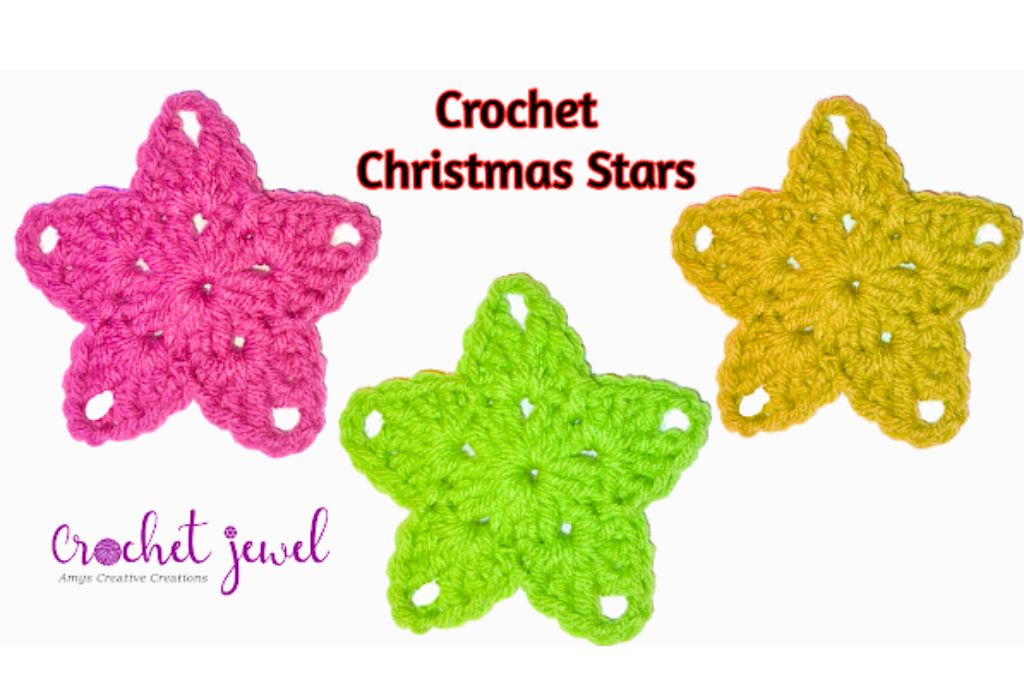
Welcome to our step-by-step tutorial on creating beautiful crochet stars, which are perfect for adding a handmade charm to your projects. Whether decorating for the holidays, adding star appliques to baby blankets, or embarking on fun crochet projects, these stars are a great way to let your creativity shine. In this tutorial, we’ll explore a simple crochet star pattern that can be worked in various yarn weights and colors. We’ll cover essential techniques like the magic ring, slip stitch, and single crochet to make your star crochet pattern come to life. Plus, we have a video tutorial to guide you every step of the way. Let’s get started on your journey to creating cute crochet stars!
Within this post, you’ll find affiliate links. If you decide to purchase through these links, I may earn a modest commission at no extra cost. Additionally, please review my privacy policy for more details.
– **Materials and Tools:**
– Yarn Weight: You can use cotton or acrylic yarn in the weight of your choice.
– Hook Size: Select an appropriate crochet hook depending on your yarn weight. A 3.5 mm crochet hook is a common choice.
– Magic Ring: We’ll start with a magic ring, also known as a magic circle, to create the star’s center.
– Slip Stitch (sl st): This is a basic crochet stitch used to join, secure, or transition to the next part of your project.
– Single Crochet: Master single crochet to create the bodies of your stars.
– Foundation Chain: Begin with a foundation chain, and remember to leave a long tail for attaching the stars to your finished item.
– Star Points: Learn how to crochet the star points for a five-pointed star.
– **Video Tutorial:**
If you’re a visual learner, check out our video tutorial for a clear, step-by-step demonstration. It’s a great way to get started and perfect your technique.
Please provide a link to my blog if you want to share my content. However, I kindly request that you refrain from copying and posting my patterns on your website. You are welcome to sell any items you create using my patterns, but please refrain from selling the patterns themselves, as they are offered for free. Thank you for your understanding and support!
Click the Links for Your Materials
ch=chain
sl st=slip stitch
sc=single crochet
dc=double crochet
Rnd 2: Chain 3, (Counts as Dc), work 2 dc in the ring, ch 2, *work 3 dc in the ring, ch 2, *Repeat 3 more times for a total of 5 (3dc’s and chain 2’s)
Rnd 3: sl st into the chain 2 space, Chain 3, (Counts as Dc), work 2 dc in the chain 2, then ch 2, work 3 dc in the same ch 2 space, in the next ch 2 space, work 3 dc, ch 2, work 3 dc, *Repeat 3 more times for a total of 5 times of (3dc, ch2, 3dc in the ch 2 space)
Rnd 4: sl st into the chain 2 space, Chain 3, (Counts as Dc), work 2 dc in the chain 2, then ch 2, work 3 dc in the same ch 2 space, ch 2, sc in the space between the shells, ch 2,
*work 3 dc, ch 2, work 3 dc in the next chain 2 space of the previous shell from round 3, ch 2, sc in the space between the shells, ch 2, *Repeat 3 more times for a total of 5 times of (3dc, ch2, 3dc in the ch 2 space with ch 2 then sc in between the shells and ch 2)
Fasten off. Weave in the ends. Add a ribbon or chain hanger to the top, as shown in the video.
– **Finishing Touches:**
Once crocheted your stars, remember to weave in any loose ends and block them on a blocking mat if needed. This ensures your stars will be in the right shape and size for your projects.
Our blog post provides detailed instructions for a free written pattern. You can use affiliate links to purchase yarn and hooks to support our site. We may earn a small commission at no extra cost to you.
In conclusion, crochet stars are a versatile and delightful addition to your crafting repertoire. They can create Christmas tree ornaments, add charm to baby blankets, or embellish various fun projects. By mastering basic crochet stitches like the single crochet, slip stitch, and foundation chain and using techniques such as the magic ring, you can create stars in different colors, sizes, and yarn weights. Whether you prefer written patterns or video tutorials, resources are available for every type of learner. So grab your yarn, hook, and follow our simple crochet star pattern to create these cute, five-pointed stars. Happy crocheting!
To Find All My Crochet Jewel Patterns, Click Here

Click Here for My Ravelry Patterns


Crochet Hats for Beginners Book For Sale – Click Here

Crochet For Beginners Book for Sale – Click Here


You May Also Like
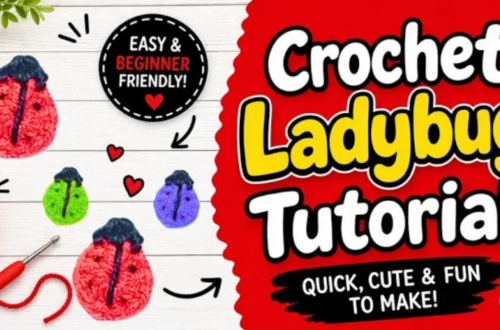
Crochet a Cute Little Ladybug Pattern: Step-by-Step Tutorial
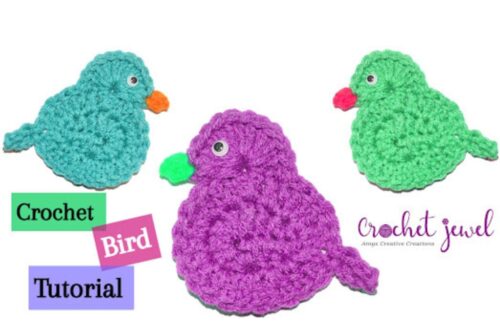
Crochet a Beautiful Bird Applique: Step-by-Step Tutorial