Crochet a Baby Caterpillar Cocoon and Hat: Step-by-Step Guide
Crochet a Baby Caterpillar Cocoon and Hat
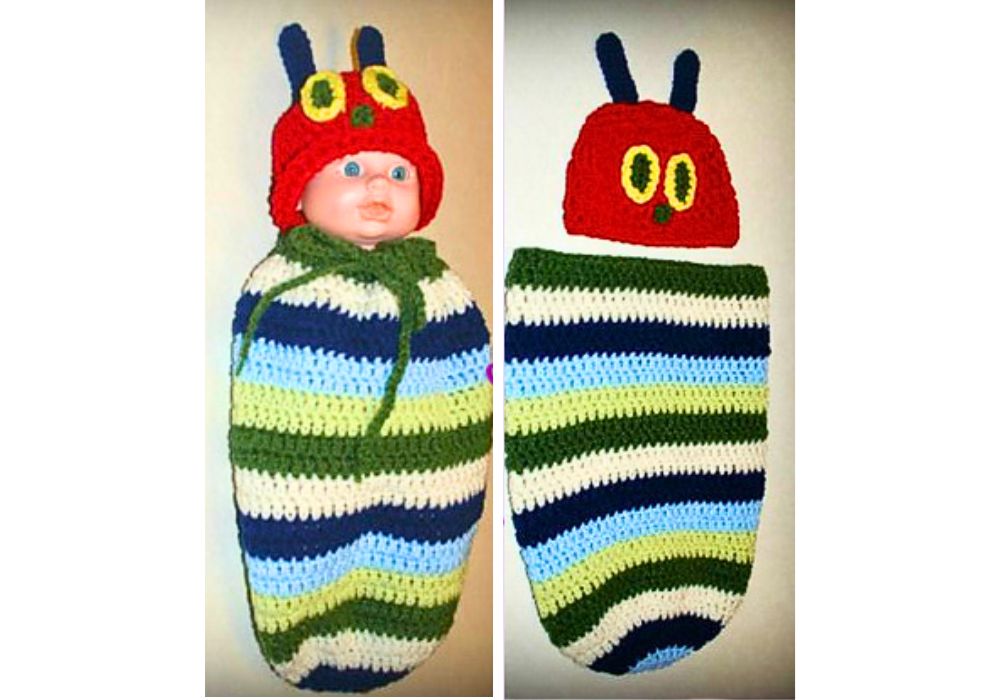
Welcome to the whimsical world of crochet, where we’ll embark on a delightful journey to create a charming baby caterpillar cocoon and hat set! Perfect for newborns or as a unique gift for expecting parents, this adorable ensemble is as cozy as it is cute.
Crocheting a baby caterpillar cocoon and hat is a fun and rewarding project that allows you to exercise your creativity while crafting a practical and adorable accessory for your little one. With its snug cocoon design and matching hat adorned with playful antennae, this set will keep your baby warm and snug while capturing everyone’s hearts.
✨ We hope you enjoyed these photos! If so, please consider sharing them on Pinterest by clicking the Pin Button on each image. Your support helps us connect with more people and spread creativity. Thank you so much! 💖

Abbreviations:
ch=chain
sc=single crochet
dc=double crochet
sl st=slip stitch
G, H, and I Hooks, Yarn needle
How to Crochet For Beginners Playlist – Click Here
Instructions:
Red Heart Love Light Blue, Dark Blue, Cream, Dark Green, Light Green
Ch 5- slip stitch to form a ring,
rnd 3. Switch Dark blue yarn with a sl st, then ch 3, counts as the first stitch, *2dc in next st., dc in the next stitch, repeat from *around, join with sl st. -36 sts.
Hat
rnd 1. ch 3, 11 dc in ring, join with sl st. on top of ch 3. -12 sts.
rnd 2. ch 3 (counts as the first stitch), dc in the same st. as joining, 2dc in each st. Around. Join with sl st on top of chain 2. -24 sts.
Rnds 3-10. *sc in each sc around, work without a sl st, use a marker, -7sc, *Repeat for 8 rounds. Fasten off and weave in the ends. Now sew them on top of the hat about 1 1/2 inches apart.
Print the entry at the top of the page to print the pattern!
The unique construction of this pattern involves a continuous spiral, creating a cozy cocoon with little dots for added texture. You can make it in preemie or newborn sizes, making it suitable for little angels of all sizes. You can even whip up a few in different colors to have on hand as last-minute gift ideas.
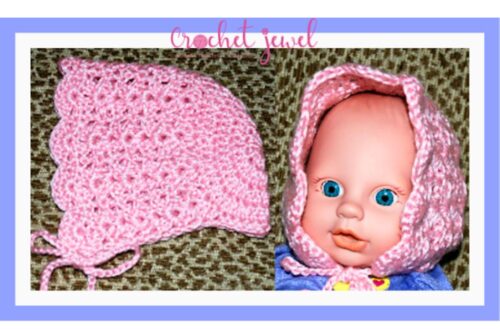
We’ll also provide instructions for a matching hat set pattern to complete the look. You can choose between a buttoned alternative or the classic pull-on style. The adorable set is perfect for keeping newborn babies warm and stylish.

Click Here for the Kitty Hat Pattern
In conclusion, this free crochet baby cocoon pattern is ideal for anyone seeking a quick and easy project that results in an adorable and practical baby gift. You’ll have plenty of flexibility to create it in different sizes and colors, even as a preemie size. The super bulky yarn choice ensures you can complete this project quickly, making it a great last-minute gift idea. Handmade with love, this unique cocoon set is perfect for newborn photo props and will surely be cherished by parents and their little ones. So, grab your crochet hook and get started on this fun and rewarding crochet project, and don’t forget to share your finished creations with us at Relief Share!
To Find All My Crochet Jewel Patterns, Click Here

Click Here for My Ravelry Patterns


Crochet Hats for Beginners Book For Sale – Click Here

Crochet For Beginners Book for Sale – Click Here


You May Also Like
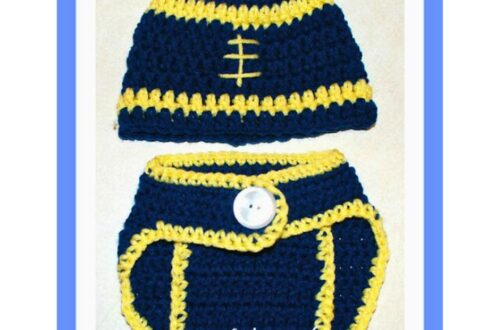
Crochet an Adorable Football Hat and Diaper Cover
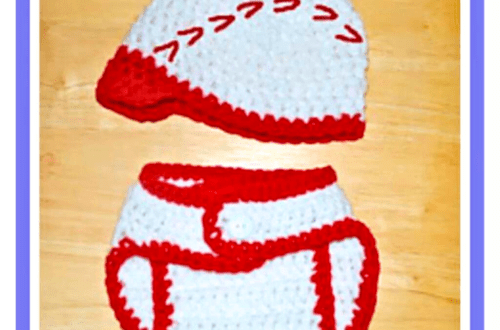
Play Ball: Crochet Baseball Hat and Diaper Cover Set