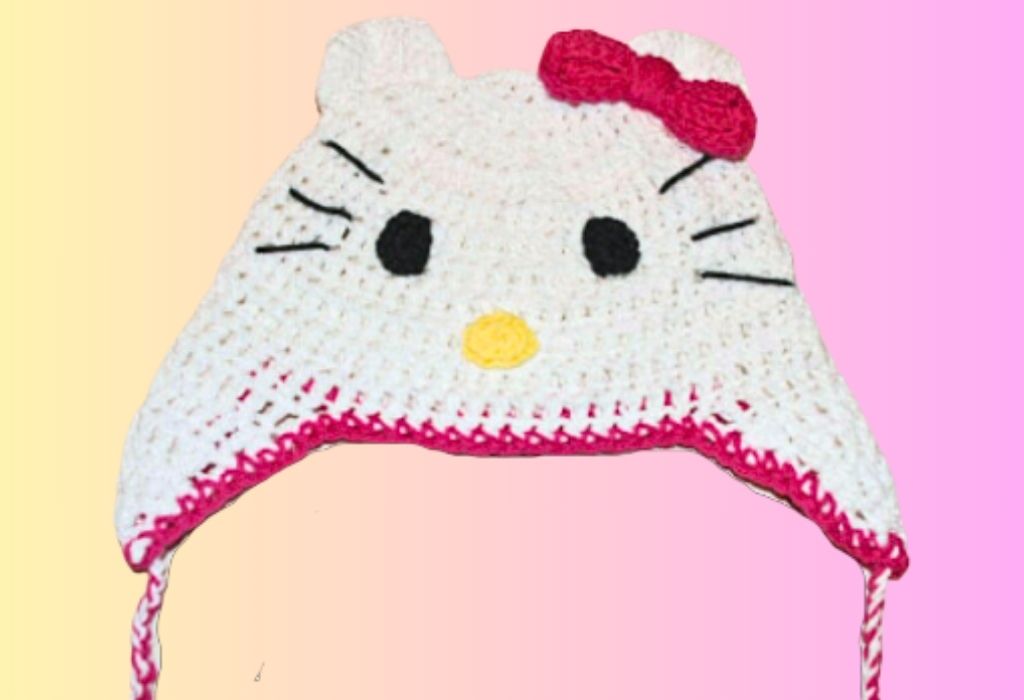
Crochet Hello Kitty Hat: A Whimsical Adventure
How to Crochet a Hello Kitty Cat Hat
Welcome to a whimsical crochet adventure where we’ll bring the beloved Hello Kitty to life as a cozy hat! This delightful project combines the charm of crochet with the iconic cuteness of Hello Kitty, making it perfect for fans of all ages. Whether you’re crafting it for yourself or as a gift for someone special, this hat is sure to add a touch of fun and warmth to any outfit. Join us as we delve into the crochet world and create this adorable Hello Kitty hat brimming with personality and style. Let’s start making a hat that’s as cute as cozy! Check out this adorable crochet Hello Kitty hat, made using a free Hello Kitty crochet pattern for the perfect touch of cuteness!
You’ll find affiliate links within this post. If you decide to purchase through these links, I may earn a modest commission at no extra cost. Additionally, please review my privacy policy for more details.
Click the Social Icons to Stay Connected
![]()
![]()
![]()
![]()

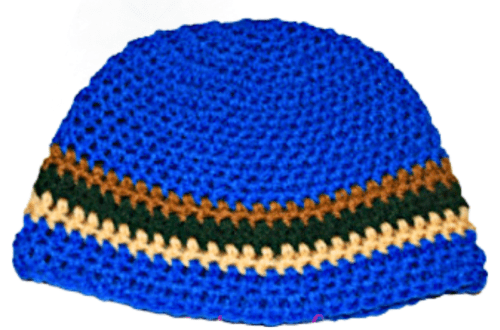
To start, you’ll need some worsted-weight yarn, a crochet hook (size J), a tapestry needle, and a stitch marker. The pattern involves creating the foundation chain and working in the round, using techniques like the back loop, slip stitch, and half double crochet. We’ll discuss the ideal head size for your hat, the crochet hat size chart, and achieving the perfect fit. You can customize your hat with different colors and even add a faux fur pom pom for that extra touch of style.
✨ We hope you enjoyed these photos! If so, please consider sharing them on Pinterest by clicking the Pin Button on each image. Your support helps us connect with more people and spread creativity. Thank you so much! 💖

If you love Hello Kitty or know someone who does, this hat is perfect! This cute crochet hat can be done in any size. Learn how to crochet a Hello Kitty Hat in this quick and easy tutorial for beginners! This hat is a fun and stylish way to add a little personality to any outfit, and it’s perfect for colder weather!
My daughter loves Hello Kitty and wanted me to make her this cute pattern! She wears this hat all the time and gets a lot of compliments. So here is a fun way to make a Hello Kitty hat for your little ones or even you!
white yarn for the hat
When you are finished it will look like a triangle, you can close the wide bottom part of the triangle by sew it closed if you like to, Then sew the ears on top of the hat about 2 inches apart.
In this tutorial, we’ll guide you through the entire hat-making process, including repeating rows, working the top of the hat, and completing the last row. For those new to crochet, we’ll explain basic stitches and using a yarn needle to weave in your yarn tail. This project is fun and a great way to create unique and cozy gifts for your loved ones during the cold weather season.
Crocheting a kitty hat pattern can be rewarding and easy, even for new crocheters. With the provided free crochet pattern and video tutorial, you’ll be on your way to crafting adorable and warm hats in no time. Experiment with different yarn weights, from super bulky to aran weight, and make stylish slouchy beanies or messy bun hats. If you enjoy this tutorial, join our social media community or Facebook group for more inspiration and ideas. Don’t forget to check out our privacy policy and consider supporting us through affiliate links, as it helps us continue to provide great crochet projects like this one. Happy crocheting!
To Find All My Crochet Jewel Patterns, Click Here

Click Here for My Ravelry Patterns

I absolutely love Amazon for its unbeatable Crochet deals and amazing selection!—click here to discover your next great deal!
Amazon Prime: Unlock fast, free shipping, exclusive Prime Video shows, and more with Amazon Prime! Click here to start your 30-day free trial today!
Audible Plus: Access thousands of audiobooks and podcasts with Audible Plus! Click here for Audible Plus on Amazon!
Kindle: Discover millions of books with Kindle—read anywhere, anytime! Click here to buy on Amazon!
Amazon Prime Video: Enjoy unlimited streaming of top movies and TV shows with Amazon Prime Video! Click here to start watching!
Amazon Music: Stream millions of songs and playlists with Amazon Music! Click here to start listening!


You May Also Like
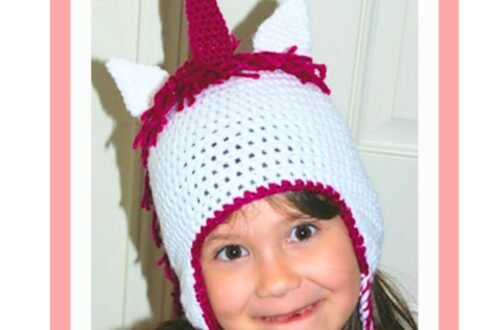
Crafting Enchantment: Crochet Your Own Magical Unicorn Hat
Crochet Ski Mask Hats: A Perfect Blend of Style and Warmth