Crochet Headband Tutorial: Create Stylish and Warm Accessories
How to Crochet a Headband
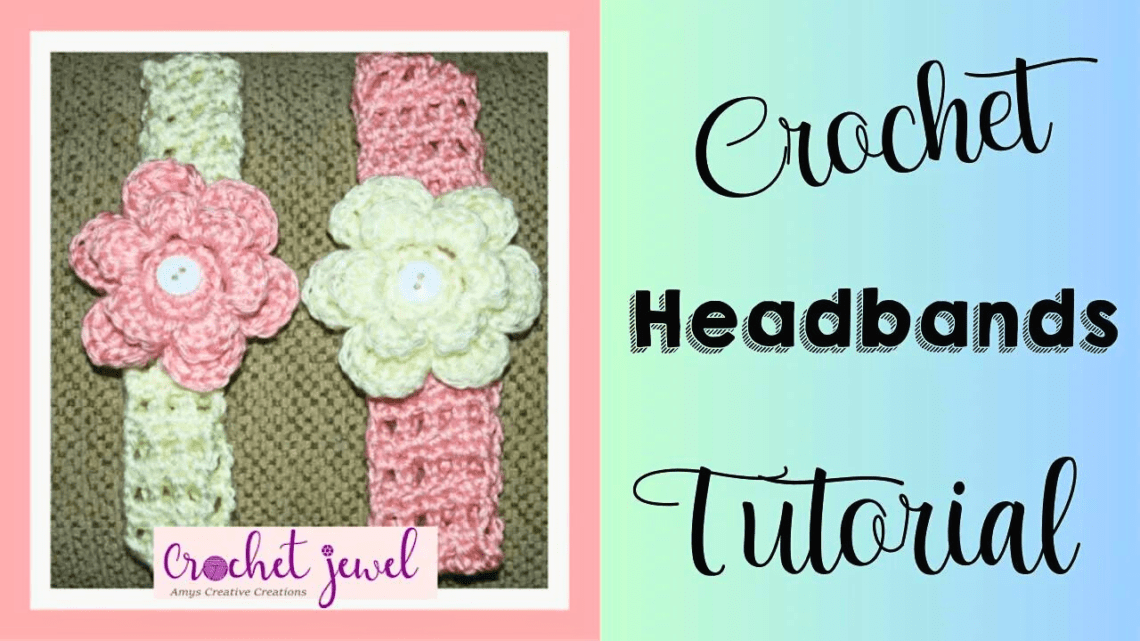
Crochet headbands are stylish and practical accessories that add warmth and flair to any outfit. In this crochet headband tutorial, we’ll explore the world of creating these beautiful headpieces. Whether you’re a seasoned crocheter or just starting, we’ve covered you with a free pattern and video tutorial. You can whip up a cozy headband with basic crochet stitches and some leftover yarn quickly. It’s a perfect project for quick gifts or selling at craft fairs. This headband crochet pattern is perfect for beginners, offering a stylish and easy way to make your own custom headbands with a free crochet pattern!
This post contains affiliate links. If you purchase through these links, I may earn a modest commission at no extra cost. Please review my privacy policy for more details.
Click the Social Icons to Stay Connected
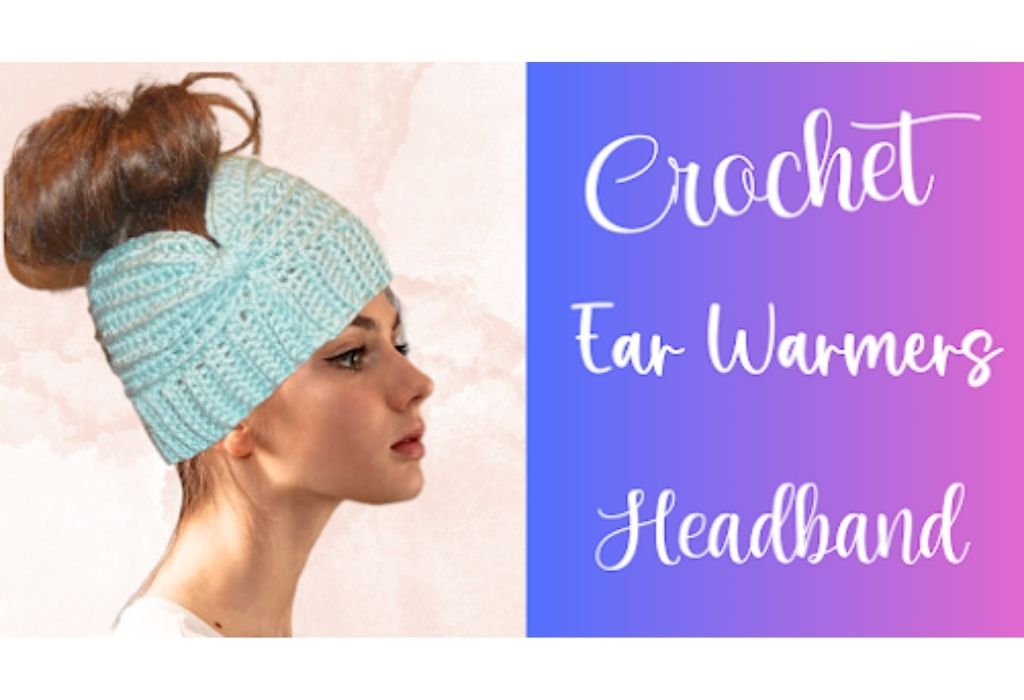
Crochet headbands are versatile accessories that can be customized in various ways to suit your style and preferences. The great thing is that you can create them in different sizes, from baby headbands to adult-sized head warmers. The choice of yarn also allows you to adapt them for various seasons, from lightweight cotton yarn for summer to bulky weight for cozy warmth in cold weather.
✨ We hope you enjoyed these photos! If so, please consider sharing them on Pinterest by clicking the Pin Button on each image. Your support helps us connect with more people and spread creativity. Thank you so much! 💖
You’ll need basic crochet skills, such as single crochet, half double crochet, and slip stitch. The pattern will guide you on the starting chain and the stitch count to achieve the perfect head size, whether you’re making it for yourself or as a gift.
One key feature in this tutorial is using the “sc blo” (single crochet back loop only) stitch, which creates a great texture on the right side of the headband. This technique adds to the visual appeal and helps trap warmth, making it an ideal choice for head warmers.
In addition to the written pattern, we’ve created a video tutorial for those who prefer visual guidance. It’s a great way to follow along and learn the techniques step by step.
Don’t forget the little details that can make your headbands stand out. You can add wooden buttons or use different colors to create unique and eye-catching designs. You can ensure a comfortable and secure fit for any head circumference with some elastic bands.
Abbreviations:
ch=chain
sc=single crochet
dc=double crochet
sl st=slip stitch
Supplies:
Click the Links for Your Materials
All Colors of Yarn Click Here
- Crochet hook
- Tapestry needle
- Stitch marker
Caron Soft Pink and White yarn
G Hook, H hook, Yarn needle
1/2″ button
Head Sizes:
Newborn baby head circumference, 13″ — 14″
Baby 3 to 6 months, Head Cir, 14″ — 17 ”
baby 6–12 months, 16″-19″ head cir
toddler-preschooler (12 months‑3 yrs), 18″-20″
child 3–10 yrs, head cir., 19″-20 1/2 ”
teens, head cir., 20 1/2″-22″
Adult women, 21.5″-22.5″
Measure around the head and then subtract 2 inches. So if you make this for a toddler and her head circumference is 18 inches, then you subtract 2 inches and then make the length of the headband 16 inches.
Headband: G hook (Two sizes, Larger or Smaller Size)
2 inches wide
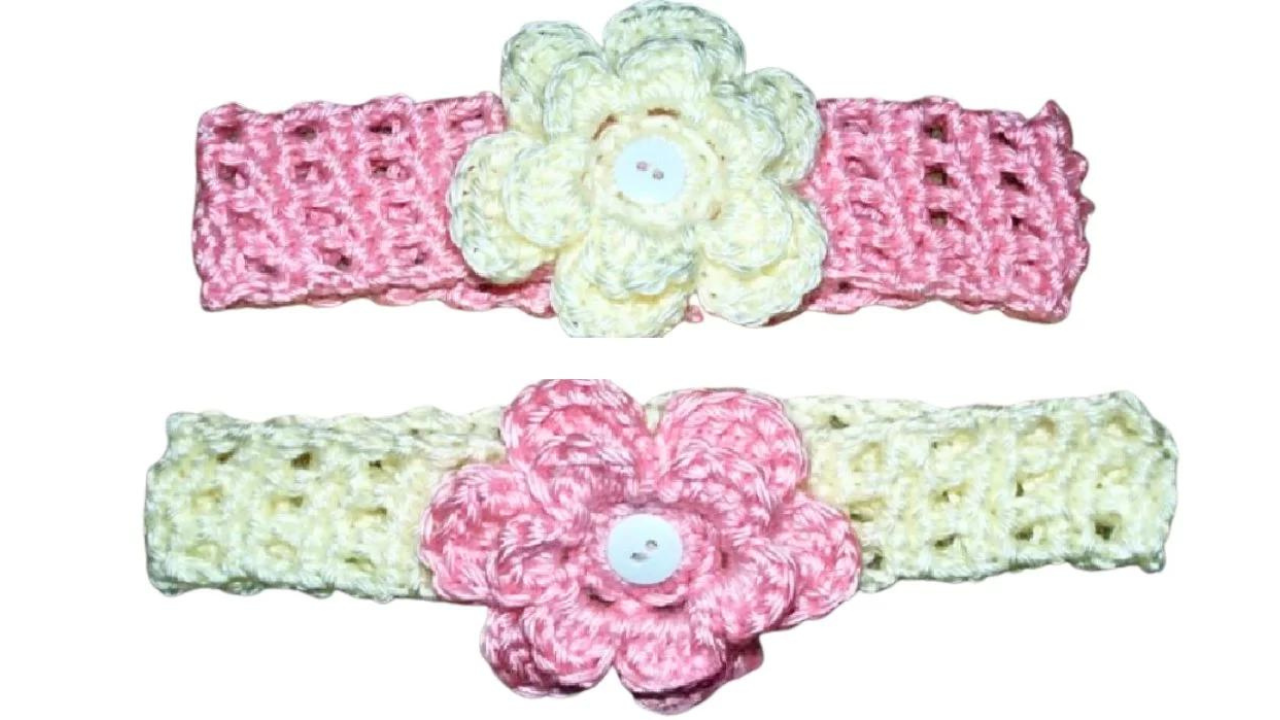
Row 1: Chain 11, work dc in the 5th chain from the hook, skip a chain, *Ch 1, dc in the next, skip a chain, *Repeat across, Turn ‑5 dc
Row 2: sc in each dc across, Turn ‑8 sc
Row 3: Chain 4 (Counts as dc and ch 1) skip an sc, *dc in the next sc(above the previous dc), skip an sc, Ch 1, dc in the next, Turn ‑5 dc
Repeat Rounds 2 and 3, by alternating between the two rounds, Make the headband 2 inches shorter in length. So I made this for a toddler-sized head, which was 18 inches, and I made the headband 16 inches long. 18″-2″=16 inches.
Smaller Headband: 1 1/2″ wide
Row 1: Chain 9, work dc in the 5th chain from the hook, skip a chain, *Ch 1, dc in the next, skip a chain, *Repeat across, Turn ‑4 dc
Row 2: sc in each dc across, Turn ‑6 sc
Row 3: Chain 4 (Counts as dc and ch 1) skip an sc, *dc in the next sc(above the previous dc), skip an sc, Ch 1, dc in the next, Turn ‑4 dc
Repeat Rows 2 and 3, by alternating between the two rows, Make the headband 2 inches shorter in length. So I made this for a toddler-sized head, which was 18 inches, and I made the headband 16 inches long. 18″-2″=16 inches.
Sew the ends together. Then sew the button on the center of the headband. Fasten your flowers on top of the buttons.
Flower Tutorial
H hook
chain 6, sl st to join to create a ring.
Rnd 1. work 12 sc in the ring, sl st.
Rnd 2. *chain 3, skip next sc, sl st in the next sc, *Repeat around for a total of 6(chain 3 spaces).
Rnd 3. sl st into the chain 3 space, ch 1, work 4 dc, ch 1, sl st in the same chain 3 space, *sl st in the next chain 3 space, ch 1, work 4 dc, ch 1, sl st in the same chain 3 space, *Repeat around for a total of 6 petals.
Bp sl st=back post slip stitch
Rnd 4. Bp sl st around the first post, chain 4, Bp sl st in the next, *Repeat around for a total of 6(Bp sl sts)
Rnd 5. *sl st into chain 4, ch 2, work 5 treble crochet, ch 2, sl st into the same chain 4, *Repeat around for a total of 6 pedals.
Fasten off. Weave in the ends.
Print the Entry on the top of the page to print the pattern!
Crochet headbands are an easy and quick project, perfect for beginners and experienced crocheters alike. They make great gifts, whether for personal use or sharing with others. You can even promote your creations on your social media or YouTube channels. You might earn a small commission if you include affiliate links, making this a fun and potentially profitable hobby.
So, whether you’re looking to make a simple headband to keep warm in cold weather or a stylish messy bun accessory for a baby shower, this tutorial has you covered. With just a skein of yarn, a crochet hook, and a little time, you can create the perfect accessory to complement your outfit or make someone’s day with a thoughtful gift. Crocheted headbands are an excellent addition to your crochet repertoire, offering endless possibilities for creativity and personal expression. Happy crocheting!
This straightforward step-by-step tutorial teaches how to crochet an easy headband for beginners. This headband is great for keeping your hair out of your eyes while studying or working and is a great starting point for more advanced patterns!
If you’re new to crochet, this headband is a great place to start. In this tutorial, we’ll teach you crochet basics, including how to create a basic headband. After watching this video, you can crochet an easy headband quickly!
I absolutely love Amazon for its unbeatable Crochet deals and amazing selection!—click here to discover your next great deal!
Amazon Prime: Unlock fast, free shipping, exclusive Prime Video shows, and more with Amazon Prime! Click here to start your 30-day free trial today!
Audible Plus: Access thousands of audiobooks and podcasts with Audible Plus! Click here for Audible Plus on Amazon!
Kindle: Discover millions of books with Kindle—read anywhere, anytime! Click here to buy on Amazon!
Amazon Prime Video: Enjoy unlimited streaming of top movies and TV shows with Amazon Prime Video! Click here to start watching!
Amazon Music: Stream millions of songs and playlists with Amazon Music! Click here to start listening!
To Find All My Crochet Jewel Patterns, Click Here
Click Here for My Ravelry Patterns
Crochet Hats for Beginners Book For Sale — Click Here
Crochet For Beginners Book for Sale — Click Here
Click Here fo Lion Brand Yarn and Free Patterns
I’m using Rakuten to get Cash Back at my favorite stores. Hate for you to miss out, so join now with my invite and you’ll get $30 after you spend $30.* Click Here for Cash Back


