Easy Crochet Soap Saver Bag Pattern – Step-by-Step Tutorial

How to Crochet a Soap Holder
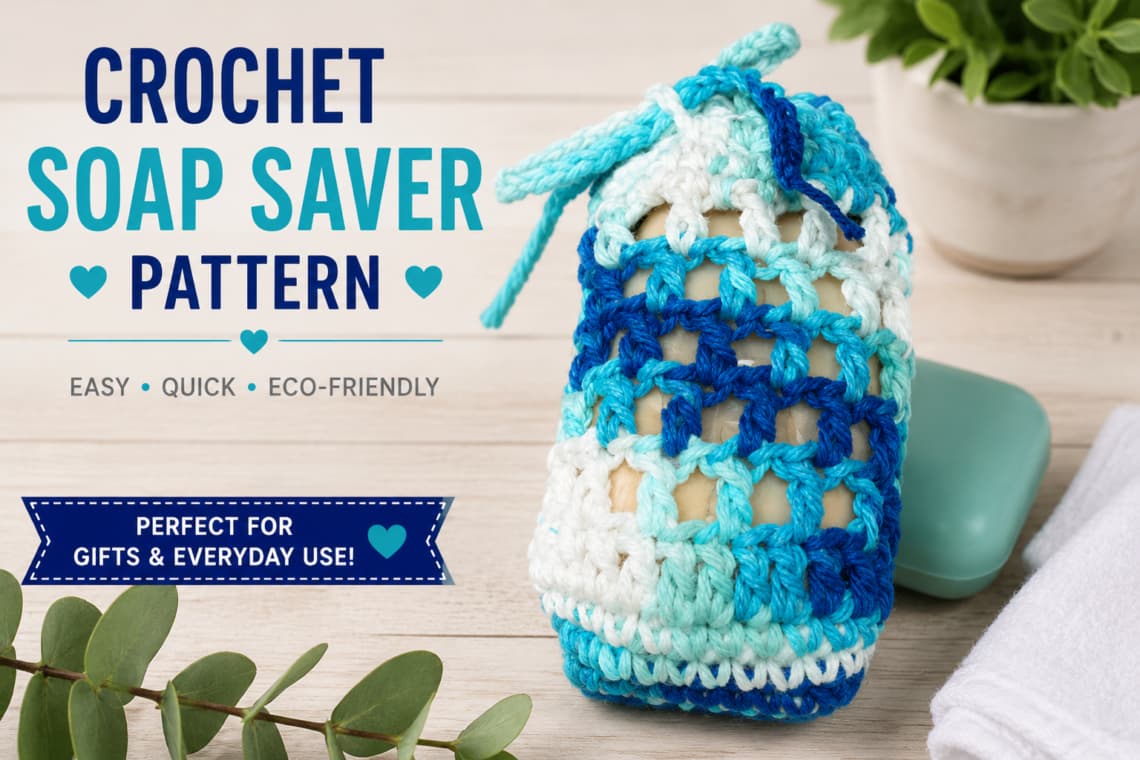
This crochet soap holder tutorial will explore the wonderful world of creating a practical and attractive soap saver. Using basic stitches like single crochet (sc), slip stitch (sl st), and more, you can craft a lovely soap bag perfect for personal use or as a thoughtful gift.
Within this post, you’ll find affiliate links. If you decide to purchase through these links, I may earn a modest commission at no extra cost. Additionally, please review my privacy policy for more details.
Start with a slip knot and create the foundation chain (first ch). Continue with the first stitch, the single crochet (sc), to form the base of your soap holder. Remember to use the slip stitch (sl st) and double crochet (dc) to add texture and structure as you work through the rounds. Experiment with different colors of acrylic yarn or a cotton blend for a soft and luxurious feel.
Insert your hook into the back loop for a unique texture, creating a lovely pattern that looks great and serves a practical purpose. Using a stitch marker to track rounds and stitch counts ensures a neat and consistent project.
✨ We hope you enjoyed these photos! If so, please consider sharing them on Pinterest by clicking the Pin Button on each image. Your support helps us connect with more people and spread creativity. Thank you so much! 💖
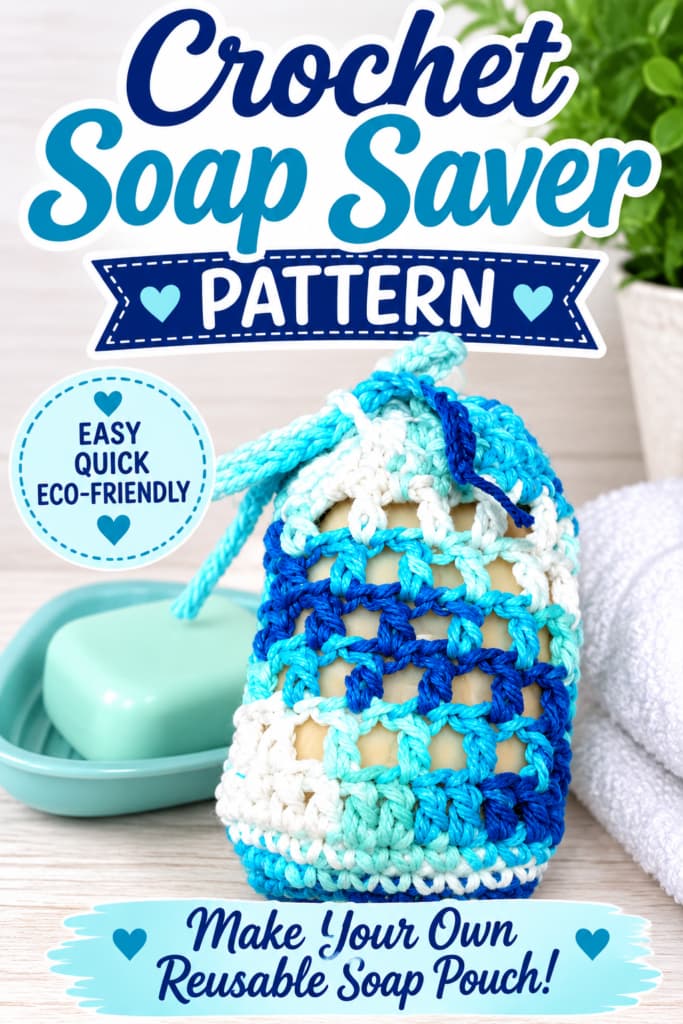
Supplies: Cotton Multi-Colored Blue yarn
Click the Links for Your Materials
Yarn: Worsted weight cotton yarn
Other Supplies: Yarn needle and scissors
Abbreviations
● Rnd = Round
● sl st = Slip stitch
● ch = Chain
● sc = Single crochet
● hdc = Half double crochet
● dc = Double crochet
● sk = Skip
● st(s) = Stitch(es)
● sp = Space
Rnd 1: G hook, cotton yarn chain 10, sc in the 2nd chain from the hook and each
stitch across, work 3sc in the last stitch, dont turn, work on the opposite side, sc
in each of the next stitches across, 2sc in the last stitch, sl st. -20 sc
Rnd 2: sc in the sl st, sc in each stitch around, sl st. -21 sc
Rnd 3: sc in the sl st, sc in each stitch around, sl st. -22 sc
Rnd 4: ch 2 (counts as first dc) dc in each stitch around, sl st in chain 2 space,
-22 dc
Rnd 5: ch 3 (counts as first dc and chain 1) *skip dc, dc in the next dc, chain 1
*Repeat, sl st in the chain 2 space, -12 dc
Rnds 6-9: ch 3, *skip the chain 1 space, dc in the next dc, chain 1 *Repeat, sl in
chain 2 space, Repeat this round three more times.
Rnd 10: sc in each stitch around, -23 sc
Rnds 11-12: ch 1, hdc in each stitch around, sl st in chain 1 space, Repeat this
round twice
Tie: chain 60, leave a tail on both ends that is about 5 inches long. Tie off the
ends. Weave the tie in and out of every other hdc in the last rnd 12. Then make a
bow and you are finished!
Finishing: Weave in all remaining ends and trim excess yarn. Insert your favorite
bar of soap, pull the drawstring closed, and tie it into a bow.
Care Instructions: If made with 100% cotton yarn, wash according to the yarn
manufacturer’s care instructions and allow the soap saver to dry thoroughly
between uses.
If you’re interested in a quick project, try an easy crochet soap-saver pattern with a larger hook size (mm hook) for a faster result. Additionally, consider making soap-saver pouches for craft fairs or starting your own Etsy shop with affiliate links to recommended materials.
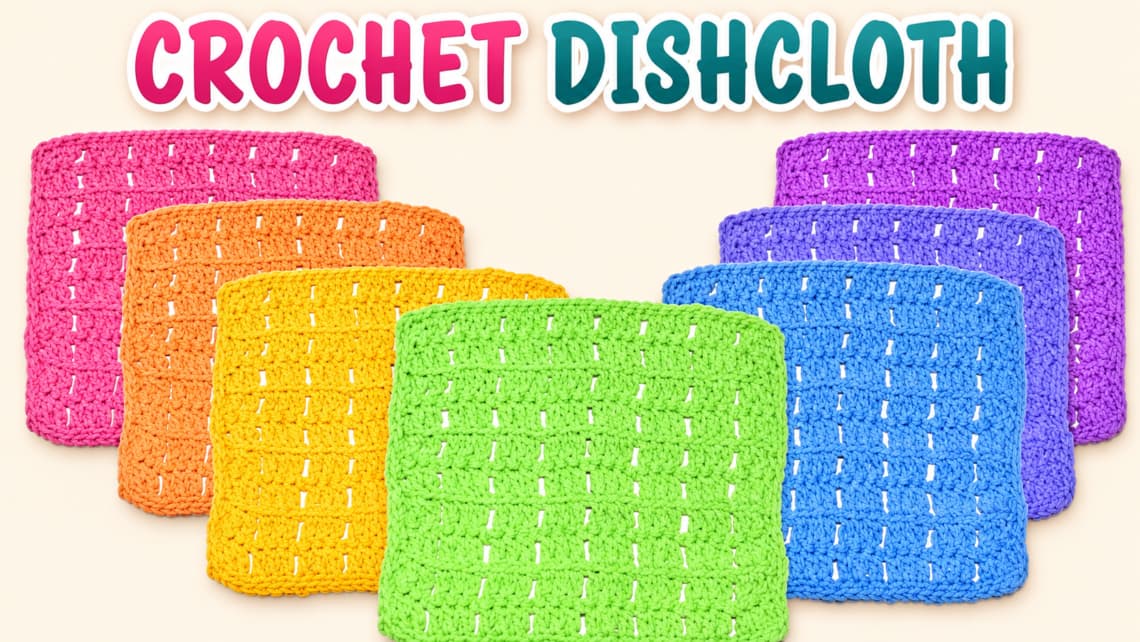
Click Here for the Dishcloth Pattern
Crafting a crochet soap holder is a delightful experience, especially with this free pattern and a few fundamental techniques. Begin by chaining the starting chain (first ch), then progress to the first stitch, the single crochet (sc), to create the base. Utilize the easy crochet saver pattern, incorporating double crochet (DC) stitches for a textured and visually appealing soap holder. The video tutorial provides step-by-step instructions, perfect for beginners and seasoned crocheters. Choose your preferred acrylic yarn or cotton blend in different colors to add a personal touch. With its lovely texture and stitches, this quick project is a great gift and a practical soap dish for personal use. Consider showcasing your creations at craft fairs or in your Etsy shop, and don’t forget to share your unique soap bag designs through blog posts. Experiment with moss stitch or continuous rounds for a unique look and a luxurious crochet soap-saver pattern that stands out. Whether for personal use or as a small commission opportunity, this crochet project is a great thing to embark on, offering a unique combination of simplicity and elegance.
In conclusion, whether you’re a seasoned crocheter or a beginner, this free crochet pattern offers an excellent opportunity to make a practical and visually appealing soap holder. The step-by-step instructions and a video tutorial guide you through the process, making it an ideal project for bath time relaxation or as a thoughtful gift for someone special. Remember, this easy pattern allows for personalization with different yarn types and colors, ensuring a gorgeous and functional outcome.
Crochet Hats for Beginners is a wonderful way to learn basic crochet stitches while creating cozy, stylish, and handmade hats that are perfect for gifts or everyday wear.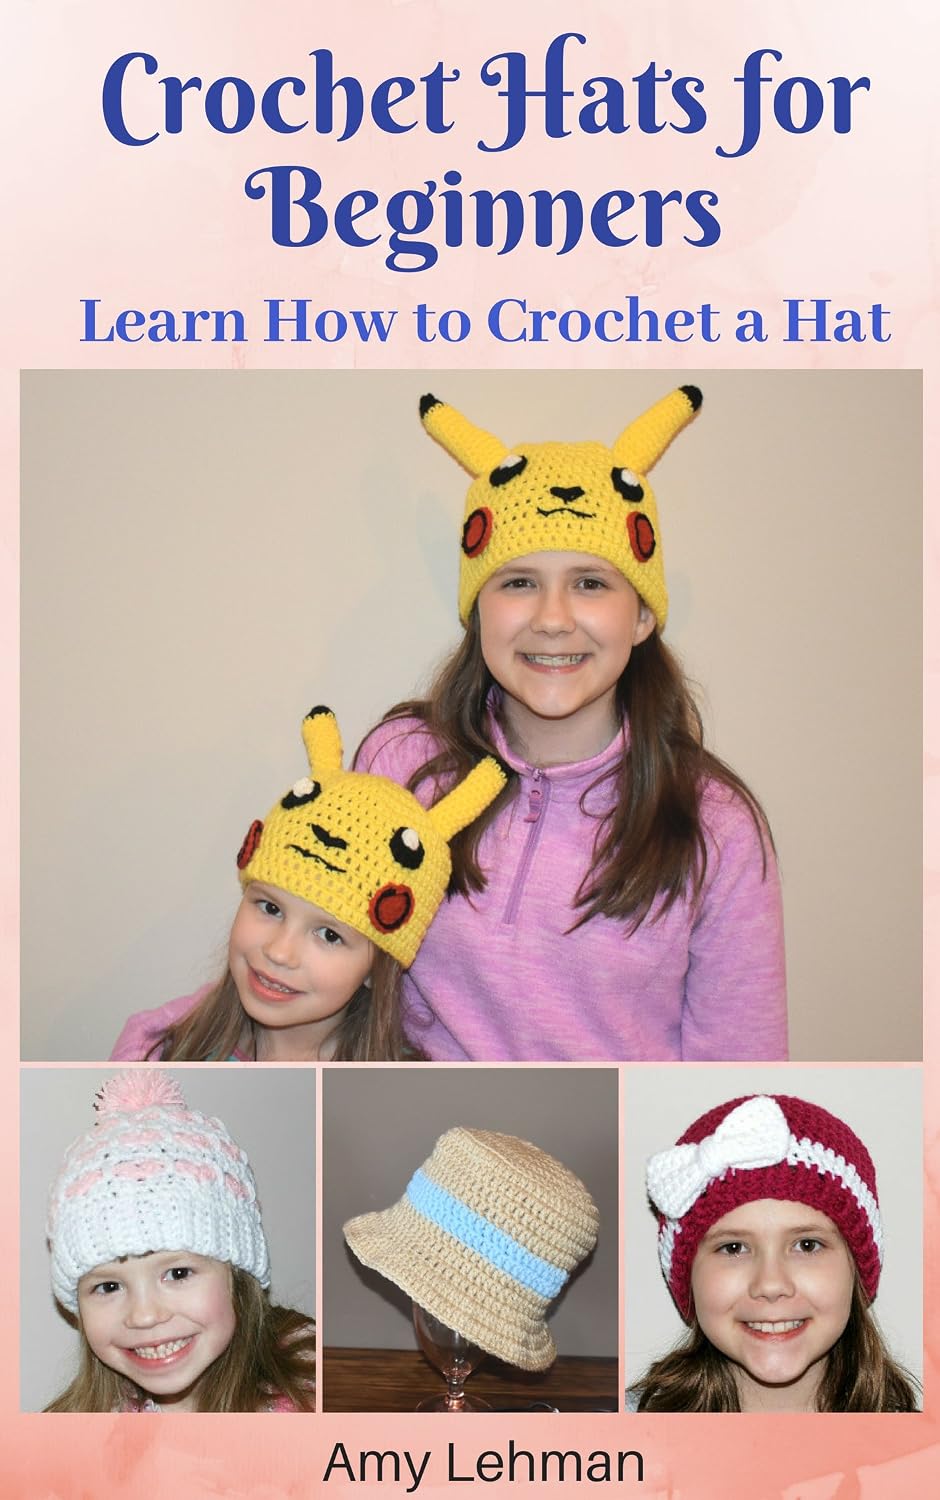

Crochet for Beginners: Learn How to Crochet is the perfect step-by-step guide to mastering basic crochet stitches, using crochet hooks and yarn, and creating beautiful handmade projects with confidence.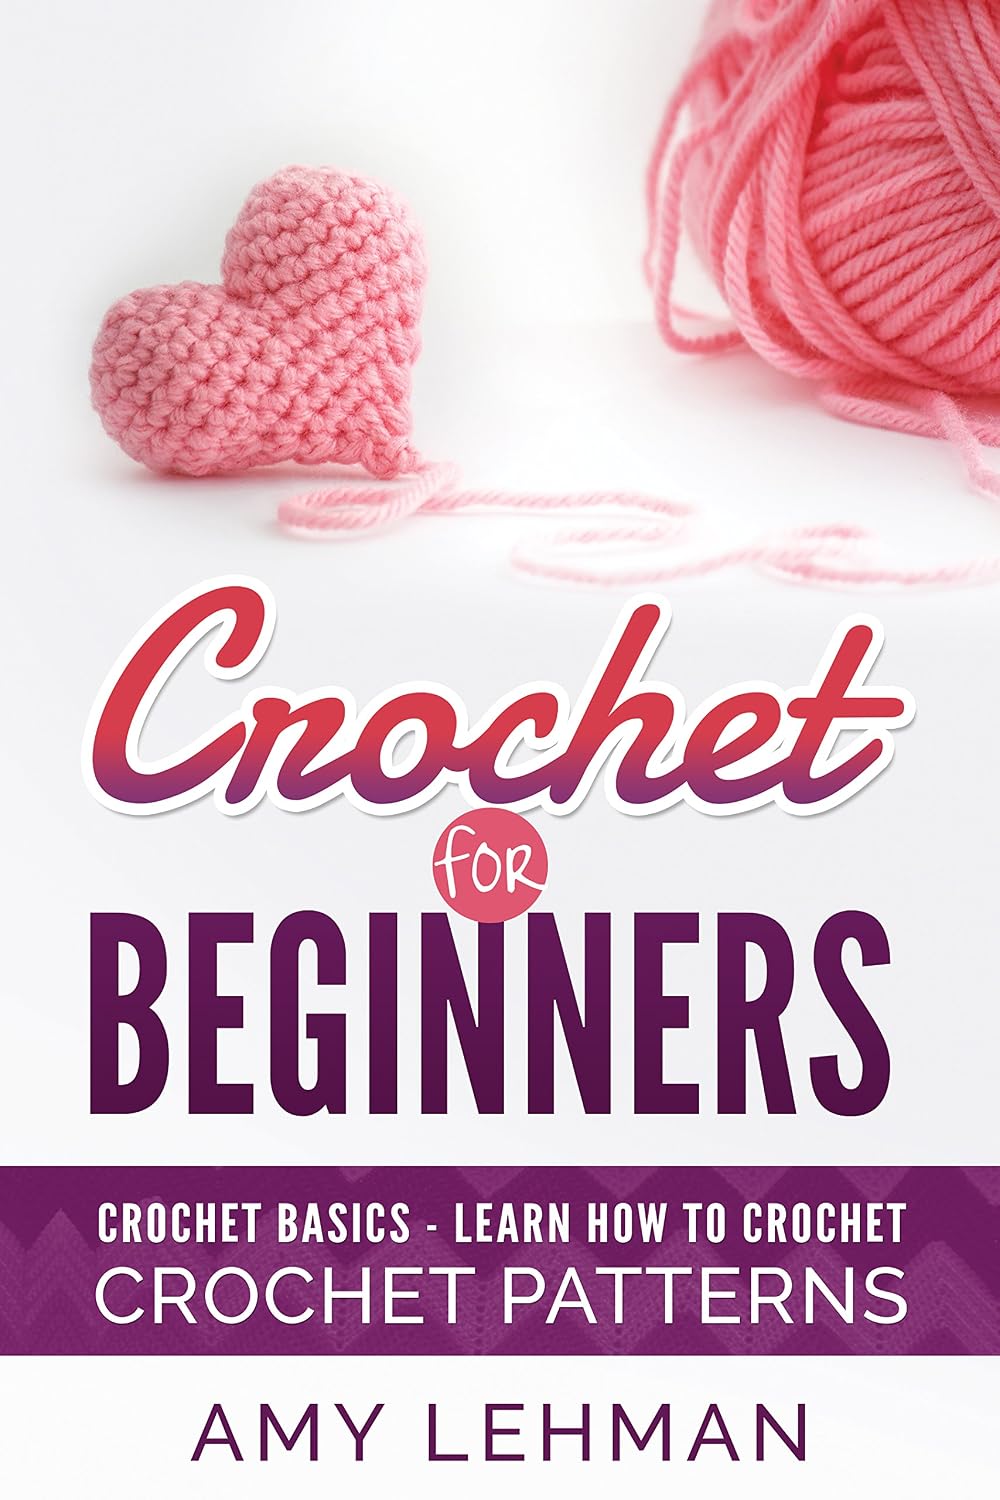


You May Also Like

Crochet Cupcake Cup Cozy: Step-by-Step Tutorial

Easy Crochet Cat Cup Cozy Pattern – Cute Beginner Tutorial