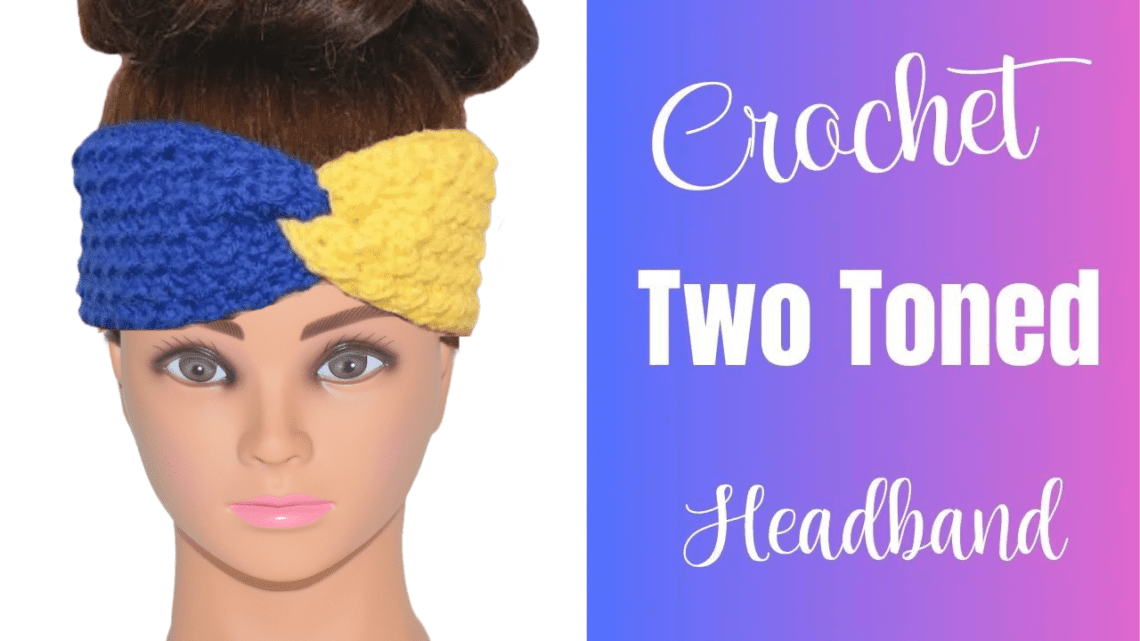
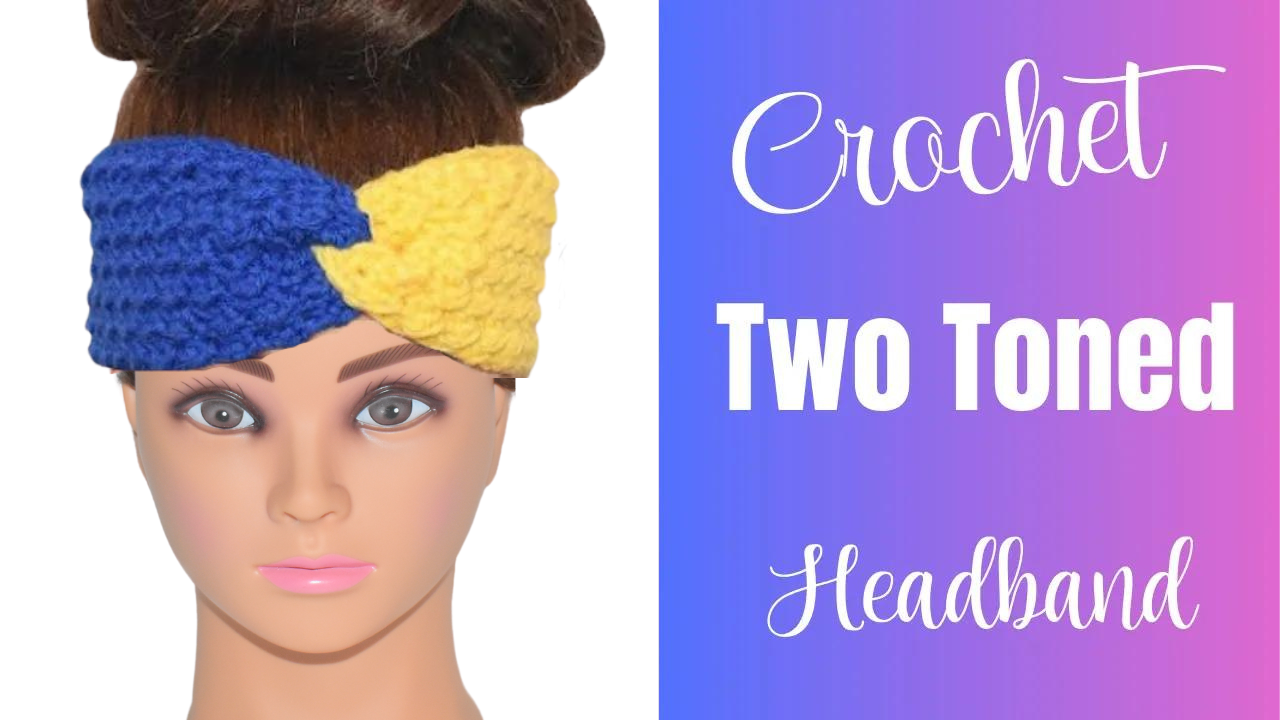
How to Make a Two-Tone Crochet Headband Tutorial
How to Crochet a Headband
Crocheting headbands are an excellent way to create stylish and practical accessories for yourself or as great gifts for friends and family. This tutorial will guide you through making a two-tone crochet headband pattern. This project is perfect for those with basic crochet skills, as it involves easy stitches and quick projects. Whether you’re a beginner or an experienced crocheter, this pattern is enjoyable and rewarding.
This post contains affiliate links. If you purchase through these links, I may earn a modest commission at no extra cost. Please review my privacy policy for more details.
✨ We hope you enjoyed these photos! If so, please consider sharing them on Pinterest by clicking the Pin Button on each image. Your support helps us connect with more people and spread creativity. Thank you so much! 💖
To get started with your crochet headband, you’ll need the following materials:
– Yarn: You can use any yarn you choose, but worsted weight, bulky weight, or DK weight yarn works well for this project. Cotton yarn is perfect for a breathable and comfortable headband.
– Hook: Choose the appropriate hook size based on your yarn.
Now, let’s dive into the steps to create your two-tone headband:
Switching Colors: When changing colors, finish the last stitch of the current color, then join the new color. This will give your headband a lovely color transition.
Adding Texture: To create a textured headband, you can incorporate half double crochet (hdc), double crochet (dc), or other easy stitches—experiment to achieve the desired texture.
With your basic crochet skills and the knowledge you’ve gained from this tutorial, you can create beautiful, cozy headbands that are the perfect accessory for any occasion. Happy crocheting!
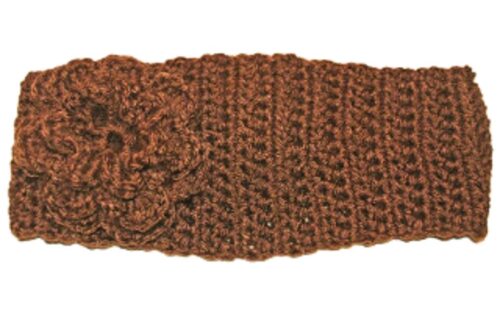
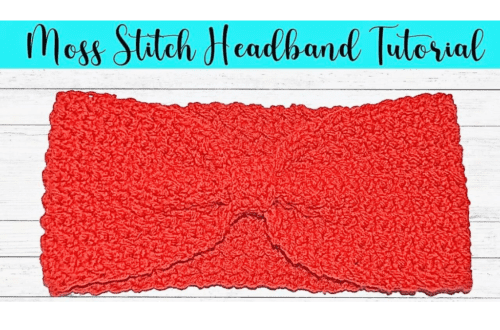
I created this two-toned crochet twist headband with medium worsted yarn and a hook. This headband is done in the Moss stitch with a multiple of 2 and then plus 1 for the turning chain. This crochet pattern is a great way to celebrate your two state colors! This free, easy crochet headband pattern turned out cute!
Please provide a link to my blog if you want to share my content. However, I kindly request that you refrain from copying and posting my patterns on your website. You are welcome to sell any items you create using my patterns, but please refrain from selling the patterns themselves, as they are offered for free. Thank you for your understanding and support!
Abbreviation:
sc=single crochet
sl st=slip stitch
ch=chain
hdc=half double crochet
Click the Links for Your Materials
– Crochet hook
– Tapestry needle
– Stitch marker
Row 1: I hook, chain for the two colors, chain 36 +1=37 for yellow yarn and then Repeat for the blue yarn.
*sl st in the 2nd chain from the hook, hdc in the next chain, *Repeat to the end,
Rows 2-8: Turn, ch 1, sl st in the previous hdc, hdc in the next previous sl st, *Repeat to the end. **Repeat to your desired width of the headband. Make one in both colors.
Repeat for the other color.
Sew the ends together on one side. Then, sew the other sides together with a sandwich fold, creating a twist between the other ends of the two colors. The video tomorrow shows how to do the sandwich twist.
Turn right side out. Fasten off and weave in your ends. I hope you enjoyed this free, easy crochet headband pattern!
Print the entry at the top of the page to print the pattern!
Fastening Off: At the end of your headband, fasten off and use a tapestry needle to weave in any loose ends.
Elastic Band: Insert an elastic band into your crocheted headband to ensure a snug and comfortable fit. This is a great way to keep your headband in place during windy weather.
Button Closure: For added style and practicality, add a wooden button to one side of the headband. The button serves as a closure and a decorative element.
If you’re looking for a quick and easy crochet project perfect for all skill levels, consider making a cozy headband with a great texture. You can find free crochet headband patterns with video tutorials online, and they often use basic crochet stitches like single crochet and half double crochet to create a stylish and warm accessory for cold weather. Whether you use worsted weight yarn, bulky weight yarn, or DK weight yarn, these crocheted headbands are a great way to use leftover yarn and create a perfect accessory for yourself or as a thoughtful gift.
You can also experiment with different colors to match your style – whether you prefer a solid color or want to switch it up with two-tone crochet headband patterns. To give your headband the right size, measure your head circumference and adjust the starting chain accordingly. For added comfort, consider inserting an elastic band and finishing with a wooden button as a closure, which can be an excellent feature for messy bun enthusiasts. Share your creations on your social media or YouTube channel with affiliate links to earn a small commission and inspire others to embark on this beautiful and practical crochet project, ideal for craft fairs or personal use. The best part is that these headbands don’t require much yarn, so it’s a cost-effective way to enjoy crocheting and make great gifts or regular headbands for yourself.
Crocheting a two-tone headband is an easy and enjoyable project that can be completed quickly. Whether you’re making it for yourself or as a gift for someone special, it’s a great accessory for cold weather, craft fairs, baby showers, or as a simple headband for everyday wear. You can even use leftover yarn from previous projects, making it eco-friendly. Don’t forget to share your creations on your social media, blog, or YouTube channel, and if you include affiliate links, you might earn a small commission.
To Find All My Crochet Jewel Patterns, Click Here

Click Here for My Ravelry Patterns


Crochet Hats for Beginners Book For Sale – Click Here

Crochet For Beginners Book for Sale – Click Here


You May Also Like
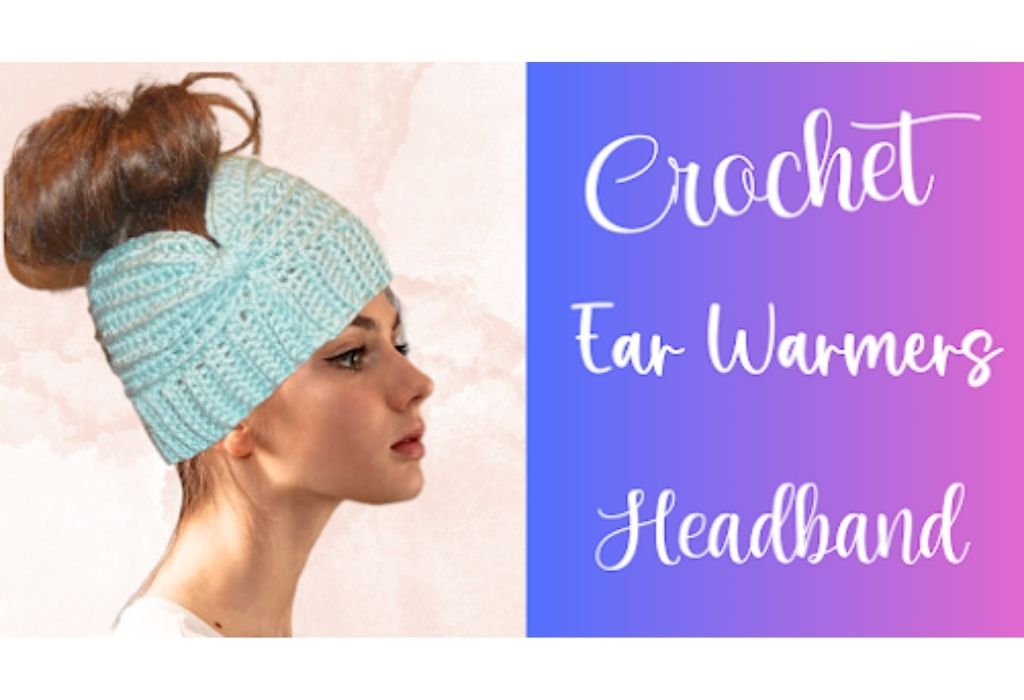
Create Stylish Crochet Headbands with this Ear Warmer Pattern
Crafting a Stylish Moss Stitch Headband – Step-by-Step Crochet Tutorial