How to Crochet a Beautiful Rose Headband
How to Crochet a Rose Headband
Crochet headbands are versatile accessories that keep you warm during cold weather and add a style to your outfit. This tutorial will guide you through creating a beautiful headband with a rose flower pattern. This project is perfect for beginners and seasoned crocheters, offering a quick and easy pattern for a great gift or personal use. With basic crochet stitches and some yarn, you can craft a cozy headband that’s both functional and fashionable.
You’ll find affiliate links within this post. If you decide to purchase through these links, I may earn a modest commission at no extra cost. Additionally, please review my privacy policy for more details.
✨ We hope you enjoyed these photos! If so, please consider sharing them on Pinterest by clicking the Pin Button on each image. Your support helps us connect with more people and spread creativity. Thank you so much! 💖
To get started, you will need the following materials:
– Worsted weight yarn in your choice of color(s)
– A G crochet hook
– An elastic band
– A tapestry needle
– A wooden button (for optional embellishment)
Here are the steps to crochet your headband:
Start by making a slipknot and creating a foundation chain of a length suitable for the head size or circumference you’re targeting. A chain of about 65 to 70 stitches for an adult headband should work well.
Next, work your first row of single crochet (sc) stitches. Make sure to crochet in both the front and back loops (sc blo) for a great texture.
Repeat the row until you reach the desired width for your headband. You can make it as wide or as narrow as you prefer.
To create a snug fit, you can use a combination of single crochet, half double crochet (hdc), or double crochet stitches in the next rows. Experiment with different stitches to achieve the perfect texture.
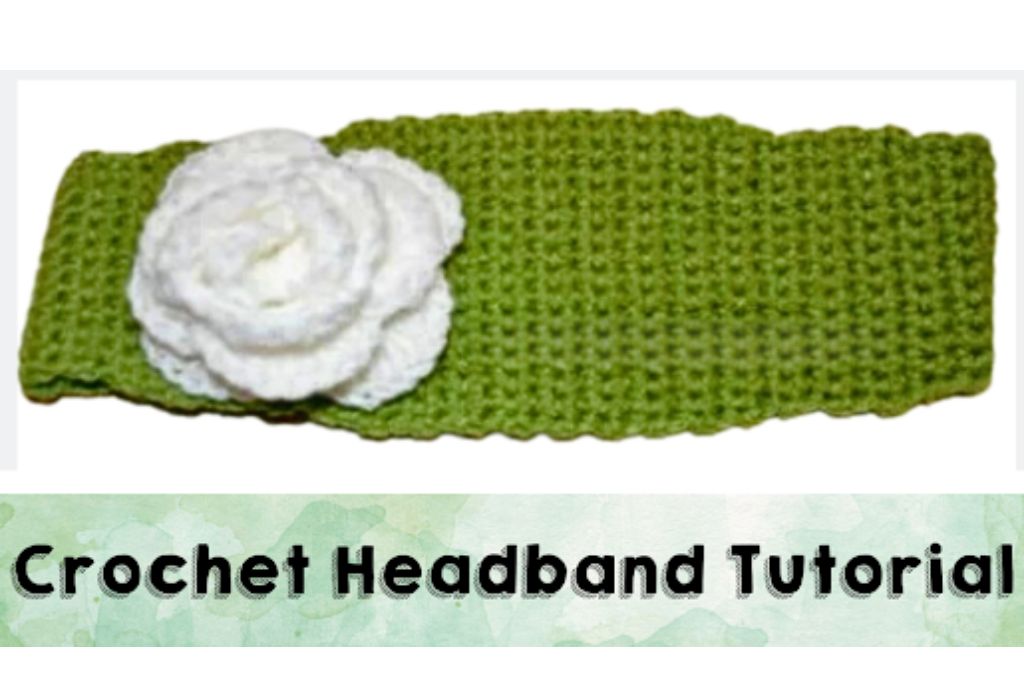
Headbands are a classic style accessory and a great way to add a little edge to your look. In this How to Crochet a Headband Tutorial for Beginners, you’ll learn how to create a pattern and start crocheting your headband in no time!
This project is easy enough for beginners, and you’ll be able to finish it in no time! Once you have the basics down, you can try out more advanced crochet headband patterns to find the perfect one. So don’t wait any longer! Start crocheting your headbands today!
Supplies:
Click the Links for Your Materials
– Crochet hook
– Tapestry needle
– Stitch marker
G hook
button
Yarn Needle
Abbreviations:
sc: single Crochet
dc: double crochet
sts: stitches
ch: chain
2sctog=2 single crochet together
Measured 21 1/2 inches long to fit an adult, 22-23 inch head. If you want shorter decrease the number of middle rows.
Instructions:
G hook
Row 1. chain 6
Row 2. Sc in 2nd chain from the hook, sc in next 4, ch 1, turn (5 sts.)
Row 3. sc in first 2, ch1, skip next stitch, sc in last 2, ch 1, turn, may need a larger hole if you have a large button (5sts.)
Rows 4-9. sc in each stitch across, ch 1, turn (5 sts.)
Row 10. 2 sc in first st, 1 sc in next 3, 2 sc in last, ch1, turn (7 sts.)
Rows 11-16. sc in each stitch across, ch 1, turn (7 sts.)
Row 17. 2 sc in first st, 1 sc in next 5, 2 sc in last, ch1, turn (9 sts.)
Rows 18-23. sc in each stitch across, ch 1, turn (9 sts.)
Row 24. 2 sc in first st, 1 sc in next 7, 2 sc in last, ch 1, turn (11 sts.)
Rows 25-30. sc in each stitch across, ch 1, turn (11 sts.)
Row 31. 2 sc in first st, 1 sc in next 9, 2 sc in last, ch 1, turn (13 sts.)
Rows 32-37. s in each stitch across, ch 1, turn (13 sts.)
*if the headband is as wide as you want it, do not increase in row 38, simply continue with 13 across.
Row 38. 2 sc in first st, 1 sc in next 13, 2 sc in last, ch1, turn (15 st)
Rows 39-54. sc in each st across, ch 1, turn (decrease the number of rows to make a shorter band)
Row 55. join first 2 st.(2sctog) , 1 sc in next 11, join last 2 st (2sctog)., ch 1, turn (13 sts.)
Rows 56-62. sc in each stitch across. , ch 1, turn (13 sts.)
Row 63. join first 2 st (2sctog) , 1 sc in next 9, join last 2 st (2sctog), ch 1, turn (11 sts.)
Rows 64-69. sc in each stitch across, ch 1, turn (11 st.)Row 70. join first 2 st (2sctog), 1 sc in next 7, join last 2 st (2sctog), ch 1 turn (9 sts.)
Rows 71-76. sc in each stitch across, ch 1, turn (9 sts.)
Row 77. join first 2 st (2sctog), 1 sc in next 5, join last 2 st (2sctog), ch 1, turn (7 sts)
Rows 78-83. sc in each stitch across, ch 1, turn (7 stst.)
Row 84. join first 2 st (2sctog), 1 sc in next 3, join 2 st (2sctog), ch 1, turn (5 sts.)
Rows 85-90. sc in each stitch across, ch 1, turn (5 sts.)
You can single crochet around the border if you choose to
finish off. Sew a button on with yarn in desired locations. 3/4 in. button works
Crochet Flower
Supplies:
Used the same worsted brown yarn
J hook, you want a bigger flower, use K hook
Start:
ch 35
Row 1. dc in 5th ch from hook, *ch 1, skip 1, (dc-ch1-dc) in next ch -v-stitch made: *repeat from across (16 sts) V-stitches made, turn.
Row 2. ch 3- counts as dc, 5 dc first ch-space, *sc in next ch-1 space, 6 dc in next ch-1 space- shell st made: repeat from*. ending 6 dc in last ch-1 space- 16 stitches, shells. fasten off, leaving a long tail for anchoring Rosette.
Starting at that end, roll the first shell tightly to form the center bud: anchor at the base of the shell with 2 sts. Roll the remaining strip to form Rosette. Then secure by stitching in and out through layers of foundation ch at the bottom of the Rosette. Then secure it onto the headband with yarn or hot glue.
Print the Entry on the top of the page to print the pattern!

As you approach the end of your headband, leave a long tail for sewing and cut the yarn.
Fold the headband in half and sew the ends together using a tapestry needle. Make sure the seam is secure, and weave in any loose ends.
Now, for the rose flower pattern, follow a separate written pattern or video tutorial. You can crochet the rose in a contrasting color for a beautiful accent.
Once your rose is ready, sew it onto the right side of the headband with the tapestry needle.
To add a functional and decorative touch, attach a wooden button on the other side of the headband. This will allow you to secure the headband around your head.
Crocheting a headband with a rose flower pattern is a fantastic way to combine your basic crochet skills and create a unique accessory. These cozy headbands are perfect for keeping warm in cold weather and make great gifts for friends and family. You can experiment with different colors and yarn weights to achieve various looks, and the pattern can be adjusted for different head sizes. Don’t forget to share your crocheted headbands on your social media, and if you use affiliate links, you might even earn a small commission for your work. Whether you’re making them for personal use or to sell at craft fairs, these headbands are a quick and satisfying crochet project that adds style and warmth to any outfit.
To Find All My Crochet Jewel Patterns, Click Here

Click Here for My Ravelry Patterns


Crochet Hats for Beginners Book For Sale – Click Here

Crochet For Beginners Book for Sale – Click Here


You May Also Like
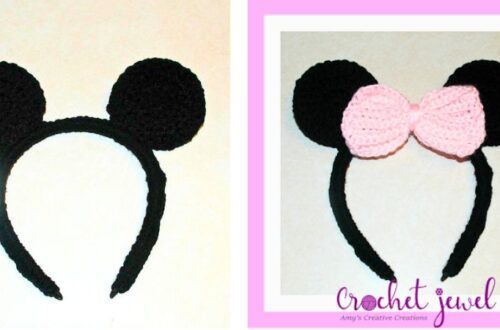
Crochet Easy Mouse Ears Headband: Step-by-Step Guide
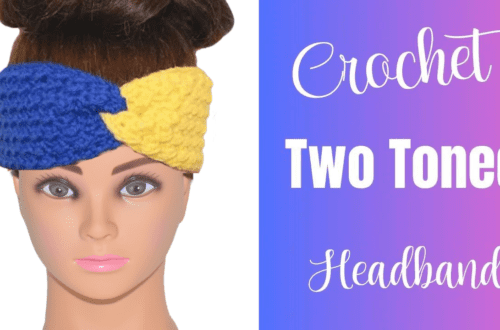
How to Make a Two-Tone Crochet Headband Tutorial