How to Crochet a Stylish Winnie the Pooh Inspired Hat Pattern
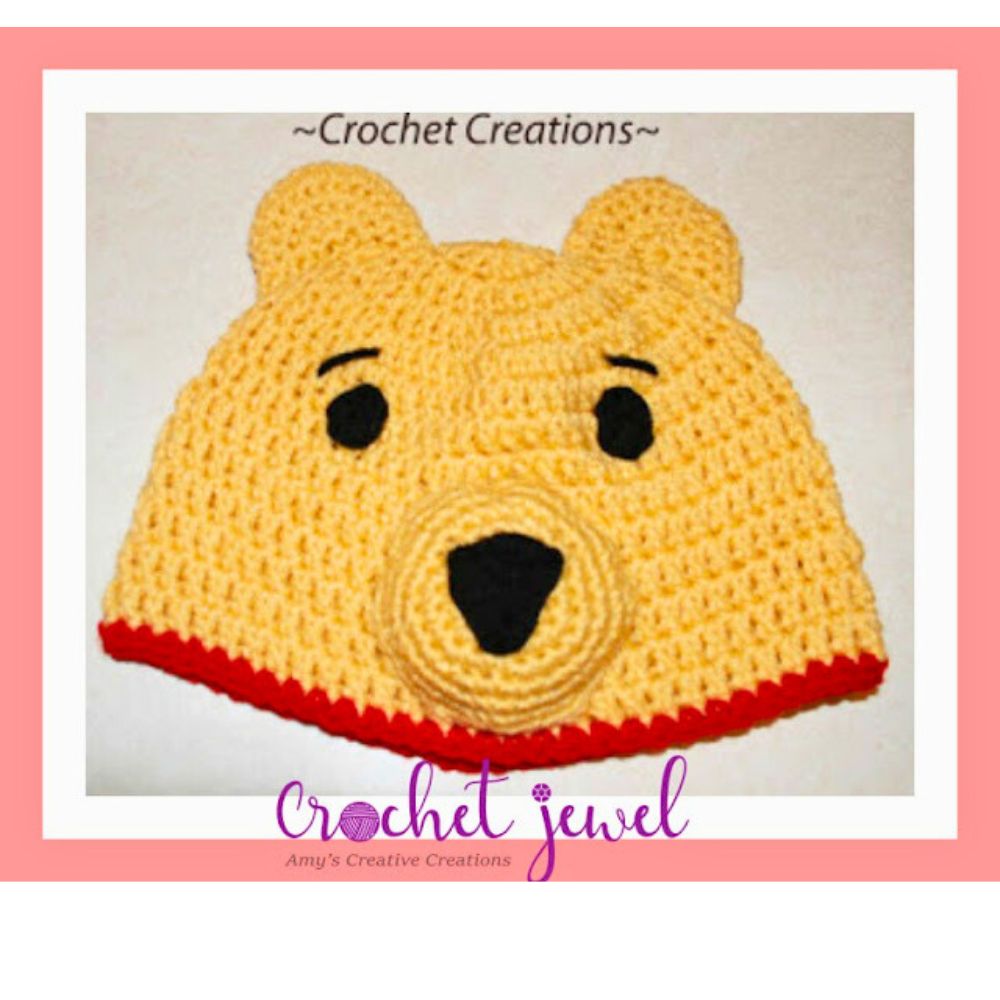
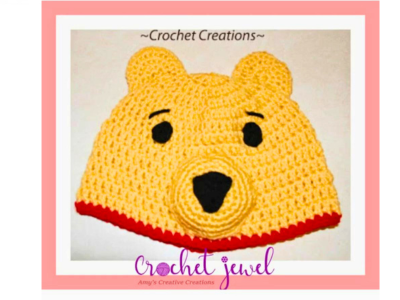
How to Crochet a Winnie The Pooh Bear Hat
Step into the enchanting world of Winnie the Pooh with our delightful crochet pattern for a Winnie the Pooh inspired hat. Whether you’re a fan of A.A. Milne’s classic tales or adore the charm of this beloved bear, this project promises to infuse your winter wardrobe with whimsy and warmth. Follow along as we guide you through the creation of this adorable accessory, perfect for adding a touch of childhood nostalgia to the chilly days ahead. Let’s embark on this crafting adventure and bring the magic of the Hundred Acre Wood to life!
This post contains affiliate links. If you purchase through these links, I may earn a modest commission at no extra cost. Please review my privacy policy for more details.
✨ We hope you enjoyed these photos! If so, please consider sharing them on Pinterest by clicking the Pin Button on each image. Your support helps us connect with more people and spread creativity. Thank you so much! 💖
To get started with your Pooh hat, we’ll use a simple and easy crochet hat pattern suitable for beginners. The stitches you’ll need to know include the double crochet, single crochet, and slip stitch. You can choose your favorite worsted-weight yarn for this project, and we’ll provide a free crochet pattern to follow along.
First, create a foundation chain that matches the desired head size. You can refer to our crochet hat size chart for guidance. Then, work the first row by making single crochet stitches into the second chain from the hook. Use a stitch marker to keep track of your stitches.
Remember that the key to success in crocheting is practice, and your skills will improve as you repeat rounds and rows. The result will be a perfectly fitted, unique Pooh hat that will keep you warm and stylish in the cold weather. So, pick your yarn, grab your crochet hook, and get ready to say, “Happy crocheting!”
How to Watch Videos in Slow Motion – if the video is too fast – Click Here!

Supplies:
Abbreviations: dc=double crochet sc=single crochet sl st=slip stitch ch=chain hdc=half double crochetToddler size hat, measures 18 inches around and length= 7 inches long.
Instructions: G hook, yellow yarn for the body
Crochet a Magic Circle with Double Crochet Video:
Trim: Change colors; add red colored yarn with I hook, single crochet around the trim (bottom of the hat) and sl st.
Ears: Make 2 Ears, G hook, yellow yarn
rnd 1. chain 3, join with sl st. to create a ring
rnd 2. 10 sc into the ring, sl st. join -10 sc
rnd 3. *2sc in the next st, *Repeat to finish round -20 sc
rnd 4. *1 sc in the next st, 2sc in the next st, *Repeat, sl st. -30 sc
rnd 5. *1 sc in the next 2 stitches, 2sc in the next st, *Repeat, -40sc
sl st. Fold the circle in half and sc the circle together to create a half circle. Then sew the two half circles on top of the hat to create ears, about 2 inches apart.
Eyes: Make 2, G hook, Black yarn, ch 2, work 8 sc in the 2nd chain from the hook. sl st. Sew the eyes 2 inches apart above the muzzle/nose.
Eyebrows: Use a yarn needle and sew in 1 inch line above the eyes with black yarn.
Muzzle: G hook, Yellow yarn
ch 2, sc from the 2nd chain from the hook 6 times, sl st -6 sc
rnd 1. ch 1, sc in the same stitch, 2sc in each stitch around, sl st -12 sc
rnd 2. ch 1, sc in the same stitch, *sc in the next stitch, 2sc in the next stitch, *repeat, sl st -18 sc
rnd 3. ch 1, sc in the same stitch, *sc in the next 2 stitches, 2sc in the next stitch, *repeat, sl st -24 sc
rnd 4. ch 1, sc in the same stitch, *sc in the next 3 stitches, 2sc in the next stitch, *repeat, sl st -30 sc
rnd 5. ch 1, sc in the same stitch, *sc in the next 4 stitches, 2sc in the next stitch, *repeat, sl st -36 sc
rnd 6. ch 1, sc in the same stitch, *sc in the next 5 stitches, 2sc in the next stitch, *repeat, sl st -42 scsc fasten off. Attach to the bottom center of the hat. Using stuffing as you sew the muzzle on the hat.
Print the Entry on the top of the page to print the pattern!
Click Here for More Crochet Hat Patterns
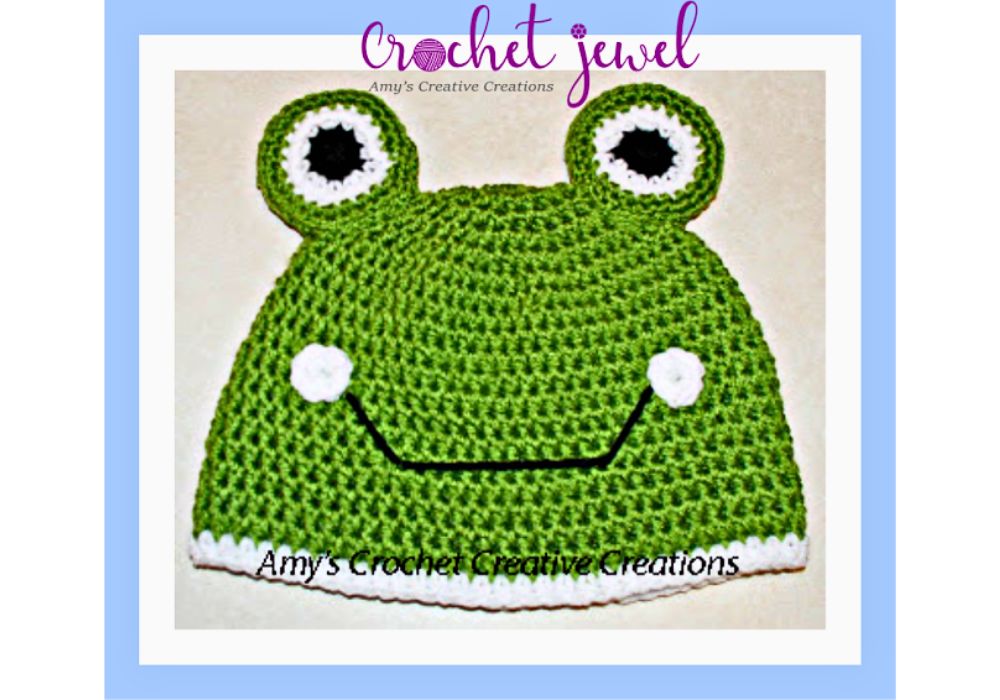
Click Here for the Crochet Frog Hat Pattern
For the body of the hat, continue to work in rounds using the back loop only. This will create a textured, ribbed look for your hat. You can make it a slouchy hat or a beanie, depending on your preference for hat height. You can also experiment with different color changes to add character to your design.
For the finishing touches, we’ll guide you on creating a faux fur pom or yarn pom pom to adorn the top of your hat. These pom poms add a fun and stylish element to your Winnie the Pooh hat.
If you need extra support or clarification, there’s a video tutorial available for this pattern. We’ll also discuss using a tapestry and yarn needles to weave in yarn tails and finish your project neatly.
In conclusion, crocheting a Winnie the Pooh hat can be a delightful and creative project for crocheters of all levels. With an essential crochet hook size, your favorite yarn, and an understanding of simple crochet stitches like the single crochet and slip stitch, you can create a charming and cozy accessory for the winter season.
This easy crochet hat pattern is not only a great project for yourself but also makes for a beautiful handmade gift. Suppose you share your creations on social media or with your crochet community. In that case, you may even earn a small commission through affiliate links or enjoy the camaraderie of fellow crafters in a Facebook group.
To Find All My Crochet Jewel Patterns, Click Here

Click Here for My Ravelry Patterns


Crochet Hats for Beginners Book For Sale – Click Here

Crochet For Beginners Book for Sale – Click Here


You May Also Like
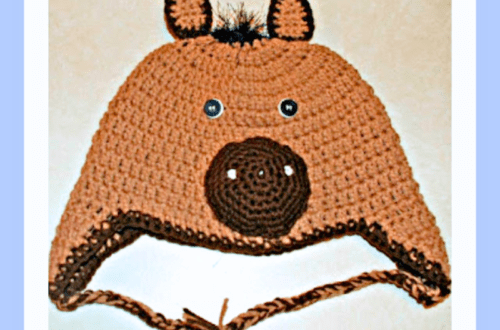
How to Crochet a Fun Horse Ear flap Hat Pattern
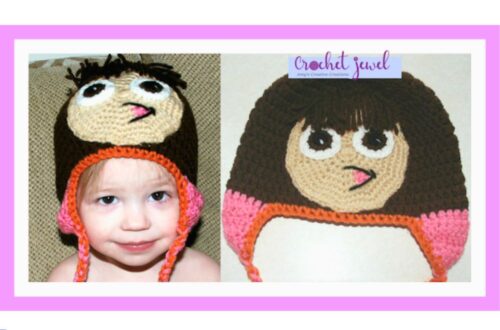
How to Crochet a Fun Dora Inspired Hat Pattern Tutorial