How to Crochet an Easy Baby Bottle Warmer Pattern
How to Crochet a Bottle Warmer
Welcome to the world of adorable and practical crochet accessories for little ones! In this guide, we’ll explore the delightful art of crocheting a baby bottle cozy, a charming and functional accessory perfect for keeping your little one’s bottle warm and comfy.
Crocheted baby bottle cozies are cute and practical, providing insulation to help keep your baby’s bottle at the perfect temperature during feeding time. Whether you’re at home, on the go, or traveling with your little one, a cozy crocheted bottle ensures that their milk or formula stays warm and ready whenever needed.
You’ll find affiliate links within this post. If you decide to purchase through these links, I may earn a modest commission at no extra cost. Additionally, please review my privacy policy for more details.
✨ We hope you enjoyed these photos! If so, please consider sharing them on Pinterest by clicking the Pin Button on each image. Your support helps us connect with more people and spread creativity. Thank you so much! 💖
*Materials Needed:*
Before we dive into the crochet process, gather the necessary materials:
– Worsted weight yarn in your preferred color
– Crochet hook appropriate for your yarn weight
– Yarn needle for weaving in ends
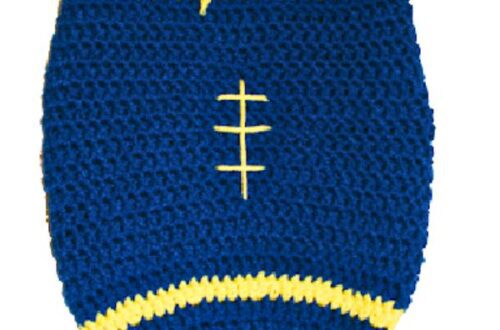
Work in the round, adding single crochet stitches to create the base of the bottle warmer. This will determine the height of the more generous. Choose a stitch pattern or texture for the body. You might opt for a simple single crochet throughout or experiment with more complex stitches for added visual appeal.
Finish off the top edge with a decorative edging stitch. This not only adds a finishing touch but also reinforces the structure of the warmer.
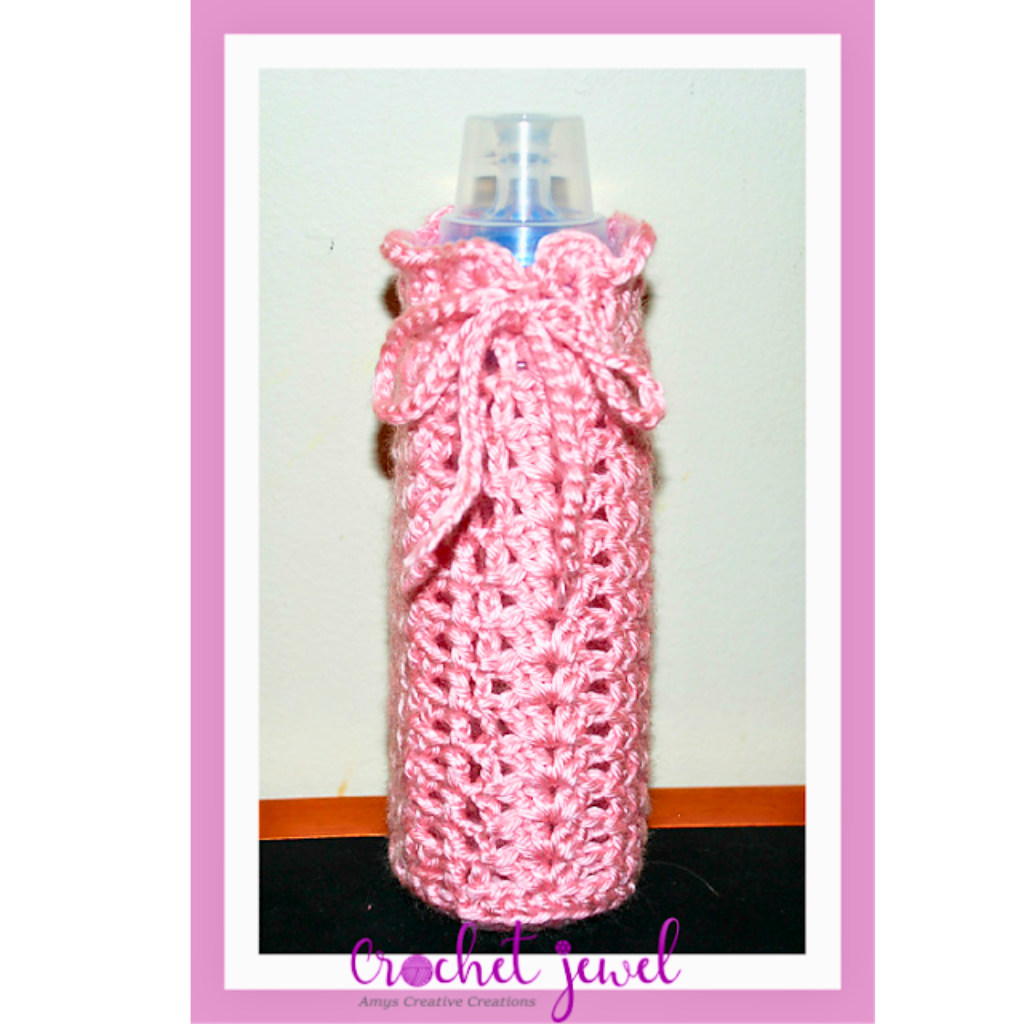
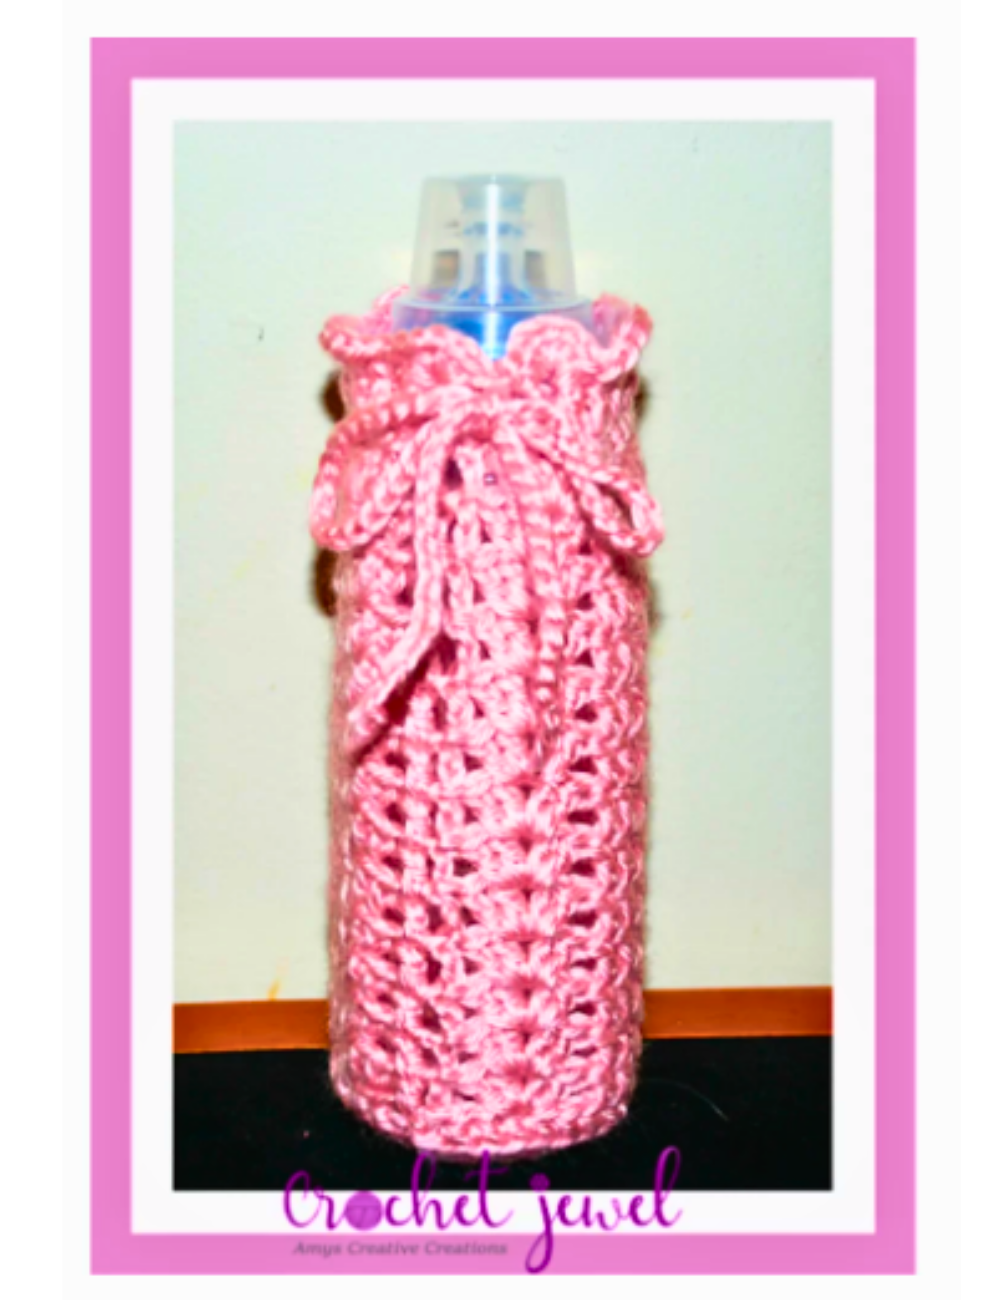
My cousin is having a baby girl, so I wanted to make her a baby bottle warmer for her baby! It is nice to keep your bottles warm when traveling or if you need to have the bottle last longer. I hope she likes it.
Click the Links for Your Materials
Creating a crochet baby bottle warmer is not just a craft project; it’s a labor of love. Your handmade creation will keep your baby’s milk at the perfect temperature and be a cherished memento of the time and effort you invested in making something special for your little one. As you witness the cozy warmth enveloping your baby’s bottle, you’ll appreciate the joy of combining creativity with functionality in baby care.
Print the Entry on the top of the page to print the pattern!
How to Crochet Baby Patterns – Click Here
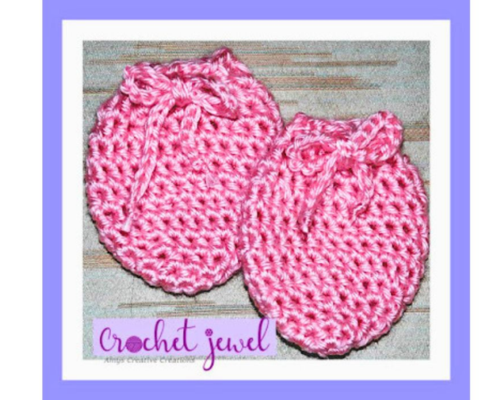
Click Here for the Crochet Mittens Patttern
To Find All My Crochet Jewel Patterns, Click Here

Click Here for My Ravelry Patterns


Crochet Hats for Beginners Book For Sale – Click Here

Crochet For Beginners Book for Sale – Click Here


You May Also Like
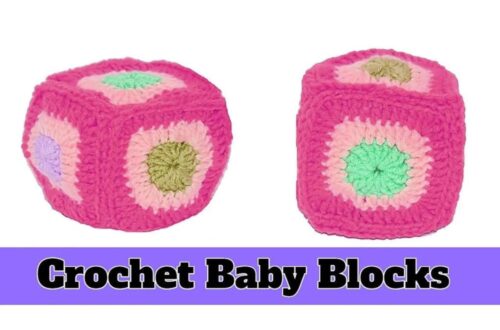
How to Crochet Baby Blocks Squares Tutorial
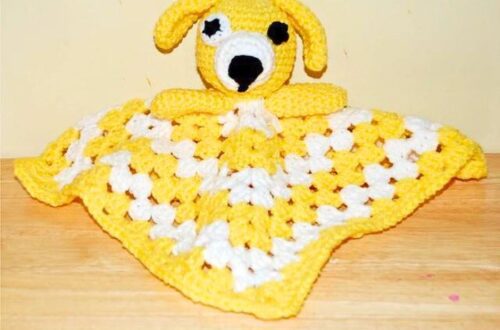
How to Crochet an Adorable Puppy Dog Lovey Baby Toy Pattern