Crochet Fun Boxes with Lids: Step-by-Step Tutorial
How to Crochet Fun Boxes!
Tired of cluttered spaces and disorganized belongings? Crocheting a box offers a stylish and practical solution to keep your home tidy and organized. Whether you’re looking to store small trinkets, crafting supplies, or even office essentials, a crocheted box adds a touch of handmade charm to any room while providing a functional storage solution.
In this guide, we’ll explore how to crochet a box pattern step by step, from selecting the perfect yarn and hook size to mastering the essential stitches and techniques needed to create this versatile accessory. Whether you’re a crochet enthusiast looking for a new project or a beginner eager to learn, this pattern is designed to be accessible and enjoyable for crafters of all skill levels.
This post contains affiliate links. If you purchase through these links, I may earn a modest commission at no extra cost. Please review my privacy policy for more details.
To begin your crochet box with the lid project, you’ll need the following materials: a 6 mm crochet hook, yarn in the color of your choice, and a wooden base if you prefer a sturdy bottom for your box. You can choose from various yarn kits and types, such as Bernat blanket yarn, Lion Brand yarn, or other beautiful yarn that suit your style.
✨ We hope you enjoyed these photos! If so, please consider sharing them on Pinterest by clicking the Pin Button on each image. Your support helps us connect with more people and spread creativity. Thank you so much! 💖
Color Changes:
Experiment with different colors and color changes to create a unique and eye-catching design for your crocheted box. The possibilities are endless; you can make your storage baskets match your home decor.
Crochet Stitch Tutorials:
If you’re new to crochet or need a refresher on specific stitches, you can find crochet stitch tutorials online to guide you through the process.
Basket Patterns:
Various basket patterns are available, so you can choose one that fits your needs. Whether you prefer solid colors or a combination of colors, these patterns will help you achieve the desired look.
How to Crochet For Beginners Playlist – Click Here
Click the Links for Your Materials
– Crochet hook
– Tapestry needle
– Stitch marker
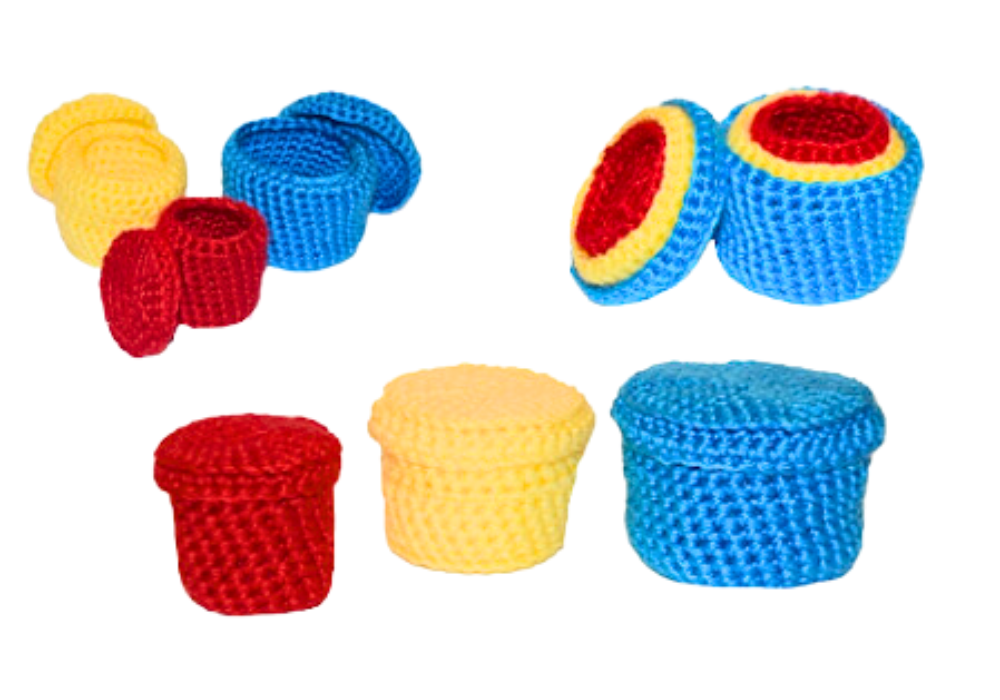
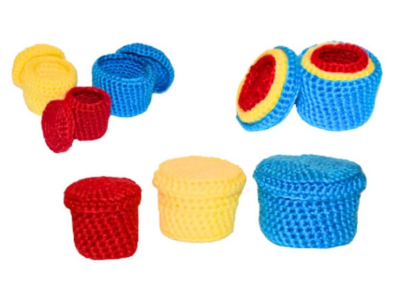
This is a great way to store your items! I love how these crochet containers with a lid turned out!
Rnd 1: This box can be created in many different sizes.
Small box: H hook, H hook for all sizes; go up an increased round to make your box container bigger, medium worsted yarn
Rnd 1: ch 2, or create a magic circle, work 7 sc in the 2nd chain from the hook, or 7 sc in the magic circle, sl st to join.
Rnd 2: ch 1, work 2 sc in the same stitch, 2sc in each stitch around, sl st in the sc to join. -14 sc
Rnd 3: ch 1, work sc in the same stitch as the ch 1, *work 2sc in the next stitch, sc in the next stitch, *Repeat around, sl st in the sc to join. -21 sc
Rnd 4: If you would like your box this small, then stop here or continue on.
ch 1, work sc in the same stitch as the ch 1, sc in th next stitch, *work 2sc in the next stitch, sc in the next two stitches, *Repeat around, sl st in the sc to join. -28 sc
Medium Box: ch 1, work sc in the same stitch as the ch 1, sc in th next two stitches, *work 2sc in the next stitch, sc in the next three stitches, *Repeat around, sl st in the sc to join. -35 sc
Large Box: ch 1, work sc in the same stitch as the ch 1, sc in th next three stitches, *work 2sc in the next stitch, sc in the next four stitches, *Repeat around, sl st in the sc to join. -42 sc
If you want a larger container box, continue with increased rounds, by adding one more sc in each round before you crochet an increase.
Now you will create a border wall of the box; this applies to any size box:
Ch 1, sc in each front loop around, sl st in the beginning sc.
Rnd 2- to the desired height of your box, sc in each sc around, NOT in the front loop unless you want a ridge effect; no more sl st; you will work in continual rounds, so use a stitch marker so you will know where you left off. In the photo, I went around for 8 rounds for the border. Then sl st around in the last round. Fasten off and Weave in your ends.
The lid top the box: Go up a hook size, I hook
After you finish the size of the round of your box container for a lid, you would have to add one more increased round. So for example, you created a small box, Then added one more increased round, If this was your last round for the box, ch 1, work sc in the same stitch as the ch 1, sc in th next stitch, *work 2sc in the next stitch, sc in the next two stitches, *Repeat around, sl st in the sc to join. -28 sc
Then you will add one more round for the lid so it goes over the box, ch 1, work sc in the same stitch as the ch 1, sc in the next two stitches, *work 2sc in the next stitch, sc in the next three stitches, *Repeat around, sl st in the sc to join. -35 sc
Now, you will create an edge for the lid.
Ch 1, sc in each front loop around, sl st in the beginning sc.
Rnd 2-3: to the desired height of your box lid, sc in each sc around, NOT in the front loop unless you want a ridge effect; no more sl st; you will work in continual rounds, so use a stitch marker so you will know where you left off. In the photo, I went to about 2 rounds for the border wall. Then sl st around in the last round. Fasten off and Weave in your ends. I hope you enjoyed this crochet container with a lid pattern!
Print the entry at the top of the page to print the pattern!
Click Here for Crochet Kitchen Patterns
The lid of your crochet box can be crafted by making a square or rectangle of double crochet stitches. Adjust the size to fit the top of your box. Use stitch markers to keep track of your progress and ensure a perfect fit.
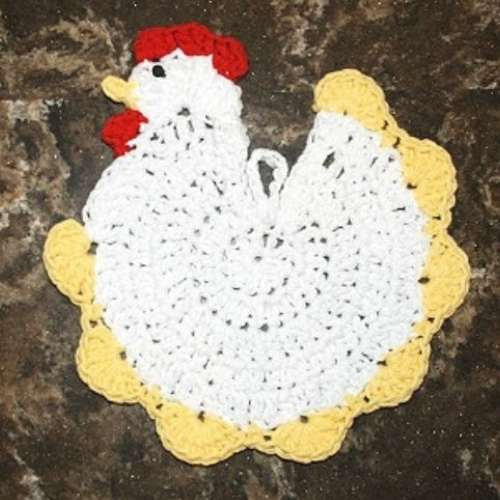
Click Here for the Chicken Pattern
Connecting the Lid:
Connect the lid to the box by slip-stitching the two pieces together. This will ensure that your lid securely fits on top of your storage box.
Final Touches:
After finishing your crochet box with a lid, weave in the last ends, and your project is complete! You can add a handle or any additional embellishments if desired.
In conclusion, creating crochet boxes with lids can be an enjoyable and practical crochet project. Whether you’re a seasoned crochet artist or trying it for the first time, these storage baskets offer a fun and easy way to stay organized. With various yarn types, colors, and sizes, you can make them as unique as you like. Don’t forget to explore the crochet community on social media, including Facebook groups and pages dedicated to crocheting. Plus, you can find free crochet patterns in pattern booklets or online resources. Remember that this article may contain affiliate links, which help support our crochet projects at no extra cost. So, grab your crochet hook and yarn, and confidently start your following crochet box stitch tutorial. Happy crocheting!
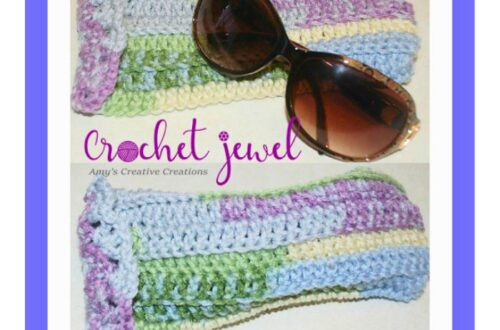
To Find All My Crochet Jewel Patterns, Click Here

Click Here for My Ravelry Patterns


Crochet Hats for Beginners Book For Sale – Click Here

Crochet For Beginners Book for Sale – Click Here


You May Also Like
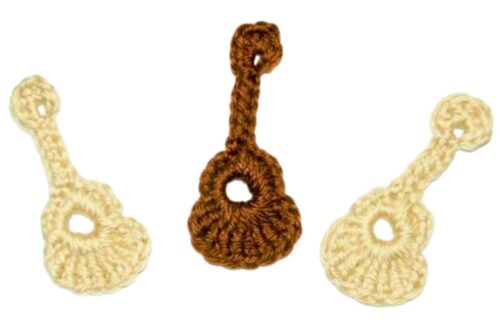
Crocheting a Guitar Pattern: A Beginner’s Guide
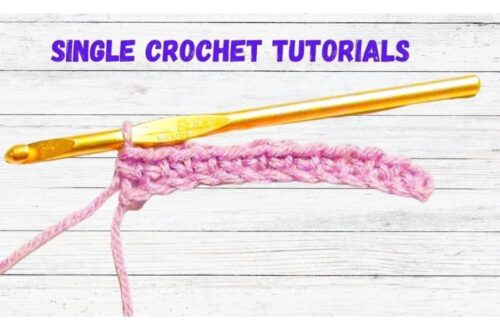
Mastering Single Crochet: Increase Your Crochet Skills