How to Crochet a Cute Raccoon Hook Holder Pattern
Crochet a Cute Raccoon Hook Holder
Are you tired of searching for your crochet hooks whenever inspiration strikes? Say goodbye to scattered supplies and hello to organization with a fun and functional crochet project—a cute raccoon hook holder! This adorable accessory keeps your hooks neatly organized and adds a touch of whimsy to your crafting space. Whether you’re a seasoned crocheter or just starting, crocheting a raccoon hook holder is a delightful project combining practicality and playful charm.
In this guide, we’ll explore how to crochet a cute raccoon hook holder step by step, from selecting the perfect yarn colors to mastering the essential stitches and techniques needed to bring this charming critter to life. With just a few skeins of yarn and basic crochet skills, you can create a lovable raccoon friend to keep your hooks safe and secure.
Within this post, you’ll find affiliate links. If you decide to purchase through these links, I may earn a modest commission at no extra cost. Additionally, please review my privacy policy for more details.
✨ We hope you enjoyed these photos! If so, please consider sharing them on Pinterest by clicking the Pin Button on each image. Your support helps us connect with more people and spread creativity. Thank you so much! 💖
To embark on this crochet journey, gather your materials – soft yarn in raccoon-like colors, a suitable hook, and any additional embellishments you desire. Begin with the holder’s base, creating a sturdy foundation for your hooks. As you work your way up, carefully incorporate the distinctive features of a raccoon, such as the iconic mask and ringed tail, into the design. Experiment with different stitches and techniques to bring these features to life, ensuring that your raccoon hook holder is as unique as it is functional.
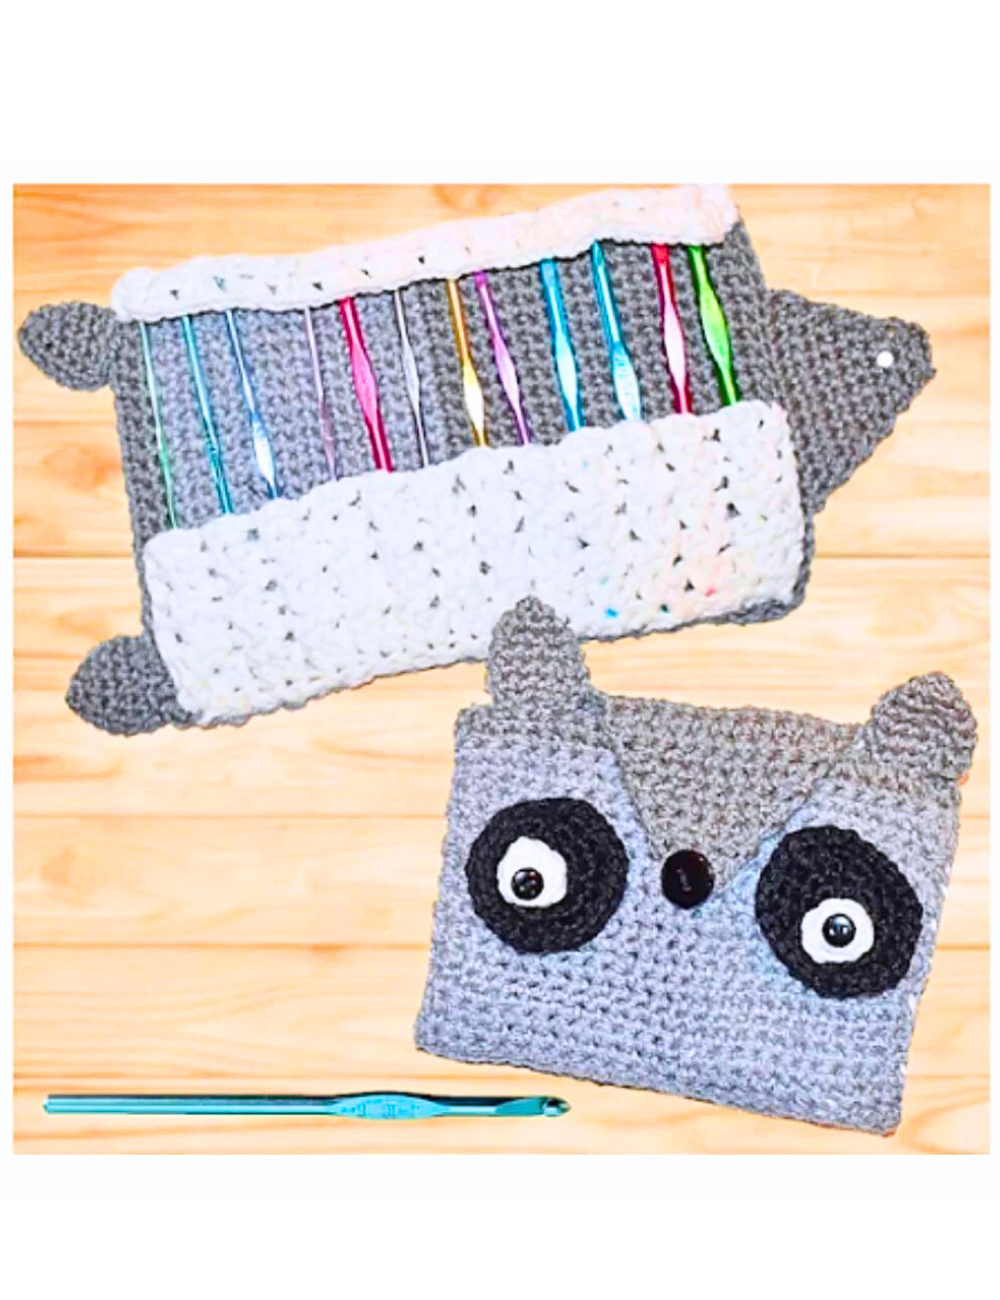
I created this crochet raccoon hook case with medium worsted yarn and an H hook. This crochet hook case pattern is a fun way to carry all your hooks. This free crochet hook holder pattern turned out so nicely!
Abbreviations Ch=chain Sl st=slip stitch Hdc=half double crochet Sc=single crochet 2sctog=2 single crochet together
Supplies H, G, and F hook Yarn: You will use less than ½ or a quarter of a skein of yarn for each color. Medium worsted dark and light grey, white yarn. 3 ½ inch buttons This is the perfect size for Susan Bates hooks, so about 5 inches.
If your hooks are more extensive, you must increase your chains for the body. Place your hook against the chain count after Row 2, if it fits then you will be fine, if too small, go up a chain or two.
If you have Susan Bates or a 5-inch hook, you will be fine. The Body: Start with a Dark grey H hook. Row 1: Chain 25, sc in the 2nd chain from the hook, sc in each chain across, Turn.
Row 2: *Ch 1, sc in each sc across, Turn *Repeat for a total of 22 row total. Then Sl st with light grey,
Row 23: *Ch 1, sc in each sc across, Turn *Repeat for a total of 20 more rows total Then Sl st with Dark yarn,
Next two rows, *Ch 1, sc in each sc across, Turn Fasten off. Nose Flap: Dark grey yarn, H hook
Row 1: On your beginning row, sl st in your dark grey yarn, skip 6 stitches, sc in the next 12 sc, Turn
Row 2: sc in each stitch across, Turn – 12 sc
Row 3: 2sctog decrease, sc in the next 8, 2sctog decrease, – 10 sc
Row 4: sc in the next 10 sc, Turn
Row 5: 2sctog decrease, sc in the next 6, 2sctog decrease, – 8 sc
Row 6: sc in the next 8 sc, Turn
Row 7: 2sctog decrease, sc in the next 4, 2sctog decrease, – 6 sc
Row 8: sc in the next 6 sc, Turn
Row 9: 2sctog decrease, sc in the next 2, 2sctog decrease Turn,
Row 10: chain 4 sl st; this will be the button hole. Take the Flap down as far as you take it and then in the center, Sew your button on.
Make sure the button fits into the chain 4 hole.
Eyes: G hook Black and white yarn, two buttons, Make 2
Row 1: In the Magic Circle with black yarn, work 6 sc, sl st to join
Row 2: 2sc in each sc around, sl st – 12 sc
Row 3: 1 sc, 2sc, *Repeat around, sl st, – 18 sc
Row 4: 1 sc, 2sc, *Repeat around, sl st, Fasten off the White part of the eyes
Row 1: In the Magic Circle with black yarn, work 6 sc, sl st to join Fasten off.
Sew the white part in the lower center of the black part of the circle. Sew on the button on top of the white part of the eye.
Sew the eyes on next to the nose on both sides, as seen in the photo.
Ears: f hook, Make 2, Dark grey yarn In the Magic Circle, work 4 sc, sl st to join
Row 2: work 2sc in each sc around, sl st to join – 8 sc
Row 3: work 1 sc in each sc around, sl st to join – 8 sc
Row 4: work 1 sc, 2 sc, *Repeat around, work in continual rounds so there is no seam, use a stitch marker, 12 sc
Rows 5-6: *sc in each sc around, Twice, Fasten off. Sew on the ears on both sides of the top of the last row.
Go in 2 stitches or so and sew them on both sides. The hook holder: White yarn, h hook. Work a foundation chain of 25,
Watch this video if you have never worked a foundation chain; I wouldn’t work just a chain because it will curve on you.
The foundation chain is as follows: chain 2, yarn over and insert hook in the 2nd chain from the hook, yarn over and pull through one loop, and yarn over and pull through all three loops on the hook,
This video shows a foundation chain!
*Repeat for 24 more, so yarn over and insert hook in the center of the next stitch, yarn over and pull through one loop and yarn over and pull through all three loops on the hook,
After the 24 foundation chains, Turn
Row 2: Ch 2, skip a stitch, *work 3 hdc, ch 1, skip a stitch, *Repeat across, in the end, end with a hdc, Turn
Rows 3-7: Ch 2, skip a stitch, *work 3 hdc in the 2nd previous hdc, ch 1, skip a stitch, *Repeat across, in the end, end with a hdc, Turn Sew on the hook holder across the 42 rows of sc, in between the ears and nose, see the photo above.
Sew the chain 1 vertical rows on each row going up and down, keep the chain 3’s free so that you can place your hooks inside.
Be sure not to sew too deep, or it will show on the other side. Then, Create a foundation chain of 25 just like the first one you created, for the top part of the hooks: white yarn, h hook.
Row 2: Ch 2, skip a stitch, *work 3 hdc, ch 1, skip a stitch, *Repeat across, at the end, end with a hdc. Turn Sew that on top holder above the first hook holder; this will hold the top part of your hooks. Fasten off and Weave in all your ends. I hope you enjoyed this free crochet hook holder pattern!
As you crochet, consider the dimensions to ensure the holder comfortably accommodates your hooks. You may also consider adding pockets or compartments for smaller accessories like stitch markers or scissors. This personalized touch not only enhances the practicality of the holder but also showcases your style as a crafter.
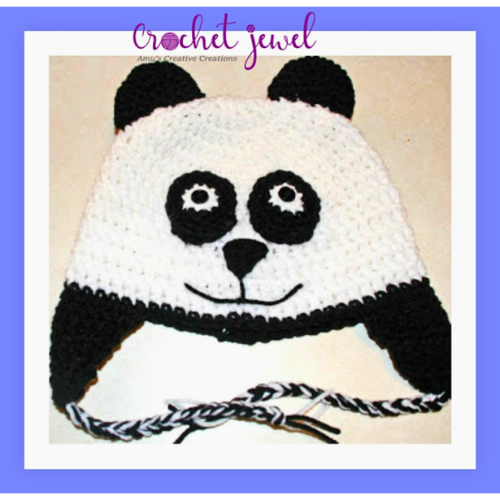
Click Here for the Crochet Panda Hat Pattern
Completing your raccoon hook holder is a satisfying accomplishment, and it will undoubtedly become a cherished piece in your crafting space. This DIY project allows you to infuse your passion for crochet with creativity, resulting in a functional and whimsical accessory. As you admire your finished creation, you’ll appreciate the organization it brings to your crochet tools and the joy that comes from crafting something uniquely your own. Happy crocheting!
To Find All My Crochet Jewel Patterns, Click Here

Click Here for My Ravelry Patterns


Crochet Hats for Beginners Book For Sale – Click Here

Crochet For Beginners Book for Sale – Click Here


You May Also Like
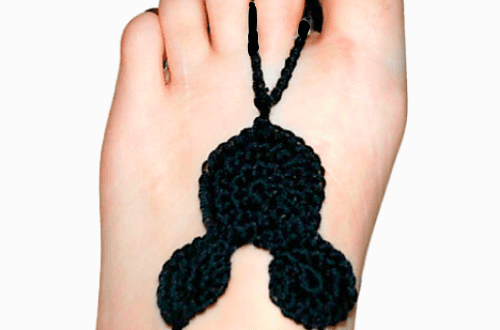
How to Crochet Fun Mouse Ears Barefoot Sandal Pattern
How to Use a Yarn Winder Tutorial