A Step-by-Step Guide to Creating a Solid Granny Square Pattern
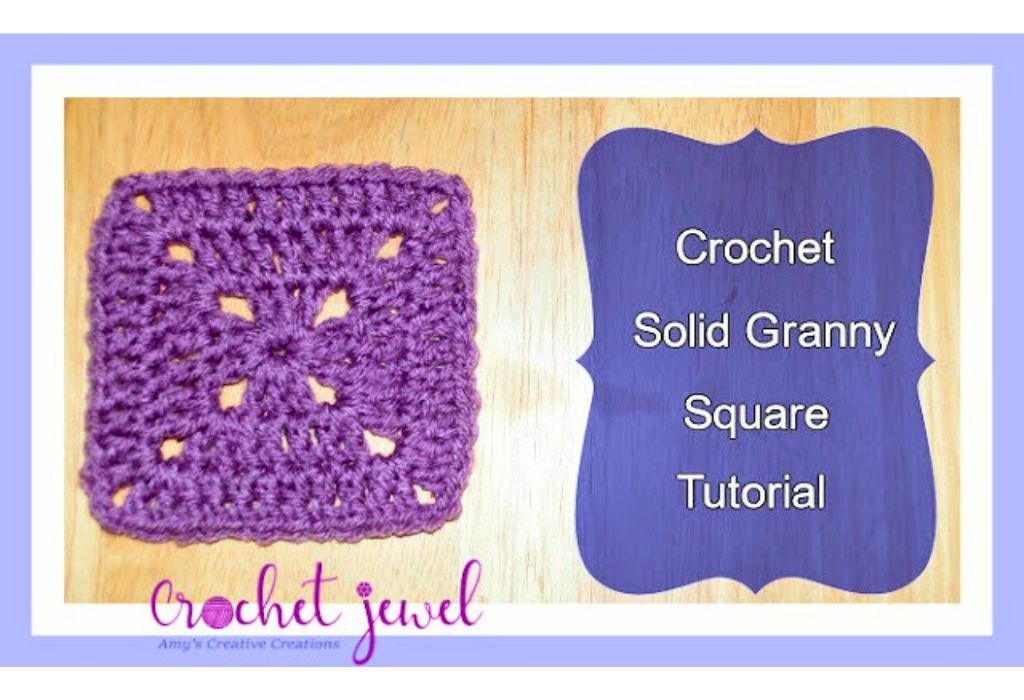
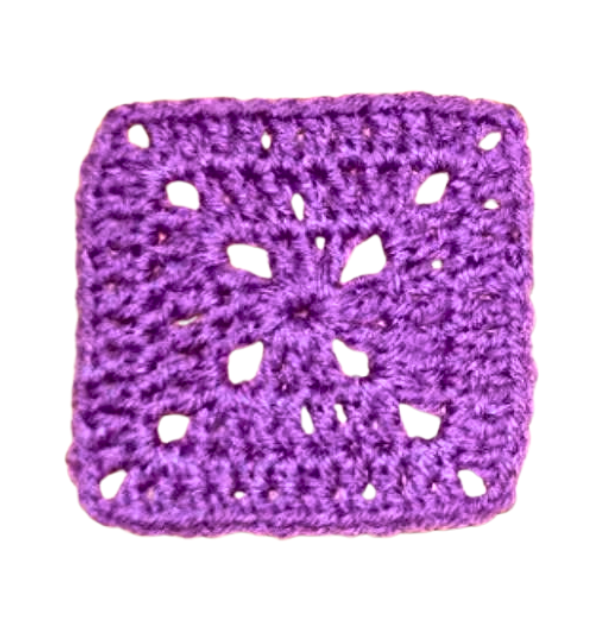
How to Crochet a Solid Granny Square
Crocheting a Solid Granny Square is a delightful way to create beautiful patterns and projects. Whether you’re a seasoned crocheter or just starting, this step-by-step guide will teach you how to make this classic square pattern. You can use it for various projects, from square blankets to table runners, square bags, and even creative ways like baby blankets. In this tutorial, we’ll cover the essential techniques and stitches you need to create this lovely design, including slip stitches, single crochets, treble crochets, and special stitches like clusters and puff stitches.
You’ll find affiliate links within this post. If you decide to purchase through these links, I may earn a modest commission at no extra cost. Additionally, please review my privacy policy for more details.
✨ We hope you enjoyed these photos! If so, please consider sharing them on Pinterest by clicking the Pin Button on each image. Your support helps us connect with more people and spread creativity. Thank you so much! 💖
To get started, you’ll need some basic materials, such as a crochet hook, yarn in different colors, and a yarn needle. Choose your hook size according to your yarn; typically, a 5mm (H) hook works well with worsted-weight yarn or cotton yarn. Adjust your hook size accordingly for projects with different yarn weights.
1. Begin with a magic ring or circle, a great way to start your granny square without a hole in the center. Insert your hook into the ring and make your first chain.
2. Work your first double crochet (dc) into the magic ring, followed by chain spaces and clusters as specified in your written pattern or video tutorial.
3. As you progress through the pattern, you’ll encounter different stitches, such as single crochets, treble crochets, and puff stitches, all of which add unique textures to your square.
4. Changing colors can bring a new dimension to your square. Cut the yarn and join the new color in the last step of a stitch, leaving a tail to weave in later.
5. Continue to follow your pattern, working your way around the square. Pay attention to the corners to maintain the square’s shape.
6. Once you’ve completed the last corner, finish off your square with a slip stitch (sl st) and fasten off your loose ends using a yarn needle.
The Solid Granny Square can be used for blankets and other fun patterns! I created a video if you need more assistance. Thank you for Watching!
Click the Links for Your Materials
sl st=slip stitch
sc=single crochet
dc=double crochet
ch=chain
Rnd 1: Chain 4, sl st beginning ch to create a ring.
Rnd 2: Ch 5, work 3 dc in the ring, ch 2, work 3c in the ring, ch 2, work 3 dc in the ring, ch 2, work 2 dc in the ring, sl st on top of the ch 3.
Rnd 3: Ch 3, work 2 dc in the ch 2 corner, ch 2, work 2 dc in the same space, dc in the next 3 dc, *2 dc, ch 2, 2 dc in the next ch 2 space corner, dc in the next 3 dc, *Repeat around, at the end, dc in the next 2 stitches, sl st on top of the ch 3 to join.
Rnd 4: Ch 3, dc in the next two stitches, work 2 dc, ch 2, 2 dc in the ch 2 space corner, *dc in the next 7 dc, work 2 dc, ch 2, 2 dc in the next ch 2 space corner, *Repeat around, at the end, dc in the last 4 dc, sl st on top of the ch 3.
If you like to make it bigger then just keep dc across and work your corners with 2 dc, ch 2, 2 dc.
Print the entry at the top of the page to print the pattern!
Crocheting a Solid Granny Square can be a rewarding and creative experience. It’s a fundamental building block for many projects, from traditional granny square blankets to unique flower motifs and dainty daisy granny squares. The possibilities are endless, and you can make your squares in various sizes and color combinations. If you’re looking for inspiration, you can find free crochet patterns and video tutorials, often shared through social media or in crochet-related Facebook groups.
Are you ready to dive into the world of crochet? With step-by-step instructions, a magic ring or a slip knot to start, and a variety of basic stitches, you can create stunning crochet flower granny squares or explore the classic traditional granny square pattern. Whether you prefer to learn through video tutorials or written patterns, the crochet community on social media and in dedicated Facebook groups offers a free pattern for every taste, from a charming dainty daisy granny square to the vibrant sunburst granny square. Don’t be afraid to experiment with different yarn weights and colors; you can craft beautiful flower motifs and even African flower squares creatively. Discover the joy of making square blankets, baby blankets, table runners, or square bags with a square that measures just right. To add an elegant touch, you can incorporate special stitches like cluster stitches or puff stitches, and if you’re not sure about hook size or joining methods, the step-by-step guide and tutorials will guide you along. Remember to weave in your loose ends neatly using a yarn needle and whip stitch. Whether you’re a seasoned crocheter or trying it for the first time, the possibilities are endless, and you’ll soon be working on your next crochet masterpiece. So grab your mm crochet hook, select your background color, and let your creative journey begin with these crochet square patterns.
So, whether you’re a beginner or an experienced crocheter, don’t hesitate to explore the world of crochet squares and experiment with different color combinations and special stitches. With the help of this tutorial, you’re well on your way to creating beautiful patterns and projects with solid granny squares.
To Find All My Crochet Jewel Patterns, Click Here
Click Here for My Ravelry Patterns
Crochet Hats for Beginners Book For Sale — Click Here
Crochet For Beginners Book for Sale — Click Here


