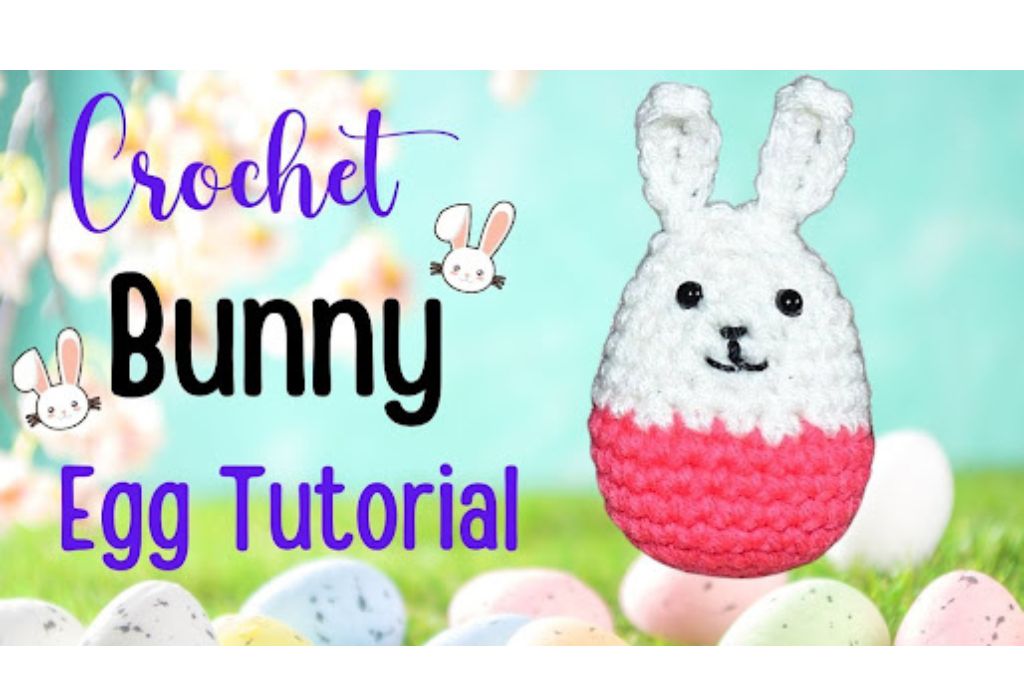
Crochet an Easter Bunny Rabbit Egg: Step-by-Step Tutorial
How to Crochet a Bunny Egg
Easter is a time of celebration and renewal, and what better way to add a touch of handmade charm to your Easter festivities than by creating your very own crochet Easter Bunny Rabbit Egg? In this tutorial, we’ll guide you through crafting an adorable Easter bunny perfect for decorating your home, gifting to loved ones, or even placing in Easter baskets. Whether you’re a seasoned crocheter or starting, this easy crochet bunny pattern suits all skill levels. Plus, it’s a delightful multi-piece project that allows you to unleash your creativity with different colors and sizes, making it a perfect gift for bunny lovers. So, grab your crochet hook yarn, and let’s start!
This post contains affiliate links. If you purchase through these links, I may earn a modest commission at no extra cost. Please review my privacy policy for more details.
✨ We hope you enjoyed these photos! If so, please consider sharing them on Pinterest by clicking the Pin Button on each image. Your support helps us connect with more people and spread creativity. Thank you so much! 💖
You’ll find affiliate links within this post. If you decide to purchase through these links, I may earn a modest commission at no extra cost. Additionally, please review my privacy policy for more details.
To create this cute little bunny, you’ll need to follow these steps:
Basic Stitches:
– Use single crochet stitches (sc), slip stitches (sl st), and chain stitches (ch) to form the various parts of your bunny.
Crochet Bunny Head:
– Start with the bunny’s head, using worsted weight yarn and a 4mm crochet hook.
– Add safety eyes and a cute little nose to give your bunny character.
Bunny Ears:
– Create floppy ears by working in your stitches’ front loops (flo).
Crochet Bunny Body:
– Continue with the bunny’s body, insert stitch markers to keep track of your rounds.
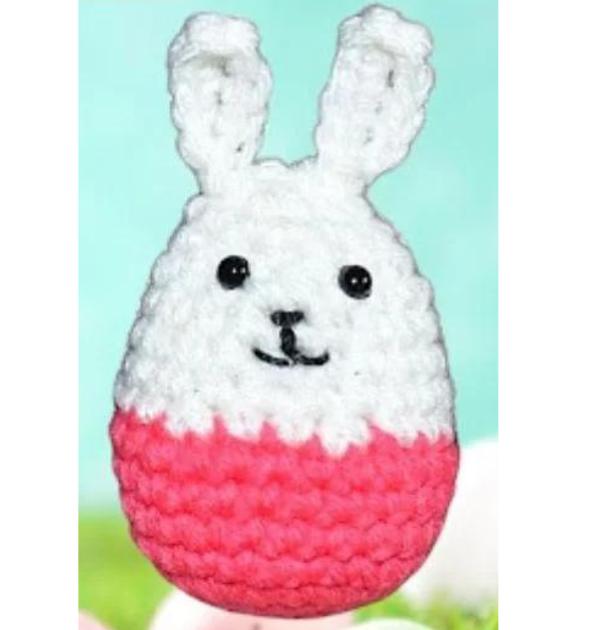
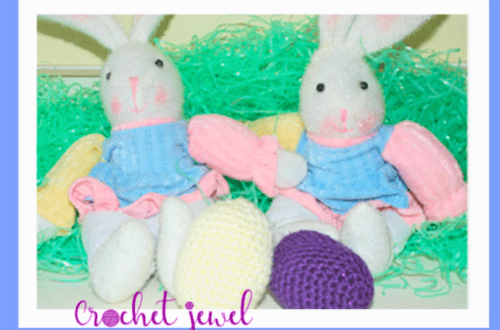
These cute crochet bunny eggs are so cute for Easter! I used an F hook and medium worsted yarn. The crochet bunny egg measures 4 inches. This free crochet egg pattern turned out so cute! In this crochet Easter bunny tutorial, we’ll show you how to make the most beautiful bunny ever! This bunny is perfect for Easter decorations or even as a gift for someone special!
We’ll teach crochet basics and guide you through creating this beautiful bunny. We’ll also provide tips and advice on how to make the best bunny ever! So be sure to watch our crochet Easter bunny tutorial now!
Click the Links for Your Materials
Orange Medium Worsted Yarn
– Crochet hook
– Tapestry needle
– Stitch marker
Abbreviations:
sc=single crochet
2sctog=2 single crochet together
sl st=slip stitch
ch=chain
Rnd 1: start with pink yarn, F hook; in magic circle, work 6 sc in the magic circle. sl st
Rnd 2: ch 1, 2 sc in each stitch around, sl st -12 sc
Rnd 3: ch 1, *sc, 2sc in the next stitch, *Repeat around, sl st
Rnd 4: ch 1, *sc next two stitches, 2sc in the next stitch, *Repeat around, sl st
Rnds 5-8: work in continual rounds without a sl st, sc in each stitch around, *Repeat 4 times
Rnd 9: sl st with white yarn, *sc in the next two stitches, 2sctog decrease in the next stitch, *Repeat around, sl st
*Special Note* You could do the invisible sc2tog decrease so it blends (shown in the video), or you could do 2dctog with pink, then switch to white yarn in round 10 instead so it blends.
Rnds 10-13: work in continual rounds, sc in each stitch around, *Repeat 4 times. Stuff your egg with stuffing.
Rnd 14: *sc, 2sctog decrease, *Repeat around
Rnd 15: sc in each stitch around.
Rnd 16: 2sctog decrease until it closes, about 6 times. Fasten off and Weave in your ends.
Ears: Make 2, F hook, white yarn
chain 5, sc in the 2nd chain from the hook, sc in the remaining sc, 3 sc in the last chain, don’t turn, work on the other side, sc in the remaining chains, sl st
Attach the ears on top side by side.
Attach plastic eyes below the ears. Sew on the mouth and nose with thread yarn below the eyes, best shown in the video. I hope you enjoyed this free crochet egg pattern!
Print the Entry on the top of the page to print the pattern!
Click Here for More Crochet Holiday Patterns
Bunny Tail:
– Add a yarn tail to the back of the bunny as a finishing touch.
Assembly:
– Assemble all your bunny pieces and use the written pattern provided.
Amigurumi Bunny Details:
– Embellish your bunny with stitches on the cheek and a safety nose.
Crocheting an Easter Bunny Rabbit Egg is a fun and creative project and a perfect way to add a personal touch to your Easter celebrations. This free crochet bunny pattern offers a great gift idea for baby showers, Easter holidays, or as a lovely pair of trousers for your little ones. Whether making it for your best friend or sharing it on your YouTube channel and social media, this adorable amigurumi bunny will bring joy to many. And if you use affiliate links, you might even earn a small commission, making it a win-win situation. So, pick your favorite yarn, crochet hook size, and yarn weights, and start crafting your very own Easter Bunny Rabbit Egg to make this holiday season extra special.
To Find All My Crochet Jewel Patterns, Click Here

Click Here for My Ravelry Patterns


Crochet Hats for Beginners Book For Sale – Click Here

Crochet For Beginners Book for Sale – Click Here


You May Also Like
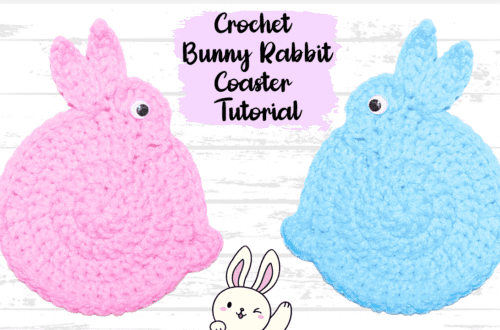
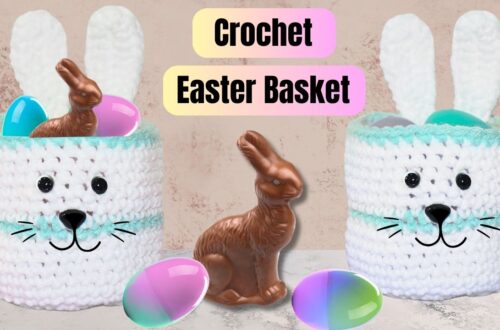
Create Your Own Adorable Crochet Easter Bunny Coaster
How to Crochet an Easy Easter Egg Pattern