Crochet a Beautiful Cupcake Hat: Step-by-Step Guide
How to Crochet Cupcake Hat
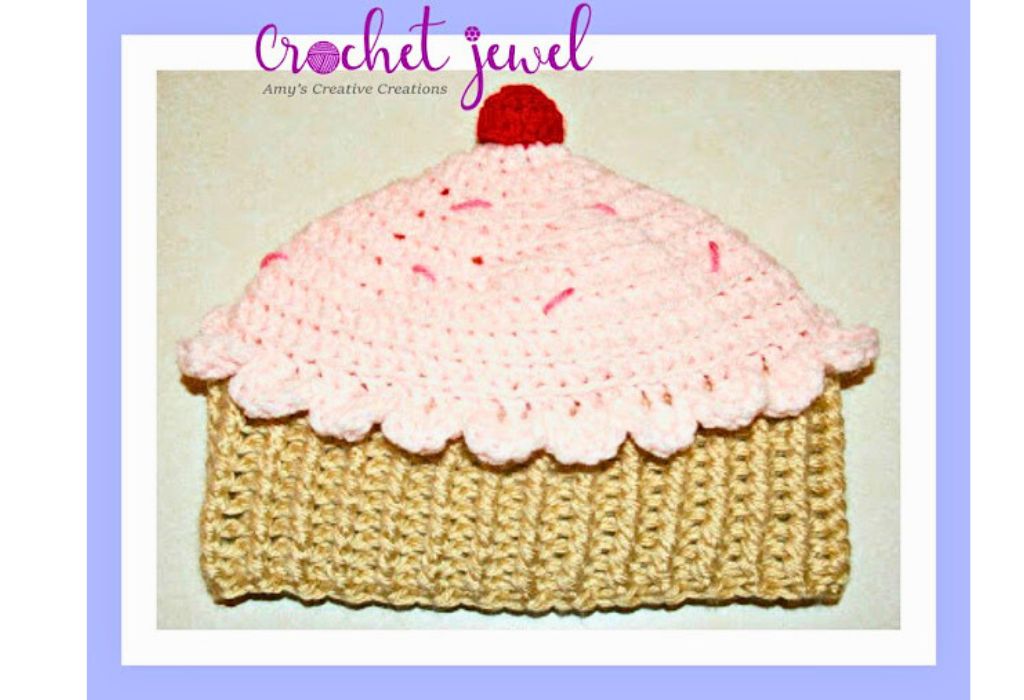
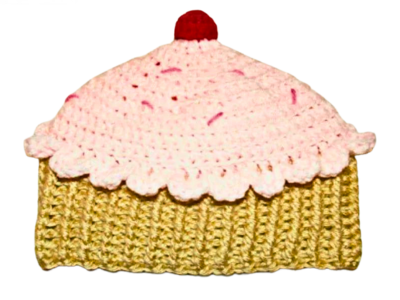
Crocheting a cupcake hat is a delightful and easy project for crocheters of all skill levels. In this free crochet pattern, we will guide you through the steps to create a cozy and cute hat perfect for winter. Whether you’re making it for yourself or as a great gift, this hat is a fantastic addition to your crochet projects. This pattern uses basic crochet stitches and offers a video tutorial for those new to the craft. So grab your favorite yarn and hook, and let’s start on this perfect crochet hat pattern.
You’ll find affiliate links within this post. If you decide to purchase through these links, I may earn a modest commission at no extra cost. Additionally, please review my privacy policy for more details.
✨ We hope you enjoyed these photos! If so, please consider sharing them on Pinterest by clicking the Pin Button on each image. Your support helps us connect with more people and spread creativity. Thank you so much! 💖
To begin crocheting your cupcake hat, you’ll need some essential materials and a basic understanding of crochet. We recommend using worsted-weight yarn, but you can experiment with different yarn weights for unique results. Check out our crochet hat size chart to ensure the perfect fit. You’ll also need a size J (6 mm) crochet hook, a yarn needle, a stitch marker, and a tapestry needle. If you want to add a faux fur pom-pom for extra flair, go ahead! It’s all about making this hat your own.
How to Watch Videos in Slow Motion – if the video is too fast – Click Here!

Supplies:
Click the Links for Your Materials
– Crochet hook
– Tapestry needle
– Stitch marker
Pink, Brown, dark pink, and red yarn
dc=double crochet
sc=single crochet
sl st=slip stitch ch=chain
hdc=half double crochet
hdc2tog=half double crochet together
sc2tog=single crochet 2 together
fphdc (front post half double crochet)
bphdc (back post half double crochet)
Half Double Crochet Hat
J hook, Pink, Brown, dark pink, and red yarn
rnds 12-23. ch 1. *fphdc (front post half double crochet) in the next stitch(post), bphdc (back post half double crochet) (youtube videos on how to this stitch) in the next chain, *repeat around. sl st. Repeat until your hat reaches 7 inches or to your desired length.
On top of the pink portion of the hat, you can add sprinkles. Use a yarn needle with pink yarn and sew on 1/2 inch pink yarn dash lines all around to look like sprinkles.
ch 2.
1st rnd: 6 sc in 2nd ch from hook. Join with sl st to first sc. -6sc
2nd rnd: Ch 1. 2 sc in each sc around. Join with sl st to first sc. -12 sc.
3rd rnd: Ch 1. 1 sc in each sc around. Join with sl st to first sc. Stuff Cherry lightly. -12 sc
4th rnd: Ch 1. (Sc2tog) 6 times. or until the ball closes. Join with sl st to first sc. fasten off, and Attach the Cherry on top of the hat.
Print the Entry on the top of the page to print the pattern!
Click Here for More Crochet Hat Patterns
The foundation of this easy crochet hat pattern starts with a foundation chain and some simple crochet stitches. You’ll be using single crochet, slip stitch, back loop, and even half double crochet to create the body of your hat. With a video tutorial available, beginner crocheters can follow along easily. Once you’ve completed the body, it’s time to add the finishing touches.
In the final steps of this crochet project, you’ll shape the hat to perfection. We’ll guide you through decreasing stitches to create the hat’s top, and then you’ll close it off with a slip stitch. Remember to weave in yarn tails using a tapestry needle for a neat finish.
You can customize your cupcake hat using different colors or even chunky yarn for a slouchy look. Make it in super bulky yarn for extra warmth during cold weather, or choose a light, airy aran weight yarn for a more relaxed, slouchy beanie style. The possibilities are endless!
We hope you’ve enjoyed creating this crocheted beanie, and it’s ready to keep you warm during the winter season. If you found this pattern helpful, consider sharing it with your friends and fellow crocheters on social media. And remember, this is a free crochet pattern, so feel free to make and share as many as you like. Happy crocheting!
To Find All My Crochet Jewel Patterns, Click Here

Click Here for My Ravelry Patterns


Crochet Hats for Beginners Book For Sale – Click Here

Crochet For Beginners Book for Sale – Click Here


You May Also Like
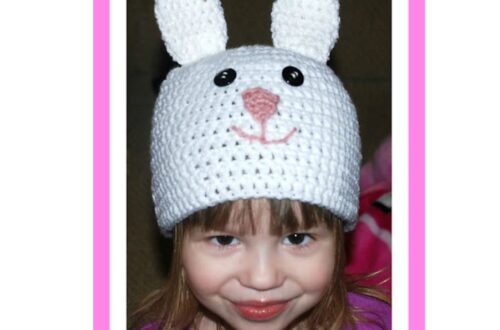
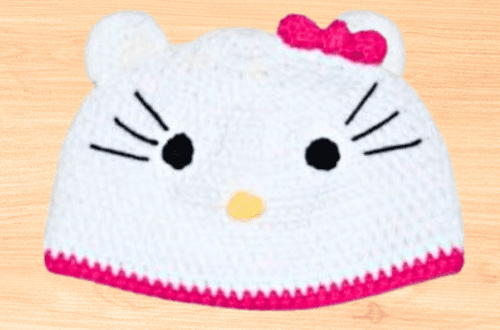
Crafting a Cute Crochet Bunny Rabbit Hat – Step-by-Step Tutorial
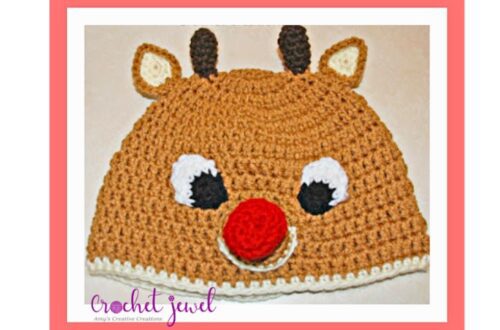
Create a Charming Rudolph Reindeer Beanie with Our Easy Tutorial!