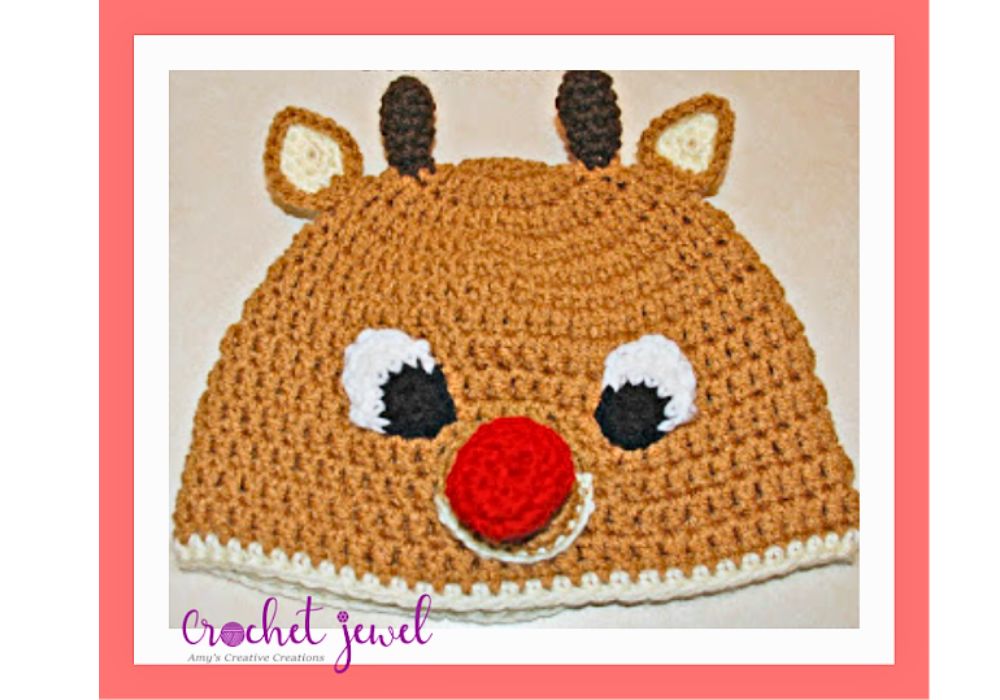
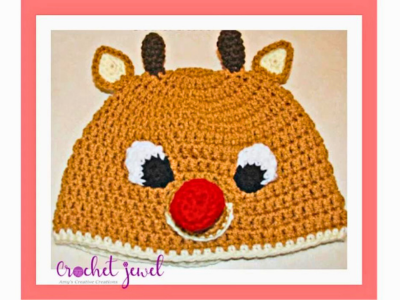
Create a Charming Rudolph Reindeer Beanie with Our Easy Tutorial!
How to Crochet a Rudolph Reindeer Beanie Hat
Welcome to our free crochet pattern tutorial for an adorable Rudolph Reindeer Beanie Hat. Whether you’re a beginner crocheter or an experienced enthusiast, this pattern is perfect for making a fun and festive hat for the winter season. With basic crochet stitches and a video tutorial, this easy project will surely be an excellent gift for your loved ones. Plus, we’ve included tips on selecting the best yarn and crochet hook size to ensure the perfect fit. So grab your favorite yarns, and let’s get started on this creative adventure.
This post contains affiliate links. If you purchase through these links, I may earn a modest commission at no extra cost. Please review my privacy policy for more details.
✨ We hope you enjoyed these photos! If so, please consider sharing them on Pinterest by clicking the Pin Button on each image. Your support helps us connect with more people and spread creativity. Thank you so much! 💖
**Materials You’ll Need:**
Click the Links for Your Materials
– Crochet hook
– Tapestry needle
– Stitch marker
– Worsted weight yarn (in brown, red, and white)
– Size H crochet hook
– Yarn needle
– Stitch marker
– Tapestry needle
– Faux fur pom pom (for Rudolph’s nose)
– Yarn pom pom (for hat’s pom-pom)
– Scissors
**Skill Level:**
This pattern is suitable for new crocheters and beyond.
**Hat Sizing:**
The pattern is designed for an adult medium head size. If you need a different size, we’ve included a crochet hat size chart to guide you.
**Crochet Stitches Used:**
– Single crochet (sc)
– Slip stitch (sl st)
– double crochet (dc)
**Special Techniques:**
– Crocheting in the round
How to Watch Videos in Slow Motion – if the video is too fast – Click Here!

Supplies: Red Heart Brown, white, red, cream, and dark brown yarn
H Hook, Yarn needle
Abbreviations: dc=double crochet sc=single crochet sl st=slip stitch ch=chain, hdc=half double crochet, 2sctog=2 single crochet together decrease hdc2tog=half double 2 together
I made this for my 4 year old, measures 19-20 inches around and length= 7 inches long.
Instructions:
H hook, Brown yarn,
Row 1. ch 2, dc in the next 11 dc stitches, turn. -11 sts
Eyes: Make 2,
H hook, white and black yarn start with black yarn
ch 2, work 5 sc in the 2nd chain from the hook. sl st.
rnd 1. *2sc in each stitch around, sl st. (10 sts.)
rnd 2. work two hdc in the next 2 stitches, fasten off. weave the ends in at the end of making the eye.
rnd 3. switch to white yarn, sl st with white yarn in the next stitch, sc in the next 7 stitches.
rnd 4. turn, skip one stitch, work 1 sc in the next 5 stitches.
rnd 5. turn, 2sctog decrease, 2sctog decrease, sc in the last stitch.
rnd 6. turn, sc in the next 3 stitches. fasten off, weave in the ends Place the eyes above the muzzle about 2 inches apart, have the black of the eyes point toward the nose on both sides.
Ears: Make 2, H hook,cream and brown yarn
rnd 1. start with cream yarn, ch 2, work 5 sc in the 2nd chain from the hook work in continual rounds -5 sc
rnd 2. *2sc in each stitch around, *repeat, 10 sc
rnd 3. * 1 sc in the next stitch, 2sc in the next stitch, *repeat change to brown yarn with a slip stitch, -15 sc
rnd 4. 1 sc in the next 2 stitches, 2sc in the next stitch, *repeat. fasten off, weave in ends. Attach the ears on top of the hat outside the antlers, next to the antlers. -20 sc
Antlers: Make 2, H hook, Dark brown yarn ch 6, join with a sl st. *sc in next 6 stitches, *repeat this for each round until your antler reaches 1 1/2 inches. Attach the antler on top of the hat, about 2 inches apart.
Muzzle: H hook cream and brown yarn
rnd 1. start with brown yarn, ch 2, work 5 sc in the 2nd chain from the hook, sl st to join. -5 sc
rnd 2. work in continual rounds, *2sc in each stitch around, *repeat.-10 sc
rnd 3. *1 sc in the next stitch, 2sc in the next stitch, *repeat. -15 sc
rnd 4. *1 sc in the next 2 stitches, 2sc in the next stitch, *repeat. -20 sc
rnd 5. switch to cream yarn, single crochet in the next 12 stitches, fasten off. Place the muzzle on the bottom center part of the hat, have the cream part of the muzzle face toward the bottom.
Nose: H hook, Red yarn
2sctog=2 single crochet together decrease.
rnd 1. Ch 6, join with a sl st. -6 sc
rnd 2. work 2sc in each stitch around, sl st. (12 sts.)
rnd 3. work 1 sc in each stitch around, sl st. (12 sts.)
rnd 4. work 1 sc in each stitch around, sl st. (12 sts.) stuff the nose as you close it. (I stuff it with red yarn.)
rnd 5. 2sctog decrease 6 times, (twice around) sl st Sew the nose in the center of the muzzle.
Print the Entry on the top of the page to print the pattern!
Click Here for More Crochet Hat Patterns
Congratulations, you’ve just created a fabulous Rudolph Reindeer Beanie Hat using our free crochet pattern. This project is a great addition to your winter wardrobe and an excellent gift idea for friends and family. If you enjoyed this tutorial, don’t forget to share your finished beanie on social media and consider joining our Facebook group for more crochet projects and inspiration. We hope you had a fantastic time crocheting this easy and fun project. Happy crocheting!
To Find All My Crochet Jewel Patterns, Click Here

Click Here for My Ravelry Patterns


Crochet Hats for Beginners Book For Sale – Click Here

Crochet For Beginners Book for Sale – Click Here


You May Also Like
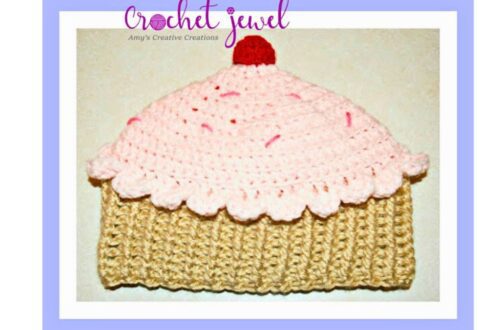
Crochet a Beautiful Cupcake Hat: Step-by-Step Guide
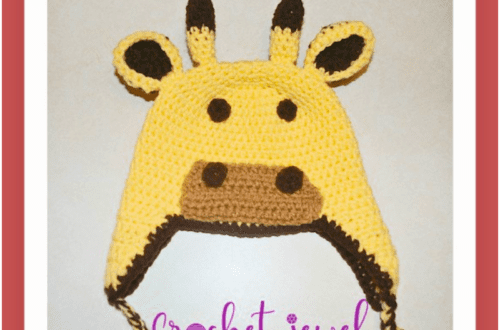
How to Crochet an Adorable Giraffe Hat Pattern