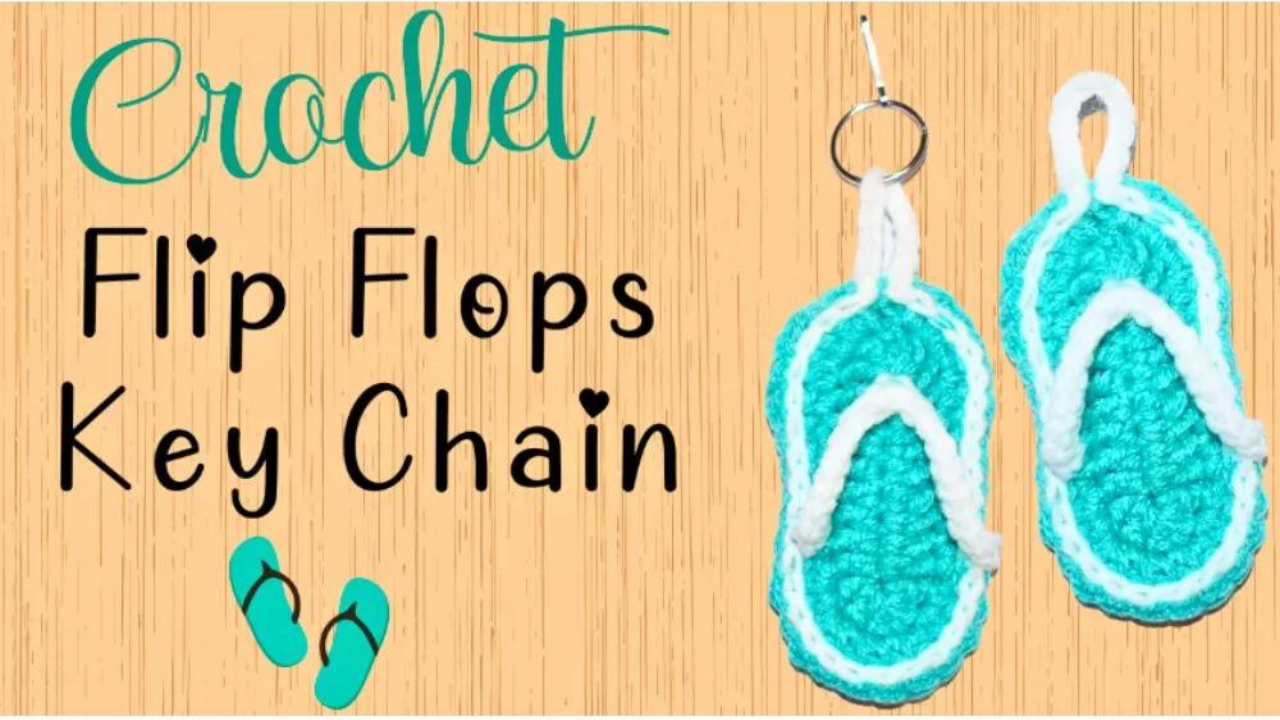
Crochet a Trendy Flip Flop Keychain: Step-by-Step Guide
How to Crochet a Flip-Flop Keychain
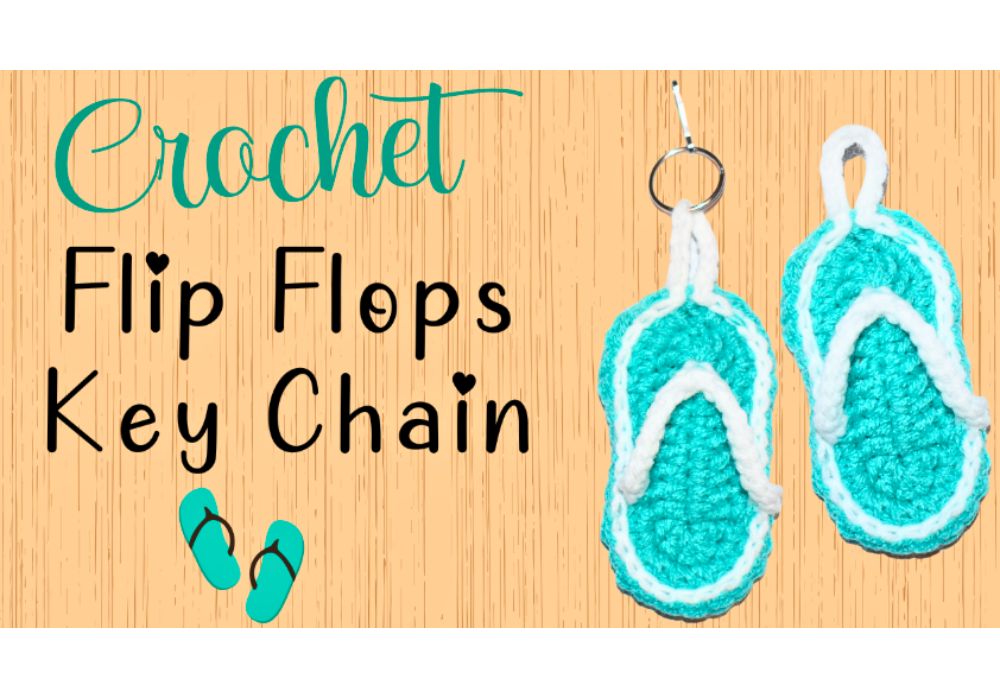
Creating a crochet flip-flop keychain is a fun project for all skill levels. This tutorial will guide you through the process with a free crochet pattern and a video tutorial on our Facebook page, complete with English subtitles. Keychains are a great way to add a touch of personality to your bag, keys, or as a bag charm. These cute patterns make for a perfect little gift in bright colors, and you can even adjust the size for different types of keychains. Plus, they’re a great addition to your collection of amigurumi patterns, and you can use scrap yarn to create a variety of cute crochet keychains.
This pattern is copyrighted by Amy Lehman. Please do not copy or duplicate this pattern. You are welcome to link back to my pattern, but do NOT post the pattern on your website. Thank you for respecting my work!
You’ll find affiliate links within this post. If you decide to purchase through these links, I may earn a modest commission at no extra cost. Additionally, please review my privacy policy for more details.
Click the Social Icons to Stay Connected
To get started, gather your materials. You’ll need cotton yarn in your favorite colors, a G crochet hook, a key ring, a ball chain, and yarn for your flip-flop soles.
Begin by making a slip knot and chaining your keychain’s desired number of stitches. Then, work in single crochet stitches across, adding bright colors or different colors as you like to create a fun, easy gift.
Now, let’s create the flip-flop part. We will use a free crochet pattern for flip-flops, which is perfect for this project. Crochet the flip-flop soles, then use the diamond stitch for the straps. You can adjust the size for an ideal fit.
✨ We hope you enjoyed these photos! If so, please consider sharing them on Pinterest by clicking the Pin Button on each image. Your support helps us connect with more people and spread creativity. Thank you so much! 💖
How to Watch Videos in Slow Motion — if the video is too fast — Click Here!
How to Crochet For Beginners Playlist — Click Here
Size: 1.5 inches wide by 3.5 inches long
Supplies: G hook
Medium Worsted yarn
Green and white yarn
Click the Links for Your Materials
All Colors of Yarn Click Here
- Crochet hook
- Tapestry needle
- Stitch marker
Abbreviations:
ch=chain
dc=double crochet
hdc=half double crochet
Sl st=slip stitch
Make 2
Row 1: G hook
(If you want it smaller, then make it with a F Hook)
Green yarn, Chain 13
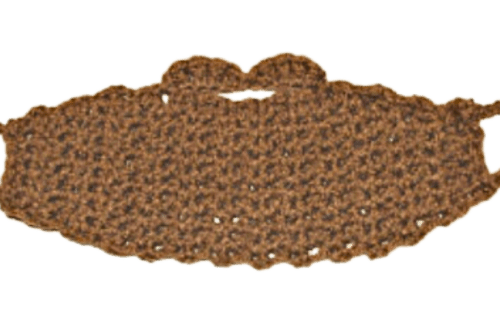
Rnd 2: Turn, Skip 3 chains, 2 dc in the next chain, dc in the next 8 chain, 5 dc in the last chain, continue onto the next side, work in continuous rounds, (don’t turn),
dc in the next 8 dc, 2 dc in the next dc, sl st into the beginning chain 3.
Rnd 3: ch 2, 2 hdc in the next stitch twice, hdc in the next 4 stitches, sc in the
next 3 stitches, hdc in the next stitch, 2 hdc in the next 5 stitches, hdc in the next stitch, sc in the next 3 stitches, hdc in the next 4 stitches, 2 hdc in the next two stitches, hdc in the next stitch, sl st into th chain 2. Weave in your ends.
Strap: White yarn, G hook, (best shown on the video)
Fold the green flip flop in half, go up 6 stitches on the side, sl st on the front post side next to the sixth stitch, chain 10, go to the center hole, sl st in the top center front post, chain 11, on the opposite side of the beginning, about 6 stitches up like the opposite side, sl st on the front post side.
Turn, sl st back into the next chain, going up the strap chains, sl st back into the next chains, going back up the chains, then going back to the beginning.
Continue with your white yarn. Attach your other flip flop sole, sl st in each stitch around, Connecting both flip flops until 9th stitch. Sl st into the next two stitches of the front sole (not both soles), to create an opening for chapstick (optional if you want an opening for chapstick), then create a top loop with a chain 10, sl st back into the stitch of the loop, continue with sl st with next two stitches of the top sole. Now sl st into both soles to close the opening. Sl st to the beginning stitch. Sl st and weave in your ends.
Print the Entry on the top of the page to print the pattern!
**Assembly:** Attach your flip-flop design to the key ring and ball chain with a slip stitch. You can also add an adjustable strap if you prefer. This step is the best part of the process, where your keychain takes shape and becomes a cute crochet keychain.
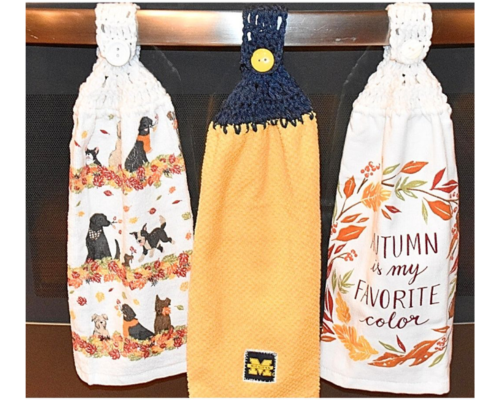
Click Here for the Towel Pattern
**Gift Ideas:** These flip-flop keychains make great gifts for friends and family. They’re a modern accessory perfect for beach bags, backpacks, or even a crochet handbag charm. Plus, they are just the right size to hold your keys.
**Variations:** Get creative with different colors and yarn crochet styles. You can even experiment with double or other crochet stitches to give your keychain a unique look. The possibilities are endless; you can use your favorite yarn colors to make these keychains your own.
In conclusion, crocheting a flip-flop keychain is a fantastic and enjoyable project that doesn’t take much time to complete. Whether you’re making them for yourself or as gifts, they are a great way to show off your crochet skills and add a touch of personality to your everyday items. Remember to check out our video tutorial on our Facebook page for step-by-step instructions with English subtitles. So, gather your materials, use the free crochet pattern, and have much fun creating these cute, colorful, and perfect little gifts. Happy crocheting!
To Find All My Crochet Jewel Patterns, Click Here
I absolutely love Amazon for its unbeatable Crochet deals and amazing selection!—click here to discover your next great deal!
Amazon Prime: Unlock fast, free shipping, exclusive Prime Video shows, and more with Amazon Prime! Click here to start your 30-day free trial today!
Audible Plus: Access thousands of audiobooks and podcasts with Audible Plus! Click here for Audible Plus on Amazon!
Kindle: Discover millions of books with Kindle—read anywhere, anytime! Click here to buy on Amazon!
Amazon Prime Video: Enjoy unlimited streaming of top movies and TV shows with Amazon Prime Video! Click here to start watching!
Amazon Music: Stream millions of songs and playlists with Amazon Music! Click here to start listening!
To Find All My Crochet Jewel Patterns, Click Here
Click Here for My Ravelry Patterns
Crochet Hats for Beginners Book For Sale — Click Here
Crochet For Beginners Book for Sale — Click Here
Click Here fo Lion Brand Yarn and Free Patterns
I’m using Rakuten to get Cash Back at my favorite stores. Hate for you to miss out, so join now with my invite and you’ll get $30 after you spend $30.* Click Here for Cash Back


