How to Crochet Cleansing Bath Puff Pattern
How to Crochet Cleansing Bath Puff
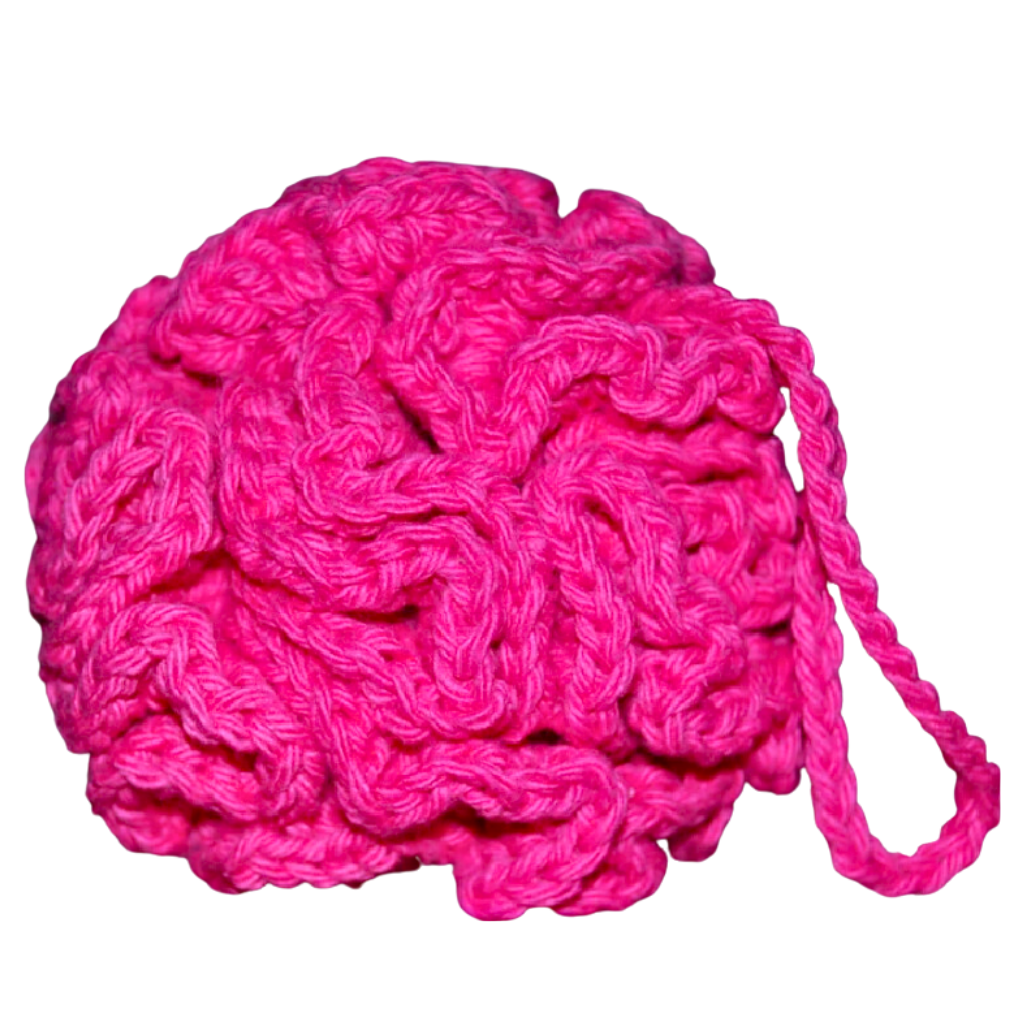
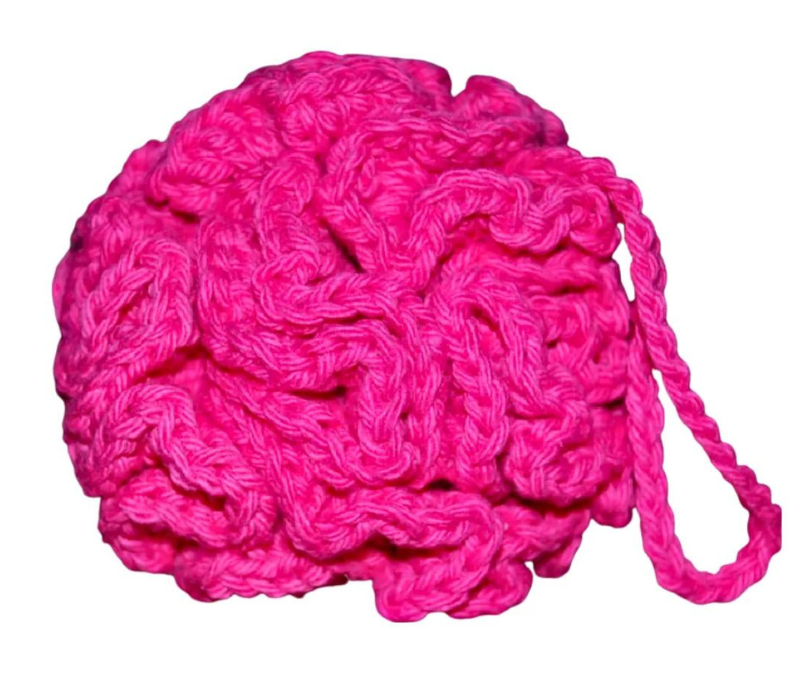
Crocheting a cleansing bath puff is a delightful and practical way to enhance your bath-time experience. This DIY project allows you to create a personalized accessory that adds a touch of luxury to your self-care routine. In this guide, we will walk through the steps to crochet a cleansing bath puff, providing you with the skills to make your spa-worthy creation.
You’ll find affiliate links within this post. If you decide to purchase through these links, I may earn a modest commission at no extra cost. Additionally, please review my privacy policy for more details.
To begin, gather your materials. You’ll need soft and absorbent yarn, an appropriately sized crochet hook, and scissors. Choose a yarn color that suits your preferences, whether you prefer calming pastels or vibrant hues. Once you have your materials, create a slipknot and chain a foundation loop. The subsequent rows will involve simple crochet stitches, such as single and double crochet, to form the puff’s textured pattern.
✨ We hope you enjoyed these photos! If so, please consider sharing them on Pinterest by clicking the Pin Button on each image. Your support helps us connect with more people and spread creativity. Thank you so much! 💖
ch = Chain
sl st = slip stitch
dc = double crochet
Click the Links for Your Materials
– Crochet hook
– Tapestry needle
– Stitch marker
H hook
Print the entry at the top of the page to print the pattern!


You May Also Like
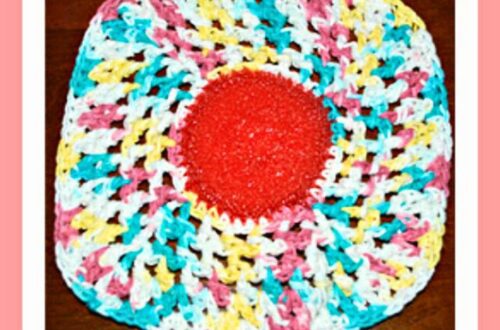
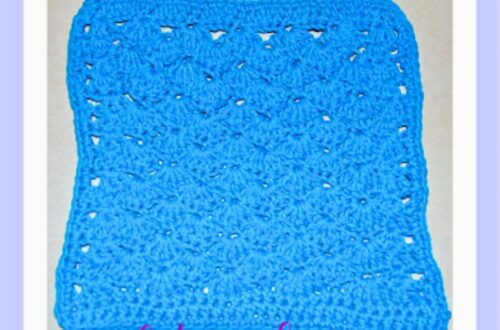
How to Crochet a Fun Scrubber Dishcloth Pattern
Beginner’s Guide to Crocheting Dishcloths – Step-by-Step Tutorial