How to Crochet an Adorable Elmo Inspired Hat: Free Pattern and Tutorial
How to Crochet an Elmo-Inspired Hat
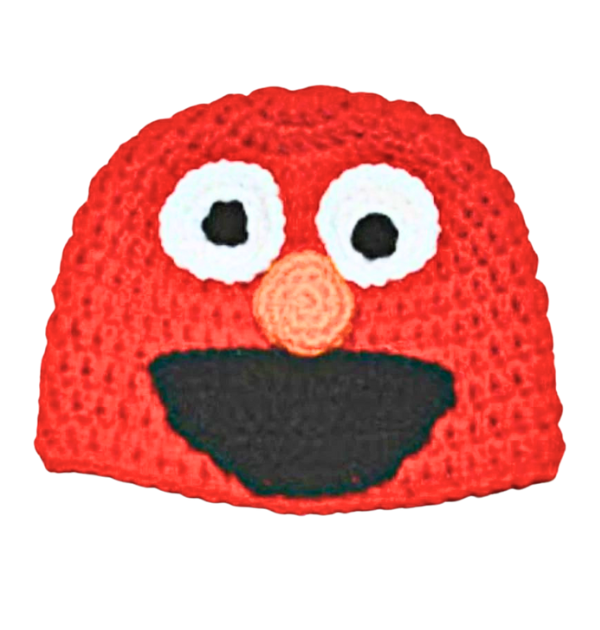
Crocheting an Elmo hat is a delightful and whimsical project that brings everyone’s favorite furry red monster from Sesame Street to life. Whether crafting a cozy winter accessory for a child or adding a playful touch to your wardrobe, this project will surely bring smiles and warmth.
With his bright red fur and googly eyes, Elmo is an iconic character beloved by children and adults alike. Crocheting a hat inspired by Elmo’s distinctive features can bring a touch of fun and nostalgia to your crafting endeavors.
In this tutorial, we’ll explore how to crochet an Elmo hat step-by-step, from selecting the right yarn and hook to shaping the hat and adding embellishments like eyes and a cute pom-pom nose. Whether you’re an experienced crocheter looking for a new challenge or a beginner eager to try amigurumi-inspired projects, this tutorial will guide you through the process with clear instructions and helpful tips.
So grab your crochet hooks and embark on a fun and furry adventure as we bring Elmo to life, one stitch at a time!
This post contains affiliate links. If you purchase through these links, I may earn a modest commission at no extra cost. Please review my privacy policy for more details.
✨ We hope you enjoyed these photos! If so, please consider sharing them on Pinterest by clicking the Pin Button on each image. Your support helps us connect with more people and spread creativity. Thank you so much! 💖
To begin crocheting your Elmo hat, you’ll need some basic materials:
– Worsted weight yarn in red and black.
– A crochet hook in the recommended size for your yarn.
– A yarn needle.
– A stitch marker.
How to Watch Videos in Slow Motion – if the video is too fast – Click Here!

Supplies:
Click the Links for Your Materials
– Crochet hook
– Tapestry needle
– Stitch marker
Red Heart Orange, black, red, and white yarn
H hook, G hook,Yarn needle
dc=double crochet
sc=single crochet
sl st=slip stitch ch=chain
hdc=half double crochet
2sctog=2 single crochet together decrease
G hook
Video on a Double Crochet Magic Circle:
rnds 6-desired length (lengths are listed above), Ch 3, (Counts as first Dc), dc in each dc around, sl st to join. -55 dc, *Repeat to a length that is about 7 inches long or to your desired length, Slip stitch.
Ear flaps: If you would like to add ear flaps
Make 2
white yarn
Make 2
ch 2, work 5 sc in the 2nd chain from the hook. (5sc)
Rnd 1. work 2sc in the each stitch around, sl st. (10sc)
Rnd 2.* 1sc in the next stitch, work 2sc in the next stitch, *repeat sl st .(15sc)
Rnd 3. * 1sc in the next two stitches, work 2sc in the next stitch, *repeat, sl st. (20sc) fasten offPupils: Make 2,
G hook,
ch 2, work 5 sc in the 2nd chain from the hook. (5sc) sl st. fasten off.
Place the pupils in the center of the eyes, sew the eyes above the mouth.
Mouth: H hook, chain 20
Rnd 1. sc in the 2nd chain from the hook and each stitch across, (19sc) turn
Rnd 2. sc2tog, sc in each stitch across, 2sctog in the last two stitches (17sc) turn
Rnd 3. sc2tog, sc in each stitch across, 2sctog in the last two stitches (15sc) turn
Rnd 4. sc2tog, sc in each stitch across, 2sctog in the last two stitches (13sc) turn
Rnd 5. sc2tog, sc in each stitch across, 2sctog in the last two stitches (11sc) turn
Rnd 6. sc2tog, sc in each stitch across, 2sctog in the last two stitches (9sc) turn
Rnd 7. sc2tog, sc in each stitch across, 2sctog in the last two stitches (7sc) turn
Rnd 8. sc2tog, sc in each stitch across, 2sctog in the last two stitches (5sc) fasten off. Place the mouth on the bottom center.Nose:
H hook
Orange yarn,
Rnd 1. ch 2, work 8sc in the 2nd chain from the hook. sl st. (8sc)
Rnd 2. work 2sc in every stitch around. sl st (16sc)
Rnds 3-4. work 1 sc in every stitch around. sl st (16sc) Twice
Rnd 5. work 2sctog 10 times in each stitch around, sl st. (7sc) Fasten off.
Stuff the nose with yarn and place the nose above the mouth.
Print the Entry on the top of the page to print the pattern!
Click Here for More Crochet Hat Patterns
Congratulations, you’ve completed your Elmo hat! Crocheting this cute and cozy accessory is not only a great project for the winter season but also an excellent gift idea. Whether you’re a beginner crocheter or an experienced one, this easy crochet hat pattern will surely be a hit. And remember, you can customize it with different yarn colors and sizes to achieve the perfect fit. If you’re looking for more crochet projects, don’t forget to check out our other free crochet hat patterns on our website. Happy crocheting!
Crochet hats are a versatile and popular choice for the winter season, offering warmth and style in one. For beginners, an easy crochet hat pattern using basic crochet stitches like single crochet and the helpful back loop technique can be the perfect introduction to this craft. Start with a foundation chain based on your desired head size, and join in a round using a slip stitch. Continue with single crochet stitches, using a stitch marker to keep track of the number of stitches in each round. The key to a well-fitting hat is achieving the right gauge, so don’t forget to make a gauge swatch. Customize your creation with different yarn weights and colors to make it unique. Additionally, our website offers a variety of free crochet hat patterns, including slouchy hats, messy bun hats, and even simple beanies, making it a great resource for crocheters of all skill levels. Check our privacy policy regarding affiliate links and share your finished projects in our social media group to inspire and connect with fellow crocheters.
When crocheting your perfect hat, choose your favorite yarns and consider the season’s weather. Worsted weight yarn is ideal for a balanced combination of warmth and comfort, while bulky weight yarn provides extra insulation for those cold winter days. A long tail at the beginning of your project helps weave in ends, and if you’re looking for an easy project, don’t forget to explore our collection of free crochet hat patterns. You can follow along with video tutorials if you’re more of a visual learner. Create the perfect fit by repeating rows or rounds and adjusting according to our crochet hat size chart. With the right techniques and a suitable crochet hook size, crocheting a hat is not only a great project but also a wonderful gift idea. Share your creations with the supportive community in our Facebook group and help inspire new crocheters. Happy crocheting!
Note: This tutorial is provided for informational purposes only. Check our privacy policy regarding affiliate links, and share your finished projects in our Facebook group to inspire other new crocheters. Your support helps us continue to create free crochet patterns and tutorials. Thank you for choosing us for your crocheting journey!
To Find All My Crochet Jewel Patterns, Click Here

Click Here for My Ravelry Patterns


Crochet Hats for Beginners Book For Sale – Click Here

Crochet For Beginners Book for Sale – Click Here


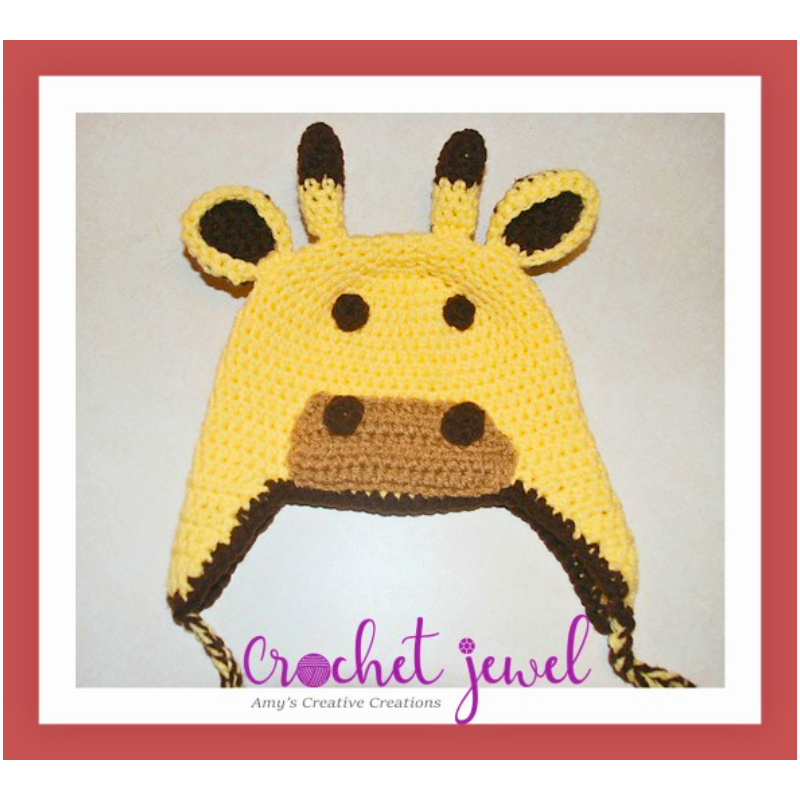
You May Also Like
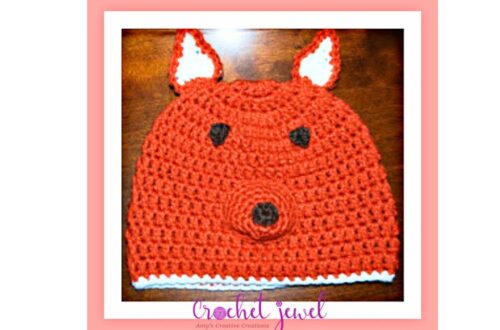
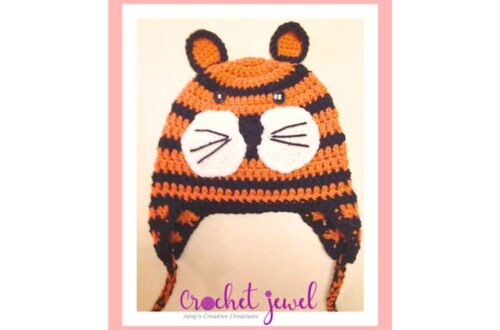
Crochet a Cute Fox Hat: Step-by-Step Guide
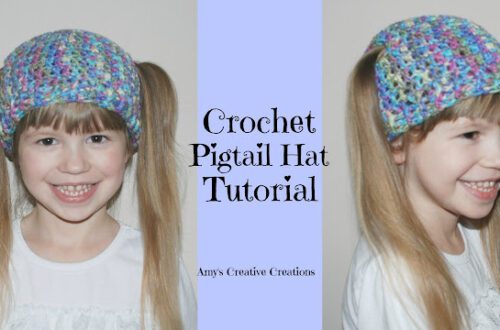
Crochet a Beautiful Pigtail Hat Pattern: Step-by-Step Guide