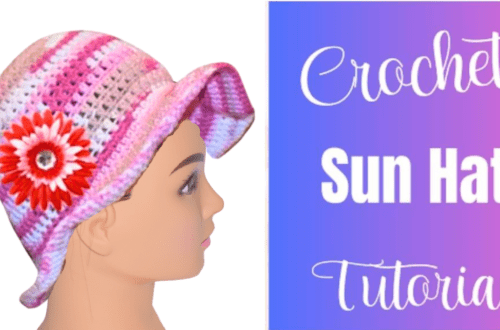
Crochet an Easy Brim Hat: A Beginner’s Step-by-Step Guide
How to Crochet a Brim Hat
Crochet hats are a practical accessory for the winter season and a fantastic way to showcase your creativity. This tutorial will guide you through creating a stylish brim hat using basic crochet stitches. Whether you’re a seasoned crocheter or a beginner, this easy crochet hat pattern is perfect for everyone. It’s a free crochet pattern that can be customized to fit your head size and style preferences. So, grab your favorite yarns and crochet hook because we’re about to embark on a fun and rewarding crochet project!
You’ll find affiliate links within this post. If you decide to purchase through these links, I may earn a modest commission at no extra cost. Additionally, please review my privacy policy for more details.
✨ We hope you enjoyed these photos! If so, please consider sharing them on Pinterest by clicking the Pin Button on each image. Your support helps us connect with more people and spread creativity. Thank you so much! 💖
To get started with this crochet brim hat, you’ll need the following materials:
– Worsted weight yarn
– Size H crochet hook
– Yarn needle
– Stitch marker
– Tapestry needle
– Faux fur pom pom (optional)
Remember to check our privacy policy regarding affiliate links, and feel free to join our Facebook group for more crochet projects, tips, and inspiration. We hope you find this tutorial and free crochet pattern helpful for making the perfect fit brim hat. Enjoy creating your own unique crocheted hats!
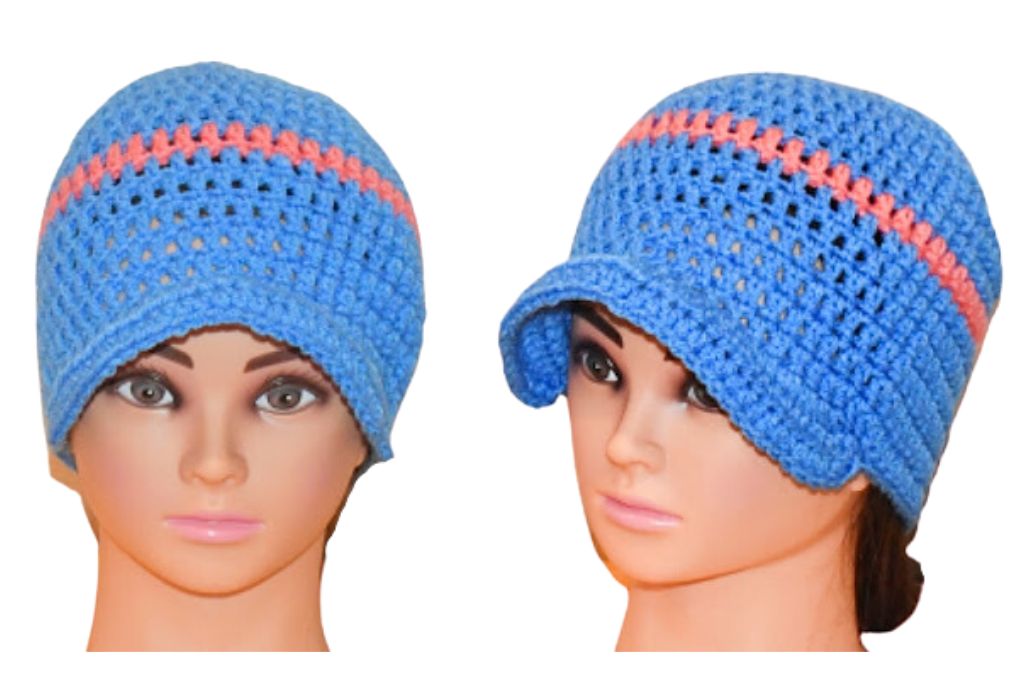
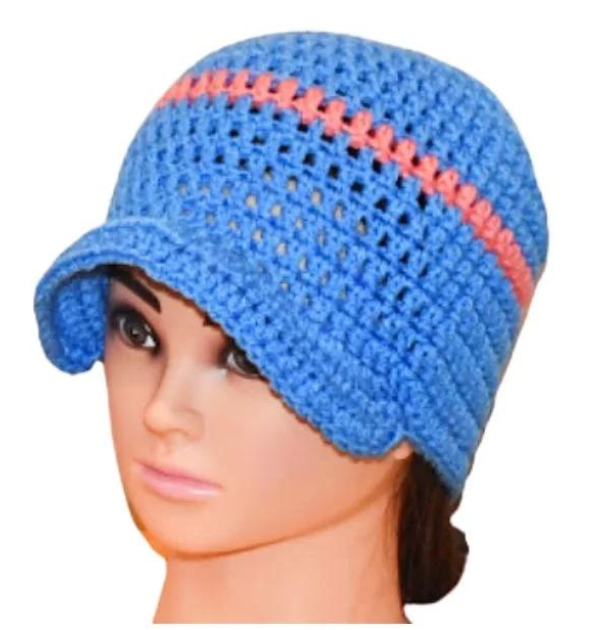
This adorable brim hat can be made in any size. Change the hook size. Create this crochet brim hat with a pretty layered flower and stripes.
Click the Links for Your Materials
Blue and Pink Yarn
Abbreviations:
ch=chain
dc=double crochet
hdc=half double crochet
bpsc=back post single crochet
sl st=slip stitch
Instructions:
H hook, green yarn
Rnd 6. *ch2, dc in each st around, *Repeat for 4 rounds, then the next round, add a Cream Strip, with a dc in each dc around for that round.
**Finishing Touches:**
8. Fasten off your work and leave a long tail. Thread your yarn needle with the tail and weave it through the last row to close the top of the hat.
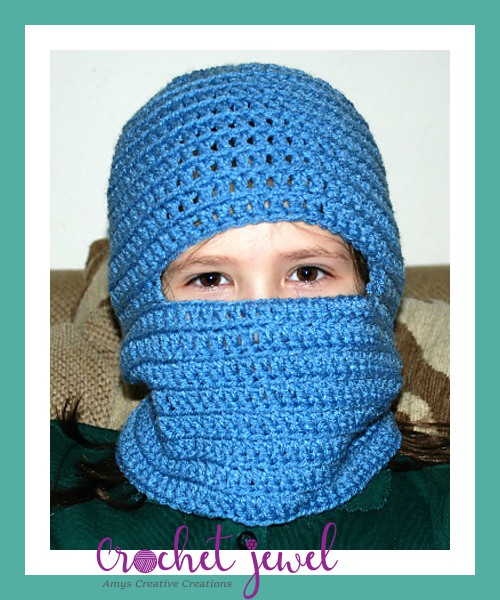
Click Here for a Crochet Ski Mask Pattern
9. To add a faux fur pom pom, use the yarn tail to attach it securely to the top of the hat.
You’ve created a beautiful and cozy crochet brim hat in just a few simple steps. This versatile accessory can be customized with different yarn weights, colors, and brim widths to suit your style and the cold weather. Crocheted beanies like this one also make great gifts for your friends and family. If you’re a new crocheter, don’t worry; this is an easy project to get you started. It’s the perfect crochet hat pattern for experienced crocheters looking for a quick and satisfying project. Happy crocheting, and be sure to share your finished hats on social media or with your crochet community!
To Find All My Crochet Jewel Patterns, Click Here

Click Here for My Ravelry Patterns


Crochet Hats for Beginners Book For Sale – Click Here

Crochet For Beginners Book for Sale – Click Here


You May Also Like
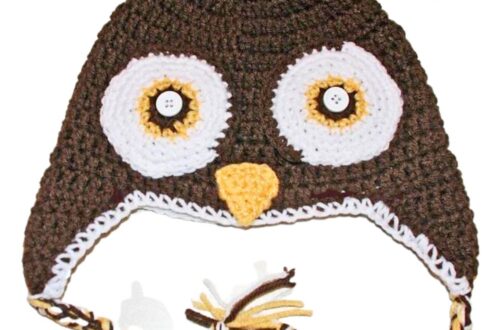
Crochet an Adorable Owl Hat: Step-by-Step Guide

Crochet a Green Pig Angry Bird Hat: Step-by-Step Guide