How to Crochet an Easy Ear flap Hat Pattern
How to Crochet Ear Flap Hat
Crocheting your hats can be rewarding and enjoyable, especially when you have the perfect pattern. In this guide, we’ll create a stylish and cozy ear flap hat using basic crochet stitches. Whether you’re a seasoned crocheter or just starting, this easy crochet hat pattern is perfect for all skill levels. With the winter season approaching, it’s the ideal time to embark on this creative and practical project.
Start this free crochet hat pattern with a foundation chain using your favorite worsted-weight yarn. Utilize basic crochet stitches such as single crochet (sc) and double crochet (dc) to build the body of the hat. Pay attention to the back loop for added texture and dimension. As you work your way up, incorporate increases and decreases to achieve the perfect fit for the desired head size.
You’ll find affiliate links within this post. If you decide to purchase through these links, I may earn a modest commission at no extra cost. Additionally, please review my privacy policy for more details.
✨ We hope you enjoyed these photos! If so, please consider sharing them on Pinterest by clicking the Pin Button on each image. Your support helps us connect with more people and spread creativity. Thank you so much! 💖
Incorporate unique details like ear flaps and a faux fur pom pom for a trendy touch. Use a stitch marker to keep track of your rounds and ensure a neat and even finish. Adding a slip stitch (sl st) and a tapestry needle will help secure loose ends, providing a polished look to your crocheted creation.
Crochet a Magic Circle with Double Crochet Video:
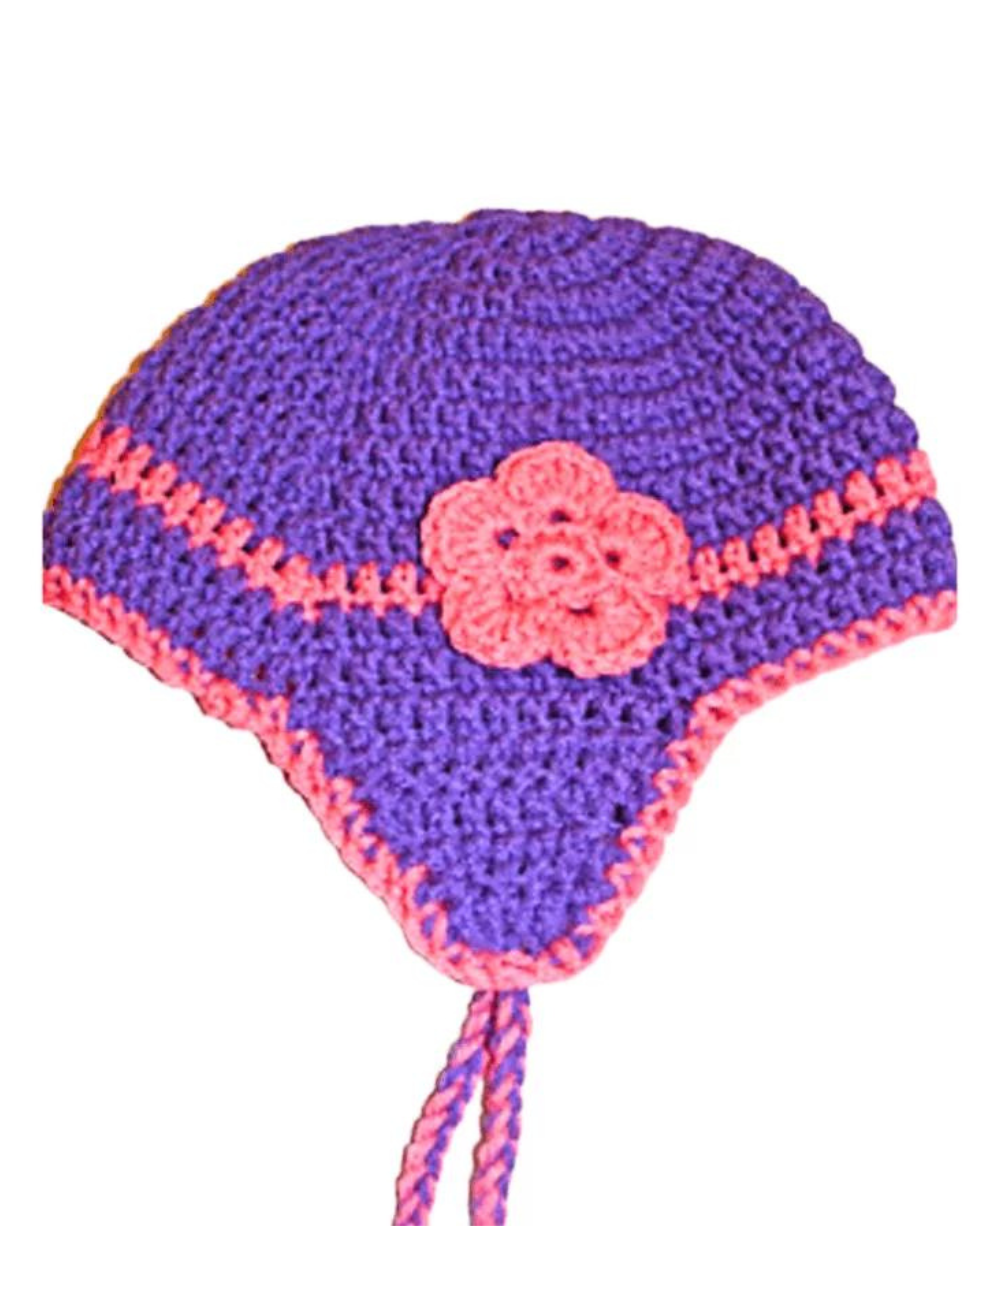
Make 2
H hook
1st ear flap, you can slip stitch onto the side of the hat with your purple yarn, begin the dc stitches, (like to have the seam in the back of the hat, so I do the ear flap on the side of the hat)
2nd flap, fold hat in half and sl st in dc directly across from the last dc from the other ear flap. Follow the directions below for both ear flaps.
The braid from the center of the ear flap at the bottom attaches two colors of yarn, pink and purple. With an Sl st in the center of the bottom of the ear flap and chain 30, st it off and cut yarn.
sc around the edge of the hat with pink yarn.
Flower:
Click Here for More Crochet Hat Patterns
For visual learners, a video tutorial is available to guide you through each step, making this an easy project even for beginners. Experiment with different yarn weights, from chunky to super bulky, to create variations suitable for the cold weather. The versatility of this pattern extends to messy bun hats and slouchy beanies, offering options for every style preference.
Click Here for this Twist Hat Pattern
As you continue with the easy crochet hat pattern, pay close attention to the back loop of each stitch for added texture. The use of single crochet stitches creates a tight and warm fabric, perfect for keeping snug in the winter season. The repetition of slip stitches along the rows enhances the overall design and adds to the durability of the finished hat. Utilize the tapestry needle to weave in the long tail, ensuring a clean and seamless look.
For those looking to enhance their skills, a video tutorial is available to guide you through the process. These basic crochet stitches are the building blocks of the hat, providing a solid foundation for the more intricate details like the faux fur pom pom and the slouchy design.
In the spirit of community and sharing, consider joining social media groups dedicated to crochet projects. Winter is the perfect time to create these hats as great gifts, showcasing your favorite worsted weight yarns and experimenting with different yarn weights to achieve the desired hat height. Remember, the crocheting journey is not just about the finished hat but the joy of each stitch and the warmth shared with others.
The free pattern’s ease, combined with the versatility of basic crochet stitches, makes this an ideal project for both new and experienced crocheters. Every step from the right side to the last row is an opportunity to craft the perfect crochet hat pattern. Using chunky yarn and various colors allows for personalization, ensuring each hat is a unique and cherished item.
For those navigating through the crochet hat size chart, achieving the perfect fit is as rewarding as completing the entire hat. Whether it’s a slouchy beanie or a chunky hat, the satisfaction of finishing and sharing a project with others is incomparable. As you embrace the cold weather, embrace the art of crocheting, and let your stitches create warm accessories and lasting memories. Happy crocheting, and may each hat be a testament to your skill and creativity in the crochet world!
Feel free to customize your crochet hat with various colors and yarn pom poms, making each piece a unique and personalized accessory. Check out our crochet hat size chart to ensure the finished product fits perfectly. Don’t hesitate to join our social media community or Facebook group for inspirational tips and to share your completed projects.
In conclusion, crocheting an ear flap hat is a delightful and achievable project that yields excellent gifts for yourself or loved ones. Whether you follow this free crochet hat pattern to the letter or add your creative flair, the result will surely be a stylish and functional accessory for the winter season. Happy crocheting!
To Find All My Crochet Jewel Patterns, Click Here

Click Here for My Ravelry Patterns


Crochet Hats for Beginners Book For Sale – Click Here

Crochet For Beginners Book for Sale – Click Here


You May Also Like
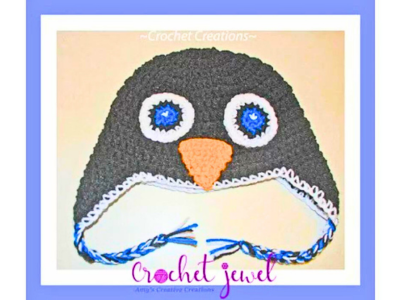
Create Your Own Penguin Ear Flap Hat: Easy Crochet Tutorial
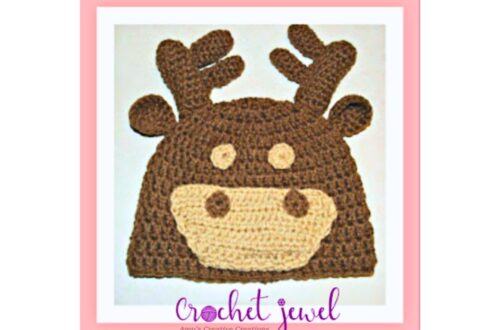
Step-by-Step Guide: Creating a Unique Moose Hat Crochet Pattern