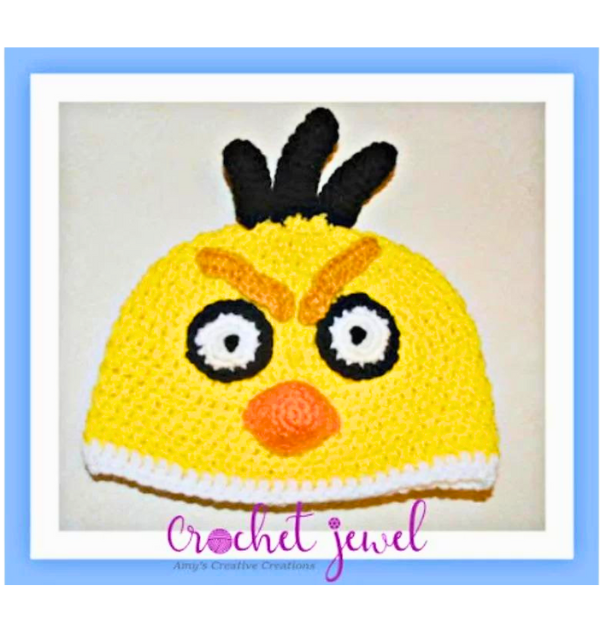
Crochet a Stylish Angry Yellow Bird Hat: Step-by-Step Guide
How to Crochet an Angry Yellow Bird Hat
Are you ready to embark on a fun and creative crochet project? If you’re a crochet enthusiast looking for an easy, free crochet hat pattern that’s adorable and full of personality, you’re in the right place! This tutorial will guide you through the steps to crochet an Angry Yellow Bird Hat. This project is perfect for crocheters of all skill levels, and it’s a fantastic way to add warmth and character to your winter-season wardrobe. You can also customize it to create a unique and memorable gift for your loved ones. We’ll provide a step-by-step guide and some helpful tips and tricks to make the process smooth and enjoyable. And for those who prefer visual guidance, we have a video tutorial available.
You’ll find affiliate links within this post. If you decide to purchase through these links, I may earn a modest commission at no extra cost. Additionally, please review my privacy policy for more details.
✨ We hope you enjoyed these photos! If so, please consider sharing them on Pinterest by clicking the Pin Button on each image. Your support helps us connect with more people and spread creativity. Thank you so much! 💖
– **Materials You’ll Need:**
Click the Links for Your Materials
– Crochet hook
– Tapestry needle
– Stitch marker
– Worsted weight yarn in the color of your choice
– Size J (6.0 mm) crochet hook
– Yarn needle
– Stitch marker
– Tapestry needle
– Faux fur pom pom (optional but adds a cute touch)
– **Skill Level and Sizing:**
This easy crochet hat pattern is suitable for beginners and seasoned crocheters alike. You can adjust the size to fit different head sizes, making it versatile. If you’re unsure about the size, refer to our crochet hat size chart to ensure a perfect fit.
– **Basic Stitches and Techniques:**
You’ll need to know basic crochet stitches like single crochet, slip stitch, and half double crochet. We’ll also work in the back loop for added texture. Don’t worry if you’re unfamiliar with these; we’ll guide you.
– **Pattern Details:**
The Angry Yellow Bird Hat is worked in rounds from the top down. You’ll start with a foundation chain, then build the hat height using the specified stitches. The unique character of this hat comes from the Angry Bird face design, which involves changing colors at specific points. We’ll help you through every step of the process, ensuring that your finished hat is cute and comfortable.
– **Customization and Variations:**
Feel free to experiment with different yarn weights and colors, and even add a yarn or faux fur pom to create your personalized version of this hat. Crochet enthusiasts love expressing their creativity, and this project is an excellent canvas for imagination.
How to Watch Videos in Slow Motion – if the video is too fast – Click Here!

Supplies: H hook,
Yellow, white, black, light brown, and orange Red Heart yarn.
H hook
rnd 1: Work 11 dc in a Magic Circle, sl st on top of the chain 3. -11 dc
chain 14, hdc in each stitch across (13 sts.) fasten off. (Make 2)
Make 2
White yarn, G hook
rnd 2. work 2sc in each stitch around, work in continual rounds, (10 sts)
rnd 3. *work 1 sc in the next stitch, 2sc in the next stitch, *repeat. (15 sts)
Attach the eyes about 1 inch apart in the center of the hat.
Pupils:
Make 2
With black yarn and yarn needle, sew in a few lines in the center of the eye. fasten off.
Beak:
Orange yarn, H hook
rnd 2. *work 2sc in each stitch around, *repeat. -8 sts
rnd 3. work 1 sc in each stitch around. -8 sts
rnd 4. *work 1 sc in the next stitch around, 2sc in the next stitch, *repeat. -12 sts
rnd 5. work 1 sc in each stitch around. -12 sts
rnd 6. *work 1 sc in the next 2 stitches, 2sc in the next stitch, *repeat.-16 sts
rnd 9. work 1 sc in each stitch around, 2sctog decrease (twice in the last 4 stitches) -18 sts
rnd 10. work 1 sc in each stitch around, 2sctog decrease once in the last 2 stitches.-16 sts
Fasten off. Stuff the beak with orange yarn or stuffing. Attach the beak right below the eyes.
rnd 2. 2sc each stitch around (8 sts.)
rnd 3. -Continue. sc in each stitch around until your headpieces reach 2 inches long, (Make 3)Make One headpiece at 2 inches, and the two other headpieces at 1.5 inches.Attach the three headpieces on top of the hat side by side.

– **Sharing Your Creations:**
After making this hat, you can proudly share your work on social media or join our Facebook group to connect with other crocheters and get inspired by their projects. If you enjoy this free crochet hat pattern, consider using our affiliate links to support our efforts; it helps us continue providing more great projects like this.
In conclusion, crocheting an Angry Yellow Bird Hat is a fantastic and easy project, perfect for the cold weather. Whether you’re a beginner crocheter or an experienced yarn enthusiast, this free crochet hat pattern allows you to create a unique and cozy accessory that makes for great gifts or a stylish addition to your winter wardrobe. So pick your favorite yarn, grab your crochet hook, and prepare for a “flocking” good time. Happy crocheting!
To Find All My Crochet Jewel Patterns, Click Here

Click Here for My Ravelry Patterns


Crochet Hats for Beginners Book For Sale – Click Here

Crochet For Beginners Book for Sale – Click Here


You May Also Like
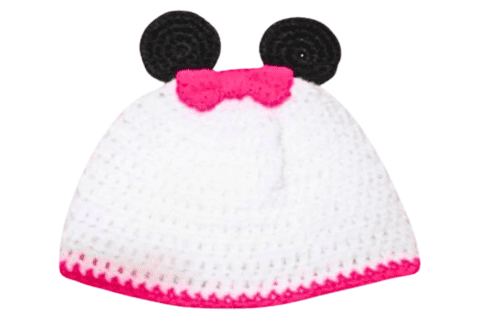
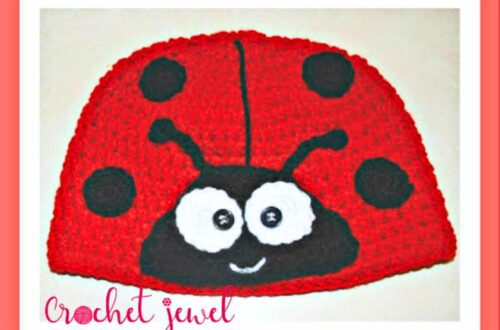
How to Crochet Minnie Mouse Inspired Hat Pattern
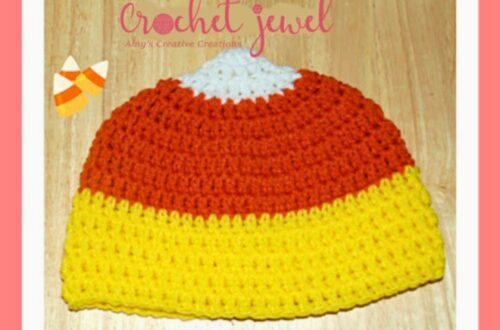
Learn to Crochet a Candy Corn Hat with Our Step-by-Step Guide