Crochet a Fun Football Hat: Step-by-Step Guide
How to Crochet a Football Hat
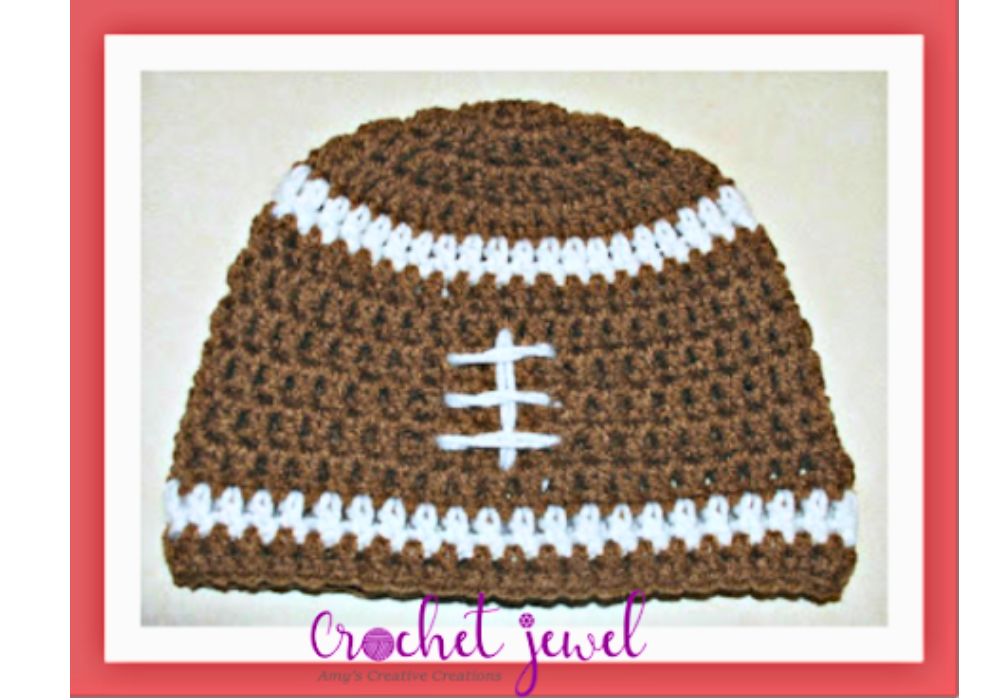
If you want to create a cozy and stylish accessory for the winter season, why not try crocheting a football hat? Crochet hats are a great project for crocheters of all skill levels, and with the correct easy crochet hat pattern, you’ll have a beautiful hat to wear or gift to someone special. In this tutorial, we’ll guide you through the process, using basic crochet stitches like single crochet and slip stitch, to create a football-themed beanie. We’ll also provide a free crochet pattern and video tutorials for those who prefer visual guidance. So grab your yarn and crochet hook, and let’s start this fun and practical project!
– To begin, you’ll need worsted-weight yarn in the color of your choice and a size G crochet hook.
– We’ll start with the foundation chain, which will determine the head size of the hat. Consult our crochet hat size chart for guidance if needed.
This post contains affiliate links. If you purchase through these links, I may earn a modest commission at no extra cost. Please review my privacy policy for more details.
✨ We hope you enjoyed these photos! If so, please consider sharing them on Pinterest by clicking the Pin Button on each image. Your support helps us connect with more people and spread creativity. Thank you so much! 💖
How to Watch Videos in Slow Motion – if the video is too fast – Click Here!
How to Crochet For Beginners Playlist – Click Here

Supplies:
Click the Links for Your Materials
G Hook, Yarn needle
dc=double crochet
sc=single crochet
sl st=slip stitch ch=chain
hdc=half double crochet
2sctog=2 single crochet together decrease
Brown yarn
Video on a Double Crochet Magic Circle:
rnd 4. ch 3, (Counts as first Dc), dc in the next dc, 2dc in the next dc, *dc in the next two dc, 2dc in the next dc, Repeat from *around, join with sl st. -44 dc
rnd 5. Switch to white yarn with a slip stitch, ch 3, (Counts as first Dc), dc in the 2 next two dc, 2dc in the next dc, *dc in the next 3 dc, 2dc in the next dc. Repeat from * around, join with sl st. -55 dc
Switch back to white yarn with a slip stitch, ch 3, dc in each stitch around once. sl st. Switch back to brown yarn, ch 3, dc in each stitch around once. fasten off. (if this is a smaller size the length will be shorter, look above for sizes and what hook to use.)
Print the Entry on the top of the page to print the pattern!
Click Here for More Crochet Hat Patterns
You’re in the right place if you’re a beginner crocheter looking for an easy crochet hat pattern. Crochet hats are a perfect project for the winter season, and with our free pattern, you can create a cozy beanie in no time. Start by choosing your favorite yarns, and if you’re feeling adventurous, experiment with different yarn weights, like worsted, bulky, or even super bulky yarn, for extra warmth in cold weather. To get the perfect fit, consult our crochet hat size chart to determine the ideal head size. To complete the hat, you’ll need basic crochet stitches, such as single and slip stitches. The basic stitches are used in a simple beanie pattern, and you can customize the hat height based on your preference, whether you want a slouchy hat or a more fitted look. Finish it off with a yarn pom-pom or a faux fur pom-pom on the top of the hat for added style. Once you’ve crocheted the last stitch and woven in the yarn tail, you’ll have a finished hat, a great project for new crocheters. Feel free to share your creation on social media or in our Facebook group – crochet hats make great gifts, and you’ll find this an easy project that brings happiness and warmth to the winter season.
For a polished look, use the back loop of the stitches to create a textured fabric, which adds a unique touch to your crocheted beanies. You can follow our video tutorial for visual guidance through the process. To maintain a consistent count, use a stitch marker to mark the first stitch of each round, ensuring the right side of the hat is always facing out. Switch colors for a different look and connect them with a slip stitch when needed. If you prefer, incorporate a messy bun feature by leaving an opening for your hair bun. You can also consider using affiliate links for yarn and crochet hooks, which may earn you a small commission. The pattern allows you to repeat rows and rounds to achieve the desired hat height, and you can adjust the size for an adult medium using a size J or mm crochet hook. With an easy-to-follow foundation chain, foundation row, and the end-of-the-row slip stitch, you’ll be on your way to creating the perfect crochet hat pattern. So, for all you new crocheters out there, this is a great project to start with, and you’ll soon have a slouchy beanie or chunky beanie that’s a “perfect fit” for the winter season. Happy crocheting!
In conclusion, crocheting a football hat is an easy project that can yield great gifts for yourself or your loved ones. Using basic crochet stitches and adjusting the pattern to your liking will give you the perfect crochet hat pattern that fits just right. Feel free to experiment with different yarn weights, such as bulky or super bulky, to create unique variations. If you enjoyed this pattern, explore our other free crochet hat patterns for more creative options. Don’t forget to share your finished hat on social media or in our Facebook group – we’d love to see your work! And, as always, happy crocheting!
To Find All My Crochet Jewel Patterns, Click Here

Click Here for My Ravelry Patterns


Crochet Hats for Beginners Book For Sale – Click Here

Crochet For Beginners Book for Sale – Click Here


You May Also Like
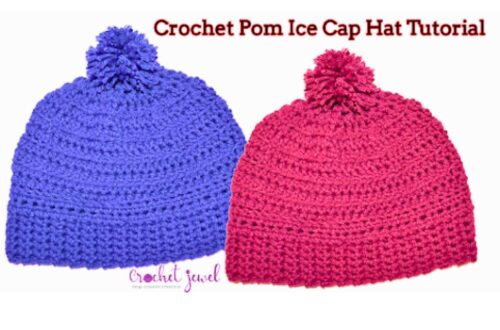
Create Your Own Cozy Pom Pom Hat: Easy Crochet Pattern Tutorial
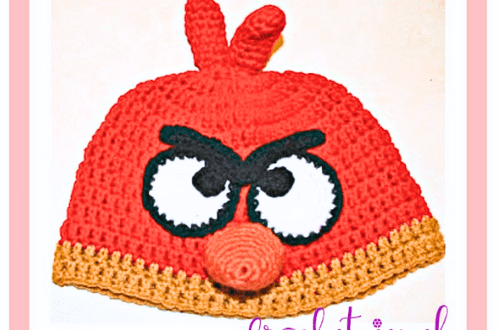
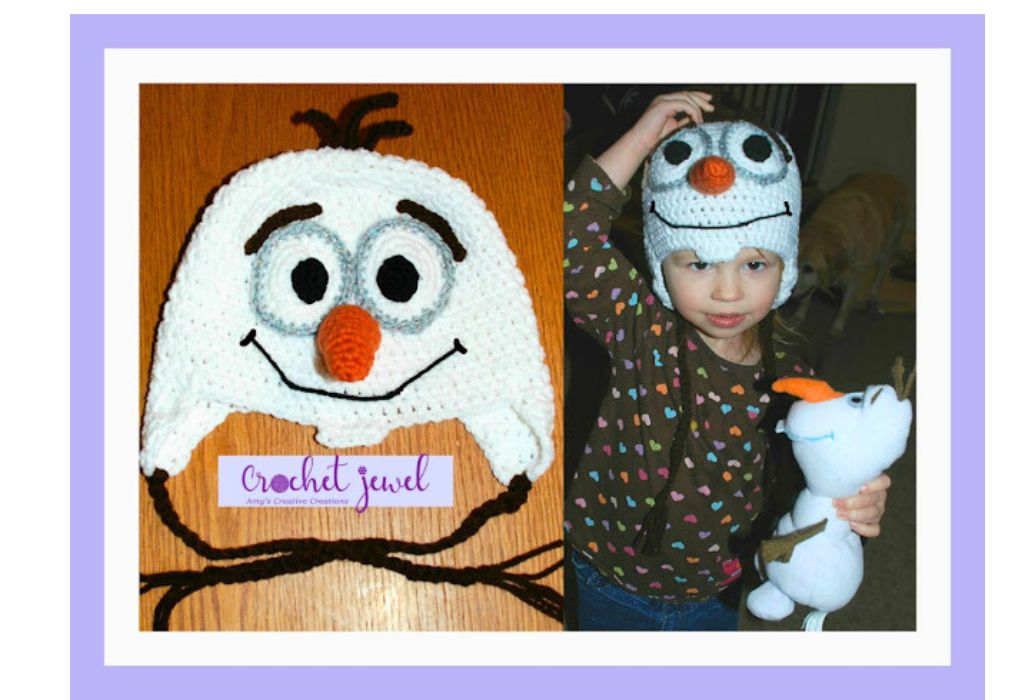
Crochet a Fun Angry Bird Inspired Hat: Step-by-Step Guide
