Create Your Own Olaf Inspired Hat with Our Crochet Tutorial
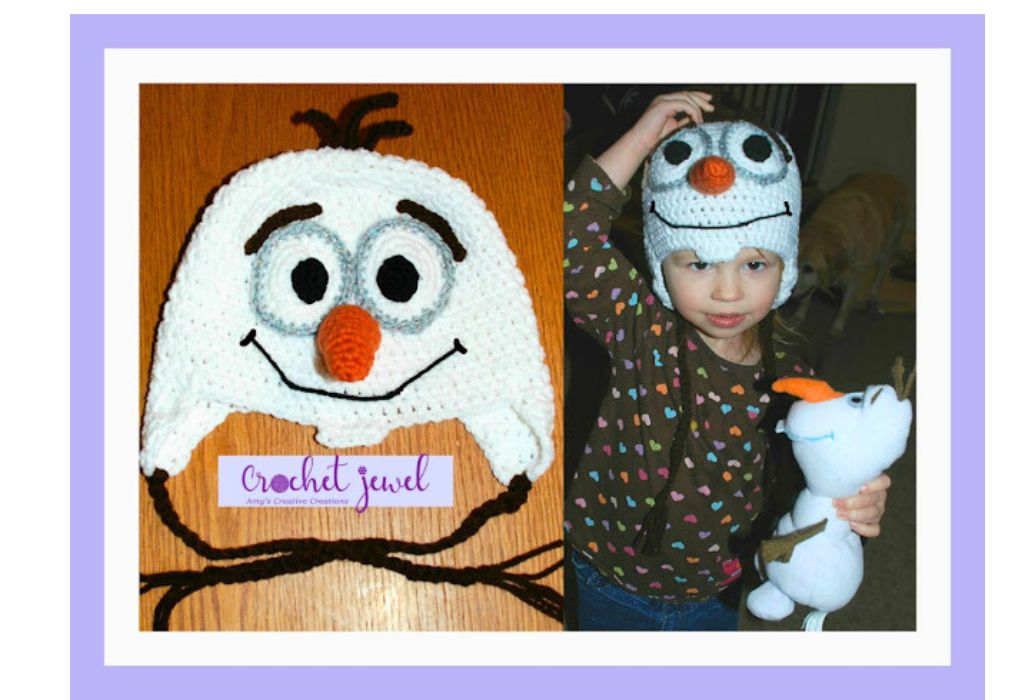
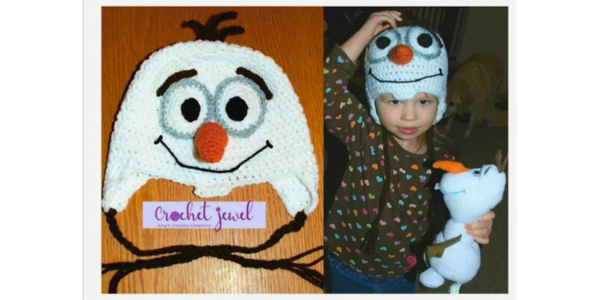
How to Crochet an Olaf Hat
When the winter season arrives, nothing beats the warmth and charm of a cozy crochet hat. If you’re a beginner crocheter looking for an easy project or a seasoned pro searching for a new pattern, you’re in the right place. In this free crochet pattern tutorial, we’ll guide you through creating a fun and playful Olaf-inspired hat perfect for the cold weather. With basic crochet stitches and a video tutorial, this beanie is a great gift idea and an ideal project for crocheters of all skill levels. So, grab your favorite yarn and crochet hook, and start on this perfect crochet hat pattern.
Within this post, you’ll find affiliate links. If you decide to purchase through these links, I may earn a modest commission at no extra cost. Additionally, please review my privacy policy for more details.
You’ll need worsted-weight yarn in your favorite color, a size J (6 mm) crochet hook, a tapestry needle, and a stitch marker to create this Olaf-inspired crochet hat. You can also add a faux fur pom pom for an extra touch of cuteness. Here’s how to get started:
✨ We hope you enjoyed these photos! If so, please consider sharing them on Pinterest by clicking the Pin Button on each image. Your support helps us connect with more people and spread creativity. Thank you so much! 💖
**Single Crochet**: Start with the first stitch and work single crochet stitches in each chain across the foundation row. Join with a slip stitch (sl st) to form a circle.
**Repeat Row**: Continue crocheting in rounds, repeating the back loop single crochet stitch for the desired hat height. Mark the beginning of each round with a stitch marker for easy tracking.
**Olaf’s Face**: To create Olaf’s face, crochet the different color details on the hat using slip stitches (sl st). Follow the free pattern for the specific design.
How to Watch Videos in Slow Motion – if the video is too fast – Click Here!

G hook
Click the Links for Your Materials
Ear flaps: If you would like to add ear flaps
Make 2
The braid from the center of the ear flap at the bottom, G hook, use Brown yarn, with a sl st in the center of the bottom of the ear flap and chain 30 or you can braid it, and sl st it off and cut yarn.
Rnd 2: sc in the first hdc, hdc in the next 4, sc in the last, -6 stitches.
Print the Entry on the top of the page to print the pattern!
**Finishing Touches**: Add a cute yarn pom or faux fur pom pom to the top of the hat for Olaf’s hair. We recommend using a tapestry needle to attach the pom pom securely.
**End of the Row**: Finish the hat with a slip stitch and weave in the yarn tail using a yarn needle for a polished look.
**Video Tutorial**: If you’re a visual learner, check out our tutorial for step-by-step instructions on creating this Olaf hat.
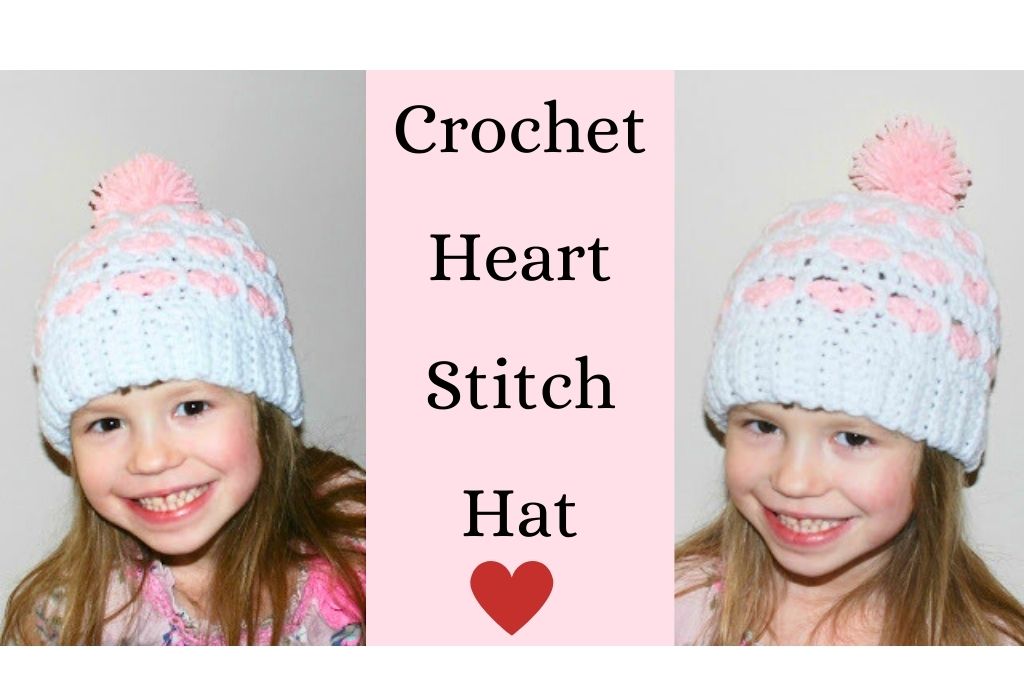
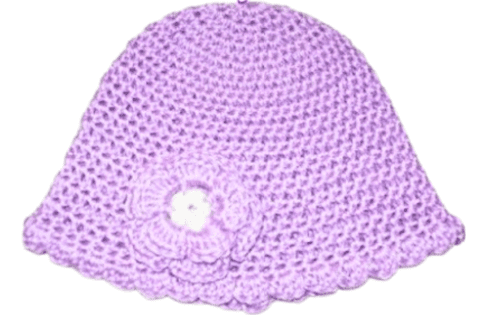
Crocheting an Olaf-inspired hat is an enjoyable and rewarding project, suitable for crocheters of all levels. With a free crochet pattern, easy-to-follow instructions, and the option to add a faux fur pom pom, you can create a stylish and warm accessory for the winter season. This crocheted beanie is perfect for keeping you cozy or gifting to a friend in cold weather. Happy crocheting, and don’t forget to share your finished hat on social media. For more crochet projects, explore our collection of free crochet hat patterns and different yarn weights to find the best yarn for your creations. Whether you’re making messy bun hats, slouchy beanies, or simple crochet beanie patterns, our website has various options. Plus, if you use our affiliate links, you’ll support our work at no extra cost. So, grab your crochet hook and your favorite yarn, and get started on your next crochet adventure!
To Find All My Crochet Jewel Patterns, Click Here

Click Here for My Ravelry Patterns


Crochet Hats for Beginners Book For Sale – Click Here

Crochet For Beginners Book for Sale – Click Here


2 Comments
Annette Harris
Hello Amy, I just wanted to let you know how talented you are and how blessed I am to have found your page. My grandson Noah (2 yrs) is Olaf for Halloween and my daughter wanted me to find a beanie I could make for him real quick because they were going to a trunk and treat tonight. I searched you tube looking for the perfect Olaf for him and came across this one you made. It took me about 4hours (accumulated time) it turned out awesome!
Thank you for posting.
Amy Lehman
Awesome! I’m happy you were able to find that hat you needed and it turned out!