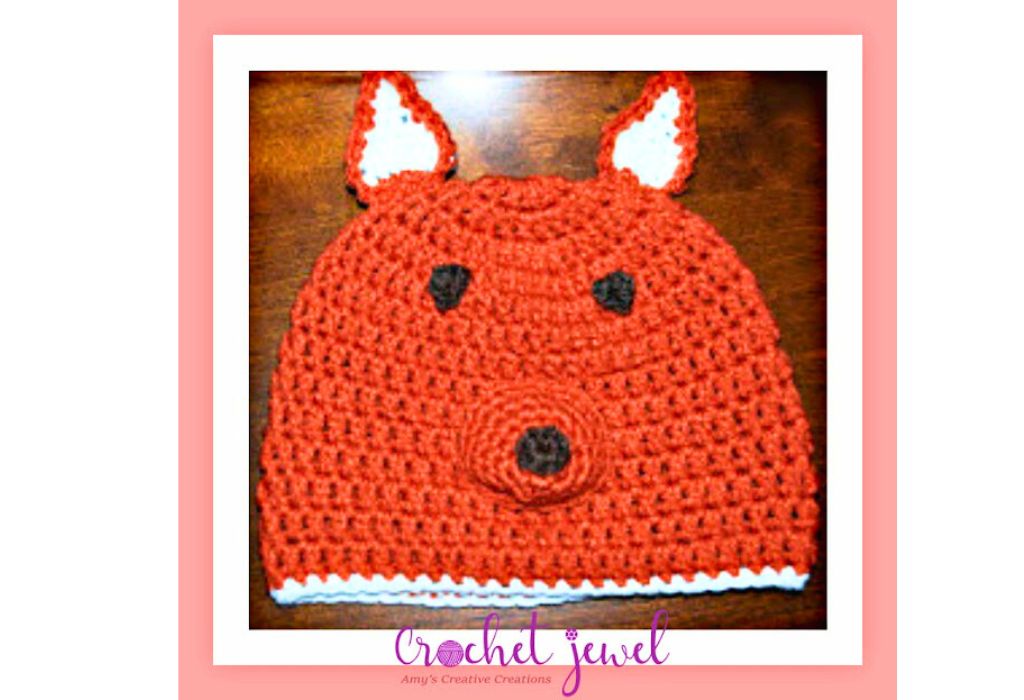
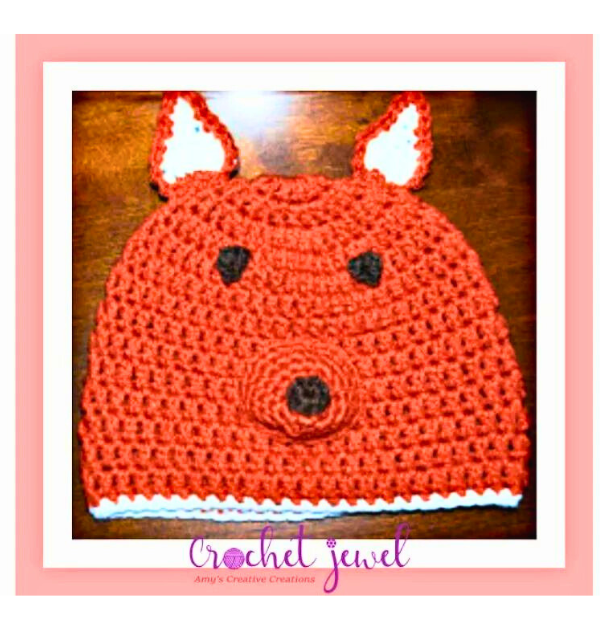
Crochet a Cute Fox Hat: Step-by-Step Guide
How to Crochet a Fox Hat!
Enter the enchanting realm of crochet, where creativity knows no bounds and imagination takes flight. Today, we embark on a delightful journey into whimsical accessories with the Crochet Fox Hat – a charming blend of warmth, style, and playful elegance.
Imagine adorning yourself or your little ones with a hat that brings the spirit of the forest to life – complete with adorable fox ears and a cozy, snug fit. This crochet creation is not just a hat; it’s a character, a companion, and a statement of your love for craft and creativity.
You’ll find affiliate links within this post. If you decide to purchase through these links, I may earn a modest commission at no extra cost. Additionally, please review my privacy policy for more details.
**Getting Started**
Before diving into this project, ensure your materials are ready. You’ll need worsted-weight yarn in different colors, a size J (6 mm) crochet hook, a yarn needle, and a stitch marker. The crochet hook size and yarn weight can be adjusted for a perfect fit.
How to Watch Videos in Slow Motion – if the video is too fast – Click Here!

Orange yarn for the hat
rnd 1: Work 11 dc in a Magic Circle, sl st on top of the chain 3. -11 dc
Make 4
White and Orange yarn
H hook, Make two white triangles and two orange triangles
ch 8
Rnd 1. sc in 2nd chain from the hook, (7sc)
Rnd 2. ch 1, sc in each stitch across, (7sc)
Rnd 3. ch 1, sc2tog, sc in the next 3 stitches, sc2tog (5 sc)
Rnd 4. ch 1, sc2tog, sc in the next stitch, sc2tog (3 sc)
Rnd 5. ch 1, sc in the next 3 stitches (3 sc)
Rnd 6. ch 1, sc2tog, sc in the last stitch, (2 sc)
Rnd 7. ch 1, sc2tog (1 sc), Fasten off.
Make 2 or you can use two buttons for eyes instead
Brown yarn
G hook
ch 2
work 6 in the 2nd chain from the hook, fasten off, and attach the eyes above the muzzle about 2 inches apart.
H hook
ch 2, work 5 sc in the 2nd chain from the hook (5sc)
rnd 2. *1sc in the next stitch, 2sc in the next stitch, *Repeat around. sl st. (15sc)
rnd 3. *sc in the next two stitches, 2sc in the next stitch, *Repeat. sl st. (20sc)
rnd 4. *sc in the next three stitches, 2sc in the next stitch, *Repeat. sl st. (25sc)
rnd 5. *sc in the next 4 stitches, 2sc in the next stitch, *Repeat around. sl st (30sc)
Fasten off.
Nose: G hook, brown yarn, ch 2, work 8 sc in the second chain from the hook. With a yarn needle, sew the nose on the center of the muzzle. Stuff the muzzle with stuffing or yarn and place it below the eyes in the center of the hat.
Print the entry at the top of the page to print the pattern!
Click Here for More Crochet Hat Patterns
**Hat Height and Slouch**
For the desired hat height, continue working single crochet stitches in the back loops. Whether you want a slouchy hat or a more fitted one, you can adjust the height accordingly.
**Creating Ears and Shaping**
Once you reach the top of the hat, it’s time to shape the ears. Use different colored yarn to create the fox-like ears on each side of the hat. Single crochet, slip stitch, and half double crochet stitches will come in handy to shape the ears to perfection.
**Faux Fur Pom Pom**
Now, it’s time to add a faux fur pom to the top of your hat, giving it that foxy look. You can easily attach it using a tapestry needle.
In conclusion, this free crochet hat pattern is a perfect project for the cold weather season, and it’s a great way to showcase your crochet skills. Whether you’re a beginner crocheter or have been crocheting for a while, this fox hat pattern suits all skill levels. You can customize it with your favorite yarns, making it a fantastic gift for friends and family. So, grab your crochet hook, pick your yarn, and get started on this adorable and practical project. Happy crocheting!
Note: Remember to follow the video tutorial and our crochet hat size chart for the perfect fit. Please refer to our privacy policy regarding affiliate links and affiliate commissions. Join our Facebook group for more crochet projects and share your finished hat on social media.


You May Also Like
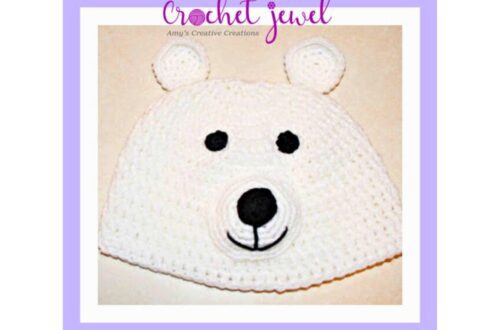
Crochet a Beautiful Polar Bear Hat: Step-by-Step Guide

Crochet a Stylish Baby Shell Hat: Step-by-Step Guide