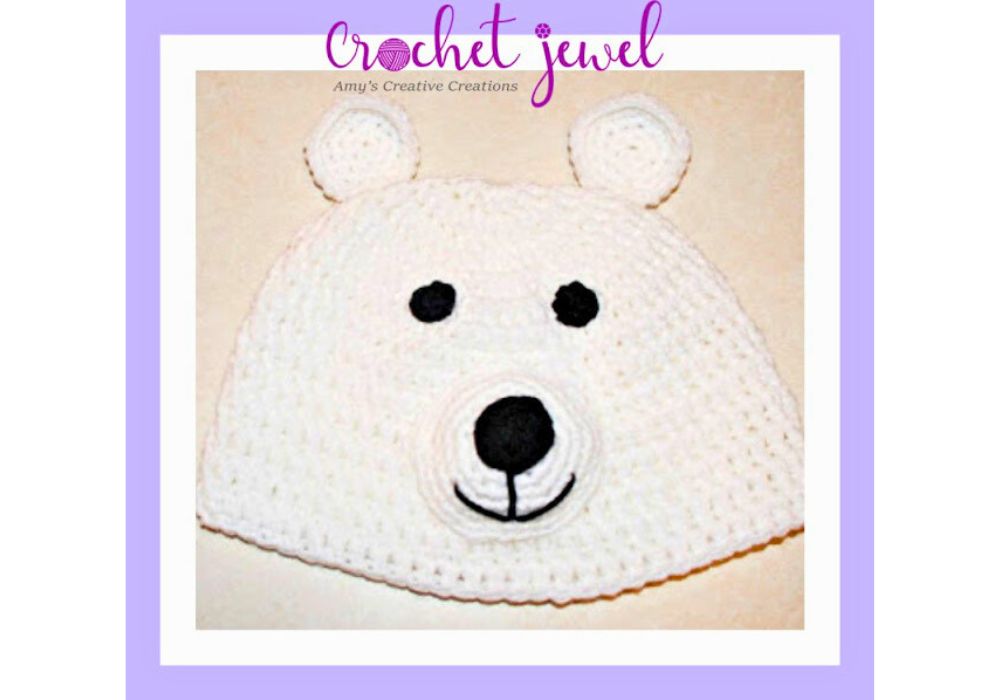
Crochet a Beautiful Polar Bear Hat: Step-by-Step Guide
How to Crochet a Polar Bear!
Prepare to add a touch of Arctic charm to your winter wardrobe with our guide to crocheting a cozy polar bear hat. As temperatures drop and snowflakes fall, there’s no better way to stay warm and stylish than with this adorable accessory.
Few creations in the world of crochet are as delightful as animal-inspired hats, and the polar bear hat is no exception. Whether you’re crafting it for yourself, a loved one, or a little one, this project promises to bring smiles and warmth on chilly days.
You’ll find affiliate links within this post. If you decide to purchase through these links, I may earn a modest commission at no extra cost. Additionally, please review my privacy policy for more details.
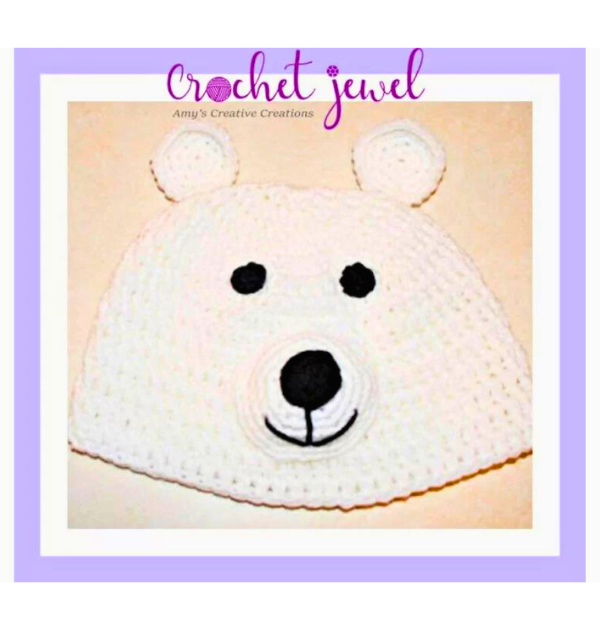
This easy crochet hat pattern begins with a foundation chain that you’ll adjust to match your desired head size. We’ll walk you through different yarn weights, from worsted to super bulky, to ensure you can make the perfect hat for cold weather. Depending on your size and yarn weight, we’ll provide instructions for using an appropriate crochet hook size. To maintain the hat’s structure and shape, we’ll introduce you to basic stitches like single crochet, half double crochet, and double crochet.
As you progress, you can easily keep track of your stitches with stitch markers and a repeat row technique, ensuring that your hat height and size remain consistent. If you want to add some flair, we’ll explain how to create a faux fur pom pom or yarn pom pom for a trendy finish.
How to Watch Videos in Slow Motion — if the video is too fast — Click Here!


Supplies:
H Hook
Yarn needle
sc=single crochet,
sl st=slip stitch ch=chain,
I made this for my 4‑year-old, which measures 19–20 inches around and length 7 inches long.
rnds 6‑desired length (lengths are listed above), Ch 3, (Counts as first Dc), dc in each dc around, sl st to join. ‑55 dc, Repeat this until your hat reaches 7 inches or for your desired size and length. Fasten off and Weave in the ends.
H hook
black yarn
ch 2, work 6 sc in the 2nd chain of the hook. sl st. (Make 2)
Attach the eyes above the muzzle about 1 inch apart.
rnd 2. *sc in the next stitch, 2sc in the next stitch, *repeat, ‑18 sc
rnd 3. *sc in the next 2 stitches, 2sc in the next stitch, *repeat,
-24 sc
rnd 4. *sc in the next 3 stitches, 2sc in the next stitch, *repeat,
-30 sc
rnd 5. *sc in the next 4 stitches, 2sc in the next stitch, *repeat, ‑36 sc
rnd 6. *sc in the next 5 stitches, 2sc in the next stitch, *repeat, fasten off.
-42 sc
Make 2
H hook
white yarn
rnd 1. ch 2, work 5 sc in the 2nd chain from the hook work in continual rounds ‑5 sc
rnd 3. * 1 sc in the next stitch, 2sc in the next stitch, *repeat ‑15 sc
rnd 4. 1 sc in the next 2 stitches, 2sc in the next stitch, *repeat.-20 sc
rnd 5. 1 sc in the next 3 stitches, 2sc in the next stitch, *repeat. ‑25 sc
fasten off, weave in ends. Attach the ears on top of the hat about 2 inches apart.
Print the Entry on the top of the page to print the pattern!
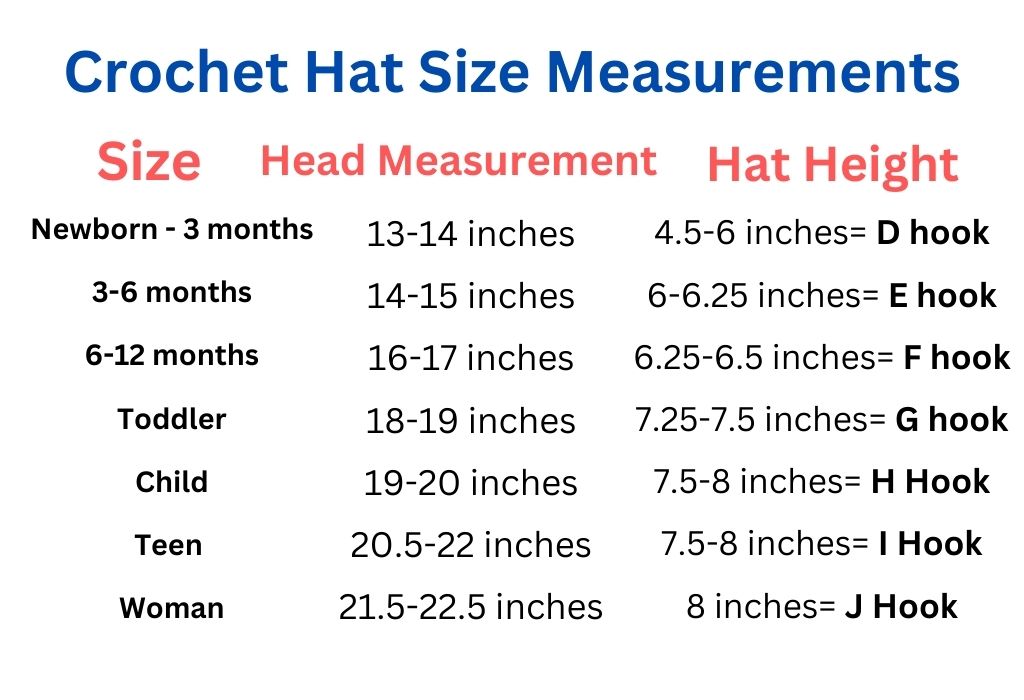
We’ll guide you on finishing touches to complete your crochet hat, such as fastening off and weaving in the yarn tail, ensuring your creation looks professional and polished. We’ll also provide a size chart for different crochet hat sizes so you can craft the perfect fit for children, adults, and even slouchy or messy bun hats.
Feel free to share your progress and finished hats on social media or in a crochet community. If you love this crochet pattern, we’d appreciate your support through affiliate links, which earn us a small commission at no extra cost to you. We hope you enjoy making these hats, which are great gifts and perfect for winter.
Creating the perfect crochet hat doesn’t have to be daunting in the world of crochet projects. Our free crochet pattern lets you enjoy an easy, versatile, and rewarding project. Whether you’re a new crocheter or a seasoned pro, this crochet beanie pattern will keep you engaged and excited as you crochet your way through the winter season. So grab your yarn and crochet hook and make the ideal hat for yourself or a loved one. Happy crocheting!
To Find All My Crochet Jewel Patterns, Click Here


