Crochet a Messy Bun Beanie Hat: Step-by-Step Tutorial
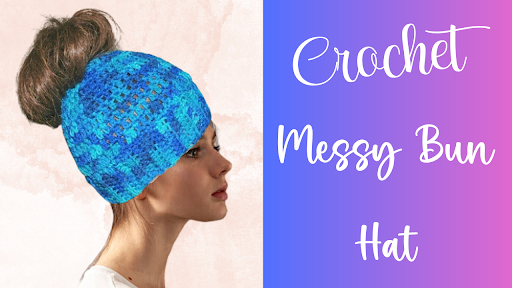
How to Crochet a Messy Bun Hat!
Welcome to our crochet tutorial for the perfect messy bun beanie hat. You’ve come to the right place if you’re looking for an easy crochet hat pattern that combines style and practicality. In this tutorial, we’ll guide you through each step, from the foundation chain to the finishing touches, ensuring your crocheted beanie is a perfect fit. Whether you’re a beginner crocheter or have some experience, our step-by-step instructions and video tutorial will help you create a stylish hat perfect for winter.
This post contains affiliate links. If you purchase through these links, I may earn a modest commission at no extra cost. Please review my privacy policy for more details.
To get started on your crochet beanie, you’ll need worsted-weight yarn and an appropriate hook size, usually around 6 mm, for your desired fit. We recommend checking our crochet hat size chart to determine the ideal head size for your project. You’ll create a sturdy and stylish hat using basic crochet stitches like single and slip stitches. The back loop technique gives the beanie an exciting texture, and you can adjust the hat’s height to your liking. For an added touch, consider adding a faux fur pom-pom or a yarn pom-pom in a different color for a unique look.
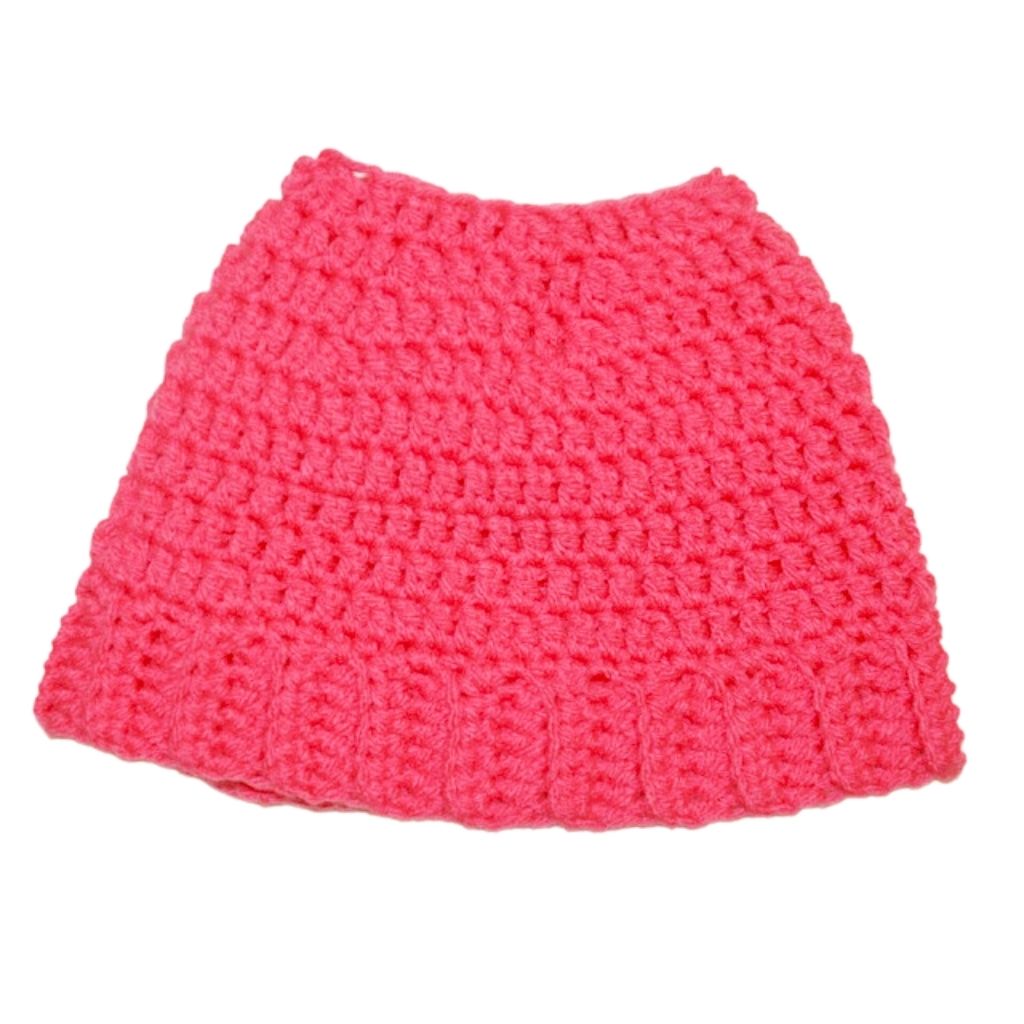
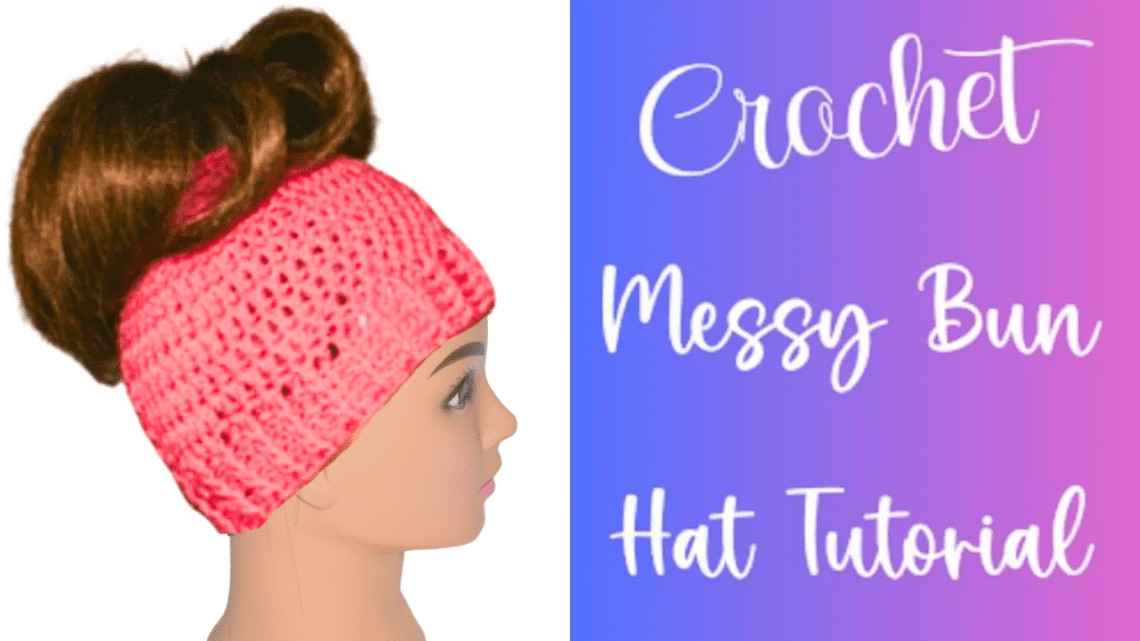
I already made a Messy Bun Hat Pattern, but you will use a ponytail holder on top for this one rather than starting the brim first. I made this Ponytail Holder Messy Bun Hat for an Adult, but you can adjust the size by changing the hook. This list of sizes is down below. I created a video in case you need more assistance. You will need a ponytail holder to make this messy bun hat. You start out with double crochet inside the ponytail holder, and this is where your hair will come out.
Are you looking for a quick and easy crochet project? If so, you’ll love this Ponytail Holder Messy Bun Beanie Hat tutorial! This hat has a simple crochet pattern, perfect for keeping your hair warm and stylish. In this video, we’ll share all the best tips and tricks to follow when crocheting this hat. We’ll teach you how to make the perfect circle, change the size of your hat, and make it look perfect every time. After watching this tutorial, you can crochet your Ponytail Holder Messy Bun Beanie Hat in no time!
J hook for an Adult Size, but change the hook
Pony Tail Holder, about 1.5 inches by 1.5 inches
Pink Love Yarn
ch=chain
sl st=slip stitch
sc=single crochet
dc=double crochet
front post double crochet and back post double crochet
Instructions: J hook for Adult size, but you can switch the hook size for different sizes, as seen above. If you do a smaller hat, then the length is listed above too.
rnds 11–14. Ch 3, front post in the next dc, back post dc in the next dc, *Repeat around, sl st on top ch 3. Repeat this for 4 rounds. Fasten off and Weave in the ends.
Print the Entry on the top of the page to print the pattern!
Messy bun hats have gained popularity for their practicality in cold weather while keeping your hairstyle intact. You can customize the hat with different colors or use bulky and super bulky yarn for a cozy, slouchy beanie. If you choose to use affiliate links to purchase your yarn, we may earn a small commission to support our crochet projects. At the end of the row, slip stitch to complete the round and repeat the process until the hat reaches your desired length. Don’t forget to share your finished project on social media or join our Facebook group to connect with fellow crocheters and show off your creation.
In conclusion, this easy crochet hat pattern for a messy bun beanie is the perfect crochet project for the winter season. With a combination of basic crochet stitches, back loop techniques, and customization options, you can create a stylish and practical hat. The detailed video tutorial and step-by-step instructions make it an excellent choice for beginners and experienced crocheters. Whether you want to make great gifts or crocheted beanies for personal use, this pattern will become your go-to. So grab your favorite yarns, stitch markers, and tapestry needle, and prepare for happy crocheting.
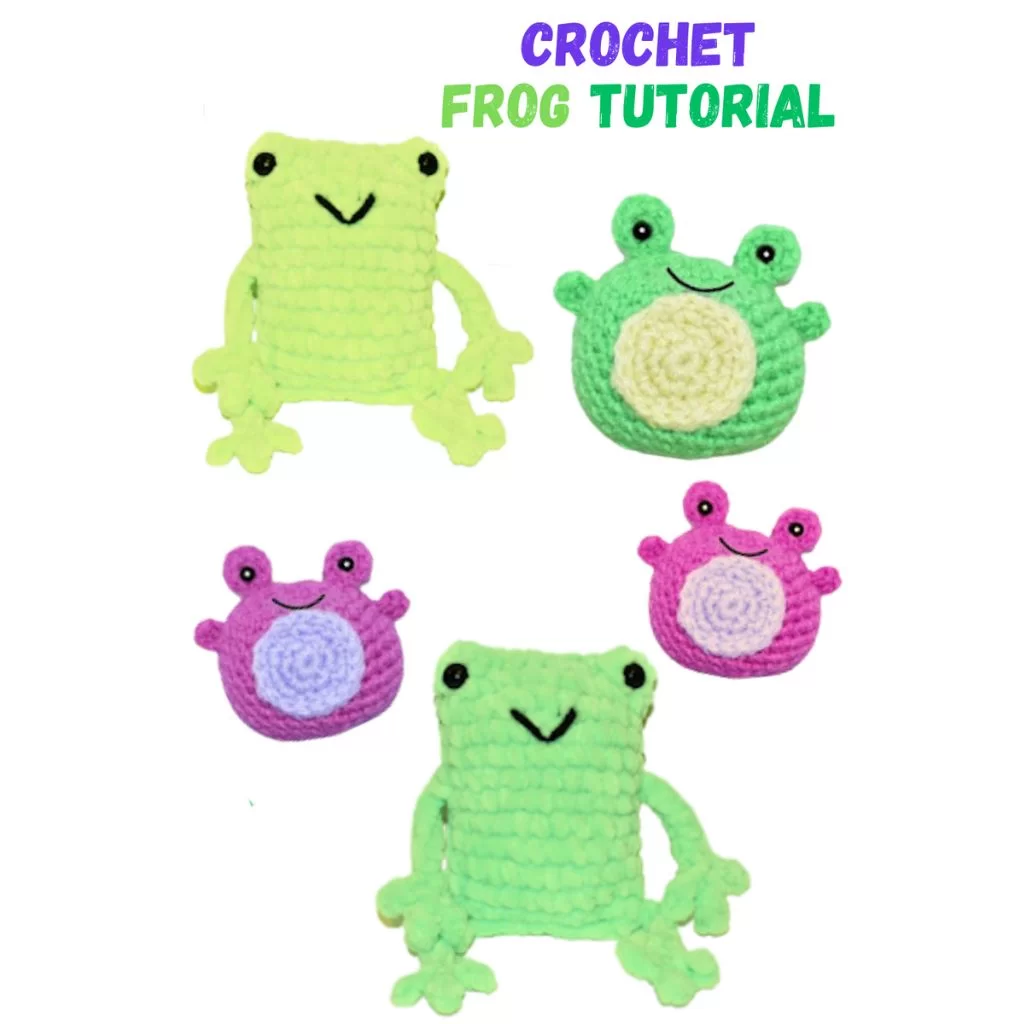
Click Here for the Crochet Frog Patterns
To Find All My Crochet Jewel Patterns, Click Here


