How to Crochet a Fun Duck an Ear flap Hat Pattern
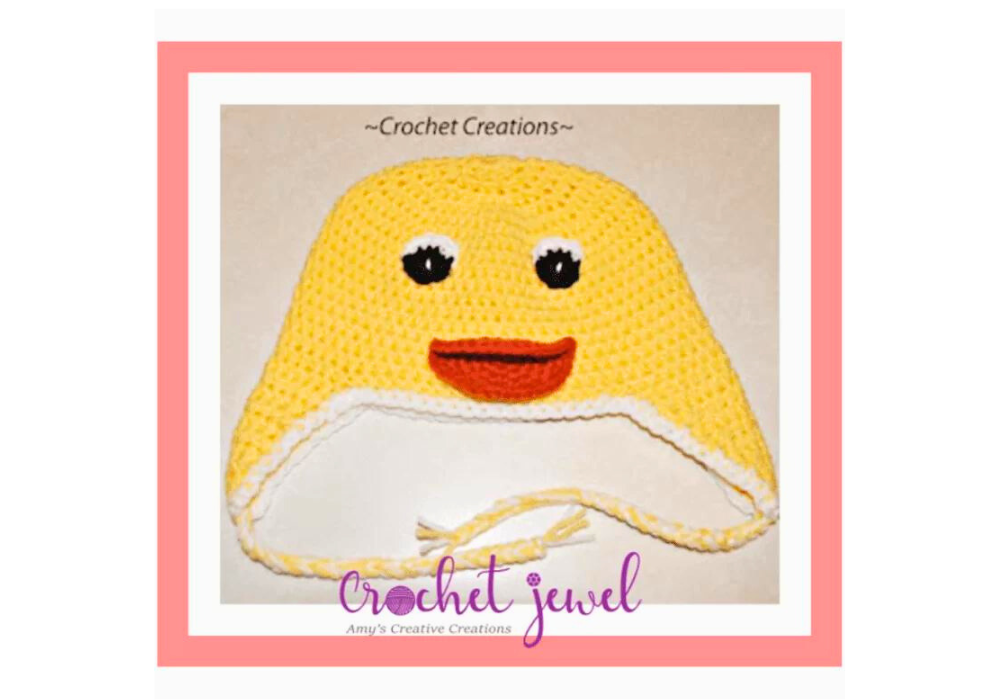
How to Crochet a Duck Ear Flap Hat!
Are you ready to embark on a whimsical crochet adventure to create a charming Duck-Ear Flap Hat? In this tutorial, we’ll guide you through each step, ensuring you not only master the art of crochet but also craft a delightful hat that captures the essence of creativity and warmth. Whether you’re a seasoned crocheter or just starting out, this pattern offers a perfect blend of simplicity and flair.
To begin, you’ll need an easy crochet hat pattern that forms the foundation of your project. You’ll bring the hat to life using basic crochet stitches like single and slip stitches. Please pay special attention to the back loop technique for added texture, creating a hat that’s as visually appealing as it is cozy.
✨ We hope you enjoyed these photos! If so, please consider sharing them on Pinterest by clicking the Pin Button on each image. Your support helps us connect with more people and spread creativity. Thank you so much! 💖
The top of the hat is where the magic happens, and we’ll guide you through the process with clear instructions and helpful tips. Using worsted-weight yarn ensures a balance between warmth and flexibility, making this Duck Ear Flap Hat suitable for the winter season. Don’t forget to incorporate a long tail during the initial stages, ensuring you have enough yarn to complete your masterpiece.
As you progress, you’ll find joy repeating rows, creating a uniform and polished look. Utilize a stitch marker to keep track, and use a tapestry needle for seamless finishing touches. If you prefer visual guidance, a video tutorial accompanies this pattern, making it accessible for crocheters of all skill levels.

Supplies:
Click the Links for Your Materials
Make 2
Row 7. ch 2. hdc2tog, hdc in the next 3, hdc2tog. hdc in the last st., turn -6 sts
Row 8. ch 2. hdc2tog, hdc in next 1, hdc2tog. hdc in the last st., turn. -4sts
Row 9. ch 2. hdc in each stitch across, pull through and fasten off. -4 sts
Trim: use white yarn, sc around the hat and earflaps
Eyes: Make 2, G hook, Black, white, Start with black yarn,
rnd 1: ch 2, work 5 single crochet in the 2nd chain from the hook, sl st. (5sc)
rnd 3: sc in the next 4 stitches, sl st. turn, work 4 sc next 4 stitches, sl st. fasten off. Sew in a white slit for the center of the eye with white yarn. Place the white part of the eye facing upward, on the top.
ch 2, sc from the 2nd chain from the hook 6 times, sl st -6 sc
rnd 1. sc in the same stitch, 2sc in each stitch around, use a marker to keep track of your rounds -12 sc
rnd 2. *sc in the next stitch, 2sc in the next stitch, *repeat, -18 sc
rnd 3. *sc in the next 2 stitches, 2sc in the next stitch, *repeat, -24 sc
rnd 4. *sc in the next 3 stitches, 2sc in the next stitch, *repeat, -30 sc
rnd 5.*sc in the next 4 stitches, 2sc in the next stitch, *repeat, -36 sc
fasten off. Fold the circle in half, and attach it to the bottom center part of the hat below the eyes. Sew the beak in the center, make sure it still can open and close.
Experiment with different yarn weights, from bulky to chunky, and explore the world of faux fur pom poms for a touch of playfulness. Add a slouchy hat variation, adapting the pattern to your unique style. The versatility of this design makes it an ideal gift, especially during the winter season, and the finished product is bound to be a great addition to your collection of crochet projects.
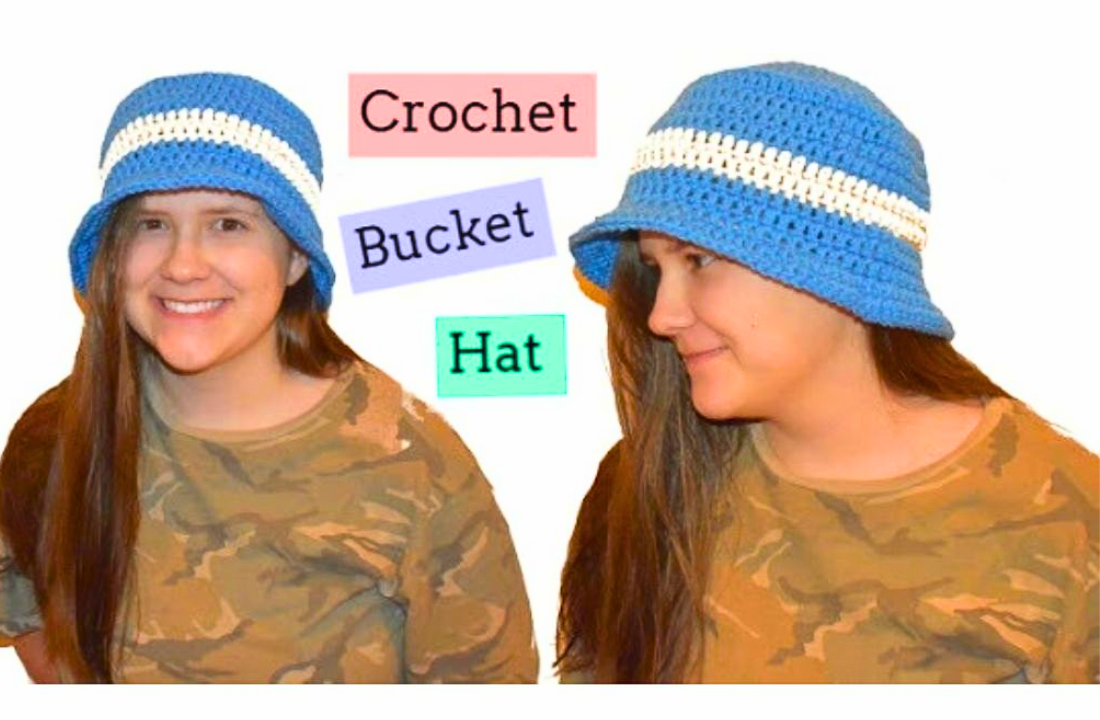
Click Here for the Bucket Hat Pattern
Crafting the perfect crochet hat is a delightful journey, and with this easy crochet hat pattern, you’re set to embark on a creative adventure. Begin by working the back loop and single crochet stitches, creating a textured masterpiece. The top of the hat is where your skills shine, incorporating slip stitches to achieve a polished finish. Utilize a long tail during the initial stages, ensuring you have enough yarn to complete the project. This free crochet pattern is not only accessible for all skill levels, but it also includes a helpful video tutorial for those who prefer visual guidance. Embrace the winter season with a slouchy hat made from worsted weight yarn, and use a stitch marker to maintain a consistent pattern.
As you navigate the rows, explore different stitch combinations, such as the half double crochet, adding a unique touch to your creation. The versatility of this pattern extends to various yarn weights, from bulky to super bulky, allowing you to tailor the hat to your preference. With the right-sized crochet hook, a tapestry needle for finishing touches, and a yarn pom-pom for flair, you’re well on your way to completing a hat that is a great project and a perfect fit for the cold weather. Share your progress on social media, connect with other crocheters in a Facebook group, and revel in the joy of creating fantastic gifts for yourself and your loved ones.
Don’t be afraid to customize your Duck Ear Flap Hat – play with colors, experiment with different yarns, and make it your own. Engage with our crochet community on social media, sharing your progress and gaining inspiration from fellow crafters. After all, crochet hats are not just accessories; they are canvases for self-expression.
In conclusion, as you fasten off that last stitch, revel in completing a project that combines skill and creativity. Whether you’re a beginner or an experienced crocheter, this Duck Ear Flap Hat pattern, with its easy-to-follow instructions and charming details, promises a delightful journey from start to finish. Happy crocheting, and may your hooks be ever in your favor!


You May Also Like

Crochet Santa Child Hat: A Festive and Adorable Holiday Accessory
34 Crochet Hat Pattern Tutorials for Every Style and Skill Level