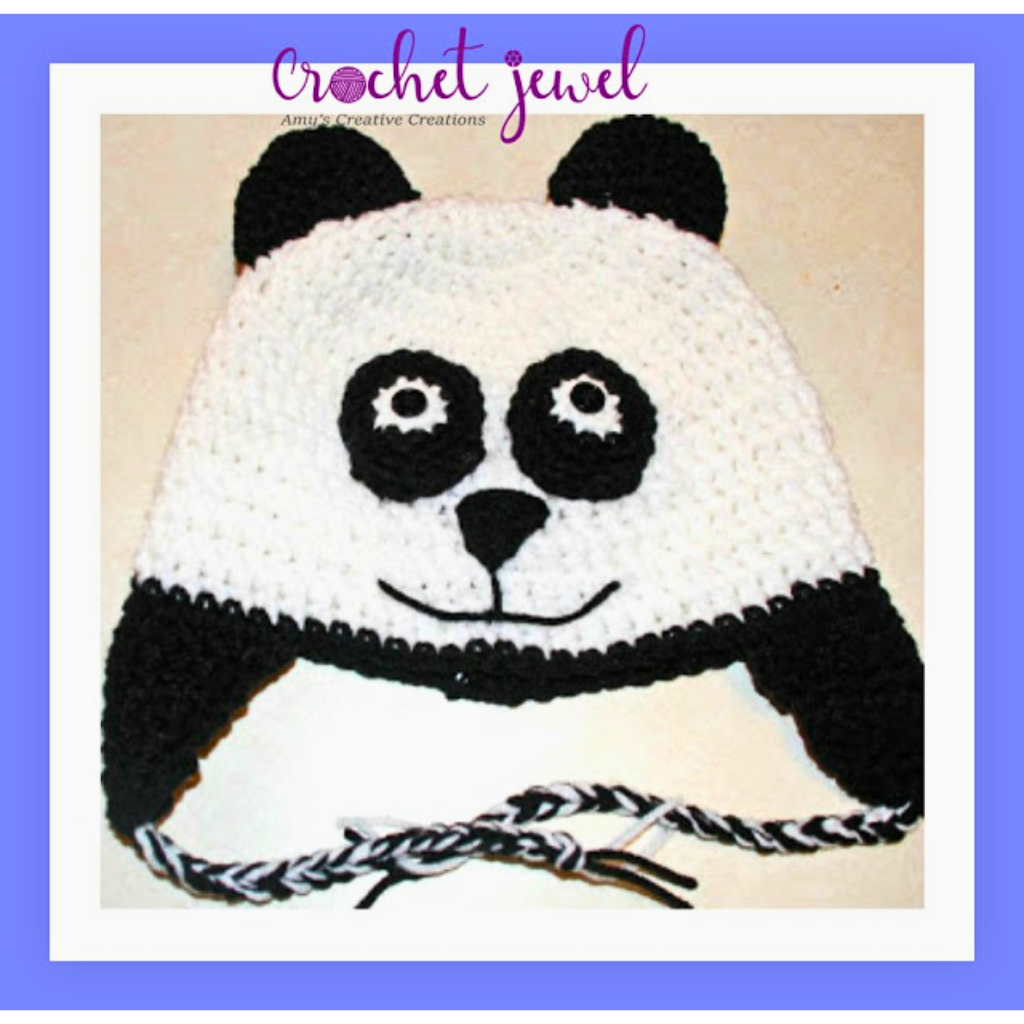
How to Crochet Panda Bear Hat Pattern
How to Crochet a Panda Bear Hat!
To start crafting your Panda Bear Hat, familiarize yourself with basic crochet stitches such as single crochet (sc), slip stitch (sl st), and half double crochet. The back loop technique adds texture and depth to the hat, creating a cozy and stylish look. Begin by creating a foundation chain, considering the head size you aim for. Utilize a stitch marker to keep track of your stitches and ensure an even and symmetrical pattern.
This post contains affiliate links. If you purchase through these links, I may earn a modest commission at no extra cost. Please review my privacy policy for more details.
How to Watch Videos in Slow Motion – if the video is too fast!
How to Crochet For Beginners Playlist – Click Here

Make 2, H hook, black yarn,1st ear flap. You can slip stitch onto the side of the hat with your black yarn and begin the dc stitches. (I like to have the seam in the back of the hat.)
So I do the ear flap on the side of the hat) 2nd flap, fold hat in half and sl st in dc directly across from the last dc from the other ear flap. Follow the directions below for both ear flaps.
rnd 1: Ch 2, work 5 single crochet in the 2nd chain from the hook, sl st. (5sc)
rnd 2: work 2sc in each stitch around, (10sc) sl st. Change to black yarn,
rnd 3: *work 1 sc in the next stitch, 2sc in the next stitch, *repeat from* around, sl st.
rnd 4: *work 1 sc in the next 2 stitches, 2sc in the next stitch, *repeat from *around, sl st.
rnd 5: *work 1 sc in the next 3 stitches, 2sc in the next stitch, *repeat from *around, sl st.
rnd 6: turn, work 6 sc in the next 6 stitches, sl st, turn, work 5 sc in the next 5 sc, sl st. Fasten off. The End of the eye with more black yarn; place that end of the eye by the nose. Place the eyes about 1/2 inch apart in the center of the hat, and sew on black buttons in the center of the white yarn of the eyes, for the center of the eyes.
With the yarn needle, make a straight line down from the nose, one line of yarn about 2 inches long on one side of the straight line, and one line of yarn on the other. This will create a smile.
At Amy’s Creative Creations Etsy Shop, we’re passionate about providing you with the best crochet patterns and a great customer experience. Feel free to explore my Etsy store!

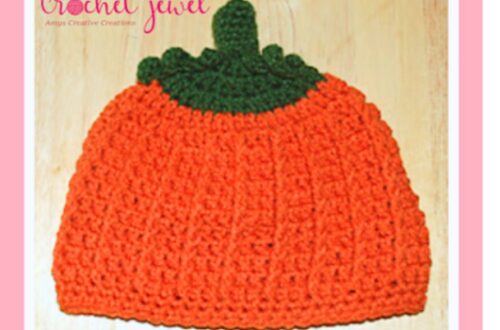
Click Here for More Crochet Hat Patterns
As you progress through the rows, pay attention to the unique details, like the faux fur pom pom or yarn pom pom that adds a playful touch to the hat. Consider experimenting with different yarn weights, from worsted to bulky or super bulky, to achieve the desired thickness and warmth. The addition of a slouchy design makes it fashionable and perfect for keeping warm during cold weather.
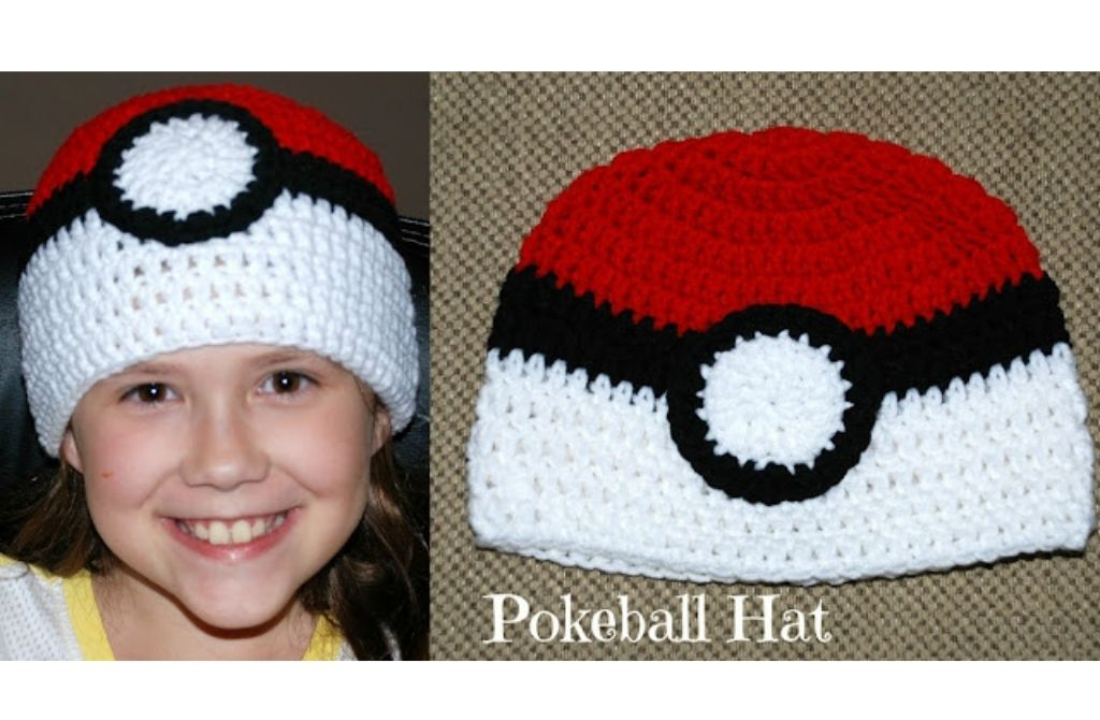
Click Here for the Pokeball Hat Pattern
For those who prefer visual guidance, seek out video tutorials and free crochet hat patterns available online. The step-by-step instructions and demonstrations will guide you through each stage of the crochet process, making it an easy project for beginners and experienced crocheters. Don’t forget to check social media platforms, join crochet groups for inspiration tips, and showcase your finished Panda Bear Hat.
Crafting crochet hats is delightful and rewarding, offering many creative possibilities. Whether you’re a seasoned crocheter or a beginner eager to try an easy crochet hat pattern, the journey begins with the foundational stitches. Mastering the single crochet and slip stitch, especially in the back loop, contributes to the unique texture that separates crocheted beanies. A video tutorial can be an invaluable resource, guiding you through each step, while a stitch marker helps keep your place as you repeat rows to achieve the desired hat height. Experiment with different yarn weights, from worsted to bulky or super bulky, to tailor your creation to the cold weather or the cozy warmth of the winter season. Don’t forget the playful details, like adding a faux fur pom or a yarn pom to the top of the hat, turning a simple beanie into a slouchy or chunky masterpiece. Share your finished projects on social media or join a crochet group on Facebook, connecting with fellow crafters and inspiring others to embark on their great projects. With an array of free crochet hat patterns available, each hat becomes a unique and personalized gift, making every stitch a small commission of joy in the world of happy crocheting.
In conclusion, crocheting a Panda Bear Hat is rewarding and enjoyable, offering a perfect blend of creativity and functionality. You can customize the hat with various yarn options, crochet hook sizes, and unique stitch techniques to suit your style and preference. This project is a great gift idea for friends and family or a cozy accessory for yourself during winter. So, pick up your crochet hooks, follow the easy crochet hat pattern, and experience the joy of crafting the perfect Panda Bear Hat for a snug and stylish finish. Happy crocheting!
To Find All My Crochet Jewel Patterns, Click Here

Click Here for My Ravelry Patterns


You May Also Like
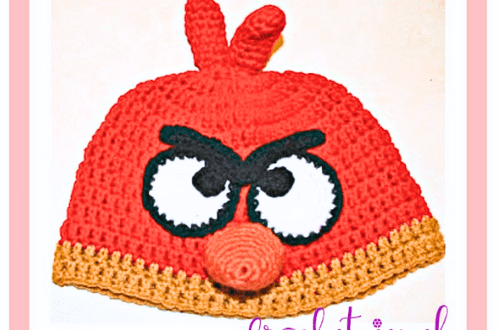
Crochet a Fun Angry Bird Inspired Hat: Step-by-Step Guide
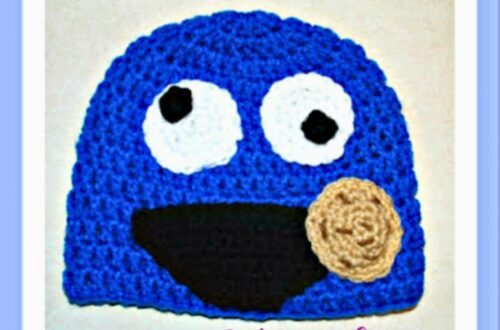
Crochet Cookie Monster Inspired Hat: A Step-by-Step Guide