How to Crochet a Turkey Plushie Amigurumi Pattern
How to Crochet a Turkey
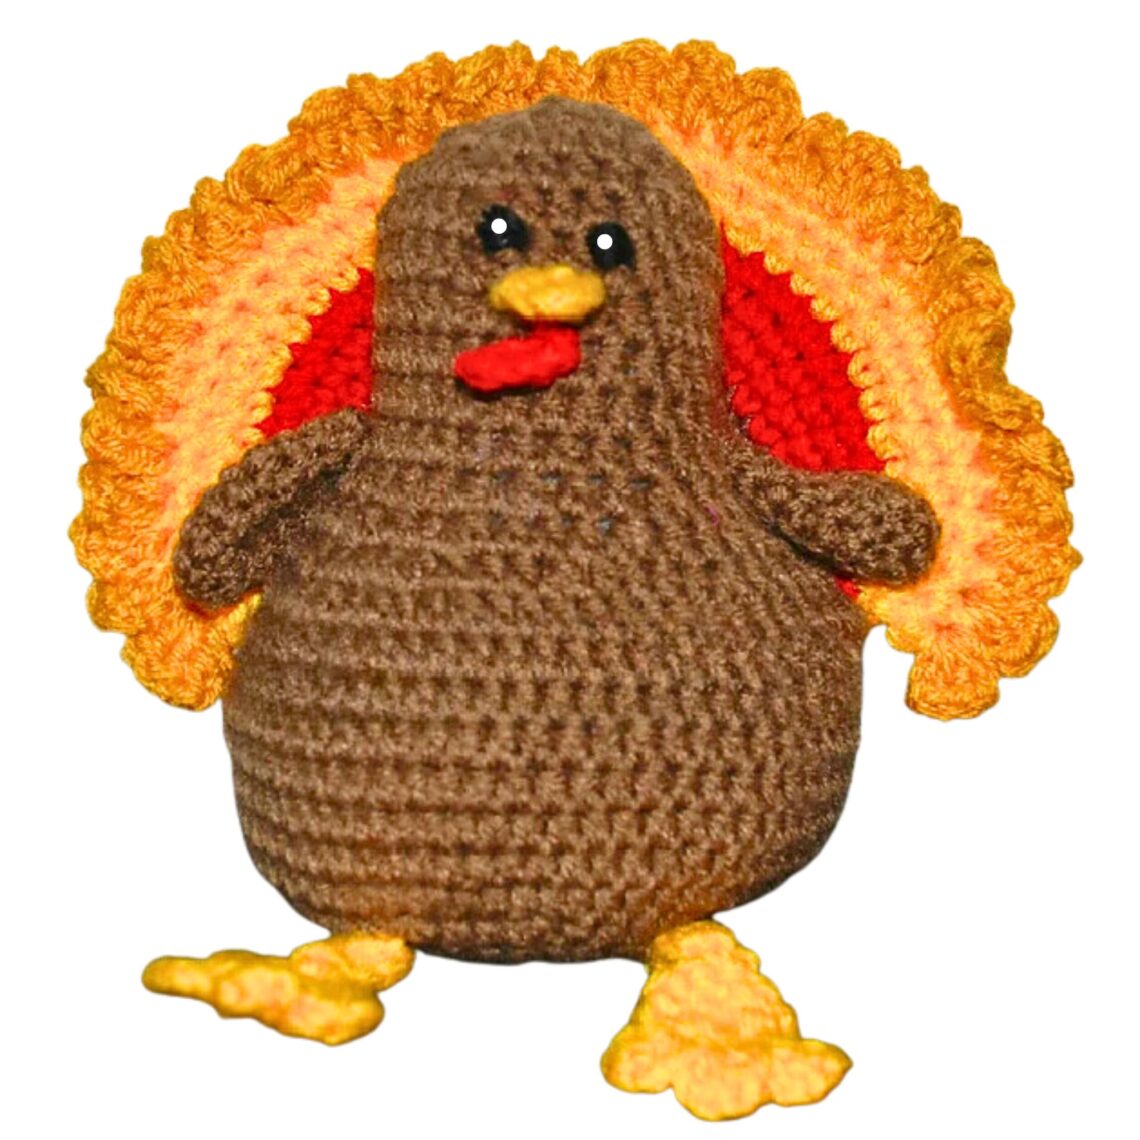
Crocheting a Turkey Plushie Amigurumi is fun and festive, and it adds Thanksgiving charm to your dinner table or decor. In this free crochet pattern, we’ll provide step-by-step instructions and detailed guidance, making it an excellent project for crocheters of all skill levels, from beginners to seasoned pros. Whether you’re a bit new to crochet or looking for a little help, this amigurumi turkey pattern is the perfect opportunity to craft your plush turkey, one of the most iconic symbols of the Thanksgiving holiday. So, gather your supplies, and let’s get started on this beautiful crochet inspiration.
You’ll find affiliate links within this post. If you decide to purchase through these links, I may earn a modest commission at no extra cost. Additionally, please review my privacy policy for more details.
✨ We hope you enjoyed these photos! If so, please consider sharing them on Pinterest by clicking the Pin Button on each image. Your support helps us connect with more people and spread creativity. Thank you so much! 💖
For this project, you’ll need basic crochet skills, such as the magic ring, single crochet, slip stitch, and more. First, you’ll require worsted weight yarn, a G crochet hook, a tapestry needle, stitch markers, and 6mm safety eyes. If you want to create a different and colorful turkey, consider using medium or bulky weight yarn for the body and thinner yarn for the tail feathers.
How to Crochet For Beginners Playlist – Click Here
Supplies:
Click the Links for Your Materials
– Crochet hook
– Tapestry needle
– Stitch marker
G & H hooks
Brown, Red, Yellow, and Gold Red Heart Yarn.
Yarn needle
Abbreviations:
ch=chain
sl st=slip stitch
sc=single crochet
dc=double crochet
hdc-half double crochet
ch=chain
2sctog=2 single crochet together decrease
2hdctog=2 half double crochet together decrease
Body and Head: Brown yarn, G hook
Rnd 1: Chain 2, work 5 hdc in the 2nd chain from the hook, sl st.
Rnd 2: work 2 hdc in each sc around, sl st.
Rnd 3: work 2 hdc in each sc around, sl st
Rnd 4: Work in continual rounds and use a marker, so no slip stitch. hdc in each hdc around.
Rnd 5: *hdc in the next hdc, 2 hdc in the next hdc, *Repeat.
Rnd 6: *hdc in the next two hdc, 2 hdc in the next hdc, *Repeat around.
Rnd 7: *hdc in the next three hdc, 2 hdc in the next hdc, *Repeat.
Rnds 8-17: *hdc in each hdc around. Repeat this 7 times in total
Start to stuff the turkey with stuffing or yarn to fill it up.
Rnd 18: *2hdctog decrease, hdc in the next 4 hdc, *Repeat.
Rnd 19: *2hdctog decrease, hdc in the next 3 hdc, *Repeat around.
Rnd 20: *2hdctog decrease, hdc in the next 2 hdc, *Repeat.
Rnds 21-26: * hdc in each hdc around, *Repeat this round 6 times.
Eyes: With black yarn and yarn needle sew on some eyes on the top center of the head. Sew on the eyes by sewing a few vertical lines. Twice, Fasten off. Continue Stuffing the Turkey.
Rnd 27: *2hdctog decrease, hdc in the next 3 hdc, *Repeat around.
Rnd 28: *2hdctog decrease, hdc in the next 2 hdc, *Repeat around.
Rnd 29: *2hdctog decrease, hdc in the next hdc, *Repeat around.
Rnd 30: 2hdctog decrease in each hdc around until the head closes. sl st to fasten off.
Arms: H hook, Brown yarn. Make 2.
Rnd 1: Ch 2, work 5 sc in the 2nd chain from the hook.
Rnd 2: work 2 sc in each sc around. sl st
Rnds 3-7: *sc in each sc around, Repeat 5 times. sl st across to close the top.
Sew the arms on both sides of the body of the turkey. Sew the arms where the head begins.
Legs: Make 2, H hook, Yellow yarn.
Rnd 1: Chain 2, work 5 sc in the 2nd chain from the hook. sl st
Rnd 2: work 2 sc in each sc around, sl st
Rnd 3: Toes: ch 2, work 2 dc in the same stitch, ch 2, sl st in the same stitch, Work 3 dc in the next sc, ch 2, sl st in the same stitch, Work 3 dc in the next sc, ch 2, sl st in the same stitch, sl st in the next 5 sc, chain 4, sc in the 2nd chain from the hook and each sc across, sl st.
Attach the feet to the bottom of the body of the Turkey.
Beak: Yellow Yarn, H hook.
Rnd 1: chain 4, sc in the 2nd chain from the hook and each sc across, turn
Rnd 2: sc in each sc across, turn
Rnd 3: 2sctog decrease, sc in the next sc, turn
Rnd 4: 2sctog decrease.
Sew the Beak below the eyes about .25 inch in the center and below the eyes.
Waddle: Red yarn, H hook.
Chain 4, sc in the 2nd chain from the hook, sl st.
Attach the waddle below the beak in the center, about .25 inch below.
Feathers: H hook, Brown, Red, Yellow, and Gold Red Heart Yarn.
Rnd 1: Start with Brown yarn, Ch 2, work 5 sc in the 2nd chain from the hook, sl st.
Rnd 2: Work 2 sc in each sc around, sl st.
Rnd 3: *sc in the next sc, 2 sc in the next sc, *Repeat around, sl st.
Rnd 4: *sc in the next two sc, 2 sc in the next sc, *Repeat around, sl st.
Rnd 5: *sc in the next three sc, 2 sc in the next sc, *Repeat around, sl st.
Rnd 6: *sc in the next four sc, 2 sc in the next sc, *Repeat around, sl st.
Rnd 7: *sc in the next five sc, 2 sc in the next sc, *Repeat around, sl st.
Rnd 8: *sc in the next six sc, 2 sc in the next sc, *Repeat around, sl st.
Rnd 9: *sc in the next seven sc, 2 sc in the next sc, *Repeat around, sl st.
Rnd 10: *sc in the next eight sc, 2 sc in the next sc, *Repeat around, sl st.
Rnd 11: Switch to Red yarn with a sl st. *sc in the next nine sc, 2 sc in the next sc, *Repeat around, sl st.
Rnd 12: *sc in the next ten sc, 2 sc in the next sc, *Repeat around, sl st.
Rnd 13: *sc in the next eleven sc, 2 sc in the next sc, *Repeat around, sl st.
Rnd 14: *sc in the next twelve sc, 2 sc in the next sc, *Repeat around, sl st.
Rnd 15: Switch to Yellow yarn with sl st, *sc in the next thirteen sc, 2 sc in the next sc, *Repeat around, sl st.
Rnd 16: *sc in the next fourteen sc, 2 sc in the next sc, *Repeat around, sl st.
Rnd 17: *sc in the next fifteen sc, 2 sc in the next sc, *Repeat around, sl st.
Rnd 18: Switch to Gold Yarn, Fold the Colored Circle in half. Place the hook in both sc when its folded, So the Shell will be placed in both sc since its folded. ch 2, work 2 dc in the same sc, ch 2, sl st in the same stitch, *Work 3 dc in the next sc, ch 2, sl st in the same stitch *Repeat across. Fasten off. Weave in the ends.
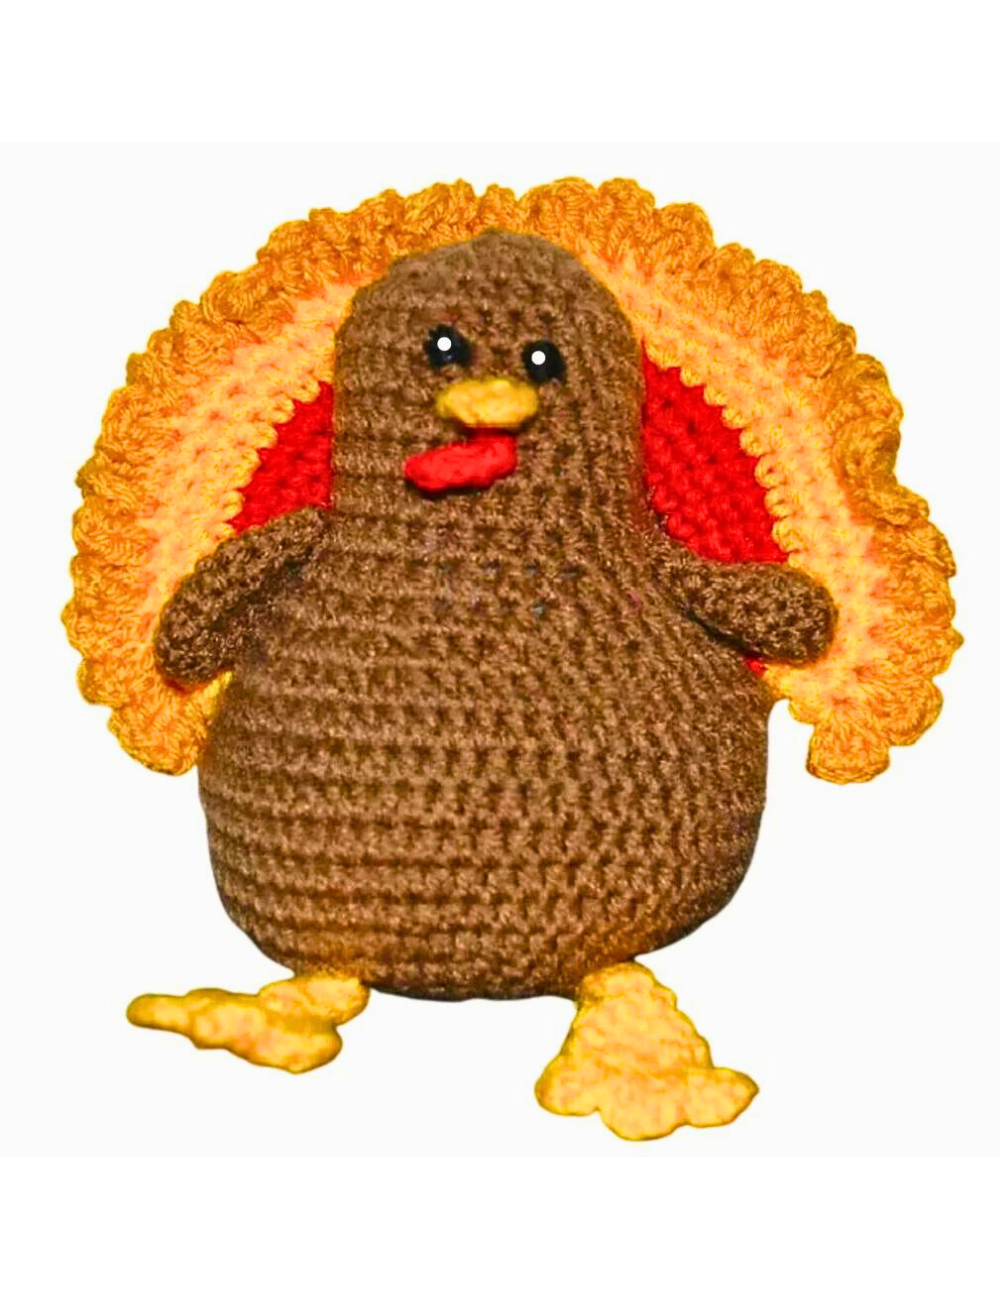
I sewed the folded feathers on the back with the shells on top, as seen in the picture above.
To kick things off, create the turkey’s body using the magic ring technique and single crochet stitches. The free crochet pattern provides detailed instructions on shaping the turkey’s head, body, and eye detail. And don’t forget to stuff your little amigurumi turkey as you go along. Progress pictures and a video tutorial can be a great help, especially for beginners.
Click Here for the Turkey Pattern
As you work on your crochet turkey pattern, you’ll be well on your way to completing your little turkey for the Thanksgiving table. The finished plush turkey will make beautiful additions to your Thanksgiving decor or even be an excellent gift for family members or friends. If you plan to sell your creations at craft fairs or online, remember that this free crochet pattern is for personal use only.
Ultimately, this amigurumi turkey crochet pattern is a great way to add a little style and a touch of fun to your Thanksgiving feast. Whether you choose to use brown or colorful yarn, the turkey amigurumi family you create will surely bring joy to the holiday. So, pick up your crochet hook and make your turkey – a beautiful and fun way to celebrate Thanksgiving and spread holiday cheer. Happy crocheting and happy Thanksgiving!
To Find All My Crochet Jewel Patterns, Click Here

Click Here for My Ravelry Patterns


Crochet Hats for Beginners Book For Sale – Click Here

Crochet For Beginners Book for Sale – Click Here


You May Also Like
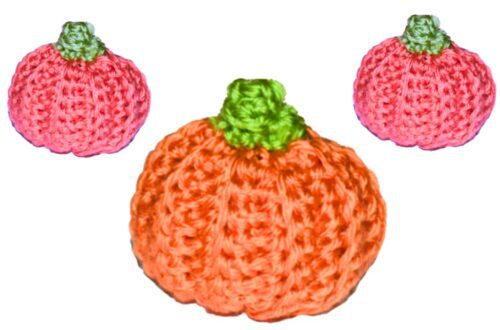
Crochet an Easy Pumpkin Pattern: Step-by-Step Tutorial