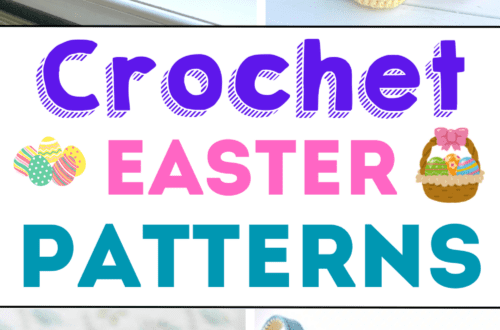
Crochet Your Easter Bunny Rabbit: A Step-by-Step Guide
How to Crochet a Bunny Rabbit!
Hop into the crochet world and bring the magic of Easter to life with our delightful project: Crochet Your Easter Bunny Rabbit! This charming tutorial will guide you through creating your cuddly bunny companion, perfect for Easter decorations or as a heartfelt gift for someone special. With just a few simple stitches and colorful yarn, you’ll soon have a whimsical bunny to cherish for years. So, gather your supplies, unleash your creativity, and embark on this enchanting crochet journey together!
Are you looking for a fun and creative project for the upcoming Easter holidays? This comprehensive tutorial will guide you through crafting your Easter Bunny using a free crochet pattern. Whether a beginner or an experienced crocheter, this step-by-step guide will help you create an adorable amigurumi bunny with floppy ears that makes the perfect gift for baby showers, Easter basket fillers, or even a lovely pair of trousers decoration. Plus, we’ve included a video tutorial on our YouTube channel for those who prefer visual instructions. So, gather your yarn and crochet hook size, and let’s get started with this easy crochet bunny pattern that’s sure to delight bunny lovers of all skill levels.
This post contains affiliate links. If you purchase through these links, I may earn a modest commission at no extra cost. Please review my privacy policy for more details.
To begin your crochet Easter Bunny project, you’ll need essential supplies, including worsted-weight yarn in different colors, a 4mm crochet hook, and some yarn needles. You can choose different sizes of crochet hooks depending on your yarn weights, making it a perfect project for experimenting with yarn weights. For the bunny’s cute little nose, you can use a slightly smaller hook, and for its floppy ears.
You’ll also need to shape your bunny using chain stitches (ch) and single crochet stitches (sc). Consider using safety eyes, a safety nose, and even a cute bunny hat for the bunny’s features.
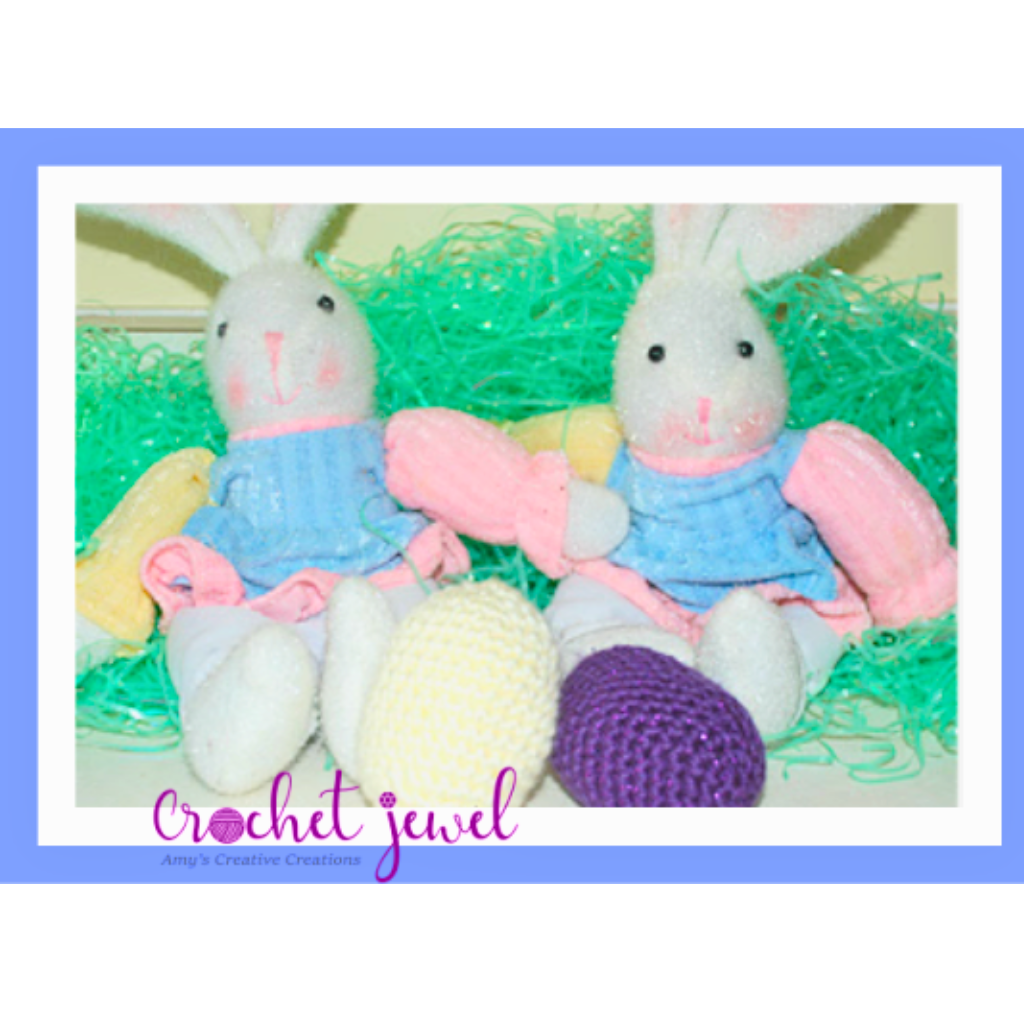
We’ve provided a free amigurumi pattern with written instructions so you can follow along easily. Be sure to insert a tapestry needle to weave in your yarn tail, and remember to maintain proper tension while working your crochet stitches, particularly when crafting the bunny head, body, and bunny loveys. This pattern also offers instructions for creating adorable multi-piece bunny designs, including the sides of the body and stitches of the cheek.
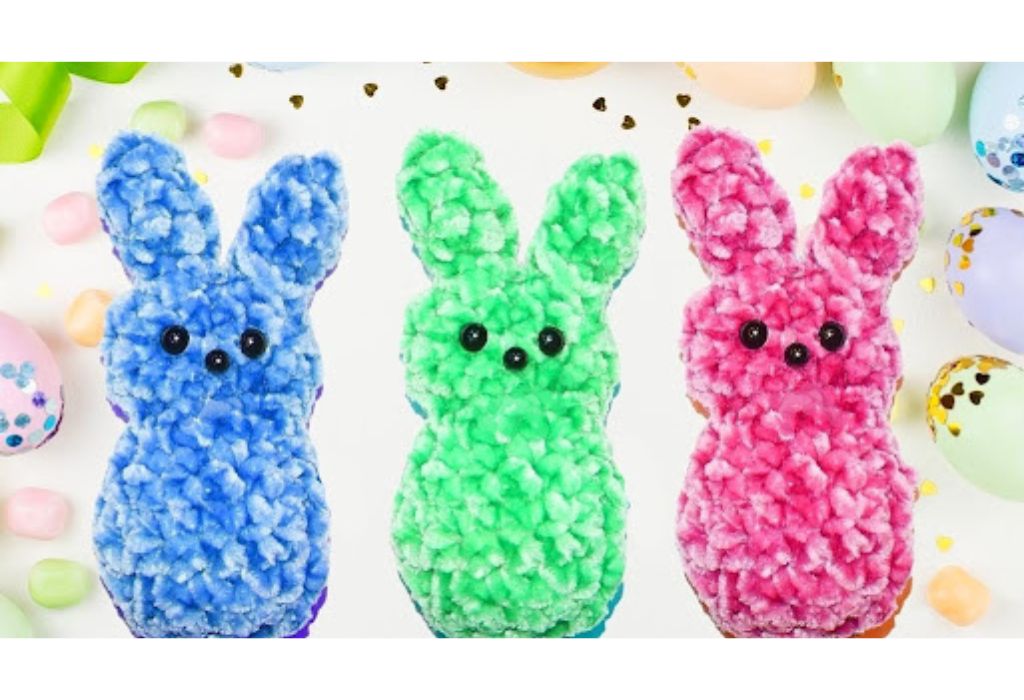
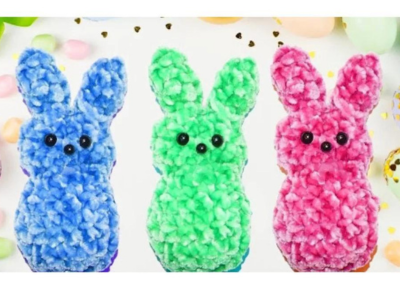
I created this cute crochet bunny peep with velvet yarn and a G hook. You can decorate with these adorable bunnies or give them as gifts. It measures 2 x 4 inches. I hope you enjoy this free Easter Bunny Crochet Pattern! In this video, we’ll show you how to crochet a bunny. This beginner’s guide will teach you everything you need to know to crochet a bunny!
You’ll learn how to create the basic stitches and make the ears, the tail, and the feet. Once you’ve completed this crochet bunny tutorial, you’ll have a beautiful new toy to play with!
How to Crochet For Beginners Playlist – Click Here
Row 1: Make two, ch 6, sc in the second chain from the hook and each chain across. Turn
Row 2: ch 1, 2sc, sc in the next three stitches, 2sc, Turn
Rows 3-5: ch 1, sc in each stitch across, Turn *Repeat for 3 rows.
Row 7: ch 1, sc in each stitch across, Turn
Row 8: ch 1, 2sctog, sc in the next stitch, 2sctog, Turn
Row 9: ch 1, 2sc, sc in the next stitch, 2sc, Turn
Row 10: ch 1, 2sc, sc in the next 3 stitches, 2sc, Turn
Row 11: ch 1, sc in each stitch across, Turn
Row 12: ch 1, 2sctog, sc in the next 3 stitches, 2sctog, Turn
Row 13: ch 1, 2sctog, sc in the next stitch, 2sctog, Turn
After the ears are made, you can add your eyes and stuff them with velvet yarn. I used a hot glue gun to add the plastic eyes. Then, sew the two bunnies together.
Ears, start the ear from Row 13,
Row 1: ch 1, 2sc, Turn
Row 2: ch 1, sc in the next two stitches, Turn
Row 3: ch 1, 2sc, sc in the next stitch, Turn
Row 4: ch 1, 2sctog, sc in the next stitch, Turn
Row 5: ch 1, sc in the next two stitches, Turn
Row 6: 2sctog, ch1, and Fasten off.
Next, make the ear made, skip the middle stitch, and sl st with your yarn, *Repeat Rows 1-6.
Fasten off and Weave in your ends.
This free Easter bunny crochet pattern is lovely for the holidays!
Print the entry at the top of the page to print the pattern!
Click Here for a Crochet Easter Egg Pattern
As you work on your bunny, feel free to experiment with different colors to create a personalized, cute little bunny that will make the perfect gift for baby showers and Easter basket fillers. You can also use affiliate links to purchase specific materials for your project, but please note that these may result in a small commission at no additional cost to you.
In conclusion, crafting your own Easter Bunny with this free crochet pattern tutorial is a delightful creative endeavor and a thoughtful and handmade way to celebrate the Easter holidays. Whether an experienced crocheter or starting this easy crochet bunny pattern suits all skill levels, the bunny’s magic circle, slip stitch techniques, and various crochet stitches, such as double crochet and front loops, will help you create a cute bunny that can be customized in different colors and sizes.
Share your bunny creations on social media and with your dear friends. Who knows, you might even consider selling your lovely bunny designs to earn a little extra income. Additionally, keep in mind that you can find supplies such as yarn and crochet hooks from brands like Lion Brand Yarns and Clover Pom Pom Makers, which can enhance the quality of your bunny project.
So, don’t wait any longer. Dive into this adorable amigurumi rabbit project and create a cute little bunny that will bring joy to Easter lovers everywhere. Happy crocheting!
To Find All My Crochet Jewel Patterns, Click Here

Click Here for My Ravelry Patterns


You May Also Like
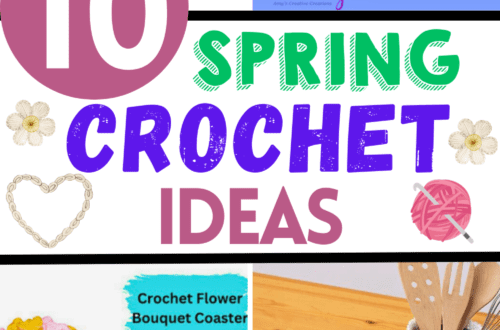
Spring Crochet Ideas: Fresh Patterns for the Warmer Months
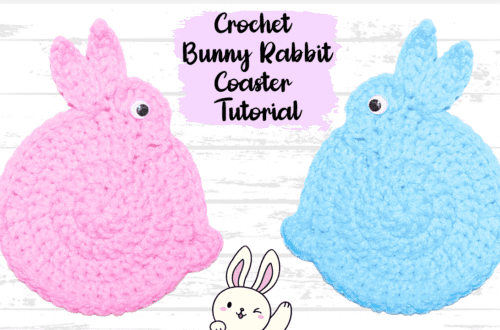
Create Your Own Adorable Crochet Easter Bunny Coaster