How to Crochet Easy Flower Headband Patterns
How to Crochet a Flower
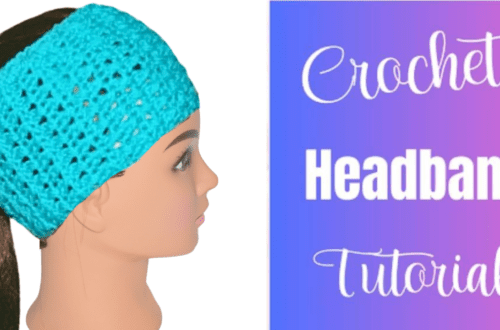
Crocheting a beautiful and functional accessory is not only a creative endeavor but also a rewarding one. In this tutorial, we’ll explore the art of crafting a “Crochet Easy Flower Headband” – a versatile and stylish piece that combines simplicity with charm. Whether you’re a seasoned crocheter or just starting, this free pattern is perfect. Before diving into the step-by-step guide, gather your materials, including a tapestry needle, an elastic band, and your preferred skein of yarn. Additionally, we may earn a small commission through affiliate links, helping us continue to provide free crochet patterns and tutorials.
You’ll find affiliate links within this post. If you decide to purchase through these links, I may earn a modest commission at no extra cost. Additionally, please review my privacy policy for more details.
Begin by choosing your favorite worsted-weight yarn and an appropriate hook size. This project involves basic crochet stitches, such as single crochet (sc) and slip stitch (sl st). The pattern utilizes simple repeats, making it an excellent project for enhancing their skills. As you work through the rows, pay attention to stitch count and maintain an even tension for a polished finish. The headband’s size can be easily customized to fit any head circumference, ensuring a comfortable and snug fit.
✨ We hope you enjoyed these photos! If so, please consider sharing them on Pinterest by clicking the Pin Button on each image. Your support helps us connect with more people and spread creativity. Thank you so much! 💖
Click the Links for Your Materials
– Crochet hook
– Tapestry needle
– Stitch marker
How to Crochet For Beginners Playlist – Click Here
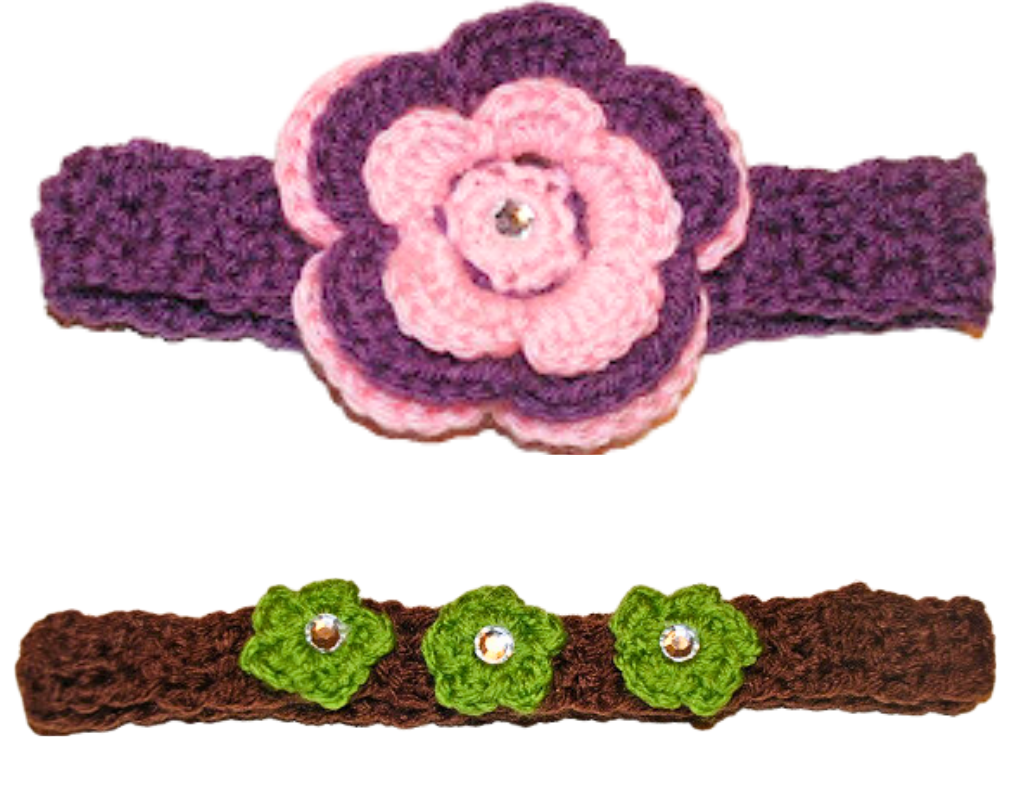
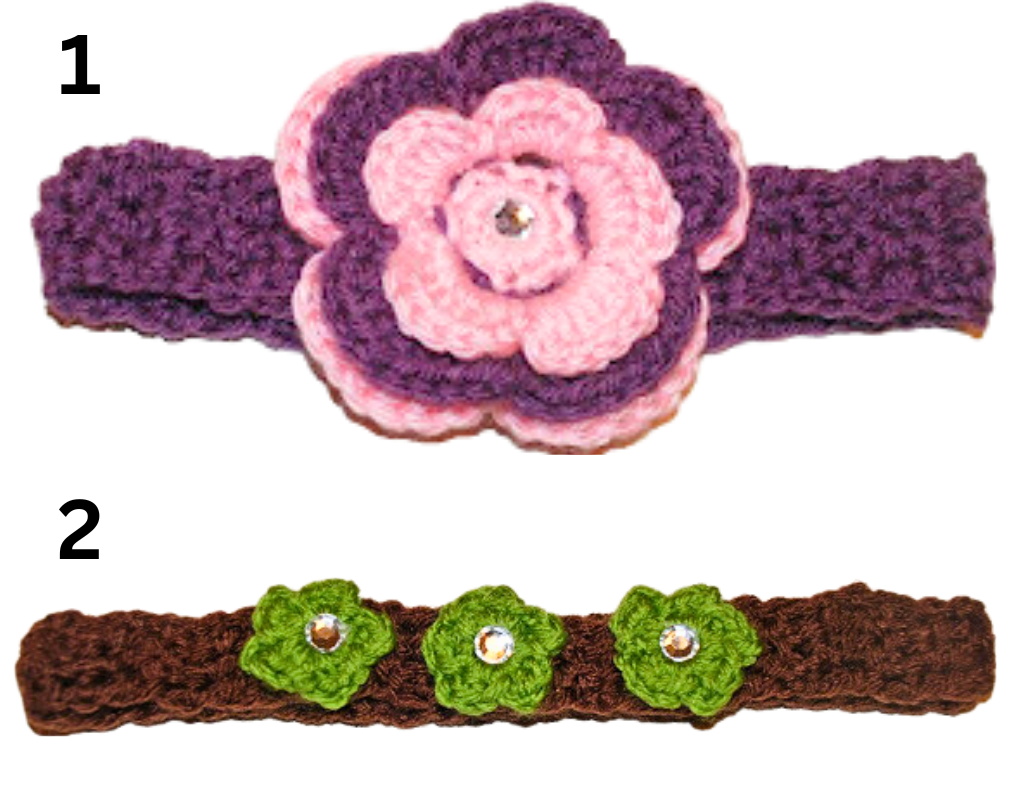
These two pretty crochet headbands will look so precious on your little one. These crochet headbands are made with medium-wasted yarn. The lovely flowers add a nice accent to the crochet headbands.
Supplies:
fasten off and sew onto the headband.
Headband:
Flowers:
Print the entry at the top of the page to print the pattern!
Click Here for More Headband Patterns
To add a delightful touch, we’ll introduce a crocheted flower using double crochet stitches and a tapestry needle to weave loose ends neatly. The flower is a focal point, elevating the headband’s aesthetic appeal. You can experiment with different colors for a personalized touch or create a solid color headband for a classic look.
As you crochet, remember that this project is a great way to showcase your basic crochet skills and a quick and enjoyable endeavor. The result is a cozy and stylish headband, perfect for keeping warm in cold weather or gifting to friends and family. The pattern is available in written and video tutorial formats, making it accessible to many crocheters, from beginners to those with more experience.
To begin this crochet headband pattern, start with a foundation chain according to your desired head circumference. Work the first row in single crochet (sc), ensuring a neat and even stitch count. The simplicity of the basic crochet stitches makes this pattern accessible to crocheters of any skill level. As you progress, you’ll notice that the easy pattern allows for quick projects, making it an ideal choice for last-minute gifts or personal use. The half-double crochet (hdc) stitches add a subtle texture to the right side of the headband, giving it a great texture that sets it apart from regular headbands.
The slip stitch (sl st) becomes crucial in creating a seamless and polished look as you continue stitching. Repeat rows confidently, paying attention to the details, like the slip stitch at the end of each row, to maintain the right side of the headband. Using a tapestry needle ensures that loose ends are neatly woven in, leaving you with a finished product that is as professional-looking as it is cozy.
With the guidance of a video tutorial, even beginners can confidently navigate the crochet project. The incorporation of affiliate links helps support the creation of more free crochet patterns and tutorials. Whether you choose to use cotton yarn for warmer weather or a skein of yarn in bulky weight for colder seasons, the versatility of this pattern allows for customization to suit your preferences. Share your completed headbands on social media, and consider making a few extra to showcase at craft fairs or as thoughtful gifts for friends and family. Embrace the joy of crocheting with this easy and rewarding project, and you’ll soon find yourself with a collection of cozy, handmade headbands perfect for any occasion.
In conclusion, this “Crochet Easy Flower Headband” pattern is an excellent choice for those seeking a quick, easy, and rewarding crochet project. With its versatility and simplicity, this headband is a practical and fashionable accessory. Whether you’re making it for yourself or as a thoughtful gift, the combination of basic crochet stitches, a touch of creativity, and a beautiful flower embellishment makes this project a joy to complete. So, grab your yarn, hook, and join the crochet community in crafting these stylish headbands that will add warmth and charm to any ensemble. Don’t forget to share your creations on social media, and happy crocheting!
To Find All My Crochet Jewel Patterns, Click Here

Click Here for My Ravelry Patterns


Crochet Hats for Beginners Book For Sale – Click Here

Crochet For Beginners Book for Sale – Click Here


You May Also Like

Chic Stitches: Crafting Your Own Crochet Headband
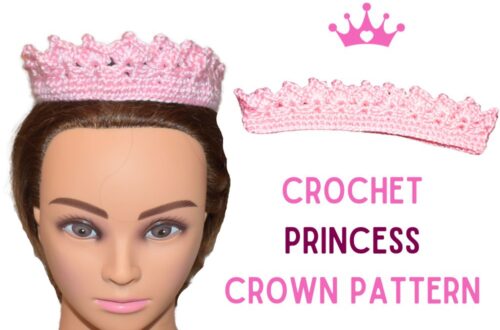
How to Crochet a Pretty Princess Crown Tiara Headband Pattern